Sharing a card I made especially for the lovely Moya in my team who is celebrating her 2 year Anniversary as a Stampin' Up! demonstrator today... it is truly a pleasure to know you Moya... and I hope that this card arrived yesterday as planned so I don't spoil the surprise!
But this one is re-sized to to an A6 card so that it fits in a standard C6 sized envelope and it is also adapted to neatly fit one die-cut Large Number on it...
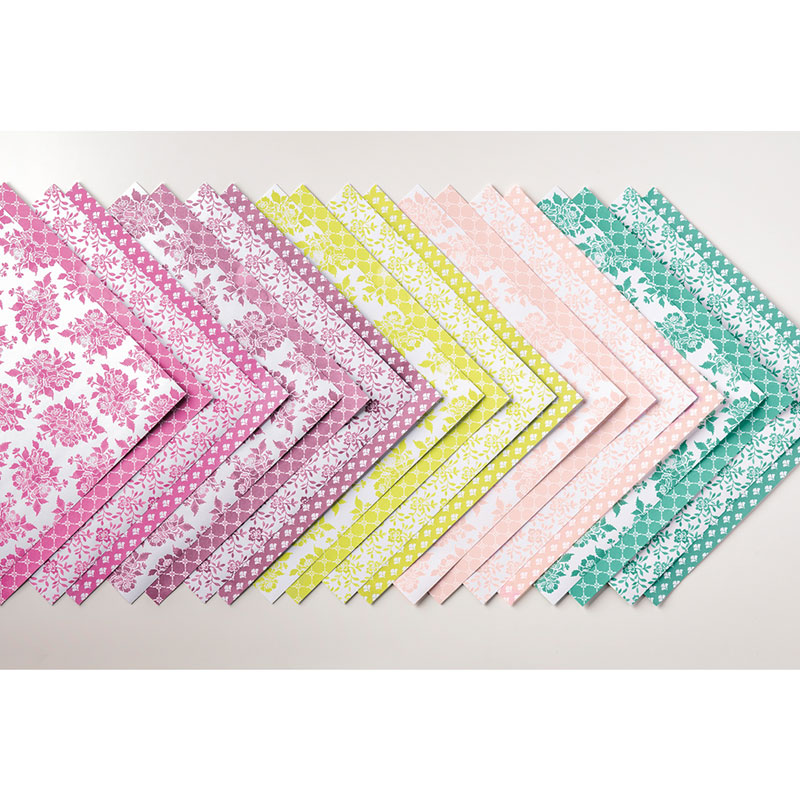
The card introduces the new Berry Burst In Color and the gorgeous co-ordinating Fresh Florals In Color 12x12 paper stack.... Don't forget to check out my In Color Bundles details here if these colours are of interest...

And for my American readers... don't fret... another version follows in due course... but converting this one would not make any sense - as you wouldn't have an envelope to fit it in! EDITED TO ADD - Click here for the US A2 version from US Letter cardstock...
Craft Spa Recipe
A4 Thick Whisper White 21 x 14.8cm
A4 Berry Burst 16 x 9.8cm
A4 Whisper White Front 5 x 9.3cm; Back 4.7 x 9.3cm
Paper Left Front 4.7 x 14.3cm
Paper Right Back 10 x 14.3cm
Paper Centre 4.7 x 9.3cm
Directions
1. Score Thick Whisper White LANDSCAPE panel at 5.25 & 10.5cm
2. Z Bone Fold. Valley for halfway/centre... Peak for quarter-way
3. Score Berry Burst LANDSCAPE panel at 5.25 & 10.5 cm
4. Z Bone Fold. Peak halfway-ish (front) fold... Valley for Quarter-ish (back) fold
5. Adhere papers
Now to sticking the two Z Fold parts. Think about what needs to go where!!! Otherwise you will just stick your whole card together and it won't open after all!! Suggest a dry run with no glue the first time... then it should all become obvious... So...
6. Adhere back section of smaller Z Fold onto back face of main card - make sure the left/inside valley fold of the smaller Z section panel is behind your front left peak fold of the main card ie slip the smaller Z in behind the larger left fold as you stick it down/line it all off on the front...
7. Adhere front part of smaller Z Fold onto main card front (think about where NOT to put your glue!?)
8. Decorate as desired


lovely card and fabulous fold yet again!
ReplyDeleteThank you Uma... another simple fancy fold that is definitely worth a go....
Delete