Pages

Saturday 31 August 2019

Butterfly Wishes - Branch Extension!

The last of my little Butterfly Wishes trio...  And one where I had to be artistic..

So Direct Marker inking again of the lovely blossoms stamp... and stamping... on the central white panel... and then re-inking and stamping down from the right hand side on the card blank front

But obviously there was a gap! As circled... though I wish that I had thought to take a quick photo...
So I grabbed my Early Espresso ink pad and a Blender pen... picked up some Early Espresso ink (either after a squeeze and pick up from the lid.. or naughtily like me (as I was in a rush!)... direct from the ink pad itself!)...

And just drew a line in... which lines up perfectly with my stamped panel... and which just disappears under the panel/mat...
I laid my stamped white panel roughly in position on the card blank to work out how far I needed to extend that line...

Note that I used the Stampin Blend as I didn't want a perfect straight line... which would have resulted if I had used Stampin Markers or Stampin Blends ...and the Stampin Blends would have gone through my one layer card blank in any case

Friday 30 August 2019

Butterfly Wishes - Faux Embossing or Shadow Stamping...

Loving it in the Crumb Cake...
With the good old Shadow Stampin or Ghost Stamping or Faux Embossing technique...
Although wishing my white shadow was a bit narrower! Didn't need to move my second stamping ( again using the markers as shown yesterday) down quite so much! But now you  know for when you try...

Thursday 29 August 2019

Genuine Gems - but not as we know it!

So some people seem to like ...and some loathe... the AWESOME word in the Genuine Gems stamp set...
So I came up with an alternative plan! Congratulations care of Flourishing Phrases... in a die cut Stitched Rectangle...
So now you can add pretty much anything!
Original greeting'd Magnolia Lane Double Point Card details as shared here

Wednesday 28 August 2019

Butterfly Wishes - in the Pinks Part 1


One of a few variants... created using the lovely Butterfly Wishes... featuring some key techniques along the way...

But firstly.... please don't forget to order your Stampin Trimmer Blades (item code 126995...max 3... quote Hostess code WJRJY277 online at 6pm SHARP tonight... More details for you here...

First up... the simple use of markers (Many Marvellous Markers!) to ink up your stamps rather than ink pads... whether greetings or images...
Lovely Lipstick and Mossy Meadow being used here...

And a Quick Tip: Keep the markers as horizontal as you can to protect your brush end...

Tuesday 27 August 2019

Last Call for Trimmer Blades!

Second post today... scroll down for my earlier creative share... it's amazing!

Good news! The final shipment of Stampin’ Trimmer Cutting Blades (item code 126995) arrived early.  This final batch will be available on Wednesday, 28 August at 6:00 p.m. (UK), and when they sell out they will be gone for good. 
The limit is three packs of blades per customer.
Please place your own order* through my online store
In the past, blades have sold out within minutes. So I highly recommend that you create your account now (if necessary) ... and create and save an order too... with your financial details set up... so that you will only need to add the item code 126995 and quantity of 3 and then press submit! 
And ...
(1) don't forget to add my month's hostess code WJRJY277 where prompted
(2) you can also order anything else you need! Orders will count towards free classes and gifts...
Oh... and before I go... Latest news on the New Paper Trimmer... Stampin Up have just announced that we will have a new paper trimmer available early 2020, which will sell for £23. They will provide more information when the trimmers arrive in the warehouses.

* Sorry... but I will not be available to place any orders at 6pm Wednesday... or indeed deal with any queries before or after... it will be Friday before I can return any calls etc this week...

Wishing You an Amazing Christmas...

So whilst I was creating yesterday's card... this idea popped into my head too...
Proving that Everything Amazing is what it says on the tin!! For all year round occasions...
Hope you find this useful in creating a strong festive message this year!
And yes the large greeting stamp is inked up in Versamark then Mossy Meadow... and then embossed with Clear embossing powder...

And be sure to see yesterdays post on how to create poinsettias with your Magnolia Lane papers

Monday 26 August 2019

Merry (Magnolia) Monday

Can't take any credit for the idea of colouring the Magnolia Lane papers in with the Real Red Stampin Blends to create poinsettia flowers...

And annoyingly I forgot to note the name of my fellow clever demonstrator that first shared the idea on out International Demo Only FB site... so please let me know if it was you... and I will quickly update my post...
But thought I should share with you just in case you hadn't caught up with this great idea for getting more out of your papers!!

Sunday 25 August 2019

Amazing Magnolia!

Back to my preferred mix of Good Morning Magnolia and Magnolia Blooms... along with the lovely Everything Amazing...
Not obvious but this one is set on Very Vanilla card... and the large Amazing greeting is embossed in Early Espresso... 
Using Versamark then Early Espresso to ink up the stamp... stamping quickly and then adding Clear Embossing Powder...


Saturday 24 August 2019

Oh so simple Magnolia Lane Card


This is probably one of the simplest cards I have ever made... however it wasnt without a challenge!!
Scalloped banner section cut with the 2 dies from the Budding Blooms die set... which I held in place with my favourite purple low tack tape ... but unfortunately ... for the first time ever... the pressure of the rollers in the die cutting machine ripped the white card as I did it!
Greeting care of Kindness & Compassion... 

Then a 9cm square of Magnolia Lane papers slipped in behind...
But don't do as I did in my haste... and that is glue all over the back of the paper or you end up with  sticky back that will stick your card together!
Nor did I then like the inside of the card!

Friday 23 August 2019

Magnolia Blooms card...

So I meant to post this with the card yesterday... as they are almost the same... but...
This was my prototype prior to the class... as I don't have Good Morning Magnolia... but one of my lovely ladies does... so I had pre-made a few cards using my Magnolia Blooms... and then quickly remade a Good Morning Magnolia version whilst I had those stamps in my possession!
Like this one both ways... though if I had to choose... it would be yesterday's!

Thursday 22 August 2019

Good Morning Magnolia & Magnolia Blooms...

So simple...but probably my favourite... why use just one stamp set when you can use 2 co-ordinating ones...
And you may ask why my pearl positioning is as it is... well here is why!! Oops!
And I will be very brief for the next few days... as my mother is now out of pain and at peace... so the family is busy with arrangements...

Wednesday 21 August 2019

Wednesday WOW & Wideo - Lovely is the Day...

Well I have to admit to not really spotting this Lovely is the Day bundle... and it really is lovely!...
One not to be missed... so thank goodness for these video showcases... as now I (and you!) know...

So introducing Lovely is the Day... a soft subtle and beautiful floral and leafy stamp set...
Along with the great Lovely Leaves die set...
In particular... spot the partial die cut large leaf die project to the left hand side... WOW! Stunning!
And here is the Video for you... just press on the arrow to play and see more...
And I reckon it would co-ordinate wonderfully with the Tropical Chic stamps & dies ... and the Forever Lovely & Lovely Flowers too... giving synergy in 2 different ways...


Tuesday 20 August 2019

Tuesday Tutorial - De-Constructed (Faux) Double Point Card

So here we go... the simple way to make a Nested Labels Double Point card... as long as you don't want the "flappy bit" which (for many) is probably a main feature of the original Double Point Card... though not for me...

So this simplified way gives me everything I like in the Double Point design... but at speed... and with less materials being needed....
And I changed this one up after the original Noble Peacock De-constructed Double Point Card posted here... as thinner Magnolia Lane papers meant I could add a co-ordinating mat whilst I was at it...

And please note that for simplicity's sake in the Tutorial...
(1) I kept the paper panel the same size for both of these card variations (the coloured mat being optional and that bit larger...)

(2) I have not altered the panel & mat dimensions for a wider US A2 card (4 1/4" ilo Rest of World A6 4 1/8" wide)... so you will have a bit of a white gap to line up on the top and bottom edge of this version...

But that's nice! So why re-design and complicate matters!! Look at this version here to check out "a bit of a white gap"
Craft Spa Recipe
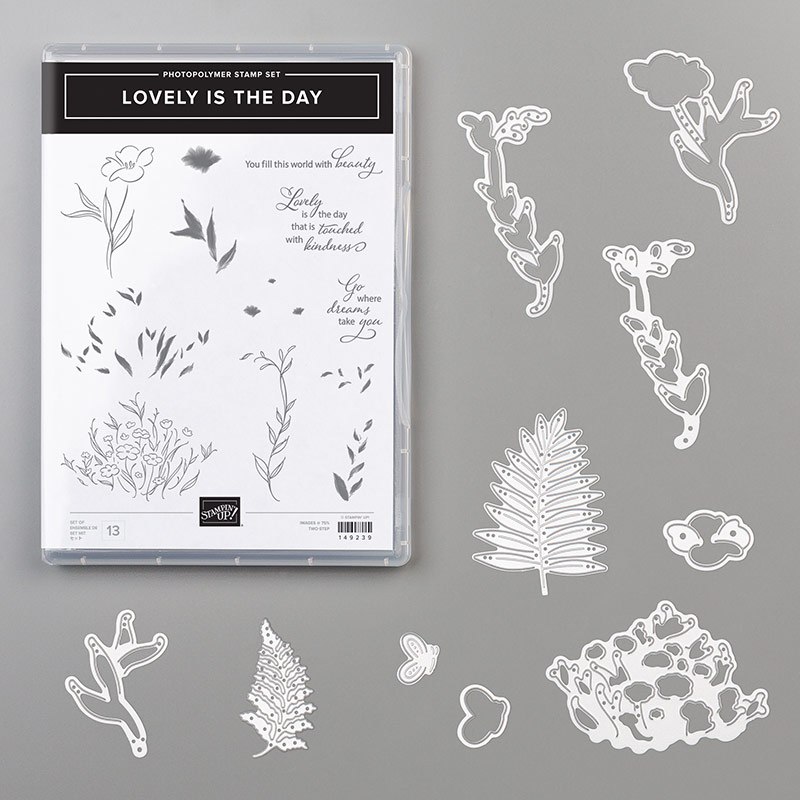
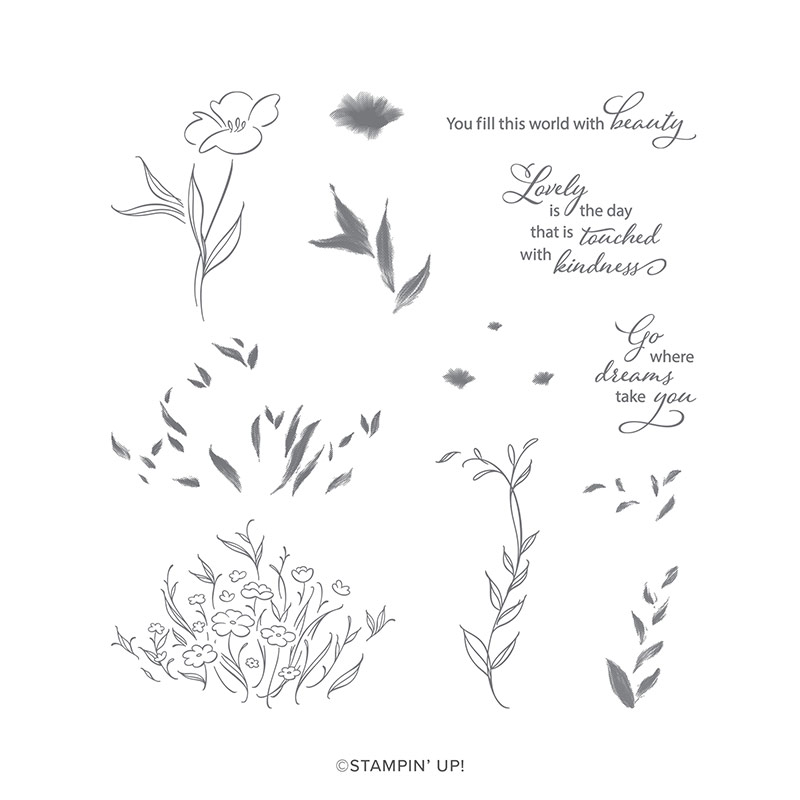
Stamps - Magnolia Blooms
Papers - Magnolia Lane
Stampin Blends - Mossy Meadow combo, Petal Pink combo, So Saffron Dark

Whisper White A6 Tent Card Blank (OR US A2) 
ie 10.5cm x A4long - scored LANDSCAPE at 14.8cm (OR US 
4 1/4" x 11" long - score LANDSCAPE at 5 1/2")
Mossy Meadow Card 7.4cm (2 7/8") Square
Paper Panel 6.7cm (2 5/8") Square
(D) Mossy Meadow 12 x 7cm
(D) Whisper White Thick 12 x 7cm     where (D) is for die-cutting

Craft Spa Tutorial
1. Cut Card and Paper Squares diagonally (point to point!)
2. Adhere to each other
3. Adhere to card blank (with or without a gap round the 3 sides)

4. Die cut 2 x Nested Labels
5. Hand cut white Nested Label (using line inside the stitched line to guide your eye AND do shorter ends first)
6. Ink up & Stamp greeting
7. Adhere to each other and to card blank

8. Ink up & Stamp Early Espresso magnolias
9. Colour in using Stampin Blends
10. Fussy Cut using Paper Snips
11. Adhere


Monday 19 August 2019

Gold Embossed Good Morning Magnolia & Magnolia Blooms

So this is the gold embossed card that inspired the white embossed card shared here earlier... 

And this card was inspired by many a one I have spotted around the internet... though I think the first one I saw was this one by the lovely Linda Dalke... who has a video tutorial for you there too... 
Though of course what I remembered was a white matted version... so then I searched for that and couldn't find it... so I guess that part was just in my head after all...

But simply... Crumb Cake mat temporarily stuck to an A6 Crumb Cake card blank...  gold embossed magnolias... 
Coloured in with Whisper White craft ink... using my trusty Aqua Painter... and then left to dry...

Then Petal Pink ink applied using Sponge Daubers... and then small mat stuck onto white mat... and onto card blank...

And an admittance... I don't even have Good Morning Magnolia... but I do have Magnolia Blooms... so this was my prototype... 
And then I borrowed the lovely Jill's Good Morning Magnolia when she was here... and quickly re-made the card

Remember that these 2 magnolia stamp sets work really well together... as not only are the greetings in the same script... but the magnolias co-ordinate with each other as they bring in different sizes... 
I personally like to use the largest magnolias in each of the sets on cards like these... but more on that another day...

And here are the 3 cards together...