So I have been asked a few questions on the creation of my Painted Poppy notecards with splatters .... so I thought it easiest to just make another, take some photos and come back to share!
So colourwise... I used Pretty Peacock, Seaside Spray and Granny Apple Green on this and most of my other Painted Poppies samples but Poppy Parade (instead of Pretty Peacock) on the first version shared (as shown below but first shared here with more product details and images...
No masking involved...
But I didn't stamp off the Granny Apple Green (grass) splatters - I just stamped twice/thrice without re-inking ...
(4) Stamp Granny Apple Green splatters to bottom NB stamped
twice
(5) Using stamped label for required positioning on card... ink up and stamp Seaside Spray and Granny Apple Green large splatters directly onto notecard to left hand side... you can see better in the 3rd photo below...
(5) Using stamped label for required positioning on card... ink up and stamp Seaside Spray and Granny Apple Green large splatters directly onto notecard to left hand side... you can see better in the 3rd photo below...
(6) Colour in flowers and leaves using Stampin Blends
(7) Adhere stamped label to card using 3D foam Stampin Dimensionals
(7) Adhere stamped label to card using 3D foam Stampin Dimensionals
And then I used the same technique on this card...
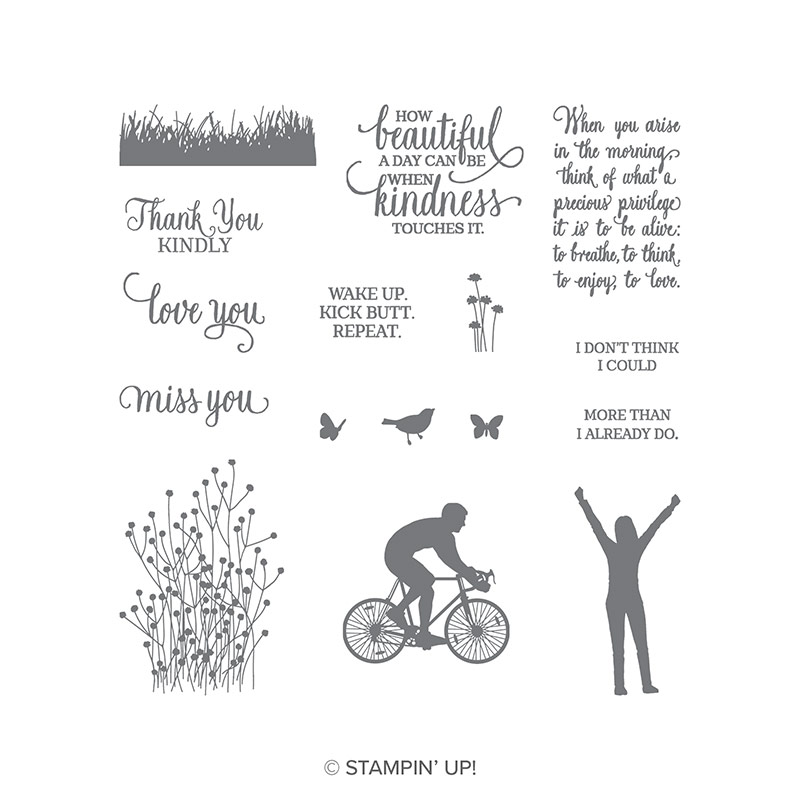
With the extra touch of the Enjoy Life grass image (in Granny Apple Green)... over the "grass splatters" for extra definition... ie Top Left image below...
And I will be back soon with a tip for the shaped card mat behind that Painted Poppies/ Labels die cut label on this last card!


Beautiful cards!!! Thanks for showing how you made the cards with great pictures and instructions. Thanks for sharing!!! GlendaJ
ReplyDeleteAw thank you Glenda... hope the pictorial proves useful and that you get to have a go...
ReplyDeleteThank you for your beautiful card and wonderful instructions. I am a new demonstrator and am curious as to how you got the dark layer under the die cut layer. Thank you Stormy
ReplyDeleteBeautiful! How do you do the splatters?
ReplyDeleteHi Sharon... the post is mainly about doing the splatters... hopefully the pictures help...
ReplyDelete