And a few tips for you...
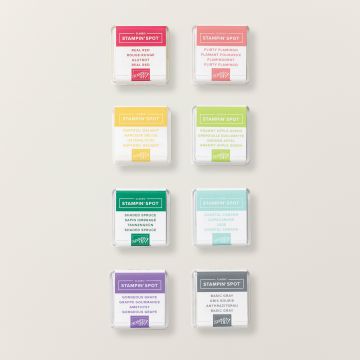
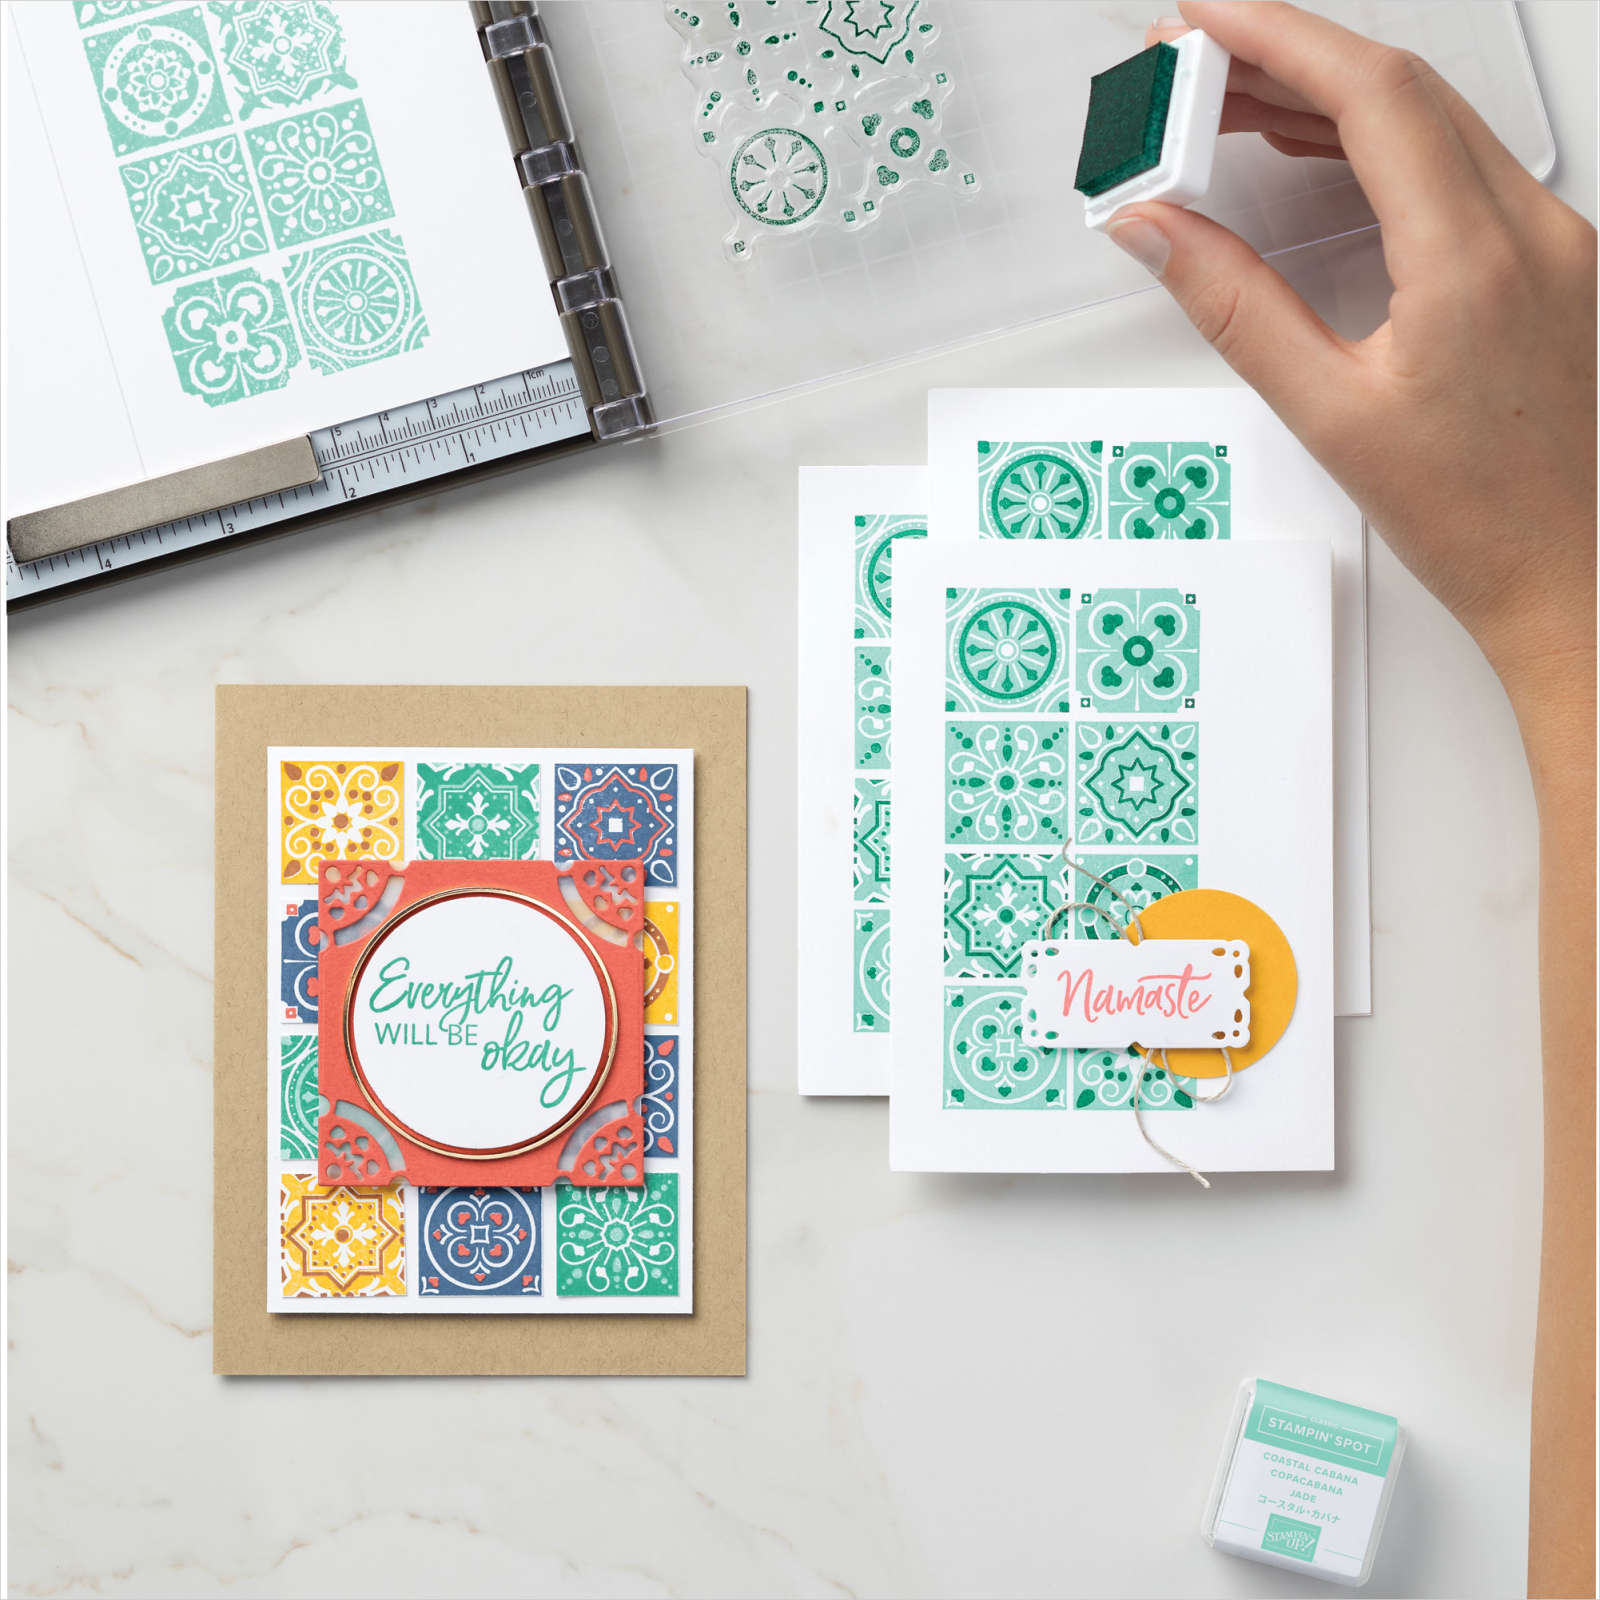
So to have multi colour tiles/mosaics... just grab your Stampin Spots... they are just the perfect size! How clever Stampin' Up to design the stamps that way...
By the way... the linked Classic Stampin' Spots Assortment are a great set if you are building up your ink colours!!

And 2 simple little inking tips...
Start with the palest colour and ink up each tile you want that colour... nice and fast with the Stampin Spot in your hand!
Then pick up the darker ink spot place it on your work surface... and carefully place your stamp on top to ink up each tile... easier to eyeball that way round... particularly with a darker colour!
Then stamp...
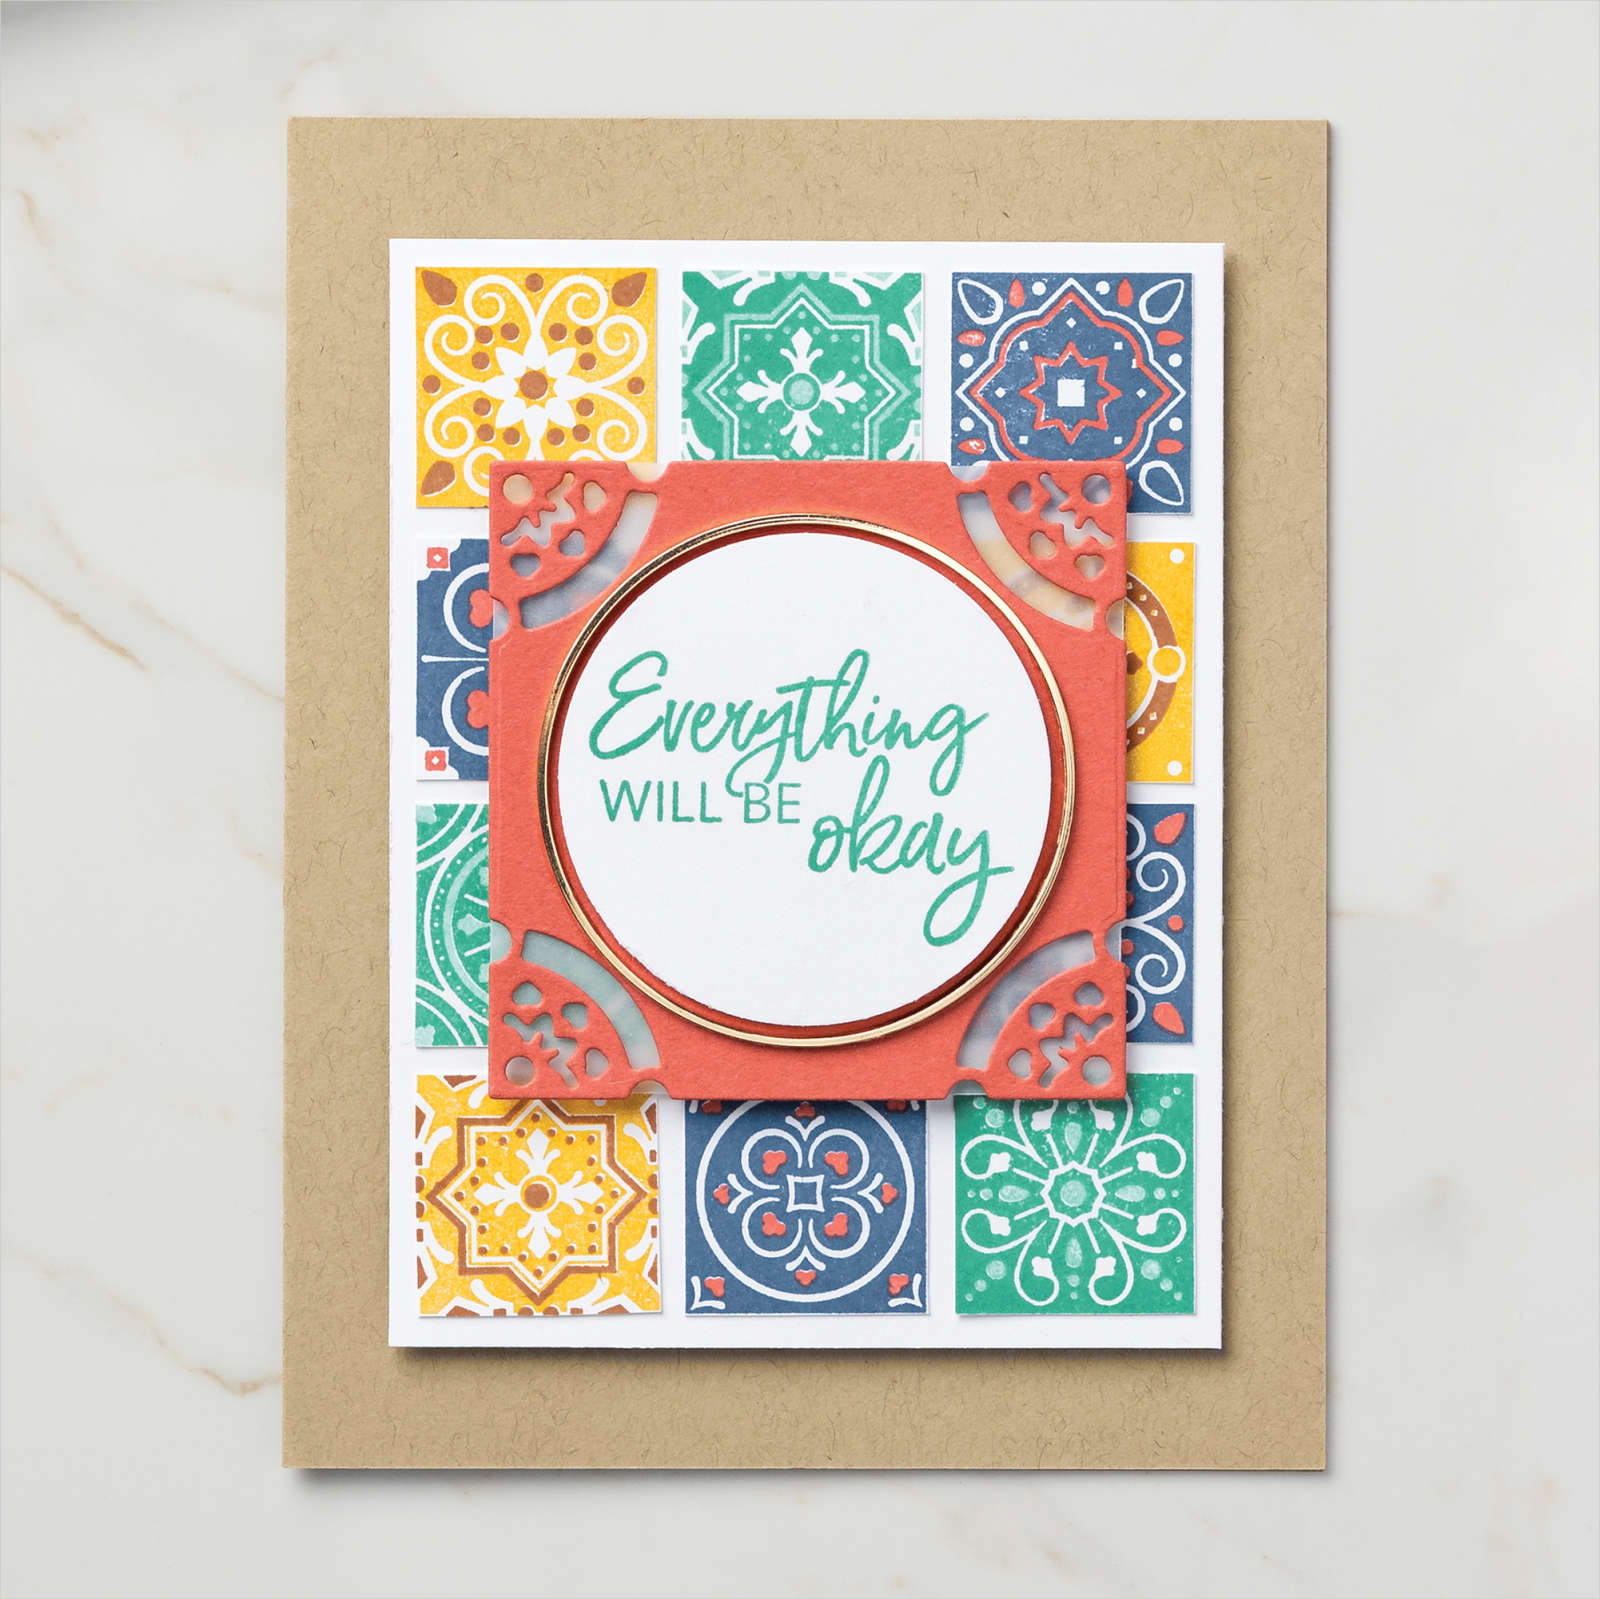
And a laugh for you... I was ever so excited when I came up with the use of Stampin Spots in this way with this set... and couldn't wait to share it with you.... but then I saw the next image in the Stampin' Up! catalogue...

And realised that my thought process weren't that unique after all! Although in my defence I don't actually look at the sample photos in the catalogue so it wasn't in my sub conscious! And check out how many colour variations you can use in this way!

The card is a 10.5cm (4 1/8") Square card in Balmy Blue (Thank You) or Thick Whisper White (Merry Christmas)... and the Whisper White stamping panel was 10.5cm (4 1/8") too... as that is the perfect size for 2 stampings ... and then I trimmed it down to 10.1cm square.... I just found this easier to get things lined up and stamped nicely!
Though my last tip would be to use the Stamparatus with this set... as stamping is SO easy once things are all set up.... the hinge spacing being perfect for the job!
I didn't use mine... as time was of the essence and I was trying out different things with the stamps so mine were all done by eyeballing... with variable results!! Though stupidly I should have stamped a plastic sheet and used my trusty Stamp A Ma Jig (retired but still used daily at The Craft Spa!)... as that would have made my lining up so so much simpler (and better!)
And note... I switched my colour scheme rom the Midnight Muse/Seaside Spray/Gray Granite.... and have used Balmy Blue and Night of Navy with Versamark & Silver Embossing Powder on these cards ... as they were the 2 blues that I happened to have Stampin Spots all ready to go... and time was of the essence as I needed to pass the stamp set onto its rightful owner...
And spot the perfection of the Stitched Shapes square size... love it when that happens!
And a final inking tip... the Thank you greeting has been inked up and stamped in 2 halves...
Firstly, the Thank You in Versamark ( I actually used a Versamark pen to do this - available readily elsewhere!) and Silver embossing powder... and then heated to melt...
Then a good clean of the stamp... and a Night of Navy marker pen to ink up I can't and Enough... and then overstamped in exactly the same position... Again think how easy this would be using the Stamparatus... which obviously I didn't as I was in pure eyeballing mode!
Phew ... loads more tips than I thought there... for such a simple little card!!


No comments:
Post a Comment
Amanda Bates at The Craft Spa
I hope that you enjoyed this project.
Please use the current Stampin Rewards Host Code (shown at the top right hand side of this blog) when ordering through my on-line store to earn yourself an extra gift for SU! orders over £25 (excluding P&P)
Though if your SU! order is over £150 - then please don't use this code! Please claim your own Stampin' Rewards instead... You will still get a gift from me...!
Any such gifts are from me personally and will be posted separately (about 3 weeks later ) to your Stampin' Up! order... but PLEASE do NOT select NO CONTACT when checking out... as I then do not know who - or where- you are ...