Here is the rest of the batch of my January Blooms & Bliss Thank You cards... simple little Small Square Pop Out Z Fold cards which are really simple to make but that have really WOWed those that have seen or made them...
You may notice that this Island Indigo and Mint Macaron batch is smaller than the pinks batch shared yesterday - no guesses as to which colour range has been favourite around here!! I can confirm that there are none of the Indigo/Mint papers left!
Here is the original format... with the same piece of paper used on the back faces - first shared here...
And so the tutorial for you...
Edited to Add 30 Jan - see here for a useful addition & look inside the card
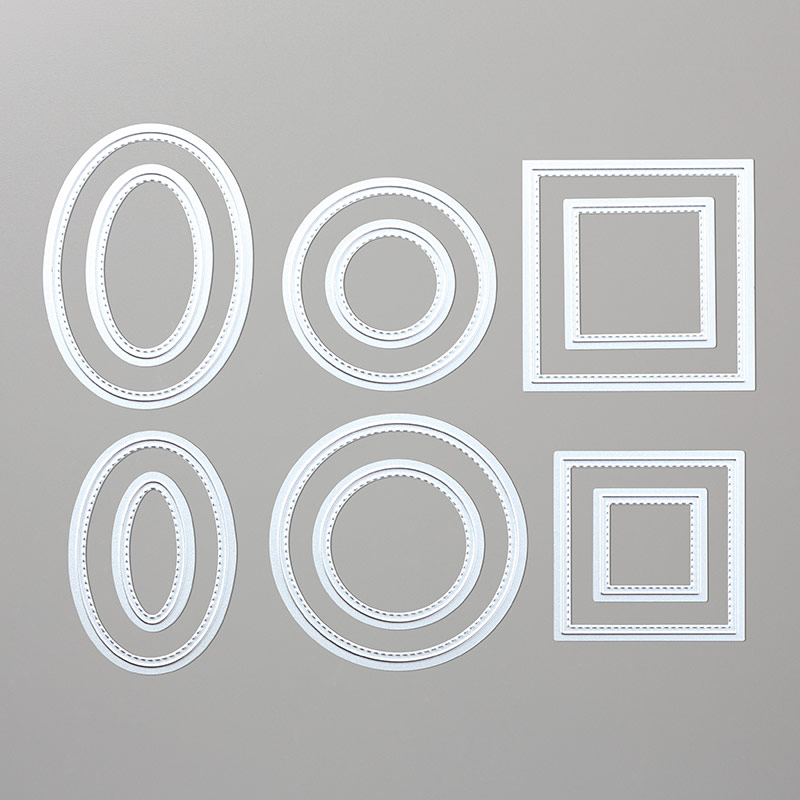
But before that... did I tell you that the Stitched Shape Framelits are now back in stock... I sincerely hope that they do not go out of stock again.... far too good!!

Metric Recipe - Small Square (10.5cm) Pop Out Z Fold Card
Cardstock 21 x 10.5cm
Paper 10cm Square (or alternatively 6.7x10cm, 3.3x 10cm - and ignore step 4)
Paper 3x10cm
Instructions
1. Place cardstock LANDSCAPE on trimmer
2. Score at 10.5cm & 3.5cm
3. Bone Fold into a Z Fold Card (Short as Mountain, Long/Centre as Valley)
4. Cut 10cm Square of paper at 6.7cm
5 Adhere 6.7cm (wider) paper to front left of card (TIP- right up to the RH score line) and narrower to inside back of card
6. Adhere 3 x 10cm paper to central section
7. Die cut the 2nd largest scalloped Layering Square
8. Die cut the largest Stitched Shapes square
9. Stamp & decorate as desired
10.Adhere all parts (TIP - think about where you want your glue - I quickly put a line down centre, then a line either side - see visual!)
And an extra card for you - use the largest Scalloped Layering Square diagonally.... and then you have this version.... as first shared here... Perfect scalloped square size (for the metric version) Stamped Whisper White panel is 7cm (2 3/4")
Recipe (US readers) - Small Square 4 1/4" Pop Out Z Fold Card
Cardstock 8 1/2 x 4 1/4"
Paper 4" Square (or alternatively 2 5/8" x 4", 1 3/8" x 4"- and ignore step 4)
Paper 1 1/4"x 4"
US Readers Instructions
1. Place cardstock LANDSCAPE on trimmer
2. Score at 4 1/4" & 2 3/4"
3. Bone Fold into a Z Fold Card (Short as Mountain, Long/Centre as Valley)
4. Cut 4" Square of paper at 2 5/8"
5 Adhere 2 5/8"(wider) paper to front left of card (TIP- right up to the RH score line) and narrower to inside back of card
6. Adhere 1 1/4"x 4" paper to central section
7-10 See above...


This is just beautiful! Thanks for the dimensions on how to make it, too. I just love your color combo...perfect!
ReplyDeleteThanks Tracy.... though the Blooms & Bliss papers have to take the credit for the colour combination.... the catalogue really does not give this colour scheme the justice it deserves!
Delete