Today I am going back to part of a class I ran in August... One of my lovely class ladies, Sarah treated her sister to a private Craft Spa card making session... and she did ever so well! We all had a really lovely time...
Luckily I decided to focus on 2 stamp sets... Dandelion Wishes and Lovely as a Tree... as these were the 2 sets that most attracted the eye of my complete beginner... so I really couldn't have planned that better if I had tried!! Especially as I was supposed to be using Varied Vases!!
But Lovely as a Tree is such a perfect set to teach complete newbies how to stamp... and then how to colour... etc etc etc... whilst also getting to create a lot of cards to take away...
Now this is the last of my posts that I am purposefully not sharing the cards that we are doing in our class today!!
So lots and lots of new makes to share with you for the next couple of weeks!!
And just in case you were wondering... the little additional details for the 4 cards shown are as follows... in the order that the individual cards appear! And I used either Shimmery White card or Watercolor Paper for the watercolouring
(1) Just as it comes...
(2) Add a bit of Watercolor Pencil [blue scribbled over trees.. and green just on horizon) and blend out around the trees and horizon using an Aquapainter..
(3) Add more Watercolor Pencil and more water... and blot out light clouds using a scrumpled up tissue...
(4) As (2) but with grey Watercolor Pencil on the horizon to create the wintery scene... along with the finishing touch of Wink of Stella for the (masked) glittery moon...
Pages
▼
Sunday, 30 September 2018
Saturday, 29 September 2018
Lovely Floral Amazing Congratulations
So what do you get when you combine this Lovely Floral card with this Amazing Congratulations card...
Well this is what Heidi made in class... and it is just so pretty I just had to share...
Colour combination of Highland Heather, Gorgeous Grape, Lemon Lime Twist, Soft Sea Foam and Granny Apple Green
Well this is what Heidi made in class... and it is just so pretty I just had to share...
Colour combination of Highland Heather, Gorgeous Grape, Lemon Lime Twist, Soft Sea Foam and Granny Apple Green
Friday, 28 September 2018
Signs of Santa Mr & Mrs card
Mr & Mrs Christmas of course... couldn't resist!
Mr & Mrs from Signs of Santa... greeting from Merry Christmas to All
All finished off with lashings of Dazzling Diamonds glitter...
PS I used the Masking Technique for this card...
The 3 images were stamped again onto Post It Notes (or equivalent!)... then fussy cut... then laid over the Memento Black stamped images on the card... and Pool Party ink lightly sponged over the top of the masks...
Just remember to include as much of the sticky part of the Post It note under the images you are going to cut out!
Thursday, 27 September 2018
Glittery Blue Winter Woods
Similar card to Monday's post... but with an important detail difference...
Well actually 2 differences... as I didn't add the Dashing Deer to this card...
Spot the glitter in the trees... the blue glitter!
Not quite as intended.. as the sponged Night of Navy ink soaked up through the tree branches and turned the Dazzling Diamonds glitter blue...
 So I quickly moved on to just putting the glitter on the horizon instead... as I am not one for coloured lights on trees!!!... hence the 2 similar cards!!
Remember to look at this post for the step by step pictorial for the trees and night sky background creation
Well actually 2 differences... as I didn't add the Dashing Deer to this card...
Spot the glitter in the trees... the blue glitter!
Not quite as intended.. as the sponged Night of Navy ink soaked up through the tree branches and turned the Dazzling Diamonds glitter blue...

Remember to look at this post for the step by step pictorial for the trees and night sky background creation
Wednesday, 26 September 2018
Santa's Workshop Class & Card Kit
Here are a few of my card designs from the EASIEST CHRISTMAS CARDS YOU EVER DID MAKE Class and/or Kit-At-Home...
Here is the Signs of Santa cards kit...
Kit available in the mail... or book yourself and some friends in for a class here in Great Ouseburn North Yorkshire (between York & Harrogate)
All for just £24 for a total of 20 finished cards with envelopes... or £32 for a 40 card and envelopes kit... P&P included...
Only available whilst supplies last... contact me by clicking here to reserve yours...
You will also need Tombow glue £3.75 and 3D foam Stampin Dimensionals £3.75 ... or equivalents....
Add £20 if you want the co-ordinating Signs of Santa stamp set, £30 for the Santa's Signpost dies (or £45 for the Stamps & Dies bundle) and £13 for the Santa's Workshop Speciality papers
And ... as an extra special Offer... free Enamel Shapes worth £6.50 if you order over £45s worth of Kit in total...
And finally note that you will be able to produce more cards from the kit as there will be lots of the Memories and More cards left over for you to design to your hearts content!
Here is the Signs of Santa cards kit...
20 cards & envelopes... a pack of Memories & More cards including glittered cards and stickers... and a ball of thick Garden Green & White Bakers Twine
Kit available in the mail... or book yourself and some friends in for a class here in Great Ouseburn North Yorkshire (between York & Harrogate)
All for just £24 for a total of 20 finished cards with envelopes... or £32 for a 40 card and envelopes kit... P&P included...
Only available whilst supplies last... contact me by clicking here to reserve yours...
You will also need Tombow glue £3.75 and 3D foam Stampin Dimensionals £3.75 ... or equivalents....
Add £20 if you want the co-ordinating Signs of Santa stamp set, £30 for the Santa's Signpost dies (or £45 for the Stamps & Dies bundle) and £13 for the Santa's Workshop Speciality papers
And ... as an extra special Offer... free Enamel Shapes worth £6.50 if you order over £45s worth of Kit in total...
And finally note that you will be able to produce more cards from the kit as there will be lots of the Memories and More cards left over for you to design to your hearts content!
Tuesday, 25 September 2018
Making Christmas Bright...
So did you miss me!!?
Projects and posts for the last week or so... had to be all made, photoed and typed up in advance so that I could go away and no-one would be any the wiser!! Complicated even further by the fact that my recent creations had to be kept under wraps so as to not spoil the "surprises" for a class next week!!
Hence why I have been able to share some makes of my lovely team members to help me ease the creation side of things!! Thanks so much ladies for your help in this regard...
But now I am back home... and back in the swing of creating for a living! So normal service will resume shortly...
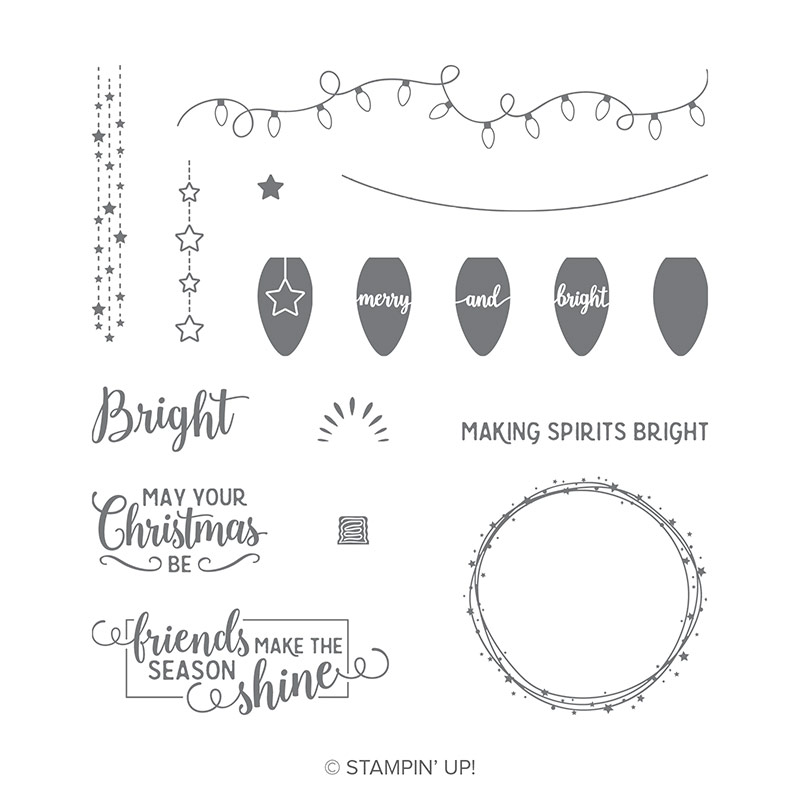
I am sharing another set of Kate's fabulous Autumn Winter catalogue launch cards today.... this time featuring the lovely Making Christmas Bright... Another 5 stunning cards Kate...
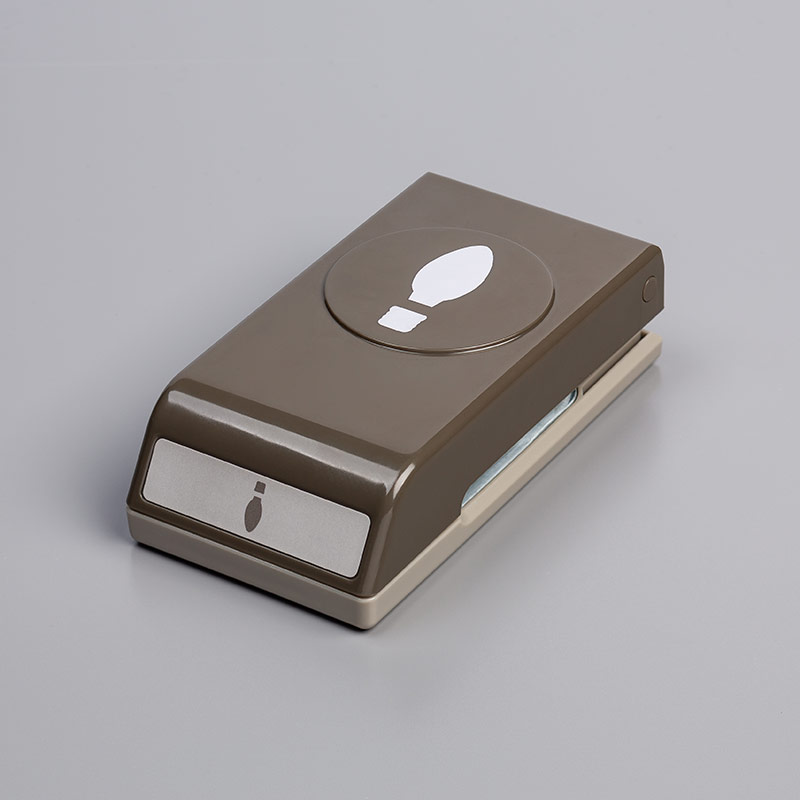
A great photopolymer stamp set with the Bulb Builder punch...
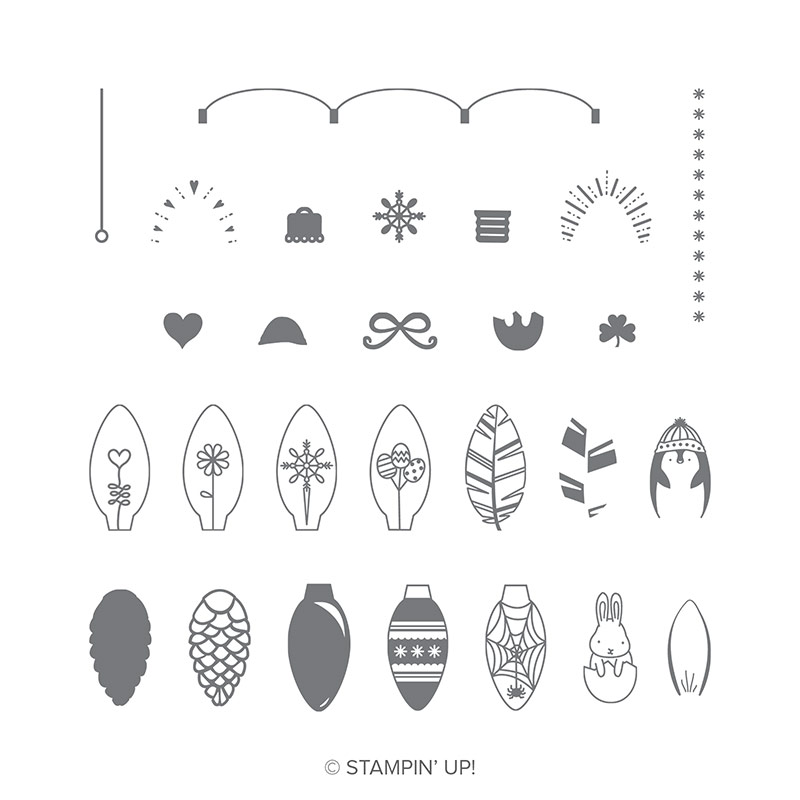
And the punch also co-ordinates with the stamp set, Making Every Day Bright... which I have to admit is on my favourites list!! This set is SO incredibly versatile... for all year round use...
Monday, 24 September 2018
Merry Monday - Winter Woods and Dashing Deer
Yes again.... well whilst they were still out.... though I do so need to make something with the other trees... particularly the lovely Silver Birch trio... so they will have to come out again... you have been warned!!
Very similar to this card I shared last week for my Training swap... but with an inset frame... (aka "out of the frame" as is my way!)
This time I temporarily stuck a 7cm square (2 3/4") white panel on top of my card blank... then did all my embossing and sponging... Click here for the step by step photo tutorial to create the background etc...
And then I mounted the centre square panel onto another 7.4cm (c 2 7/8") white panel to create the frame... and then stuck that onto the card blank front...
Sunday, 23 September 2018
Sunday Snowmen...
Boy are these cute!! There again I have always loved a snowman... and these don't disappoint...
So a 5 card collection for you today featuring Spirited Snowmen... available in Wood and Clear Mount...
All handmade by the lovely Kate in my team for her Autumn Winter catalogue launch event... thank you so much for letting me share Kate...
Love them all... but I particularly love the Man in a Jar (of Love) at the back...
Saturday, 22 September 2018
Saturday Santa...
Simple Gatefold card... featuring Signs of Santa... tied up with Poppy Parade textured ribbon...
Front mat stamped using the wonderful Buffalo Check background stamp... Just make sure you turn the stamp on its back... ink up... and then lay your piece of card on top and apply pressure to stamp...
I usually just use my flattened hand to do so... so I add a piece of paper over the top of the piece of card to protect my fingers... Though ( and not in this case) sometimes I use my brayer to apply the pressure over the image too... as that way I know I am getting good even pressure...
Thank you again Julie... another great card made at Training....
Friday, 21 September 2018
Happy Birthday to me again... Frosted Floral Pop Out Z Fold Card
Here is another beautiful creation sent for my birthday that I can share with you... and don't miss last week's post for the other birthday love & greetings I received...
This gorgeous card using the NEW Frosted Floral papers has been created by my lovely friend, fellow demonstrator and teamie Kate Martin...
I should have put these papers in my Top 10 of Everything else post last week... as they are fantastic... but my brain was pre-occupied with Christmas makes at the time... so these slipped through the net... as they are all gorgeous and can be used all year round... and are particularly lovely as they have a soft sheen...
And the Pop Out Z Fold card fold is one of my favourite folds over the years... for which I was originally inspired by a convention swap created by... yes you guessed it... Kate Martin...
You can find the tutorial for the 10.5cm Square version by clicking here... though this time Kate's is a larger 5" (12.5cm) Square version... so you need to cut your card 5" x 10" (12.5 x 25cm) and score when landscape at 1 5/8" (4.2cm) and 5" (12.5cm)
Again thank you so much Kate, Kate, Julie, Uma, Caroline & Cheryl ... I felt very special as I opened all the envelopes and revealed all these beauties...
And here are all my handmade cards together... though I do also have to thank everyone for the shop bought ones I received too...
This gorgeous card using the NEW Frosted Floral papers has been created by my lovely friend, fellow demonstrator and teamie Kate Martin...
I should have put these papers in my Top 10 of Everything else post last week... as they are fantastic... but my brain was pre-occupied with Christmas makes at the time... so these slipped through the net... as they are all gorgeous and can be used all year round... and are particularly lovely as they have a soft sheen...
Kate has also used the lovely Stitched Labels dies for the front feature...
You can find the tutorial for the 10.5cm Square version by clicking here... though this time Kate's is a larger 5" (12.5cm) Square version... so you need to cut your card 5" x 10" (12.5 x 25cm) and score when landscape at 1 5/8" (4.2cm) and 5" (12.5cm)
Again thank you so much Kate, Kate, Julie, Uma, Caroline & Cheryl ... I felt very special as I opened all the envelopes and revealed all these beauties...
And here are all my handmade cards together... though I do also have to thank everyone for the shop bought ones I received too...
Thursday, 20 September 2018
Bike Ride Shadow Box Frames for 3D Thursday
Had to share these Bike Ride Shadow Box Frames as they are just stunning... but Kate does not have a blog set up to share with you... so I am honoured she is letting me do so ....
These are a set and match to this birthday card I was sent by the lovely Kate... the first one is in a large 12" or so Box Frame... whereas the second one for Amelia is in a smaller 9" one.
And I love the use of the Playful Pennants banner... quick but magic finishing touch...
These are a set and match to this birthday card I was sent by the lovely Kate... the first one is in a large 12" or so Box Frame... whereas the second one for Amelia is in a smaller 9" one.
Which I am sharing again so you can see the close up picture that I took later of the lovely glittery Pattern Party Mask wall Kate created using Dazzling Diamonds glitter in the Embossing Paste... as well as a little Sahara Sand re-inker...
Thanks for letting me share these Kate...And I love the use of the Playful Pennants banner... quick but magic finishing touch...
Wednesday, 19 September 2018
Wednesday Wideo... Tin Tile Embossing folder
A newly released video for you today featuring the Tin Tile embossing folder and some cool things to do with it... Just click on the arrow below to play...
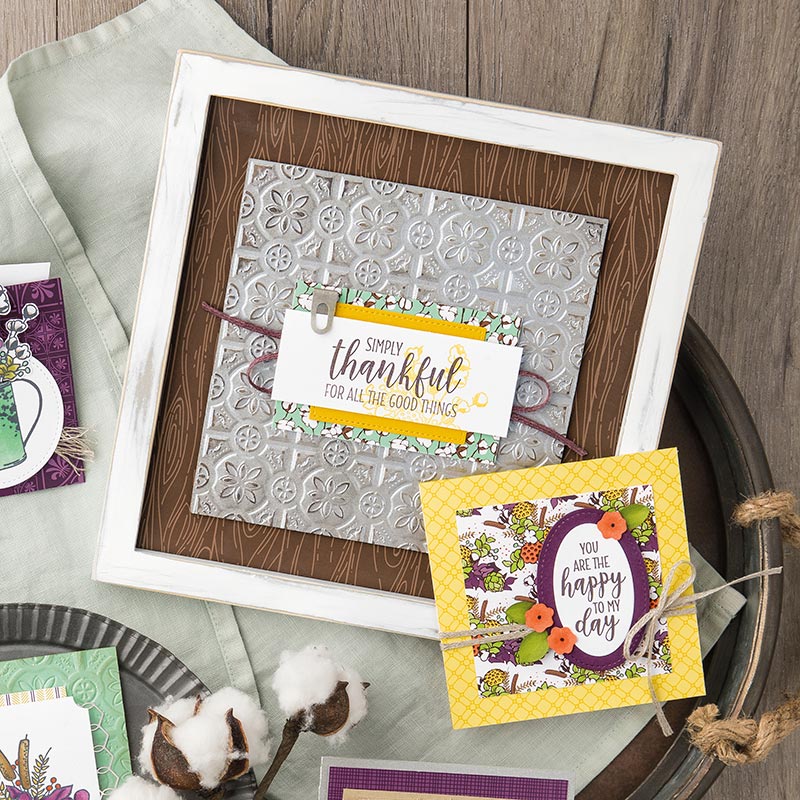
The Tin Tile Textured Impressions Embossing Folder was inspired by farmhouse trends and a throwback to vintage style. And it is certainly exciting many of my crafting ladies!

Tuesday, 18 September 2018
Top 20 Uses for Shimmer Paint....
As a team of demonstrators... we come together (via our Facebook team page) and share many a project - or business tip - or just something that has worked for us...
But we have just started something new... and that is to share ideas for using a particular product... This can be general - such as uses of embossing folders- or specific - such as project ideas for a particular stamp set...
So when it was my turn I decided to focus on the returning Shimmer Paints... which are in the Autumn Winter catalogues... as I do think these are little pots of delight!
I quickly write down all the uses I had for them last time around... and then I was off on Google for about an hour (or maybe 2) researching... and found some more great uses... until I had 20 of them!
I did mean to produce some of my own samples for every use I had on my list... but time was really not on my side so (in some cases) I used images from the demos blogs where I had landed! But unfortunately I forgot to make a note of where I was at the time!! But if they used watermarks on their photos... then you can see where I went... thank you ladies...
So now it is time to share my research with you... of 20 Top Uses and Other Tips on using Shimmer Paints...
Just click on the 4 pictures below to download the 4 pages of the pdf file...
Though do read on for a pictorial on Item 17... using Stampin Spots to make your own shimmery ink pad... in any colour....
Oh and don't forget to buy your Shimmer Paint... Live in the UK? Click here to go straight to the Shimmer Paint Online Store page... and/or here for the Mini Spritzers (2 in a pack) ... and here for Stampin Spots blank ink pads... but remember to add my current Host code 2MVEHBBW to get yourself a card & gift from me!
And whilst you are at it... do remember the Clearance Rack was only updated yesterday...
PS do feel free to email me for a copy of the full pdf document if you have any problems...
Coloured Shimmer Paint Ink Pad Tutorial
Mix on a Stampin Spot for more long term use. This is an experimental at this stage! My Spot has only been primed a few days…and is working fine... so I don’t know how long it will last/be usable yet!! But it will be great for class use… even if I need to re-ink everytime…
1. Pick up a Stampin Spot, Frost White Shimmer Paint and an ink refill ( I used Pool Party)
2. Add a drop of Shimmer Paint ... less is more!!
You will need to “push” the coloured ink into the felt later on… so don’t apply too much Shimmer Paint… which I did for this photo!!! As I had made my ink pad ... then realised I hadn't photoed the next 2 steps so I did it again... and oops!! It really sat on top!!!
3. Add a few drops of coloured ink
4. Mix it up ...
5. "Push down" into the felt of the Stampin Spot...
6. Ink up stamp as desired... and stamp....
7. Gorgeous shimmery Pool Party Beautiful Blizzard snowflakes... and I can't wait to use it with the background stamp...
Gorgeous!


