| If you’re looking for a simple way to add variety to your projects, start by sifting through the supplies you already have! With just a few sheets of cardstock and your trusty Paper Trimmer, you can easily create three unique designs to highlight stamps of every size from your favourite set. |
| For all of the cards above, we started with: |
|
| Helicopter Card No trimming needed! Stamp on the Whisper White Cardstock, use Stampin’ Seal to adhere the Designer Series Paper to the Smoky Slate card base, then attach the stamped cardstock using Stampin’ Dimensionals. |
| Car Card Cut the Whisper White Cardstock into four squares measuring 1-7/8" x 1-7/8" (4.8 x 4.8 cm) and stamp. Attach the Designer Series Paper to the Smoky Slate card base with Stampin’ Seal, then adhere the squares to the Designer Series Paper using Stampin’ Dimensionals. |
| Train Card Trim the Whisper White Cardstock into three strips measuring 3-3/4" x 1-1/4" (9.5 x 3.2 cm) and stamp. Attach the Designer Series Paper to the Smoky Slate cardstock with Stampin’ Seal, then adhere the stamped strips to the Designer Series Paper using Dimensionals. |
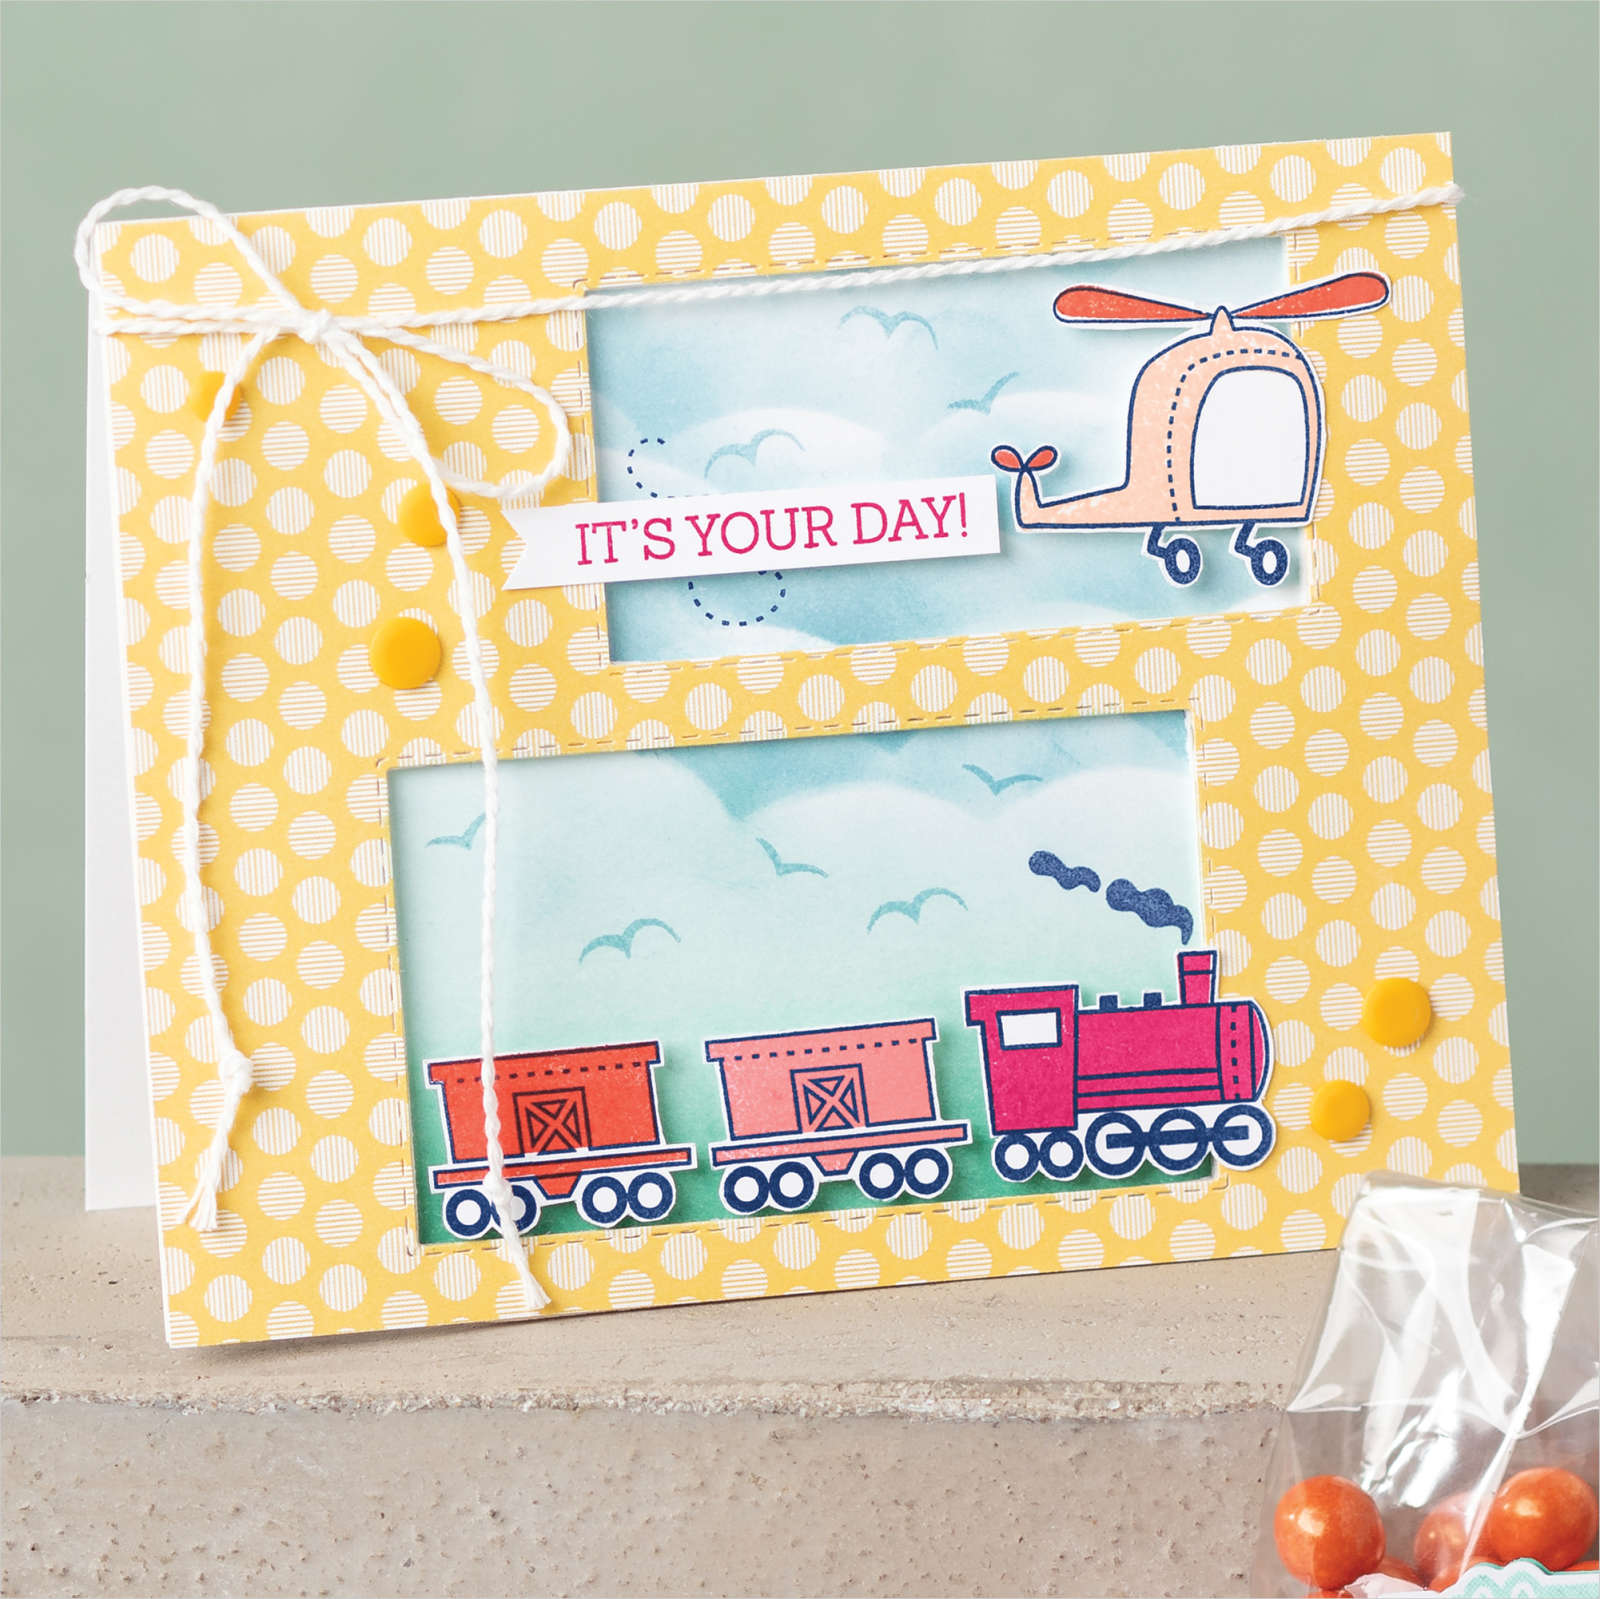
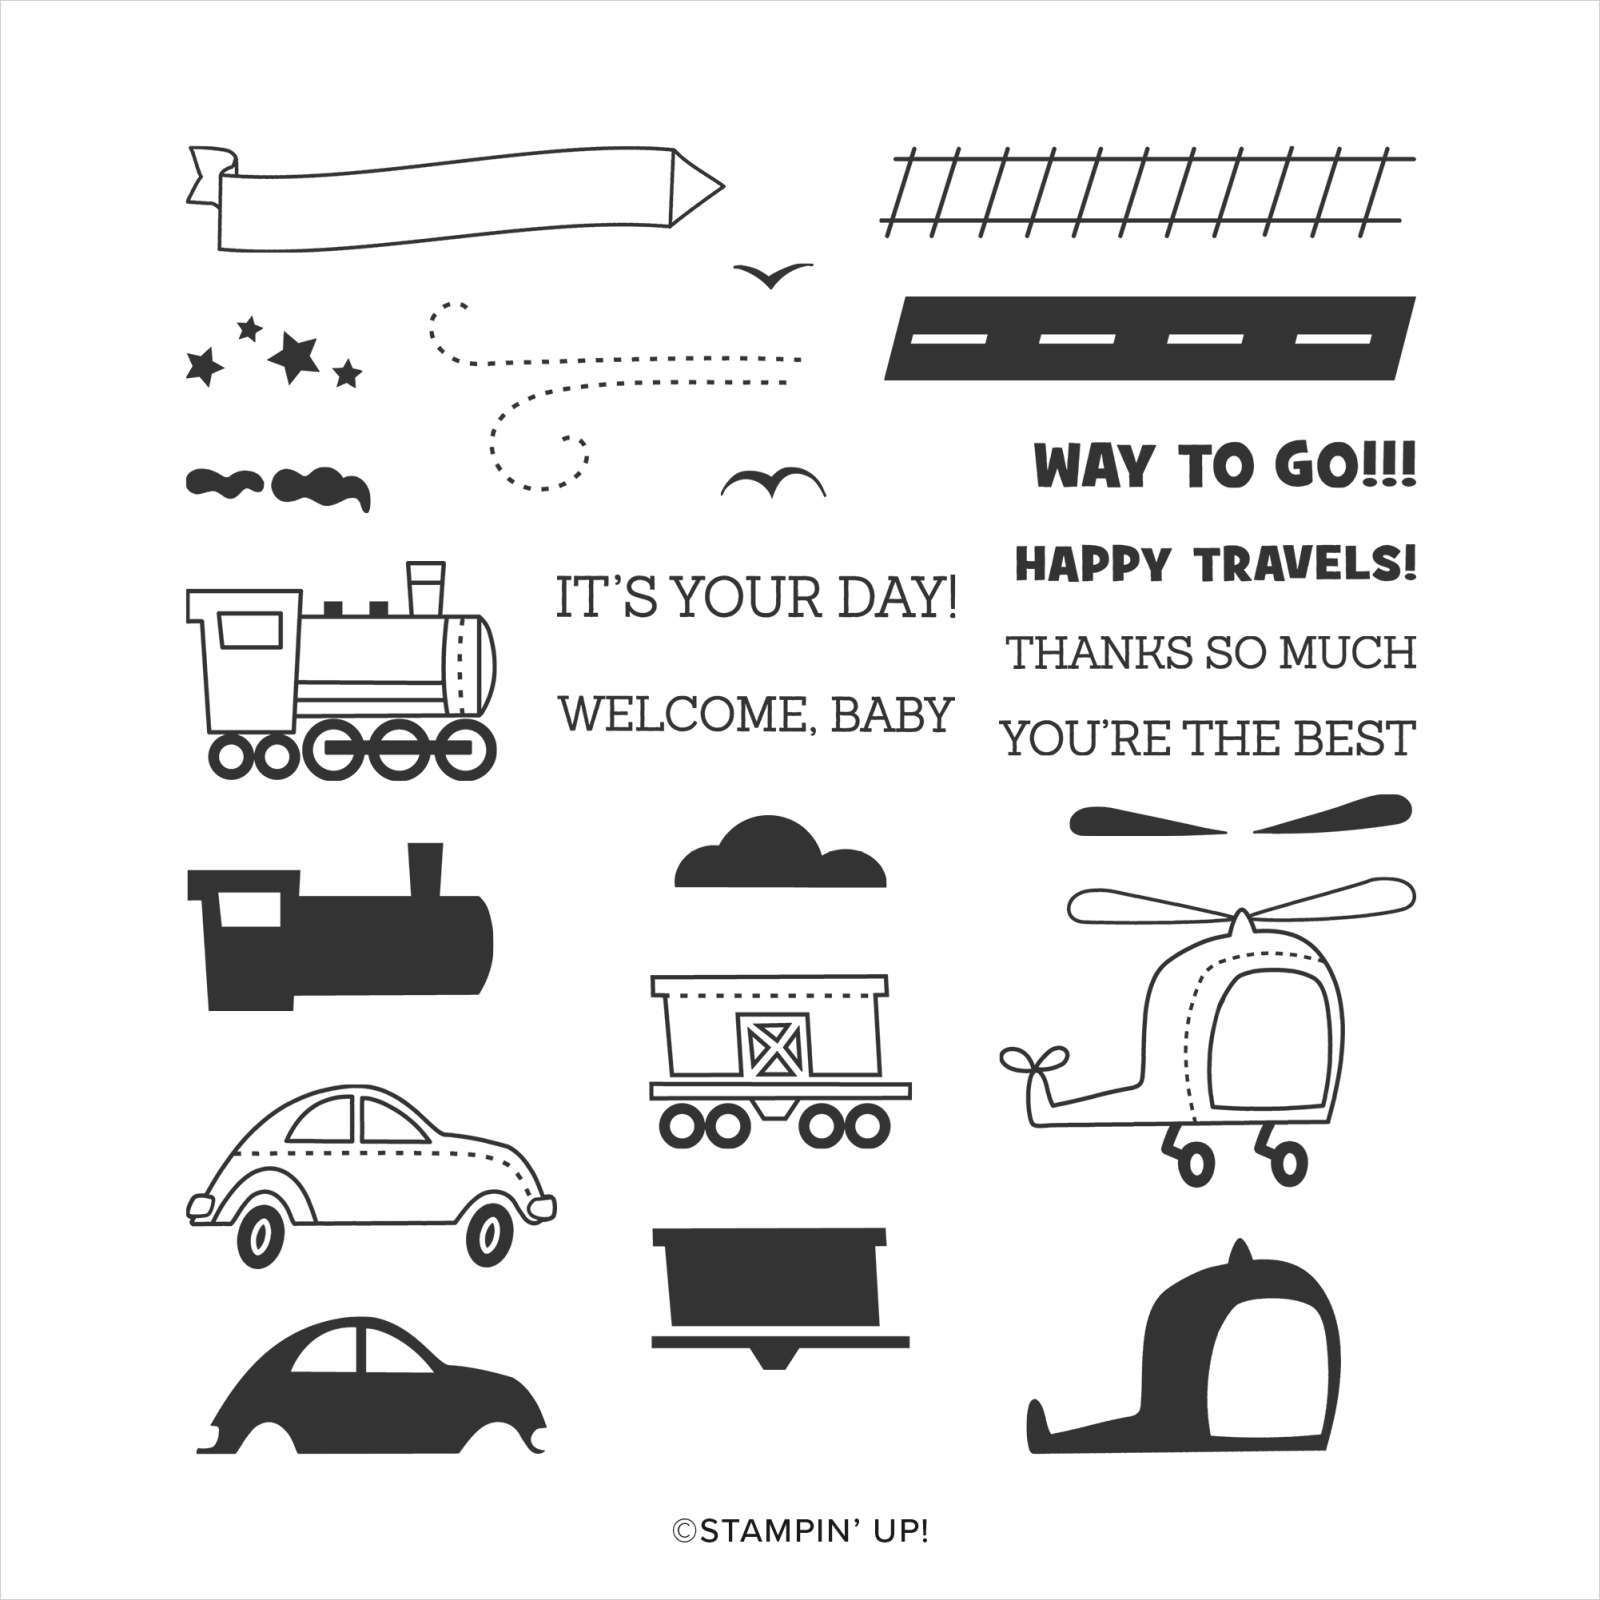
Great to wish your friends happy travels with this whimsical, transportation-themed stamp set. Great for children or adults. Personally I love the images in the Moving Along stamp set... So will soon be part of my collection... as trains and VW Beetles definitely figure large in my family's life!
And here's another project sample for you... showcasing the wonderful two step stamping aspect of this stamp set to create depth and dimension with your images ... stamp the silhouette image in the lightest colour of ink. Then stamp the detailed images over the top in darker colours.
 |
Thursday, 18 June 2020
Moving Along 4 ways...
Subscribe to:
Post Comments (Atom)


No comments:
Post a Comment