Monday 30 September 2019

Merry Monday - Brightly Gleaming Triangular Tri Fold Card


An interesting Fancy Fold card we made using the Brightly Gleaming papers and Christmas Gleaming stamps and punches at Quarterly Training a few weeks ago... 

But before I start... promotion finishing today.... The Paper Sale - Buy 4 Pay for 3 - click here for more details... Offer ends 10.30pm today.

So back to the Triangular Tri Fold Card... which opens like so....
Click here for a video tutorial by Julie...

Sunday 29 September 2019

Sunday Suite - Toile Tidings

So introducing the Toile Tidings Suite... perfectly formed for our Christmas crafts...

A stunning suite in traditional colours for you... including large Gift Wrap sheets ... and the papers having reds on the one side and greens on the other... clever!
And apologies as I will have to be a bit briefer today... as unfortunately I cut my thumb (yes again! I really do need a Prep Cook in my kitchen!!!) and so I am a bit hampered for a day or two! I didn't realise how often I used my thumb when typing!!!

We have the Suite Bundle for those of you that love it all... one click and it is all yours!
Comprising of the Tidings All Around Bundle... fantastic for you wreath lovers... a "ready made as it comes" stamp and die cut wreath...  and a "build a wreath with the spray stamp" as well! Or buy the stamps and dies separately without that 10% bundle discount ...
With the Toile Christmas Bundle... Again you can buy the stamps and dies separately without the 10% bundle discount
The Toile Tidings Paper Pack...scroll to the end to see each of the paper patterns included...
The beautiful Toile Tidings Gift Wrap... 2 of the paper patterns.. in Real Red... 24" x 36" (61 x 91cm)
The Glitter Enamel Dots...
The Real Red 1"  Ruched Ribbon...
And last but not least... the Garden Green 3/8" Double Stitched Ribbon
Love this Suite?.. Then just click here to "pick and mix" and place an order in the Online Store... or here to buy it all in one go...

And ... as I can't leave you without some inspiring project samples.... here are a few more of those too...


Finishing off with each of those paper patterns... 12"x12" pieces.. Real Red on the one side with the same pattern in Garden Green on the other ...


Love this Suite?.. Then just click here to "pick and mix" and place an order in the Online Store... or here to buy it all in one go...


Saturday 28 September 2019

Simple for Saturday... Garden Lane Faux Double Point

So time for a remake of the Faux (or Deconstructed) Double Point Card in the Garden Lane papers for my classes this week...

But before I start... Live in the UK? Want crafty supplies at discount? Have a large Stampin' Up! Wish List?

Then I would love it if you joined my team... as I have a very special place for you... and so a very special gift for you.... Click here for more details and/or please contact me via this email link...  No future pressures (unless you want them!) ... and Hobby Demonstrators truly welcome...
And so back to my card... now I have to admit that this is definitely the favourite of  the Double Point Cards... as  it is simpler... and quick... and you don't use much paper... so it is a good value card too!

Click here for the Tutorial... 

Other Stampin' Up! products used today include... 
All of which does make for a very quick card... 

Friday 27 September 2019

Double Point Card - Garden Lane

Another remake for my Garden Lane class this week... a Double Point Card (the stuck down version)
More details on the Magnolia Lane version of the Card here... and there is a link to a tutorial here... 

I just stuck down those folded papers/sides under the Nested Label greeting... which is popped up on 3D foam Stampin Dimensionals...
And added a couple of stamped and punched So Saffron Daisy Lane daisies and a couple of Pear Pizzazz punched leaves... 
And greeting from Sorry for Everything... which is such a useful greeting set for those things that just need to be said when we least want to... 

Thursday 26 September 2019

Garden Lane Gap Card

Back to another Gap Card...
This time in the Garden Lane papers... which are one of the packs on the Buy 3 Get a Fourth pack for Free paper promotion running at the moment...
And these papers are worth checking out... as they are suitable for virtually everyone and every occasion in your life... and can be simple dressed with flowers and leaves as and when required!
Click here for the card tutorial... with these Garden Lane papers pictured... though I didn't make the Scrap Card this time as these papers are 12x12 so I could get another card or two from the strip instead!
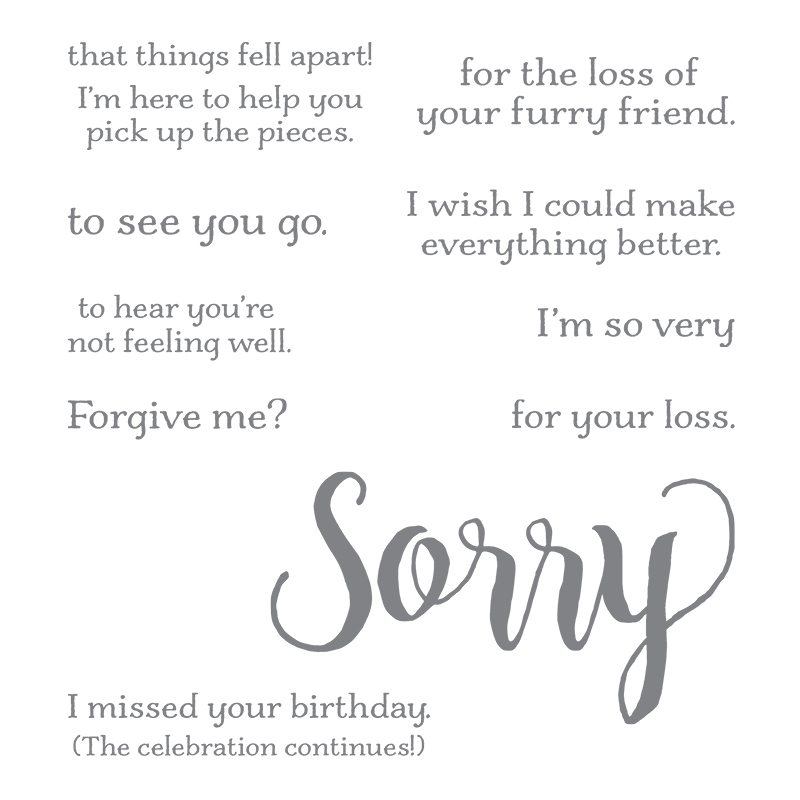
Other products used are Butterfly Wishes, Daisy Lane & Medium Daisy Punch, Healing Hugs, Leaf Punch, Floral Centres and Stitched Rectangle dies...

Wednesday 25 September 2019

Wednesday Wideo - Tags Tags Tags

Love these - Tags Tags Tags for Christmas, Halloween and Valentines too... This is why we have to say it three times
And the Trio of Tags dies cut 3 at at time too!! ! What a time saver....
Click here for the product video... to see a lot more...

And don't forget the Tags Tags Tags bundle... with 10% off the whole...

Tuesday 24 September 2019

Tuesday Tutorial - Feels Like Frost Gap & Scrap cards

Another Feels Like Frost & Frosted Foliage card for you... check out the shiny foiled side of these papers!

But be warned... as I am loving this card! It is just a perfect format with these beautiful Frosted Frames die cuts...
And as promised... one tutorial... but for 2 cards...

So I am calling this a "Gap card"... as
(1) I just think that just sums it up...

And (2) Gap just happens to rhyme with Scrap...

Which is what I called this co-ordinating card I shared yesterday... as that is just created with the paper scrap left from my Gap card...
Though I know there are other names for this card fold out there... such as Split Panel card ... Floating Card (though the more recent  Floating Die Cut Frame card or abbreviated Floating Frame card or Floating card or has kind of taken over for that name)... as well as Gap card... 

And so onto the Tutorial for you... photos from a remake going on behind the scenes for my non Christmas classes this week! Hence the change in colours and papers... and the front panel! Sorry for any confusion that causes!!! But I thought best to share with photos than without...
Craft Spa Recipe 
Gap Card - Seaside Spray 10.5 x 24.8cm
Scrap Card - Thick Whisper White A4L x 10.5cm (scored LANDSCAPE at 14.8cm)
Papers 10 x 4.5cm (x2) and Scrap
Seaside Spray 6.6 x 7.4cm (x2)
(D) (Fancy Frame)Whisper White 10.4 x 14.8cm 
(S, D) (Stitched Frame)Thick Whisper White 7 x 8cm (x2)
(D) (Snowflakes) 3.5 X 6CM Clear Glimmer, Seaside Spray, Silver Foil
(D) (Leaves) Silver Foil  
where (D) is for die cutting and (S) is for stamping 

Craft Spa Tutorial
1.       Large panel LANDSCAPE

2.       Cut at 5cm

3.       Move along and Score at 5cm

4.       Bone Fold

5.       Adhere papers

6.       Put temporary glue on back of small panel

7.       Line up at bottom of main card & temporarily adhere TIP – use grid paper to aid your eye in getting things all straight
8.       Thinking about where you need your glue, apply glue to top and bottom of fancy die cut frame ( or matted stitched rectangle as in this example!)
TIP – I tend to just use a finger or thumb to eyeball where I don’t want my glue to go…but you can mark the back of the card as shown here…
9.       Adhere the frame
10.   Decorate as required
TIP – I used a ½” Circle Punch (now retired) to trim the 4 corners of my Seaside Spray mat to match the corners of the die cut greeting frame)
11. Rub off the temporary glue (I just used my finger... but the retired Adhesive Remover works a treat too!
12.  Adhere the left over piece of paper to the front of a standard A6 card blank… and decorate as required… 
And here are the 2 cards together... 
And apologies to my American subscribers... I will be back with measurements for an A2 version sometime soon... I had an unexpected but lovely visitor today... so the time just went...