Showing posts with label Bauble. Show all posts

Friday, 25 October 2019

So Many Stitched Stars in my Eyes #2

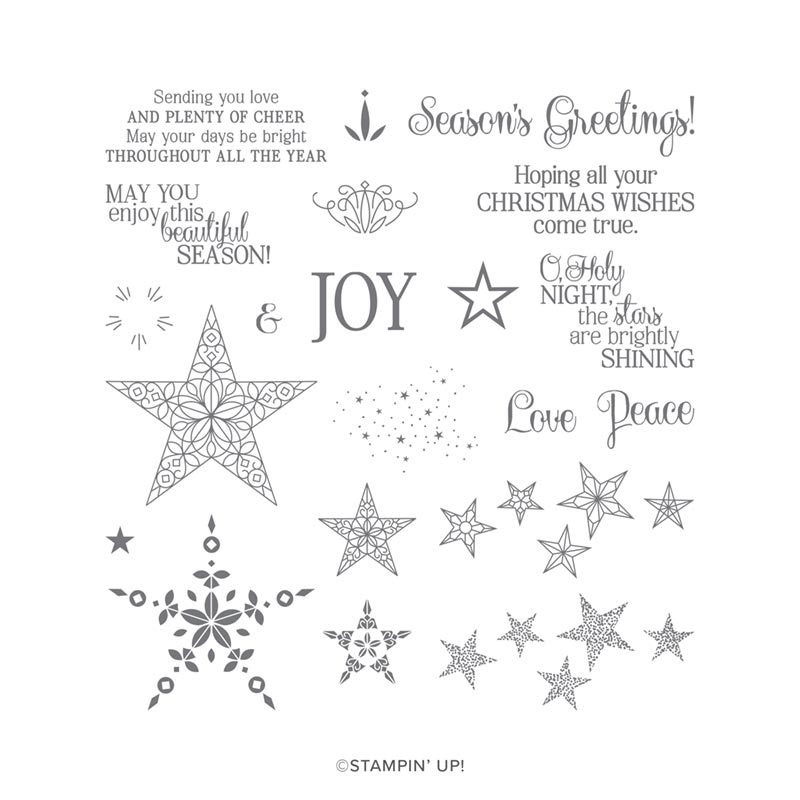
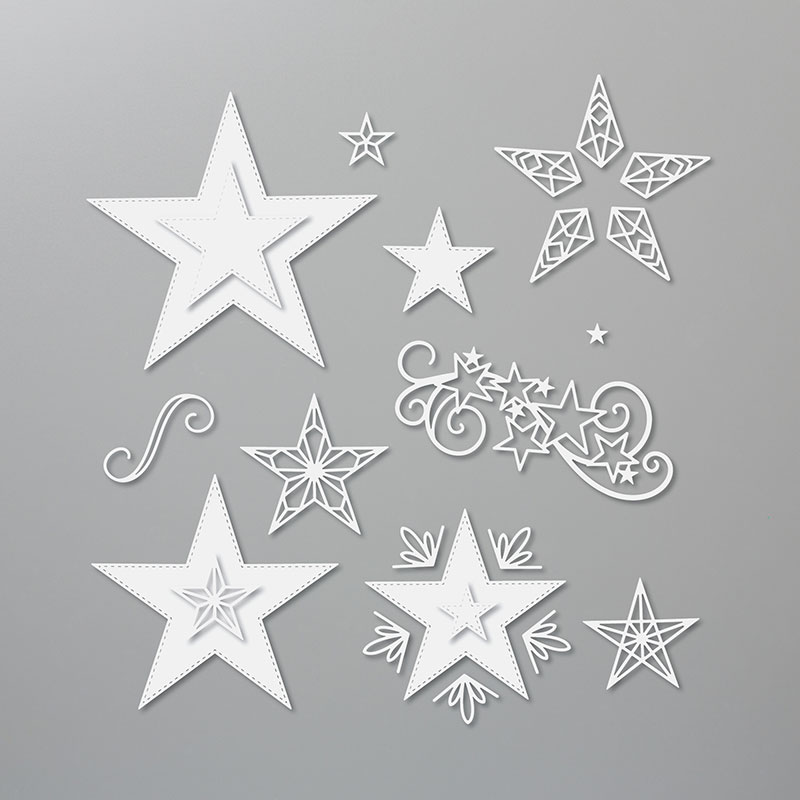
Ok... so the So Many Stars stamps and Stitched Stars dies are officially my favourite Bundle in the Autumn Winter Catalogue... and being honest with you... I wasn't even going to buy them!!!

But as they are so great for all year round use...  and can be used for virtually every occasion... it did seem rather daft not to get them!!!
And I am SO glad I did... This is like a bumper set of dies and stamps... there are so many... and there is so much that you can do with them!!

So the world is your oyster as they say... (or should that read galaxy or cosmos or something!)
So I have a few starry shares over the next few weeks for you... as once I started I couldn't stop!

Colour combination a combination of everyone's favourite colour in these parts (Pretty Peacock) and colours that weren't already out for classes... as I had to squeeze all my star stamps in just one stamping station! So Gray Granite, Bermuda Bay, Coastal Cabana and Pool Party came to the rescue...
Though I hope to squeeze in some time for some more with other colour combinations now that this weeks classes are out of the way!!

But just keeping it simple for now... this card being a CASE of a CASE of a CASE of a card that I made over 15 years ago (probably with Caroline or Jayne or Debbie) when I first started card making! And one that has never left my mind!! In fact I think the first variant of this was my first hand-made christmas card that I sent out to everyone all those years ago...
But it had to be done... as that stitched aperture for the star is just ... gorgeous!

The "glitter bauble" being just a punched silver glimmer 1" circle popped behind the aperture... Simples!
And if you want more ideas along these lines... just Google (or search on Pinterest) "christmas star card" ... and you will see lots more....

Thursday, 17 October 2019

Brightly Gleaming Bauble Gap Card

Oops forgot to schedule for the right time of day! So a late post today...

So where there is one... there is usually two...

I shared the simple Brightly Gleaming Stitched Star Portrait Gap Card here on Monday... and now you have the Landscape Gap Card one...
Complete with greetings, baubles and holly care of the co-ordinating stamp & punch set Christmas Gleaming... and a Copper Foil die cut Christmas using the Merry Christmas dies...

Bauble a 3D one by stamping and punching 3 baubles... scoring down the centre of each and valley folding... then sticking one to each side of each other...

And click here for the A6 Landscape Gap Card Tutorial...


Thursday, 3 October 2019

3D Thursday - Brightly Gleaming Shadow Box Frame

Sharing the last of the Quarterly Team Training projects using the Brightly Gleaming suite of products...

And this one was definitely not the least!
Designed by Monica ...

Something very special and 3D for our Christmas home decor this year...
Click here for more details on the Suite... or here for the products in the Online Store

And scroll back to Monday and Tuesday this week for the Brightly Gleaming cards we also made at Training...

Tuesday, 1 October 2019

Tuesday Trio - Christmas Gleaming

Sharing the other cards we made at our last Quarterly Training...

These being designed by the lovely Monica Gale... as we had a shared Jems & Passionettes teams event this time round... which was lovely as we made new friends as well as meeting up with old ones too...

Three cards designed to suit the 3 types of crafters we have attending our events...

One for the Beginner Crafter... or as I find more at my events... the Clean & Simple Crafter
One for the Casual Crafter... or the "I like it to look special but I don't want it take too long" Crafter
The right hand bauble being stamped and the berries being coloured using the new Delicata Copper ink pad... 
And finally one for the "avid"... or the "I want it Fancy and Special" Crafter... with copper embossed baubles, ribbon and star embellishments too...
Now which type of crafter are you?

Oh and note the change from the designed blue berries on the CAS (first) card to copper ones... it just had to be done as I finished off my cards....  as then I was armed with my metallic Copper ink pad too...

And so here are the 4 cards we made at Training... the Fancy Fold on the top right being shared yesterday...

Monday, 30 September 2019

Merry Monday - Brightly Gleaming Triangular Tri Fold Card


An interesting Fancy Fold card we made using the Brightly Gleaming papers and Christmas Gleaming stamps and punches at Quarterly Training a few weeks ago... 

But before I start... promotion finishing today.... The Paper Sale - Buy 4 Pay for 3 - click here for more details... Offer ends 10.30pm today.

So back to the Triangular Tri Fold Card... which opens like so....
Click here for a video tutorial by Julie...

Saturday, 15 December 2018

Tags & Tidings... the other 3 tags...

Oops... so sorry... forgot to post today until now...

So a very quick share of the other 3 tags I made with the Tags & Tidings bundle... the other tags being shared here...

One snowglobe tag featuring Winter Woods and Dashing Deer... this tag label is perfectly shaped for a snowglobe!

And 2 bauble tags care of Stitched Shapes dies...


Saturday, 2 December 2017

Honeycomb Bauble Ornamernt for Christmas Decorations Blog Hop...

Hello and welcome to the Jems monthly Blog Hop from Amanda Bates at The Craft Spa ... featuring Christmas Decorations... so you are in for some lovely and inspiring projects when you hop around today...
I for one have already shared my main Christmas Decorations class projects already... so I thought I would share a new and simpler project ... but also give you a quick recap of the larger class Christmas Decorations projects... which have duly filled my house with very large boxes of the component parts!!

So first up...  I have a Merry Music honeycomb bauble or ornament to share... these are such fun to make!
Visit the lovely and talented Kim Oliver here for a step by step to help you along your way... though I have done a couple of  things differently with mine... including punching my circles for speed....

I coloured my Mini Ornament with the Dark Cherry Cobbler Stampin Blends pen as shown here... though crafter beware... as mine is lovely and solid... but my ladies ended up with a partially coloured ornament for some reason as it "split" (we reckoned maybe greasy hands on the ornament as it was an after lunch project!)
And before final assembly... I also coloured the edges with the same pen... added Versamark...and chucked red glitter embossing powder (retired) all over and heated it... subtle enough to not show in these photos... but lovely and glittery...

And I have to admit that I loved these so much I ended up with a list of about 20 other ideas to try... but sadly that list will have to carryover to next year!
And here are my "Golden Balls" or "Red Balls" Topiary... and Christmas Lantern that are being made in classes this month... just click on the photo to go to the original post...
Though I really must photograph and share my updated Christmas Lantern... I finally got the desired lights which changed a couple of things in the details... but more on that another day...
Thank you for visiting me today... and now it is time to pass you onto the lovely Samantha... just click on the arrow pic below to go straight there...


Sunday, 29 October 2017

Red... and yellow... and green... and blue

Well just red in my case today... but yours can be any colour you like! Well once you have your Stampin Blends safely in your hands...

So this made me very happy this week... and I couldn't wait to share this Top Tip with you... the project will have to wait until another day!

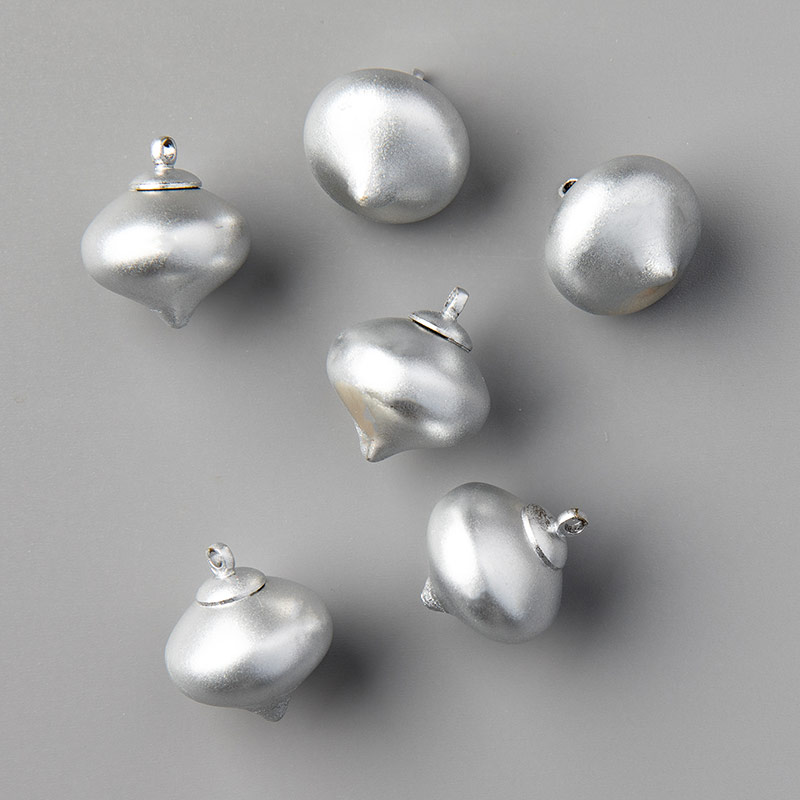
I needed a red bauble for a project... and I only had the silver Mini Ornaments to hand...
Mini Ornaments
Perfect size... love them... but definitely not the right colour!! 

And then I thought...why not! So I grabbed my dark Cherry Cobbler Stampin Blend marker and coloured them easy peasy... and it has not shifted since! And a little tip... easier with the brush end...

So what colour will you make yours??

Stampin Blends alcohol markers coming very soon... just 48 hours to wait! Remember to click here to email me for the leaflet and details on my Stampin Blends club... I promise you won't be disappointed...

Monday, 24 July 2017

Carols of Christmas #2

Continuing my little series of makes using the soon to be released Carols of Christmas and Card Front Builder dies... Click here for Part One of the series (which was posted out of sync in late evening yesterday!) and for the details on this set (as well as how to get your hands on these now)

Loving these large words and sweet little baubles.... the greeting size being perfect for a Stitched Shapes square frame...
Set on  a Small Square Double Z Joy Fold card... click here for the Tutorial for that...

Featuring the Delightful Daisy papers again for the front and back... with a small bit of Fresh Florals in the centre...
Colours used - Tranquil Tide, Pool Party, Powder Pink & Smoky Slate...

And a quick but simple tip for you.... but first I have to say... how did I live without these Mini Stampin Dimensionals!!  So stamp your trio of baubles (in Smoky Slate here)... then stick the mini dimensional onto the flat bauble... and then stick your die cut baubles on top.... saves lots of time and agro!
Lovely simple little Fancy Fold card...


Sunday, 3 January 2016

Before you recycle your Christmas cards! Determine your Style!?

Something a bit different today... but hopefully something that will be interesting (about me)... and thought provoking (for you)...

And for those of you that are not sure... maybe a way to define your crafting style(s)!? So I am throwing down a New Year challenge here for you...

So today was the day for clearing away my christmas decorations...and making my house look really bare...!  And then all the christmas cards we were sent were taken down...

And then I had a thought as I carried them to the recycling bin!

I sorted through them... allowing myself to pick just 12ish that I most liked... and here they are....
So what do these tell me about my crafting style... and there probably won't be any surprises here for my long term blog followers... I think these kind of some me up!

I like lots of white space!

I like a clean & simple style!

I like large square cards!

I like things to be fairly monotone - silver/gold/black with maybe a splash of red!

I like lots of glitter & shine on christmas cards!
I like trees!
I like wreaths!
I like houses & churches!
I like big words!
I like snowflakes and baubles!
Just one thing of my crafting style that isn't evident... no fancy folds!! But that is only as I wasn't sent any!

Though I have to admit that I purposely didn't select from my hand made cards... as that is just too hard... because (1) I would always select them to be in my Top 12 cards as they are always the best cards I receive! (2) I so appreciate the work that has gone into them so it would be impossible not to select them (3) Many are made with the sender knowing what I like in any case! (4) Many are from my blog followers!

Now I found this so fascinating that I allowed my self to choose another 12ish that hadn't made the original cut... and I learnt more....
I really like trees!! As long as they are covered in glitter!
I rather like cute Rudolphs! And reindeer in general! Even the stocking is covered in reindeer...
I rather like nordic/kraft & red
So I can hear you asking if there were any surprises!? I think the liking of the wreaths so much and the reindeer was probably the biggest surprise for me.... and that I didn't receive any cards with doors or windows on!!!

So hows about you??? What is your style...?? I would love to hear back from anyone that conducts this experiment for themselves.... or am I just too daft!!!


Wednesday, 2 December 2015

Cozy Christmas Bauble card


And here is another of our favourites from my Cozy Christmas class... the Bauble card...

But first - don't forget to check out the new week's Weekly Deals...
 
 Greeting stamped in Real Red on a bit of music paper from the Home For Christmas paper pack...
Circle die-cut from the centre of the top mat...

All stuck together with a bit of dressing from the Real Red Cotton Ribbon bow and a wooden snowflake element to finish...