Showing posts with label Christmas Gleaming. Show all posts

Friday, 15 November 2019

Double Gap Stitched Stars Card for Fun Fold Friday


Sometime the simplest of ideas for a card fold work... and sometimes they don't so much... but I will let you decide which way this card fold went... 
So for today... whilst I keep you guessing... 

I would love to hear your thoughts... and any guesses as to how this Double Gap Card is made... and what about it made me 'laugh out very loud" ...

You can use comments below OR the feedback form down the right hand side (or email me
And in the meantime... I will point you this way to see more information on the Stitched Stars parts and decoration... 

Thursday, 7 November 2019

Simplest Smarties Treat Holder ever!!

 
And now for something completely different...

So I picked these little Smarties eMoji beauties up from somewhere on a half price offer... maybe Sainsburys?... and thought that I could decorate these really simply for one of our Christmas tables this year! As time will be of the essence more than ever this year!
Just simple hand cut holly sprigs to decorate all those "Smarties hats"... care of Christmas Gleaming...

Too cute!

But now I SO wish I had bought more of these... for our Boxing Day meet up with another (somewhat larger) family! Though actually I have just thought up a cunning plan for those!!
Otherwise my Christmas Treat Holder creative plans have gone rubbish this week... as I ...
(A) couldn't pick up ribbons & embellishments (from my low shelf) to finish them off...
(B) just needed a stamp or ink pad or something that is already in a box ready for classes next week... and yup! Boxes on the floor!!
(C) have now partially moved many things around... so I now don't know where anything is!!
(D) keep dropping things onto the floor... and then have had to wait till DH gets in to pick them up for me!

Though today I finally remembered my grabbers (which I had put on the back of a door for safe keeping...which of course means that I had forgotten them!!) Doh!
But I may have to admit defeat from the weekend.... and resort to Plan C for blog posts for a little while... as I have lots of other great projects made by fellow friends and demos around the UK... and it does seem a shame not to share those with you too... as they are such a talented crowd!


Wednesday, 6 November 2019

Stitched Stars

So I thought it high time those 5 little Stitched Stars dies were used...

So here you go... one way to use them...
Each die being lined up with the stitching at each "corner" and stuck down with Low Tack masking tape... die cut...and then the die cut pieces being popped back into the holes...

And 4 of them would be great for corners too...
Finished off with another Stitched Stars die cut, a Christmas Gleaming hand cut greeting and then finally... a silver Designer Element... 

Monday, 28 October 2019

Brightly Gleaming Stitched Stars Gap Card

This may seem familiar... but different...

Turn the prepped piece of paper over at a Craft Spa class... and this is what you get... shiny, bright and warm for the season!!  Everyone loves this piece of paper!!! Both sides...
And... seeing as I forgot it the first time round... the link for the tutorial for this card is here... just turn it round so that the card is portrait!

Talking of the Brightly Gleaming papers... which are unorderable as demand is so high... More are due in this week (maybe even today) so head on over to the product page in my Online Store by clicking here ... Add to Cart... and a message will pop up asking you to enter your email address to be notified when the stock comes in... and then you can order when that email hits your inbox... but please don't delay...
And whilst you are at it... same goes for the Feels Like Frost papers which you can find by clicking here ...

Click here to see the original Stitched Star Gap Card with further details...

Oh... and anyone else for the Pretty Peacock kit!!?
Edited to Add:- Thank you so much for all your messages checking how I am! So the op went fine on Saturday with no complications... I was back home within 6 hours! And recovery so far so good! I will have to have 1-2 weeks taking it easy (which I will find somewhat difficult!!!) but the bloggio is already organised in advance as they say!!! Fret not!!!!


Thursday, 24 October 2019

Christmas Gleaming Ornaments #2 - Tutorial and The Table Light Decoration

So whilst I was making my Christmas Gleaming ornament in the coppers to co-ordinate with my own tree...  click here to see that one...

I realised that embossing on foil was a dodgy process... Firstly as it blisters if you don't heat and move quickly enough... and secondly as the glue doesn't dry so quickly... so it makes the assembly of those little baubles much more difficult than it needs to be!!!
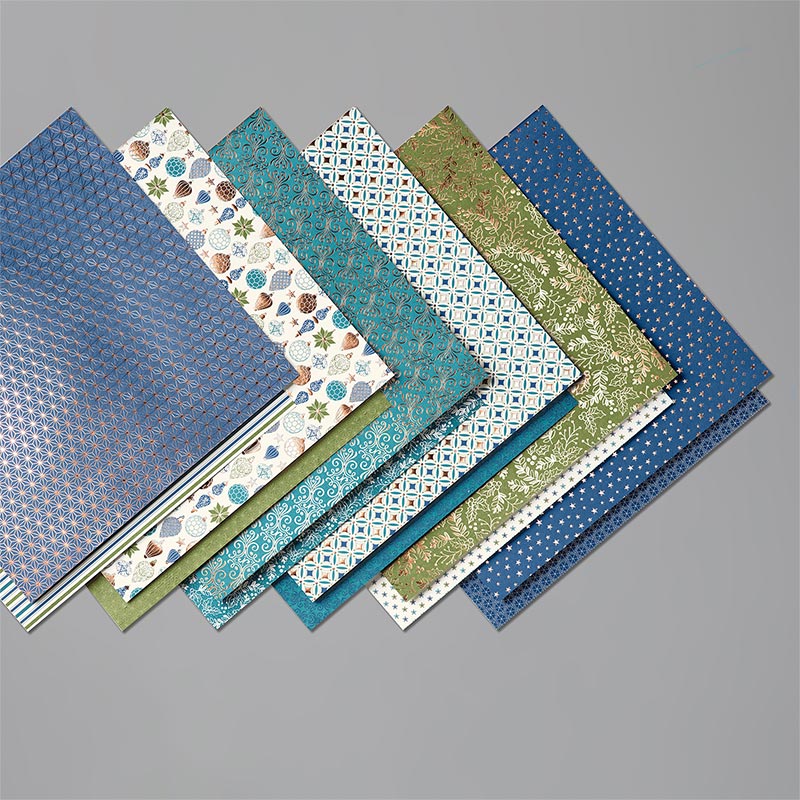
So everyone moved onto Real Red and Very Vanilla in my classes... to stunning results... and they all co-ordinated better with their trees too...

So I had to make a few of my own... as I had had a few other ideas for the use of my ornament ... such as the simple table decoration complete with battery operated tealight you can see here...
And that has given me the chance to provide a photo tutorial too...

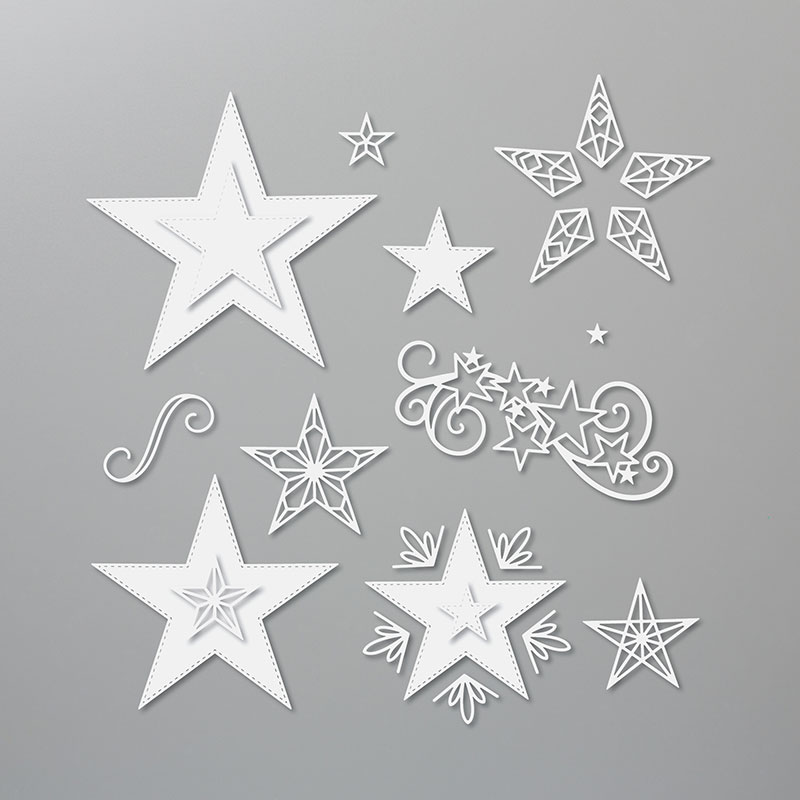
Inkup, stamp and punch 15 large and 15 small baubles... plus a 2 1/2" circle and die cut the Stitched Stars...
Score each bauble down the centre and bone fold...and stick three together...

Place a large Stampin Dimensional (3D foam pad) in the centre of the punched circle...

Place and adhere the 5 large trios equally around the circle... just touching the 3D foam pad in the centre
 Use your die cut star to eyeball where your smaller baubles need to go...

 Place and adhere the 5 smaller bauble trios...
 Pop your star on top...
Pop your tea-light on top... You could probably work out a way to stick the tealight onto the star and still be able to operate the switch... but this way works fine too!
Slightly different if you are producing an ornament... or fancy tag! As I have stacked up about 3-4 3D foam pads on top of each other.. and then stuck the star down onto the first 3D pad...
Then the thread gets added... with another plain punched large bauble and punched circle to cover up the back...
 And a Metallic Element on the centre to finish...


Thursday, 17 October 2019

Brightly Gleaming Bauble Gap Card

Oops forgot to schedule for the right time of day! So a late post today...

So where there is one... there is usually two...

I shared the simple Brightly Gleaming Stitched Star Portrait Gap Card here on Monday... and now you have the Landscape Gap Card one...
Complete with greetings, baubles and holly care of the co-ordinating stamp & punch set Christmas Gleaming... and a Copper Foil die cut Christmas using the Merry Christmas dies...

Bauble a 3D one by stamping and punching 3 baubles... scoring down the centre of each and valley folding... then sticking one to each side of each other...

And click here for the A6 Landscape Gap Card Tutorial...


Tuesday, 15 October 2019

Noble Peacock Christmas Gleaming CAS card

So I had a few prepped card kits left over from my Noble Peacock papers classes where my ladies had just run out of time (which is code for "I had designed and prepped too many projects"... as I don't like people to run out of things to do when at mine!! So I always have some "just in case" projects on standby!)
But we are now onto Christmas makes....

So I thought why not! And... with all the shine... these papers do work well for Christmas too...
And then I had to laugh...as they ran out of time again!! Next time maybe!?
Stampin Up Products used
Papers - Noble Peacock
Foils - Noble Peacock
Stamps - Christmas Gleaming, Itty Bitty Christmas

Saturday, 12 October 2019

Simple Stitched Star Gap Card for Christmas...

This is possibly the simplest of the Gap cards I have made... but it had quite a reaction... and there was a rush in class to make it first!! And I have to admit that I will be making some for my Christmas cards with any papers I have left over this year!!

Combining the Brightly Gleaming papers... just gone unorderable again... but lots more coming in a few weeks time...
The Stitched Stars dies
And the Merry Christmas dies (Merry in Copper Foil)
And the bit that no-one could work out...

The Christmas greeting is the Merry Christmas text block image in the Christmas Gleaming stamp set stamped in Pretty Peacock on Very Vanilla... and then cut into parts... other part coming another day!

Though I do have to "laugh" at everyone's super-excited-over-the-colour reaction to the Pretty Peacock colour every time I use it... but sadly no-one has bought any of it???

Must be about time ladies...  so I think I can feel the need for a Pretty Peacock Kit coming on!!! Remember to ask me when you "see me"... or email me if you are interested!

Thursday, 10 October 2019

Christmas Gleaming Ornament for 3D Thursday...

Oops... a quick share today as I have an All Day class and I thought I had written up a post... but hadn't! Good job I checked...

So I was asked to do an ornament... and so here it is! A Christmas Gleaming and Stitched Stars multi punched 3D extravaganza...
Hope they like making this today!

I certainly did... and I have another idea for one of these for another day... fingers crossed I get there on the makes list!

However I won't get as far down my Christmas makes list as usual.. as I do now have my operation booked for 26 October - yes a Saturday!! (for a chole-wotsit-as-I-call-it AKA gallbladder removal AKA cholecystectomy as the surgeon likes to call it!) 

And so I will be indisposed for a while after that... and am burning the midnight oil getting projects made for all my October, November and December classes before then! No pressure!