Showing posts with label Written Tutorial. Show all posts

Tuesday, 28 February 2023

Tuesday Tutorial - A6(ish) Double W Fold - Fitting Florets


Back to the second version of my Double W Fold card... 

But before I start... today is the last day of the Sale A Bration promotion!! So don't forget to order and sign up whilst you can get all those extra freebies...click HERE for more details...

This version maximising the use of one piece of A4 cardstock... resulting in a card that is 14.5cm wide (hence the A6ish name in the title as it is very slightly smaller than the standard A6 14.8cm size... )

And I do find it fair to warn you... I have been very busy with variants of Double W Fold cards... so lots more to come... 

Craft Spa Recipe - A6 (ish) Double W Fold Card (actually 14.5cm)

A4 Balmy Blue 29.7 x 10.5cm  & 29 x 10.5cm
Inside Bottom paper panels 28 x 3.5cm (x2)
Inside Top paper panels 28 x 7cm (x2)
Front Night of Navy mat 13.5 x 9.5cm
Front paper panel 13 x 9cm... then cut 9cm square; 4 x 9cm
Front frame mat 5.9cm Square
Front frame (D) Whispwer White 6cm Square
Ribbon x 17"


Craft Spa Instructions -  - A6 (ish) Double W Fold Card
  1. Score both LANDSCAPE Balmy Blue panels at 14.5cm
  2. Score longer Balmy Blue panel LANDSCAPE at 29cm  
  3. Valley Fold both "in half"
  4.  Mountain fold thin section on longer piece (aka the glue tab)
  5. Open both out and place stood up in front of you - with the longer piece to the left with the glue tab to the right side... 
  6. Apply glue to the front face glue tab... and stick the shorter/RH panel to the tab...

  7. Cut the 2 LANDSCAPE taller paper panels in half at 14cm
  8. Adhere papers
  9. Open out the card

  10. Score the two shorter paper panels at 7,14 & 21 cm
  11. Bone Fold Valley, Mountain & Valley
  12. Concertina Fold (forms a W shape with a central mountain and valleys either side)

    For the left hand sections of the card...
  13. Hold concertina panel with 2 open edges and folded centre facing to the right
  14. Apply glue to back face  
  15. Stick concertina panel down onto right of right hand section lining up with your paper at the side...
  16. With concertina panel still folded up... apply glue to top face
  17. Close left section of card onto the glued face

  18. Repeat with other concertina panel for 2 right sections of card...sticking the concertina panel (with 2 open edges and folded centre facing to the left) to the left side of the left section this time... and folding the right section of the card onto the top...

  19. Ink up, stamp, cut and punch as necessary
    I used the A La Mode dies and Alphabest stamp & punch bundle ... along with retired Stitched Shapes dies and a 1 3/4" square punch
  20.  Decorate card

    I have purposefully left this one blank on the front as I can then add the age when I am ready to send it!

    But you can get the idea from the one I previously shared here...


Tuesday, 21 February 2023

Tuesday Tutorial - Dainty Flowers Double W Fold Card

Another version of the Double W Fold card I shared here last Friday... along with the recipe and instructions so you can try one at home! This one having the BIRTHDAY greeting letters set on square panels (1 3/4" mats with 1 5/8" stitched squares)

This version is sized around the front panel which is cut from this sheet in the Dainty Flowers paper pack.... that can be earnt for free...with an order of £45+... during the Sale A Bration promotion that runs until 28 February

So 12 of these cards could be made from just one pack of the papers... Simples!

Greeting letters care of the fantastic new A La Mode dies... which is a perfect set of dies for your letters and number needs...

Craft Spa Recipe

A4 Thick Whisper White 28.2 x 10.5cm AND 27.2 x 10.5cm
Front Paper Panel 12x9cm
Rich Razzleberry card mat 12.5 x 9.5cm
Inside Paper panels 13.1 x 7cm (x4)
A4 Old Olive card 28 x 3.5cm (x2)

Craft Spa Instructions
  1. Score 2 LANDSCAPE white panels at 13.6cm
  2. Score longer white panel LANDSCAPE at 27.2cm (aka 1cm to the RHS) 
  3. Valley Fold both "in half"
  4.  Mountain fold thin section on longer piece (aka the glue tab)
  5. Open both out and place stood up in front of you - with the longer piece to the left with the glue tab to the right side... 
  6. Apply glue to the front face glue tab... and stick the shorter /RH panel to the tab...
  7. Adhere papers
  8. Open out the card

  9. Score the two Old Olive card panels at 7,14 & 21 cm
  10. Bone Fold Valley, Mountain & Valley
  11. Concertina Fold (forms a W shape with a central mountain and valleys either side)

    For the left hand sections of the card
  12. Hold concertina panel with 2 open edges and folded centre facing to the right
  13. Apply glue to back face  
  14. Stick concertina panel down onto right of right hand section lining up with your paper at the side...
  15. With concertina panel still folded up... apply glue to top face
  16. Close left section of card onto the glued face

  17. Repeat with other concertina panel for 2 right sections of card...sticking the concertina panel (with 2 open edges and folded centre facing to the left) to the left side of the left section this time... and folding the right section of the card onto the top...

  18. Ink up, stamp, cut and punch as necessary
    I used the A La Mode dies, the Petal Park flowers stamps & punch, Framed Florets greeting on the front and the gorgeous new Dragonfly Trinkets... along with retired Stitched Shapes dies and 2" punched circle or 1 3/4"square mats...
  19.  Decorate card

And here's a reminder of the one I shared last Friday... with the circular letter panels and lots of HAPPY (care of the Biggest Wish stamp set - stamped in 3 colours-Rich Razzleberry, Old Olive and Petal Pink-  and handcut into letters)

Friday, 5 November 2021

Friday Fun Fold - Lock & Pop Card Tutorial


Another Large Square Lock & Pop card for you today... 

As one just had to be made with a Merriest Frames embossed and die cut panel... though still featuring the gorgeous Tidings of Christmas papers and Merriest Moments stamps...

Click here for the previous Christmas one... or here OR here for All Year round versions... And yes... I did finish the 60+ cards mentioned... but more on that another day...

So whilst I am at it... a quick tutorial for you too... love a simple fun fold like this one... 

1. Cut cardstock to 14.8cm x 29cm

2. Landscape. Score at 1, 7, 13, 16, 22 & 28cm 

3. Bone Fold Mountain, Valley, Mountain, Mountain, Valley, Mountain

4. Decorate as required.
I prepped 3 panels of papers cut to 11 x 14.3cm H. Which we then cut in half in portrait orientation to 5.5 x 14.3cm H just prior to sticking... Saves all the panels getting all mixed up!

Oh and yes lots going out with the Merriest Frames panel... but more on that another day...

Friday, 19 March 2021

True Love Pop Out Panel Card Tutorial

As promised... coming back to the True Love Pop Out Panel card shared last week... 
With another version... and the tutorial for you... as this card fold is so simple but so effective... 

1. Cut a 7 1/2" x 5 1/2" piece of card (19 x 14cm)

2. Score when LANDSCAPE at 1 1/4", 2 1/2"5" & 6 1/4" (3, 6, 13 & 16cm) 

3. Bone Fold Valley, Mountain, Mountain, Valley

4. Cut & adhere papers...
    Sides 1" x 5 1/4" (2.5 x 13.5cm)
    Centre 2 1/4" x 5 1/4" (and white panel for back) (6.5 x 13.5cm)

5. Decorate as desired
I simply stamped using a cut-down stamp from Happiest of Birthdays and die cut a label using the Stitched So Sweetly dies... Then Stampin Blends coloured some fussy cut  flowers from the True Love papers

This is actually a very slight tweak on previous Pop Out Panel cards shared on this blog... as the side sections are slightly wider... which in turn means it "stands better aka more robustly"... 

Now can I interest anyone in a True Love Paper Kit... with or without the pinks... or actually ... I could even do a fabulous prepped Class in the Mail... watch this space... but in the meantime do email me if you could be interested... as I would love to be preparing an order for next week.... 

Friday, 10 April 2020

Bench Fold Card Tutorials are now available for the Desks & Dressing Table and the Shop Window...

And finally... I can now say that I have finished the next 2 series of Bench Fold Card Tutorials... only taken 5 weeks solid between start and finish! Wow! 5 times longer than I ever ever expected! Such is life at the moment!

Want the know how? Click HERE to go and order the tutorial (s)... 

So more details for you... Click on the highlighted card name to go straight to the relevant blog post with more photos... 
Series Two covers the Dressing Table...
The Crafters Desk...

And the Student Desk... 
Series Three covers the Shop Window...

I wanted to create another version- or two ... but I reckon it would take me another 3-4 weeks the way things have gone... so I stopped myself! And so note that this is just the one... 
And you can also get Series One at the same time - on its own - or for a reduced rate if you buy all three at the same time... 
This covers the Aga (ie Range cooker), BBQ and the Tool Bench... 

Thursday, 5 March 2020

Retail Therapy anyone? Best Dressed Bench Fold Shop Window Card


Love these new girlie Best Dressed papers, Dressed to Impress stamp set and the whole Best Dressed Suite... not like anything that I have had before!
And love the new Bench Fold Card design that they inspired... call this one the Shop Window!

Been wanting to make a window for a while! And these images just gave me the perfect excuse... I can see a few variants of these over the months and years ahead!
And yes it does fold up flat to go in an envelope... though I think I will have to pop this one in an extra large square one to fit the canopy in...
Want the know how? Click HERE to order the tutorial...

Only been three years since the first series!
And I wonder where that list I wrote 3 years ago is... of nearly 100 different projects for my Bench Fold design! And I have to admit that I have thought of more to add recently!

Thursday, 27 February 2020

Sending Flowers #6 - Happy Mothers Day Aperture Tent card

So I combined a few elements of my 5 Sending Flowers card designs... and came up with this one for classes...
Decorated for Mother's Day wishes this time - but can be stamped with whatever greeting you need...

Click here for the Aperture Tent Card Tutorial

And here are the 3 aperture cards... so you can see the variety in colour as they go from left to right!
And... as a round up... here are the 5 Sending Flower card designs...
Live in the UK? Then you can have my Sending Flowers Class in the Post... Click here for the details and/or here to email me to arrange yours!


Monday, 24 February 2020

Sending Flowers #5 - Let's add a bit of colour..

Same card as yesterday... but grass added to the background...

And a few Daffodil Delight die cuts and Blueberry Bushel coloured flowers later... 
Though I do have to laugh at myself as I have now realised that my 5 card designs.... is actually 6.... as I have another card to share... So if you are tempted with the Sending Flowers dies and my Class in the Post.... you will be able to vary your postal kit accordingly!

Live in the UK? If so... I have a special offer for you... as I am feeling so much love for these 
Sending Flowers dies...
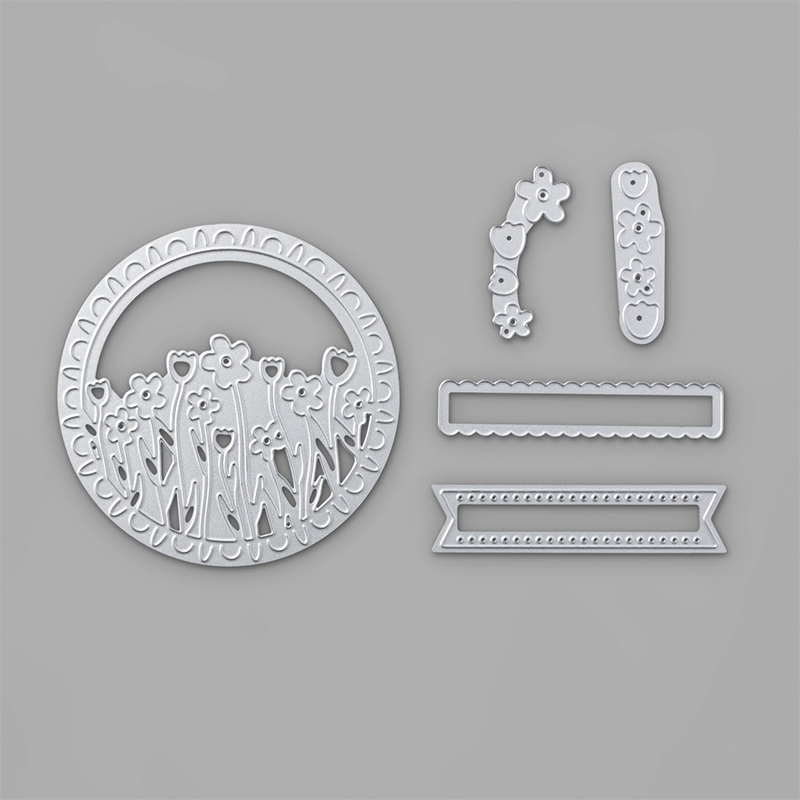
Howsabout a Class in the Post? Just £47 (or £45 collected) To include prepped cards/materials and instructions for 10 cards (2 each of 5 designs)

To include the Sending Flowers dies (RRP £25), Balmy Blue & Granny Apple Green ink pads (RRP £7 each), Dark Granny Apple Green Stampin Blend (RRP £4.25) and a Stampin Sponge.
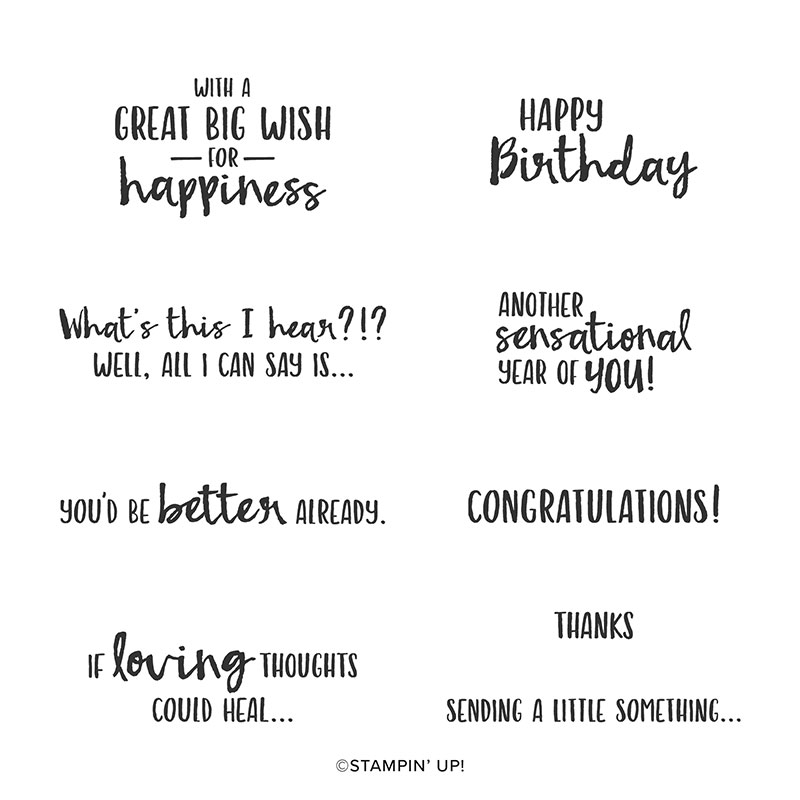
Plus your free co-ordinating Sale A Bration freebie Sending You Thoughts stamps...
Note that the Sale A Bration freebie AND/OR the ink pad(s) & Stampin Blend colours can be switched if desired.

You will also need a die cutting machine, Black inkpad & Rhinestone Basic Jewels to create the cards exactly as I have done... and I have also used the wonderful Label Me Bold stamp set (RRP £16) on just the one card...

Closing date February 29th. Supplies to you approx 12th March (subject to availability) Though early orders may go through ... and be delivered to you... well earlier!


Sunday, 23 February 2020

Sending Flowers #4 - The Large Square Card

Another day... another Sending Flowers card...

Again keeping things really simple... and very white... for now!
Live in the UK? If so... I have a special offer for you... as I am feeling so much love for these Sending Flowers dies...
Howsabout a Class in the Post? Just £47 (or £45 collected) To include prepped cards/materials and instructions for 10 cards (2 each of 5 designs)

To include the Sending Flowers dies (RRP £25), Balmy Blue & Granny Apple Green ink pads (RRP £7 each), Dark Granny Apple Green Stampin Blend (RRP £4.25) and a Stampin Sponge.

Plus your free co-ordinating Sale A Bration freebie Sending You Thoughts stamps...
Note that the Sale A Bration freebie AND/OR the ink pad(s) & Stampin Blend colours can be switched if desired.

You will also need a die cutting machine, Black inkpad & Rhinestone Basic Jewels to create the cards exactly as I have done... and I have also used the wonderful Label Me Bold stamp set (RRP £16) on just the one card...

Closing date February 29th. Supplies to you approx 12th March (subject to availability) Though early orders may go through ... and be delivered to you... well earlier!