Showing posts with label Double Point Card. Show all posts

Friday, 27 September 2019

Double Point Card - Garden Lane

Another remake for my Garden Lane class this week... a Double Point Card (the stuck down version)
More details on the Magnolia Lane version of the Card here... and there is a link to a tutorial here... 

I just stuck down those folded papers/sides under the Nested Label greeting... which is popped up on 3D foam Stampin Dimensionals...
And added a couple of stamped and punched So Saffron Daisy Lane daisies and a couple of Pear Pizzazz punched leaves... 
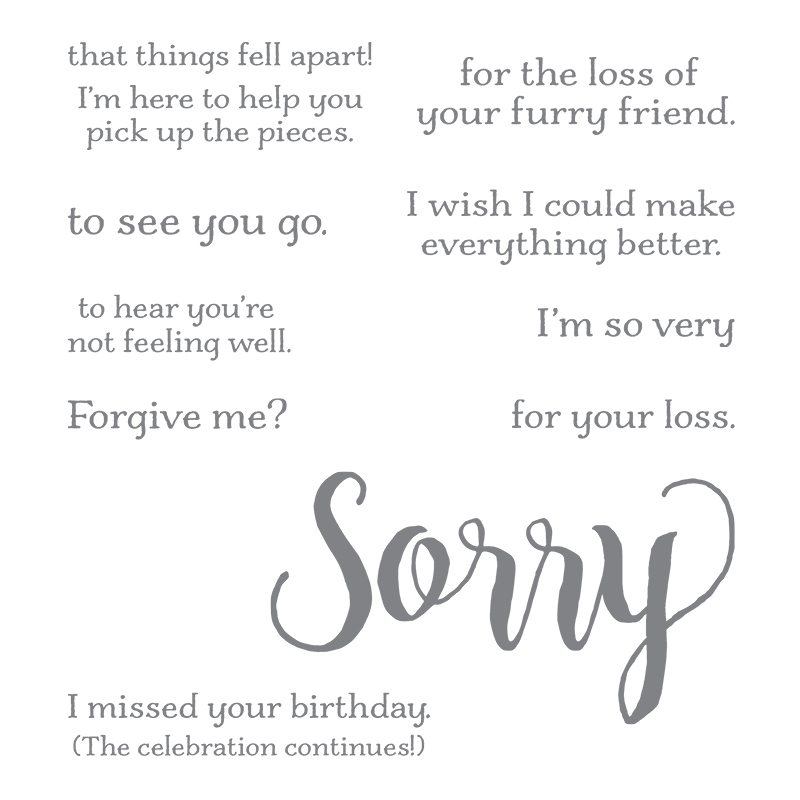
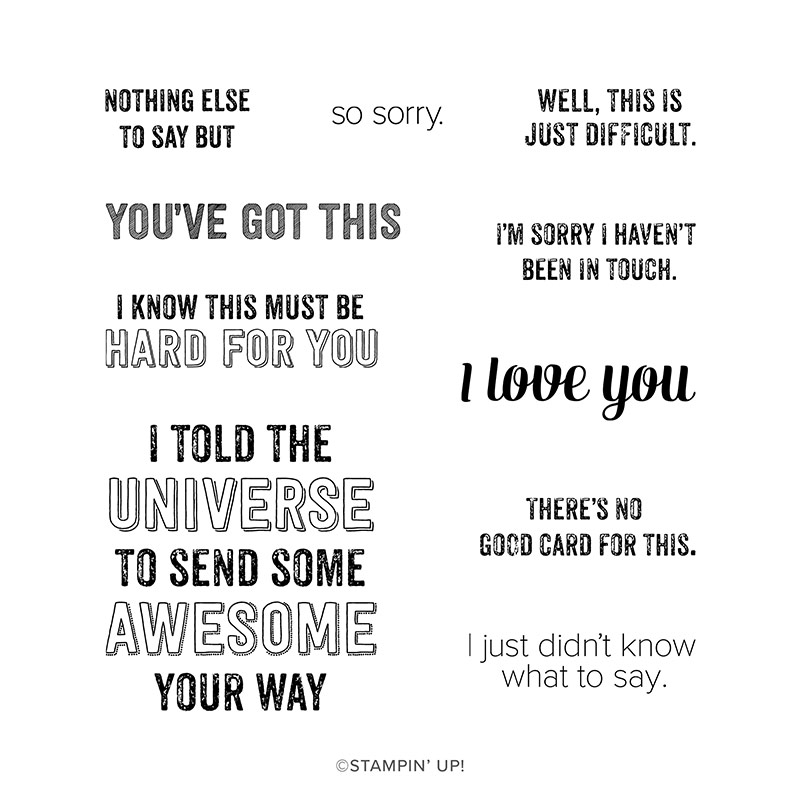
And greeting from Sorry for Everything... which is such a useful greeting set for those things that just need to be said when we least want to... 

Thursday, 29 August 2019

Genuine Gems - but not as we know it!

So some people seem to like ...and some loathe... the AWESOME word in the Genuine Gems stamp set...
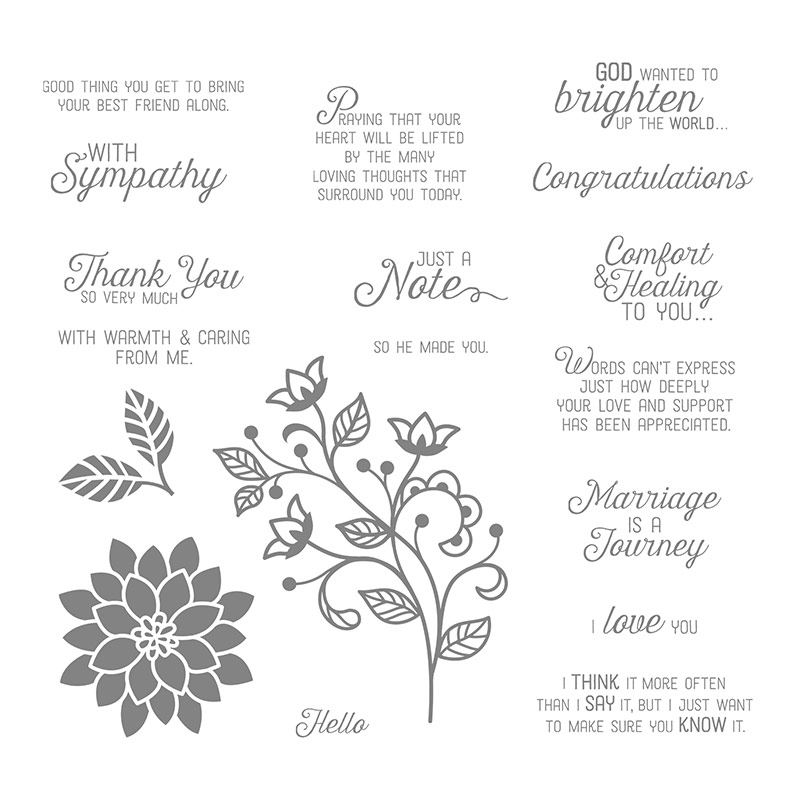
So I came up with an alternative plan! Congratulations care of Flourishing Phrases... in a die cut Stitched Rectangle...
So now you can add pretty much anything!
Original greeting'd Magnolia Lane Double Point Card details as shared here

Tuesday, 20 August 2019

Tuesday Tutorial - De-Constructed (Faux) Double Point Card

So here we go... the simple way to make a Nested Labels Double Point card... as long as you don't want the "flappy bit" which (for many) is probably a main feature of the original Double Point Card... though not for me...

So this simplified way gives me everything I like in the Double Point design... but at speed... and with less materials being needed....
And I changed this one up after the original Noble Peacock De-constructed Double Point Card posted here... as thinner Magnolia Lane papers meant I could add a co-ordinating mat whilst I was at it...

And please note that for simplicity's sake in the Tutorial...
(1) I kept the paper panel the same size for both of these card variations (the coloured mat being optional and that bit larger...)

(2) I have not altered the panel & mat dimensions for a wider US A2 card (4 1/4" ilo Rest of World A6 4 1/8" wide)... so you will have a bit of a white gap to line up on the top and bottom edge of this version...

But that's nice! So why re-design and complicate matters!! Look at this version here to check out "a bit of a white gap"
Craft Spa Recipe
Stamps - Magnolia Blooms
Papers - Magnolia Lane
Stampin Blends - Mossy Meadow combo, Petal Pink combo, So Saffron Dark

Whisper White A6 Tent Card Blank (OR US A2) 
ie 10.5cm x A4long - scored LANDSCAPE at 14.8cm (OR US 
4 1/4" x 11" long - score LANDSCAPE at 5 1/2")
Mossy Meadow Card 7.4cm (2 7/8") Square
Paper Panel 6.7cm (2 5/8") Square
(D) Mossy Meadow 12 x 7cm
(D) Whisper White Thick 12 x 7cm     where (D) is for die-cutting

Craft Spa Tutorial
1. Cut Card and Paper Squares diagonally (point to point!)
2. Adhere to each other
3. Adhere to card blank (with or without a gap round the 3 sides)

4. Die cut 2 x Nested Labels
5. Hand cut white Nested Label (using line inside the stitched line to guide your eye AND do shorter ends first)
6. Ink up & Stamp greeting
7. Adhere to each other and to card blank

8. Ink up & Stamp Early Espresso magnolias
9. Colour in using Stampin Blends
10. Fussy Cut using Paper Snips
11. Adhere


Thursday, 15 August 2019

Magnolia Lane & Blooms Double Point Card

Another A6 Double Point Fold card... featuring the Magnolia Lane papers... and the Magnolia Blooms and Sorry For Everything stamps...

But in landscape orientation this time... 
With an extra paper panel (the striped one!)...

And the front panel part all stuck down... the centre greeting Nested Labels panel being stuck down with Stampin Dimensionals... so as to still give some extra dimension...
Click here for the Landscape version... with that extra front panel part if you like it that way! Tutorial for this (and that one) linked there too...

And click here for my Deconstructed Double Point card version... for which there is another one coming up soon...so I will remember to add the recipe and instructions! As it is somewhat simpler... and achieves most of the effect!!
And a quick update on my mother... still in ITU... but one heck of a lot better! Still a long way to go though... What can I say! Been a LONG week!

Friday, 9 August 2019

Magnolia Lane Double Point Card

Loving all the Double Point cards around on the web using the Stitched Nested Labels dies... a perfect match of card design and product!!
So thanks to the originator of the use of this concept this time round... which I think may have been Phyllis Shively &  Lisa Curcio here... who shares a video tutorial for you too...

Though I believe the originator of the card fold "way back when in 2017" is the talented Jeanie Stark who can can be found here...  along with her tutorial...
OR just "Google" or "You Tube" A6 Double Point Card if you need a video tutorial for an A6 version (from A4 card)
.
Though my "brain" can't work out the appeal of the extra front part that is formed... aka the flap part!
Apart from the fact that it does give a bit of dimension... so I will just be sticking that down! Which still keeps the extra dimension if you use 3D pads...
Front greeting from Genuine Gems... love it! 
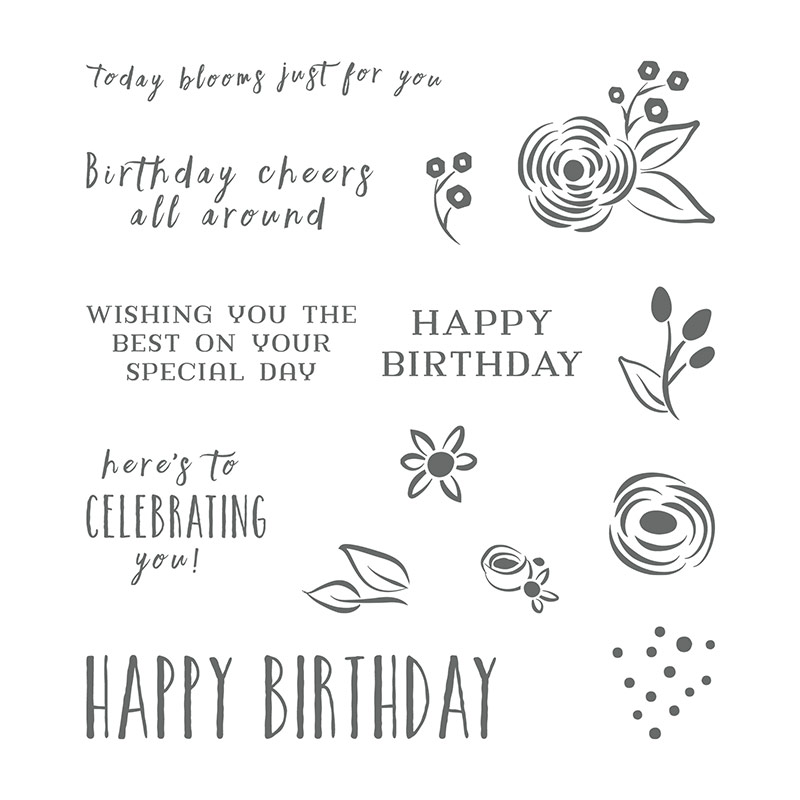
And inner greeting using my chopped up Happy Birthday from Perennial Birthday... the one at the bottom left below... that I chopped and can mount one word on top of the other as for this version... or side by side for the designed long version!
Oh and Click here for a simpler version of this Double Point card... aka the Deconstructed one!

Wednesday, 7 August 2019

Deconstructed Simple Double Point Noble Peacock card

So how many of you have seen the Double Point cards doing the rounds...

Perfect with our new Nested Label die cut shape... and I have loved every card I have seen using the design... and will come back to some cards as intended sometime soon...
But in the meantime... well I decided to deconstruct the design... and simplify... and here you have it!

Incorporating Stitched Nested Labels dies, Sorry for Everything stamps, Noble Peacock papers, Bloom & Grow and Daisy Lane bundles for good measure!

And spot the Nested Label shape cut from this Royal Peacock card... and that the white greerting panel id the same size but trimmed by hand using the line inside the stitched line... so as to get a thin mat...
Please visit my Online Store here to find all the named products and more... thank you... 

And I will be back with more details on this card design sometime very soon... as we are a bit addicted to them!