Showing posts with label Tuesday Tip. Show all posts

Thursday, 4 February 2021

Welcoming Window #6

Another in the second Welcoming Window series... the stamped ones...

A second simple stamped small square aperture card... even more of a tongue twister!
With a different flower arrangement... in a jug standing on a shelf on...

Don't forget that you can make these "with me" too... whether its a class in the mail (UK only) or the Tutorials in pdf format... click here for more information...


Wednesday, 3 February 2021

Wednesday Welcoming Window #5

 Start of another Welcoming Window series... The stamped ones!

A simple stamped small square aperture card... try saying that in a hurry! Three times...

Don't forget that you can make these "with me" too... whether its a class in the mail (UK only) or the Tutorials in pdf format... click here for more information...


Tuesday, 2 February 2021

Tuesday Tips - Blending Brushes & Welcoming Windows #4

Fourth and last in this Welcoming Windows mini series... 

Though there are a few mini more Welcoming Windows series to share... but what do you think so far?

Anyways today... we have curtains at the window instead... again care of the Sale A Bration free Paper Blooms papers

And the embossed brick walls are roughly brushed with Sahara Sand... using the new and amazing Blending Brushes... which are amazing... and keep going in and out of low stock as they are proving popular... so don't delay in buying these...

And a few tips for you when using the Blending Brushes... which have the finest of white bristles to blend with

(1) apply quite a lot of ink as then the blending is much easier and smoother

(2) dont "pounce" the brush direct onto the panel.... move it from the edge onto the panel instead... and using a craft mat under your panel (aka cheap oven liner in my craft room!) really helps smooth the ink onto your panel

(3) Contrary to some rumours!!!!... you don't need a brush for every colour... lol...  but you will soon make use of the 3 in the pack... I will keep one each for blues, greens and neutrals (eg Sahara Sand)... as I use all those a lot... Then I'll just get another set of 3... as they can be cleaned by rubbing/swooshing on a dry microfibre cloth... but they  are washable too!

Don't forget that you can make these "with me" too... whether its a class in the mail (UK only) or the Tutorials in pdf format... click here for more information...


Tuesday, 25 August 2020

Tuesday Technique - Mirror Stamping

Realised that I didn't "come back" and share how I mirror stamped my flowers on this card... which I reckon makes for a "more balanced" image overall!

And so without further ado... the most effective method is to use a Silicone Craft Sheet and the Stamparatus...
Place the Silicone Craft Sheet onto your Stamparatus mat.... and your stamp onto the hinged plate...

Ink up and stamp the image 2-3 times onto the mat using Memento ink each time...

Then place a piece of card over...and use your Bone Folder to smooth out over the card and so maximise the ink transferral... for a beautiful clear reversed or mirror image...

Cut out the image by hand (my preference!) - or reverse die cut with your die (I find that putting the image on the cardstock up to the light and then positioning and securing the die onto the - unstamped- back of the cardstock (with tape on the die so it is ready to go!) is the best way to get things lined up...


Tuesday, 18 August 2020

Tuesday Trio of Tips...

Following on from yesterday's post... I have a few more tips for you when using those little houses from the Trimming The Town suite...

Firstly... how to get the most houses out of your papers!
Fussy cut round those at the sides too... they just pop behind the central one... and no-one knows that you didn't use a full one!


Secondly... re-design your houses... and get even more...
Fussy cut round those at the top too...and the roofs at the bottom... and come up with something original! 
Though actually I have just realised that I did this with the larger house... ie on the other sheet of paper...
But the same applies with the smaller houses if you have the patience! 

 So I will live these here...
And thirdly... vary your cards for maximisation...
My little decorative 7.4cm square red panel with 7cm square white panel neatly fits onto a variety of square card blanks... For example...

So as to maximise impact (14cm or 5 1/2" square so one from a sheet of cardstock)


Or maximise cardstock usage (3 x small 9.9cm square cards from one sheet of A4... )


Tuesday, 11 August 2020

Tuesday Techniques & Tips - Blossoms in Bloom - Split Card Technique

So this technique is all the rage at the moment so I couldn't resist trying it out and adding my own (very little) twist...

But before I start... the Box of  Sunshine Paper Pumpkin kit is now available to order... Makes 8 cards and envelopes and is specially designed to help you create a sunshine box: a yellow box full of goodies to brighten someone’s day! Includes stamp set and ink. Stamping block not included. 

Only available while supplies last... Click here for more details OR click here to just go and order ...  
And now back to today's main event!

Original brainchild and shared by Jennifer McGuire in early May 2020... as the Split Card Technique... though I have also seen others refer to it as Split Front Card technique.. or even an alternative One Sheet Wonder technique...

Basically the simple creation of one panel... and then trim that panel to produce panels for multiple cards... so creating more than one card at a time... 4 in this case... Quick & simple... 

My starting Whisper White card panel was 16 cm Square (6 1/4")...

Which I stamped the large image in the Blossoms in Bloom stamp set at the centre... using new In Color inks - Bumble Bee and Cinnamon Cider...
And then at each of the 4 corners...
Then I cut the large panel down to four 8cm squares (3 1/8")... 
Stamped the greetings in Cinnamon Cider... which meant that I did change the orientation of some of the panels so that they were most pleasing to my eye!

Mounted them onto 8.5cm square (3 3/8") Bumble Bee or Cinnamon Cider panels...
And onto my new favourite 9.9cm ( 3 15/16") card blank size (as 3 cards from a sheet of A4)
Think these have to be the quickest and simplest cards I have produced all year!


Tuesday, 7 July 2020

Tuesday Tips - Todays Tiles #4

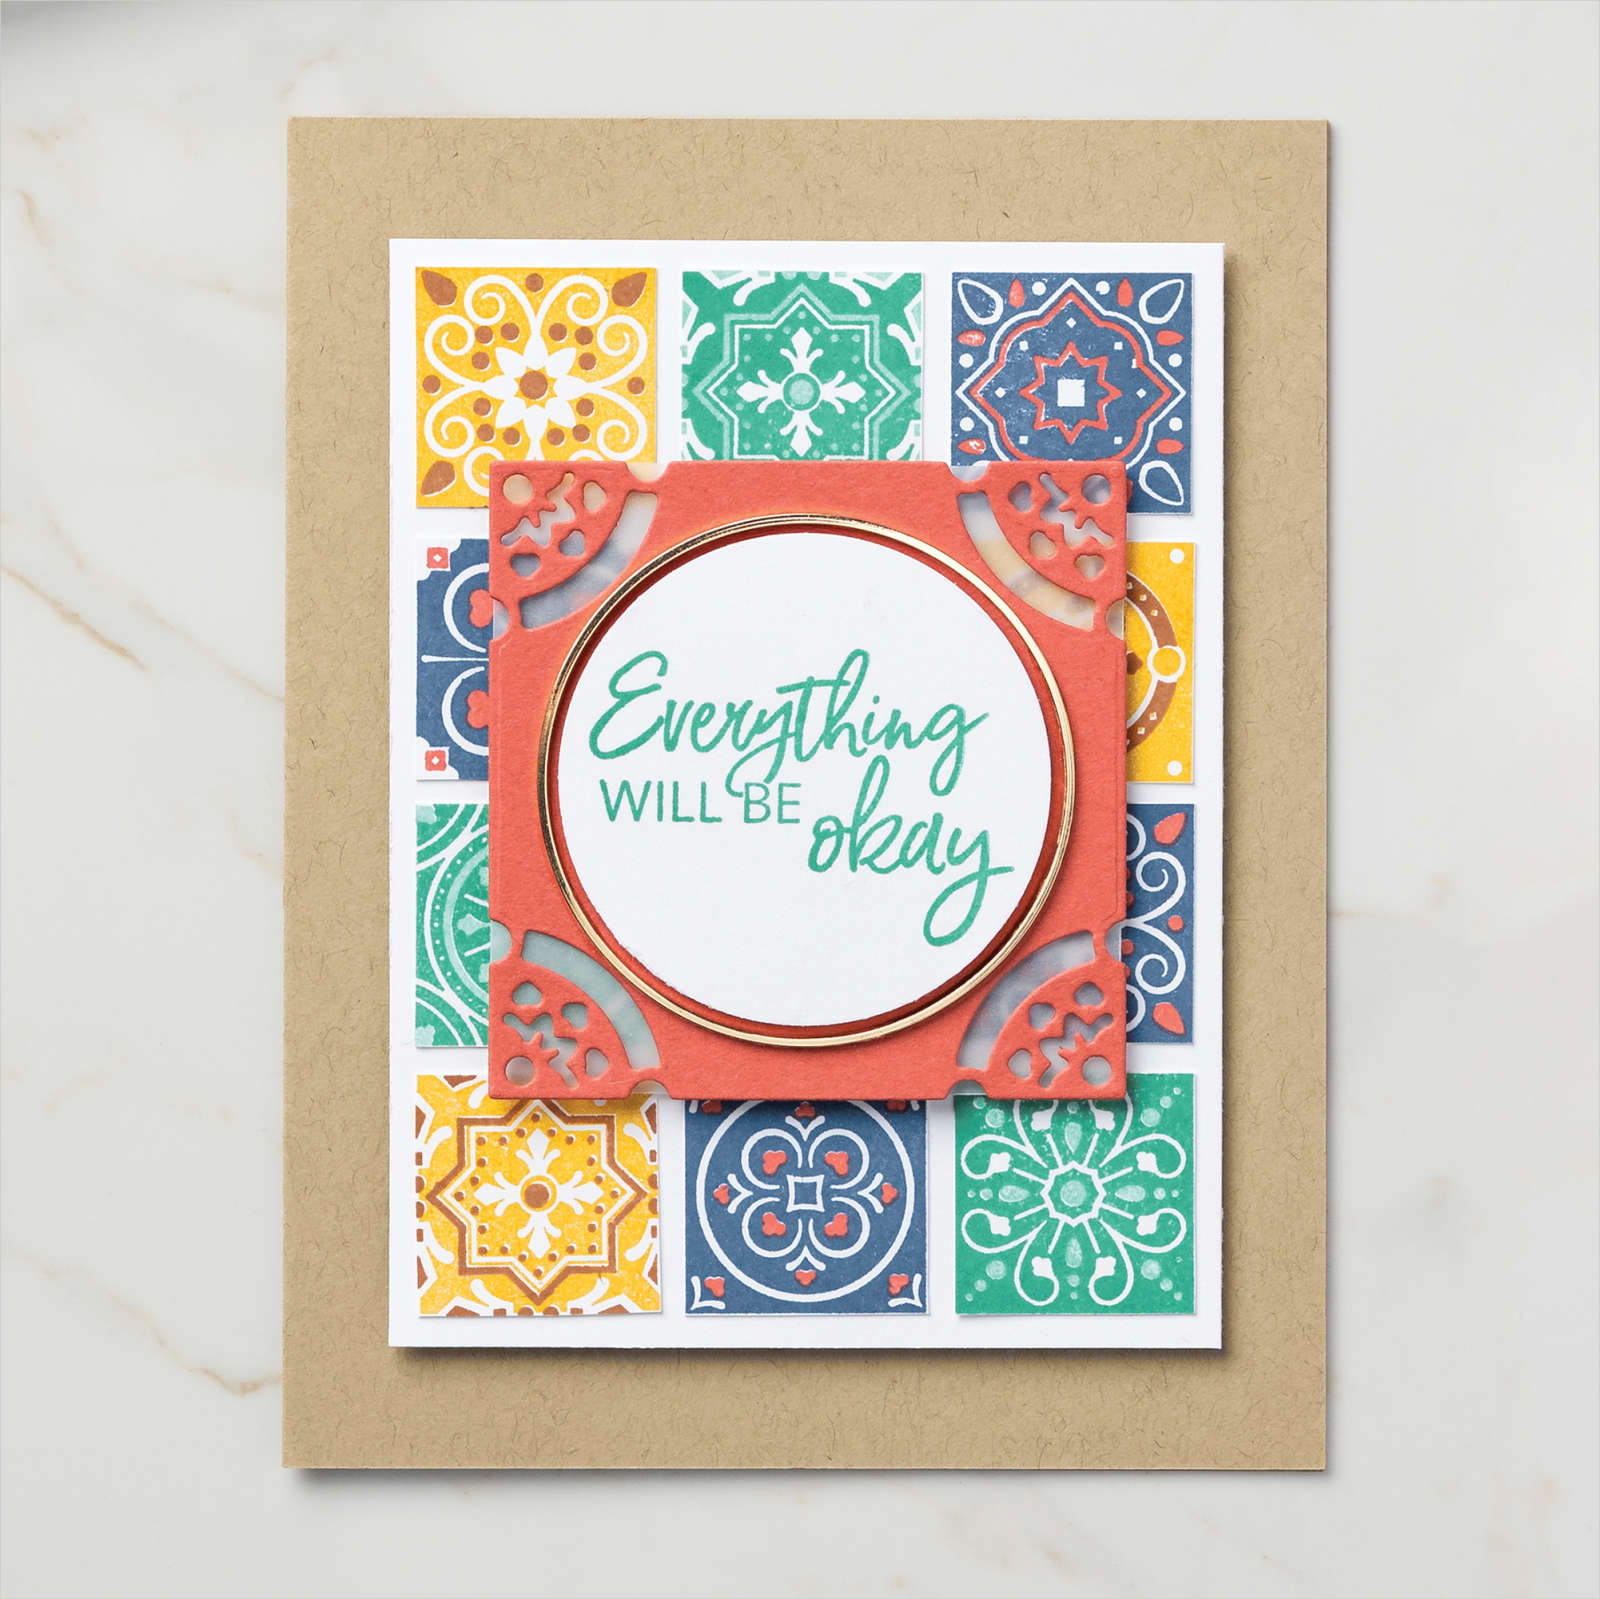
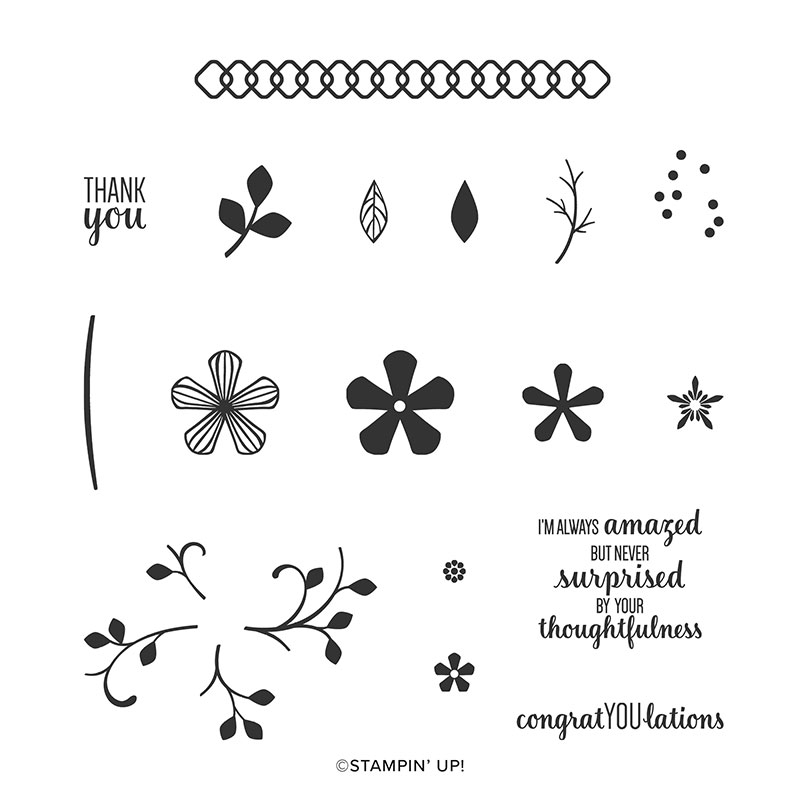
Another variant of yesterday's Today's Tiles card for you... this time to simply say Thank You... using my current greetings-go-to So Sentimental stamps

And a few tips for you...
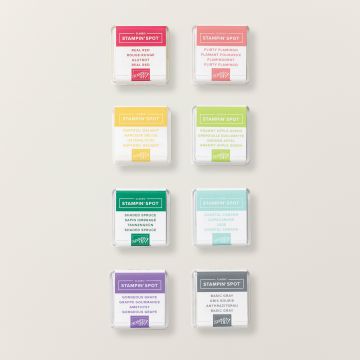
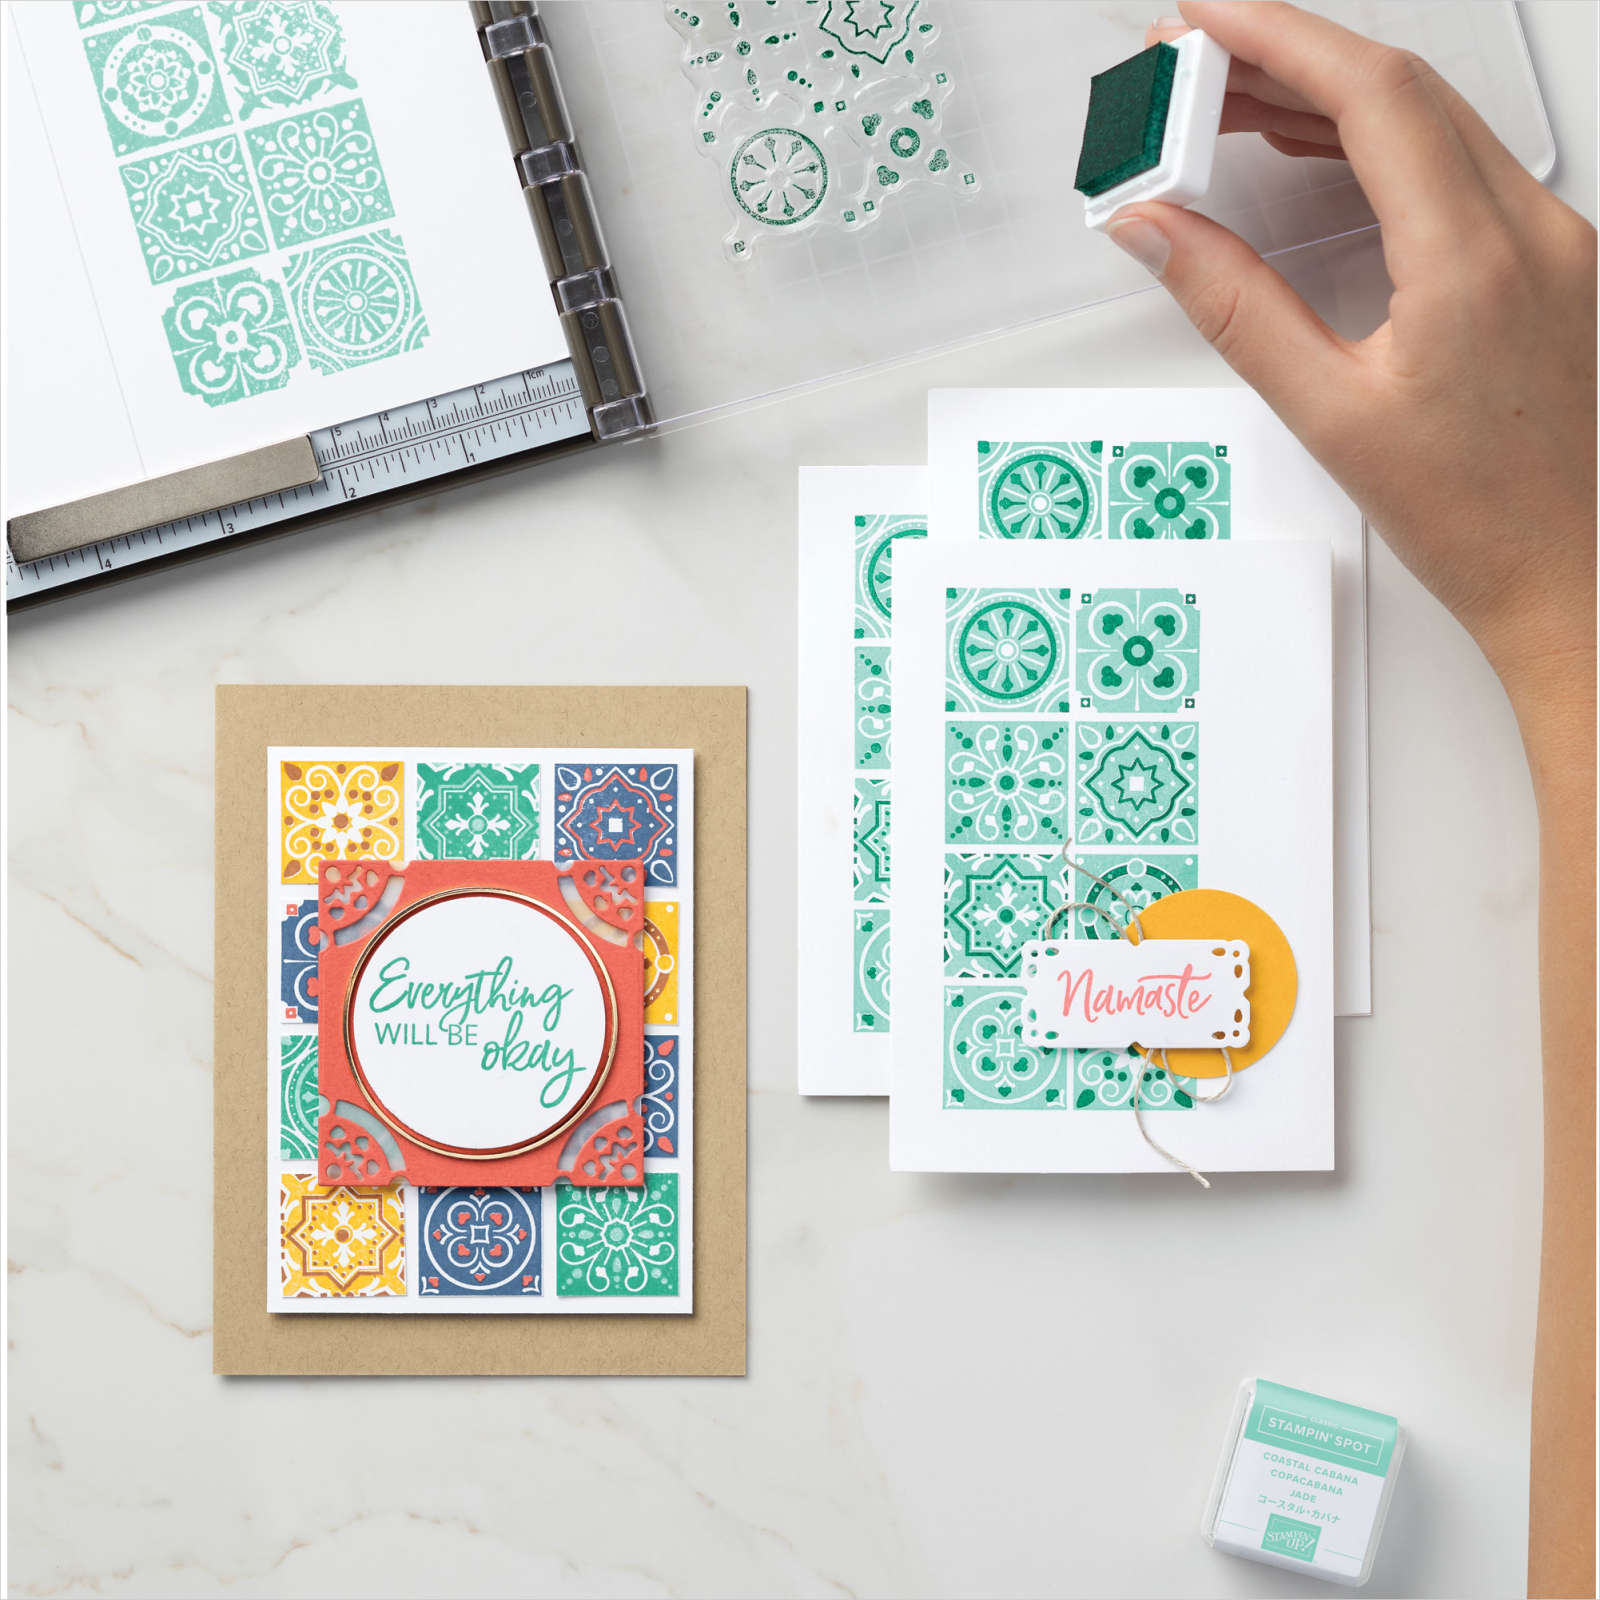
So to have multi colour tiles/mosaics... just grab your Stampin Spots... they are just the perfect size! How clever Stampin' Up to design the stamps that way...

By the way... the linked Classic Stampin' Spots Assortment  are a great set if you are building up your ink colours!!
And 2 simple little inking tips... 

Start with the palest colour and ink up each tile you want that colour... nice and fast with the Stampin Spot in your hand! 

Then pick up the darker ink spot place it on your work surface... and carefully place your stamp on top to ink up each tile... easier to eyeball that way round... particularly with a darker colour!

Then stamp...
And a laugh for you... I was ever so excited when I came up with the use of Stampin Spots in this way with this set... and couldn't wait to share it with you....  but then I saw the  next image  in the Stampin' Up! catalogue... 
And realised that my thought process weren't that unique after all! Although in my defence I don't actually look at the sample photos in the catalogue so it wasn't in my sub conscious! And check out how many colour variations you can use in this way!
The card is a 10.5cm (4 1/8") Square card in Balmy Blue (Thank You)  or Thick Whisper White (Merry Christmas)... and the Whisper White stamping panel was 10.5cm (4 1/8") too... as that is the perfect size for 2 stampings ... and then I trimmed it down to 10.1cm square.... I just found this easier to get things lined up and stamped nicely! 

Though my last tip would be to use the Stamparatus with this set... as stamping is SO easy once things are all set up.... the hinge spacing being perfect for the job! 

I didn't use mine... as time was of the essence and I was trying out different things with the stamps so mine were all done by eyeballing... with variable results!! Though stupidly I should have stamped a plastic sheet and used my trusty Stamp A Ma Jig (retired but still used daily at The Craft Spa!)... as that would have made my lining up so so much simpler (and better!)

And note... I switched my colour scheme rom the Midnight Muse/Seaside Spray/Gray Granite.... and have used Balmy Blue and Night of Navy with Versamark & Silver Embossing Powder on these cards ... as they were the 2 blues that I happened to have Stampin Spots all ready to go... and time was of the essence as I needed to pass the stamp set onto its rightful owner...
And spot the perfection of the Stitched Shapes square size... love it when that happens!

And a final inking tip... the Thank you greeting has been inked up and stamped in 2 halves... 

Firstly, the Thank You in Versamark ( I actually used a Versamark pen to do this - available readily elsewhere!) and Silver embossing powder... and then heated to melt...  

Then a good clean of the stamp... and a Night of Navy marker pen to ink up I can't and Enough... and then overstamped in exactly the same position... Again think how easy this would be using the Stamparatus... which obviously I didn't as I was in pure eyeballing mode!
Phew ... loads more tips than I thought there... for such a simple little card!!
Tuesday, 3 March 2020

Tuesday Top Tip - Painted Labels Mat Template & Tutorial...

Save you all working it out... and so easy to create...  Once you have the measurements, a template on hand... and the know how!
But before I start... today is the day... Sale A Bration Second Release - more free Sale A Bration product offerings added to the line up! Scroll down - or click here for my earlier post with all the details...

And so back to my frame tip, template and tutorial...
(1) Cut a piece of card to 8.3 x 5.3cm size (or 3 1/4" x 2 1/16")
(2) Die cut a Painted Labels notched label from another piece of card
(3) Use this label to draw round the notch on each corner of the sized piece of card
(4) Punch each corner with the 1/2" circle punch
(5) You have a template! Suggest you mark it up as such to avoid any future confusion!
(6) Cut your required card colour to 8.3 x 5.3cm size (or 3 1/4" x 2 1/16")
(7) Draw round the template for the notches on each corner
(8) Punch each corner with the 1/2" circle punch
(9) You have a frame! Or two - or three... Simples!

Tuesday, 18 February 2020

Tuesday TOP Tip! Small Bloom punch...

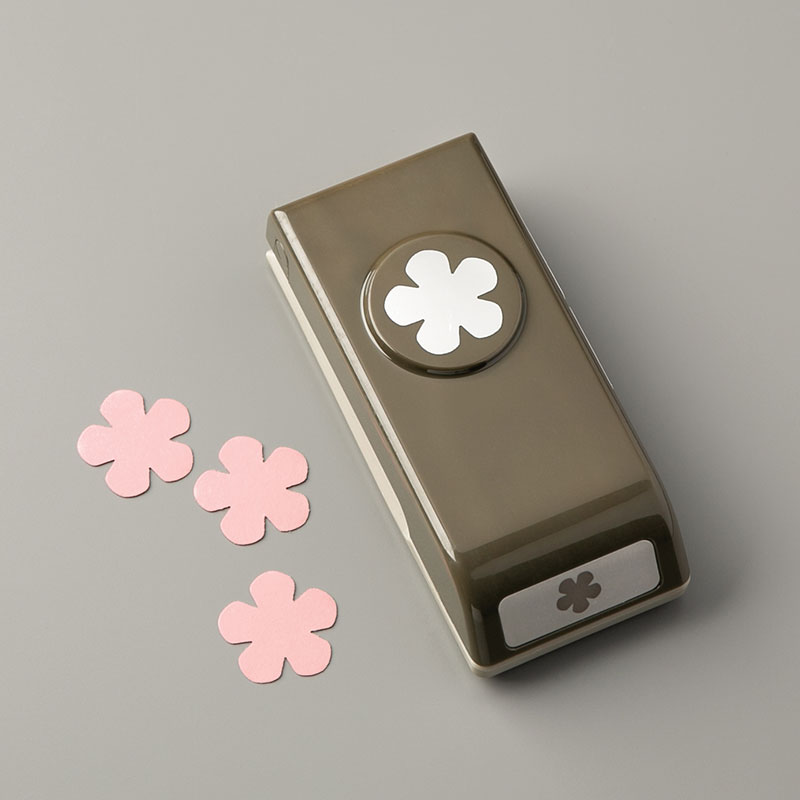
Well you should have heard me squeal when I realised this alternative usage of the Sale A Bration Small Bloom Punch! It isn't a 100% fit... but at about 98% it will do nicely for me...
Though it's a shame I didn't realise before some of my ladies made these cards last week!! Sorry girls!! No more fussy cutting required of these in the future!!
So worth it's weight in gold to me as I do so love that flower in Butterfly Wishes...  and it makes the Butterfly Wishes stamps an even more amazing set to have!! With two co-ordinating punches!!
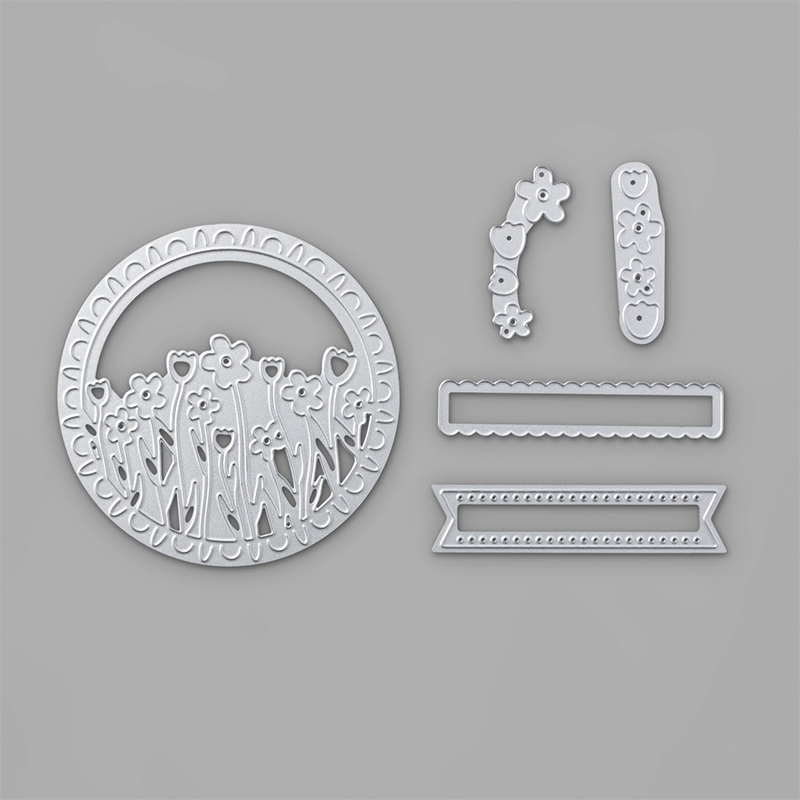
And I was so excited I had to quickly make an aperture card (or two!) using my punched blooms and the newly arrived Sending Flowers dies....
Which I ABSOLUTELY love! Lots more to share!!

Though I did also make some cards made using the free Sale A Bration Thoughtful Blooms stamps that actually co-ordinate with this Small Blooms punch!! Which on second look is a real belter of a set! Funny how sometimes you have to use a set to realise it's true potential (or not as the case can always be!)
 

Oh I have had such a busy & creative day!! And I feel like Spring has sprung! I'd forgotten how happy the colour yellow makes me!!

Tuesday, 3 September 2019

Tuesday Tip - a Frugal card with co-ordinating envelope!


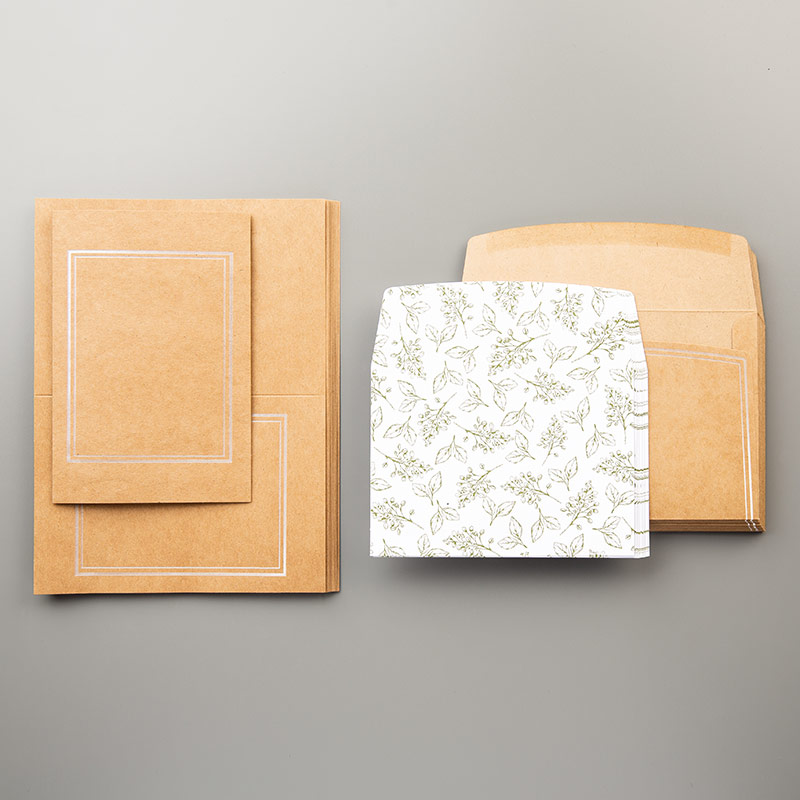
Had to share this quick frugal tip for your Magnolia Lane Memories & More Cards & Envelopes... 
Paper for the card decoration simply cut from the envelope liner... 9.2cm of it (aka 3 5/8")

Talk about waste not want not! And still enough to cover the top of the envelope!
Finished off with a few Daisy Lane daisies and the Genuine Gems large saying again!