Showing posts with label So Sentimental. Show all posts

Saturday, 22 August 2020

Hand Drawn Blooms & No Line Stamping Watercolour

 Another make using Hand Drawn Blooms and the No Line Stamping Technique...

You know the one... Inkup and stamp in a very pale colour so that the lines "disappear" when you add your colour... which works particularly well when watercolouring as you end up looking like a fantastic artist that can draw superbly! I used Gray Granite ink...

I used the Watercolor Pencils for the watercolouring as it has been a while since I had those out... just a scribble here and there and then pulled out using a Blender Pen... perfect mediums for watercolouring these small floral images and for adding colour to the stalks and sprays... And so many colours for such a small price...
Finished off with Daffodil Delight Ruched ribbon... with an illusion of the ribbon being tied around the stalks and then into a bow.... which is how you would do it naturally

So a straightforward small bow... which is stuck (with a Mini Glue Dot) on top of a small piece of ribbon that is pushed through either side of the stalks... as I cut a small slit either side of the stalks and pushed a small piece (only about 1") of the ribbon through before I stuck the panel onto the Balmy Blue mat....
Greeting from So Sentimental (have to admit that this greetings set is still getting a really good workout...)

And here are the No Line Stamping Hand Drawn Blooms duo... the other one being coloured in using Stampin Blends... click here for the rest of the details on that one (with or without the gnome!)


Friday, 21 August 2020

Stamped A4 One Sheet Wonder Cards set

Following on from the last 2 days post... this was actually the first sheet I stamped one sheet wonder style...
But I was surprised ... as I realised that I had filled everything in... rather than  leaving lots of white space as 'those of you that visit me regularly' would have assumed I would have done!
So I could call this the technique that continues to amaze (me!)
And a shot of what I used on this one... as totally different to yesterdays... Blossoms in Bloom for the main parts... leaves from Sending Sunshine again... and greetings from So Sentimental...
Note that I applied a darker Midnight Muse (with a dauber) to the centre of the large flowers image before stamping... which I forgot to show in the shot of what I used below...

Oh plus the Waterfront splats and Very Versailles text... 
Though I will admit that ... in the future... I would stamp any text after cutting up my panels... as that way I wouldn't have to use my panels in the direction of the text!

Though funnily enough I can cope with this text being upside down... as I don't think you can really tell! But I don't like it running up or down in direction aka on its side...

Thursday, 6 August 2020

Today's Thursday Tiles are full of...

Vintage vibes...  and reminding me of past denim days! And a technique that adds a mute softness to this image... 

Though would have been even better if I had thought to use the Tasteful Textile embossing folder after finishing my panel.... that would have been a real WOW!

Todays Tiles mosaic stamp inked up in Misty Moonlight, stamped off on scrap paper and then stamped onto my 10.1cm/4" square panel... Repeated for the other side...
Then Gray Granite overstamped... again twice..

Greeting stamped on 10.1cm/4" x 2.5cm/1" high Whisper White panel ... and added to cover the 3rd section* down... along with a bit of simple white Bakers Twine to finish... 

Adhered to a small square Seaside Spray card blank... 10.5cm or 4 1/8" square 

* brilliant way of covering an "oopsy"... Shhh.. don't tell everyone...

Thursday, 30 July 2020

Thursday Today's Tiles Trio & Blog Search Tip...

And yes there are still more Todays Tiles cards left to share... this one actually being the first I produced... so bear with me...

A straightforward A6 card with a simple So Sentimental greeting...

And then a Faux bow added... though I ended up taking that off as I suddenly needed a card for a fella... and most of them are not so partial to a bow!
                              
And so my first little trio of Clean & Simple cards were ready... More details on Namaste here and Hello here...
Until I added a fourth...
And then as all my regular blog subscribers know... I just carried on... so there are many more ideas shared on here if you want to enter TODAYS TILES in the Search This Blog box down the right hand side of this blog and hit enter... and a few more to come!


Tuesday, 28 July 2020

Tuesday Tips with Today's Tiles #5

Please note that is the first of 2 posts today... please click here or scroll up for the Field of Flowers Class in The Mail details... 

Another simple little idea and tip using the Today's Tiles stamp set... Ombre stamping...

Stamp inked up using Pool Party... then Coastal Cabana over middle two thirds... finishing off with Bermuda Bay for the middle third ...ish! Stamped...
Then re-inked as much the same as possible, lined up and stamped to the side...

Detail over stamped with Night of Navy... twice
Finishing off with a Stitched Shapes square with So Sentimental greeting in Bermuda Bay and Night of Navy...
And I have to admit... I may have been thoroughly enjoying this set so much... that I may now have to buy my own!

Apologies for anyone that has seen this post before... something went very wrong at the time and Blogger tells me that no one saw this post... and it is one of my favourite Todays Tiles cards so I thought I would re-post the information...

Thursday, 23 July 2020

More diagonal or diamond mosaics.... Todays Tiles #8

And so here is another Todays Tiles creation...

Just wish I had taken a photo of todays and Tuesdays side by side! But one has left the building already...so I can't do that now!
But for those of you that haven't spotted the difference! This one has a larger stitched square greeting rather then the diamond/smaller square on its side!


Tuesday, 21 July 2020

Todays (Tuesday) Tiles... the diamond effect... #7

Liking this effect with Todays Tiles too... stamping "on its side"... from one corner of my little square to the other... to form a diamond effect... 

Though I have just realised I could probably have done this differently... maybe I had better borrow the stamps again... and see if that way works! I'll be sure to report back if  I can... and if it does...
Namaste...

Thursday, 16 July 2020

Thursday Today's Tiles & Tips #6

These Todays Tiles cards are a real WOW in the flesh... all shimmery and glimmery as only a bit of heat embossing can do...
First up... gold embossed background... detail overstamped with Night of Navy...
And yes... I did stamp the the detail over the wrong way round to the bottom!!! But I didn't realise until just now... and the stamps have gone to their rightful owner... so I can't quickly make another! So here you have it... warts and all.... and all that!

Second up... Night of Navy background... detail over embossed in Gold... 
Spot the glimmer on this card... 
I quickly embossed this panel which meant that the Navy ink was still a bit wet... so I ended up with a lovely gold pearlescent sheen on navy... couldn't have planned that better if I tried...  though the perfectionists of you out there probably won't like the effect!
Finished off with a greeting on a Stitched Shapes square
And spot the difference on the panel sizes on the next photo of the cards... 
The gold embossed background on the right is stamped and set on a 10.5cm (4 1/8") panel... so it is the same size as the card blank...

Whereas as the navy background (to the left) is stamped on a 10.5cm (4 1/8") panel... which is then trimmed down to 10.1cm and mounted on a 10.5cm (4 1/8") card blank. I find this easier to get things to line up better... (though I could have set up my Stamparatus to do this for me with hindsight!)
Thank You greeting from So Sentimental... Sympathy from Peaceful Moments... two of my favourite greetings sets...


Tuesday, 7 July 2020

Tuesday Tips - Todays Tiles #4

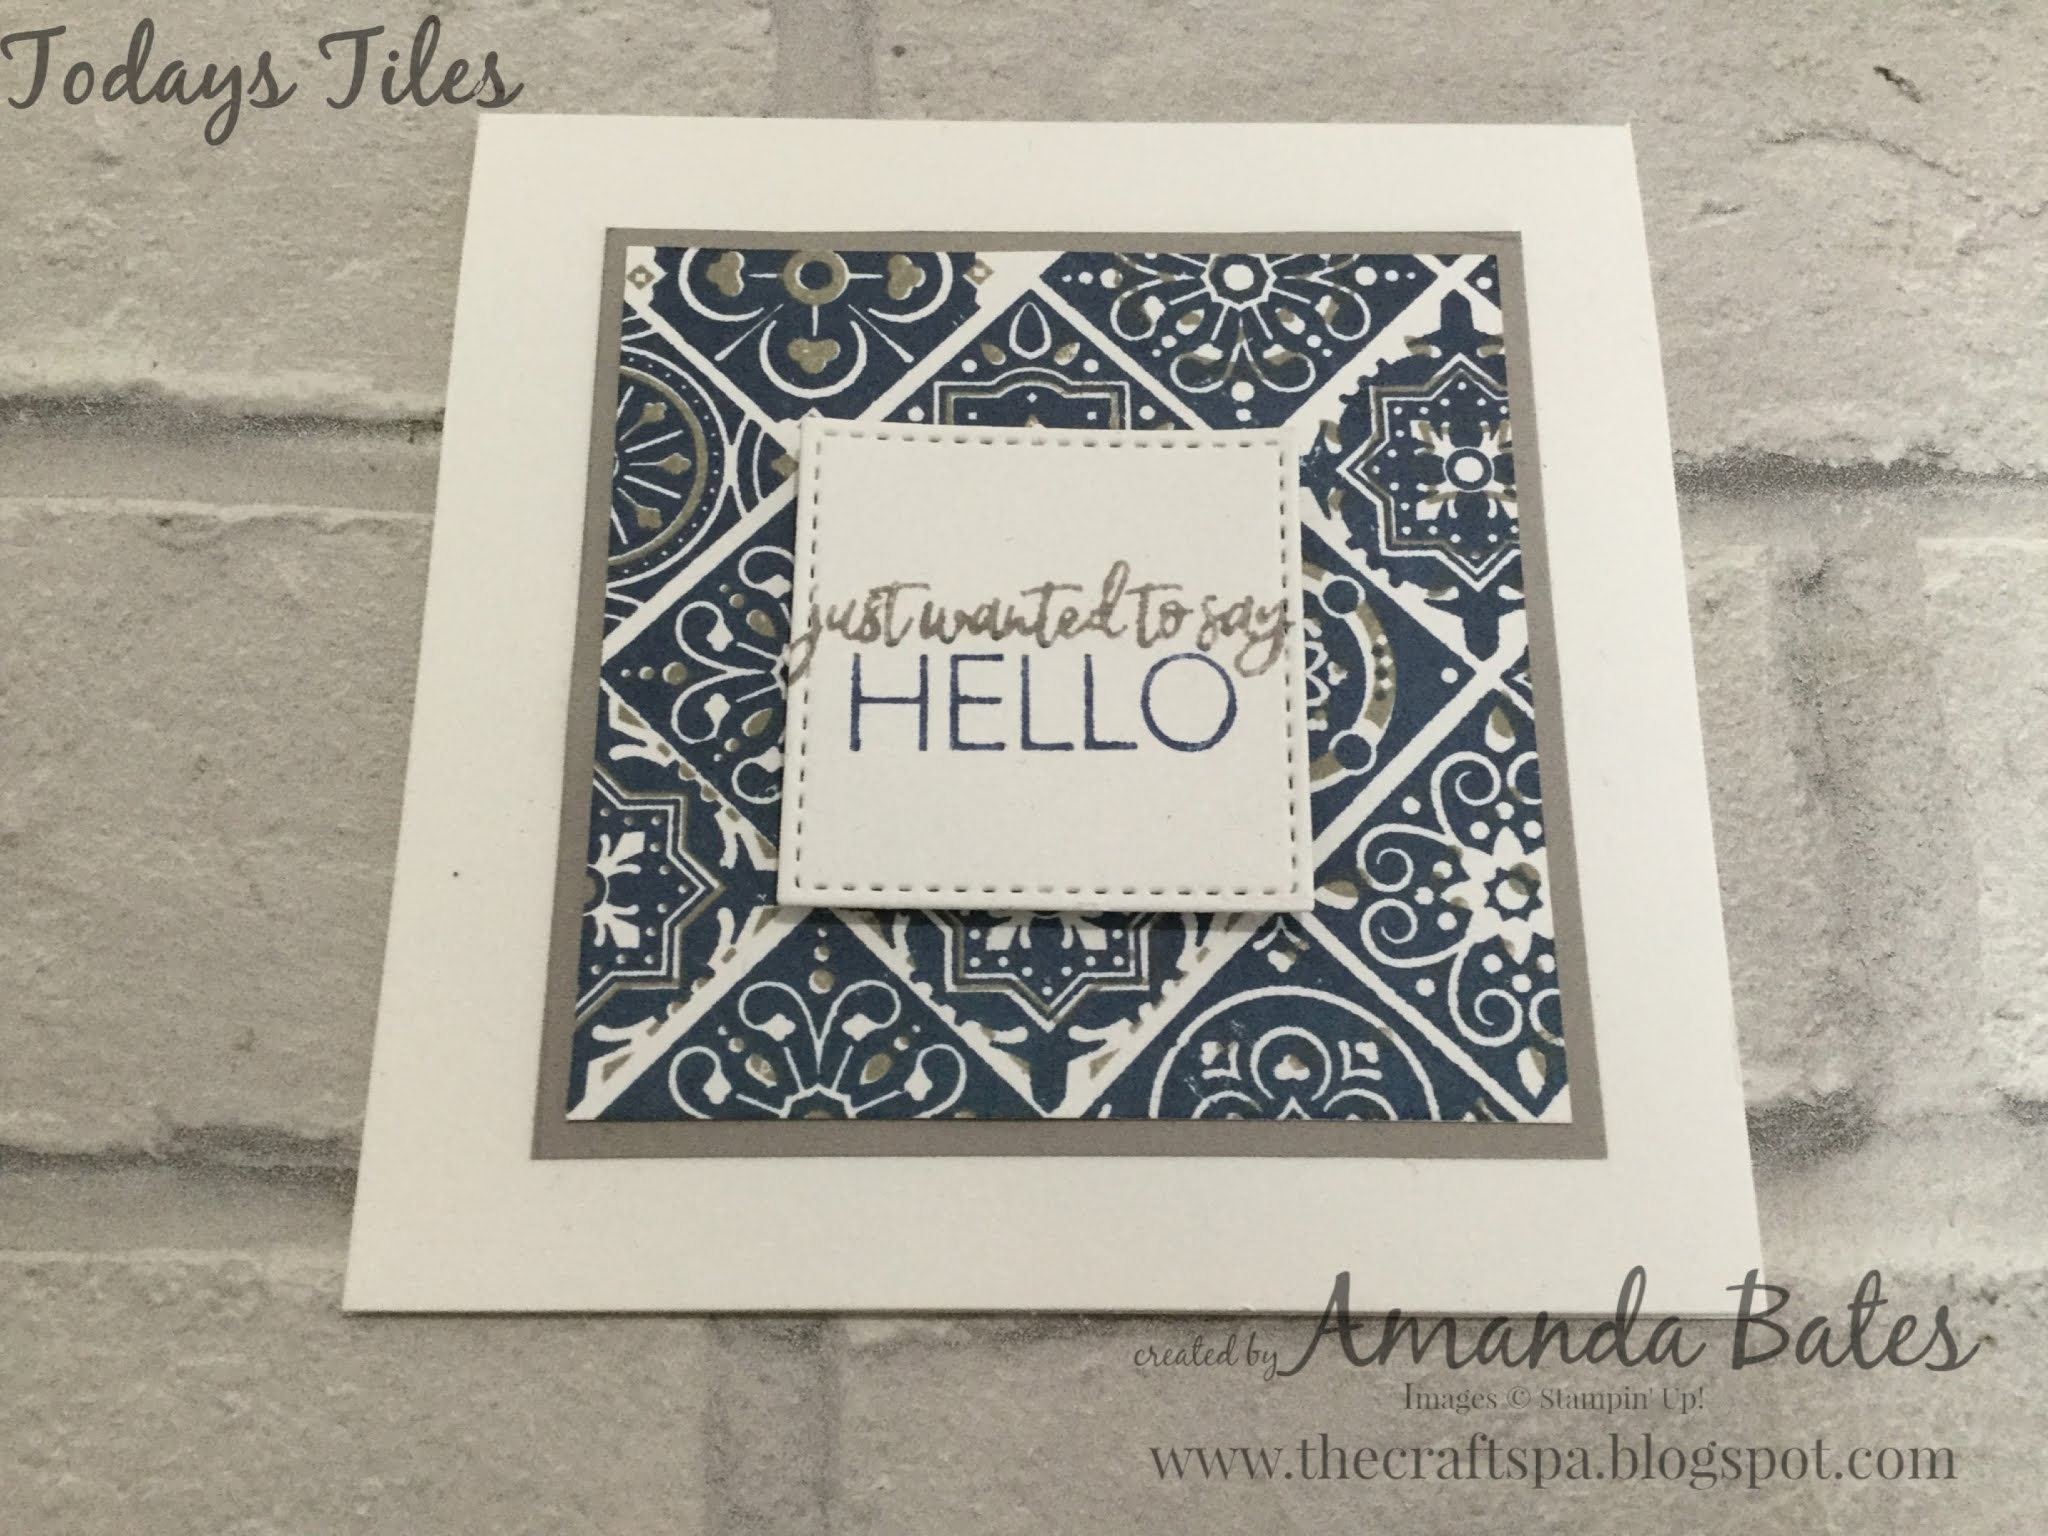
Another variant of yesterday's Today's Tiles card for you... this time to simply say Thank You... using my current greetings-go-to So Sentimental stamps

And a few tips for you...
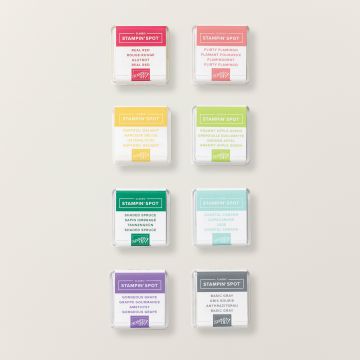
So to have multi colour tiles/mosaics... just grab your Stampin Spots... they are just the perfect size! How clever Stampin' Up to design the stamps that way...

By the way... the linked Classic Stampin' Spots Assortment  are a great set if you are building up your ink colours!!
And 2 simple little inking tips... 

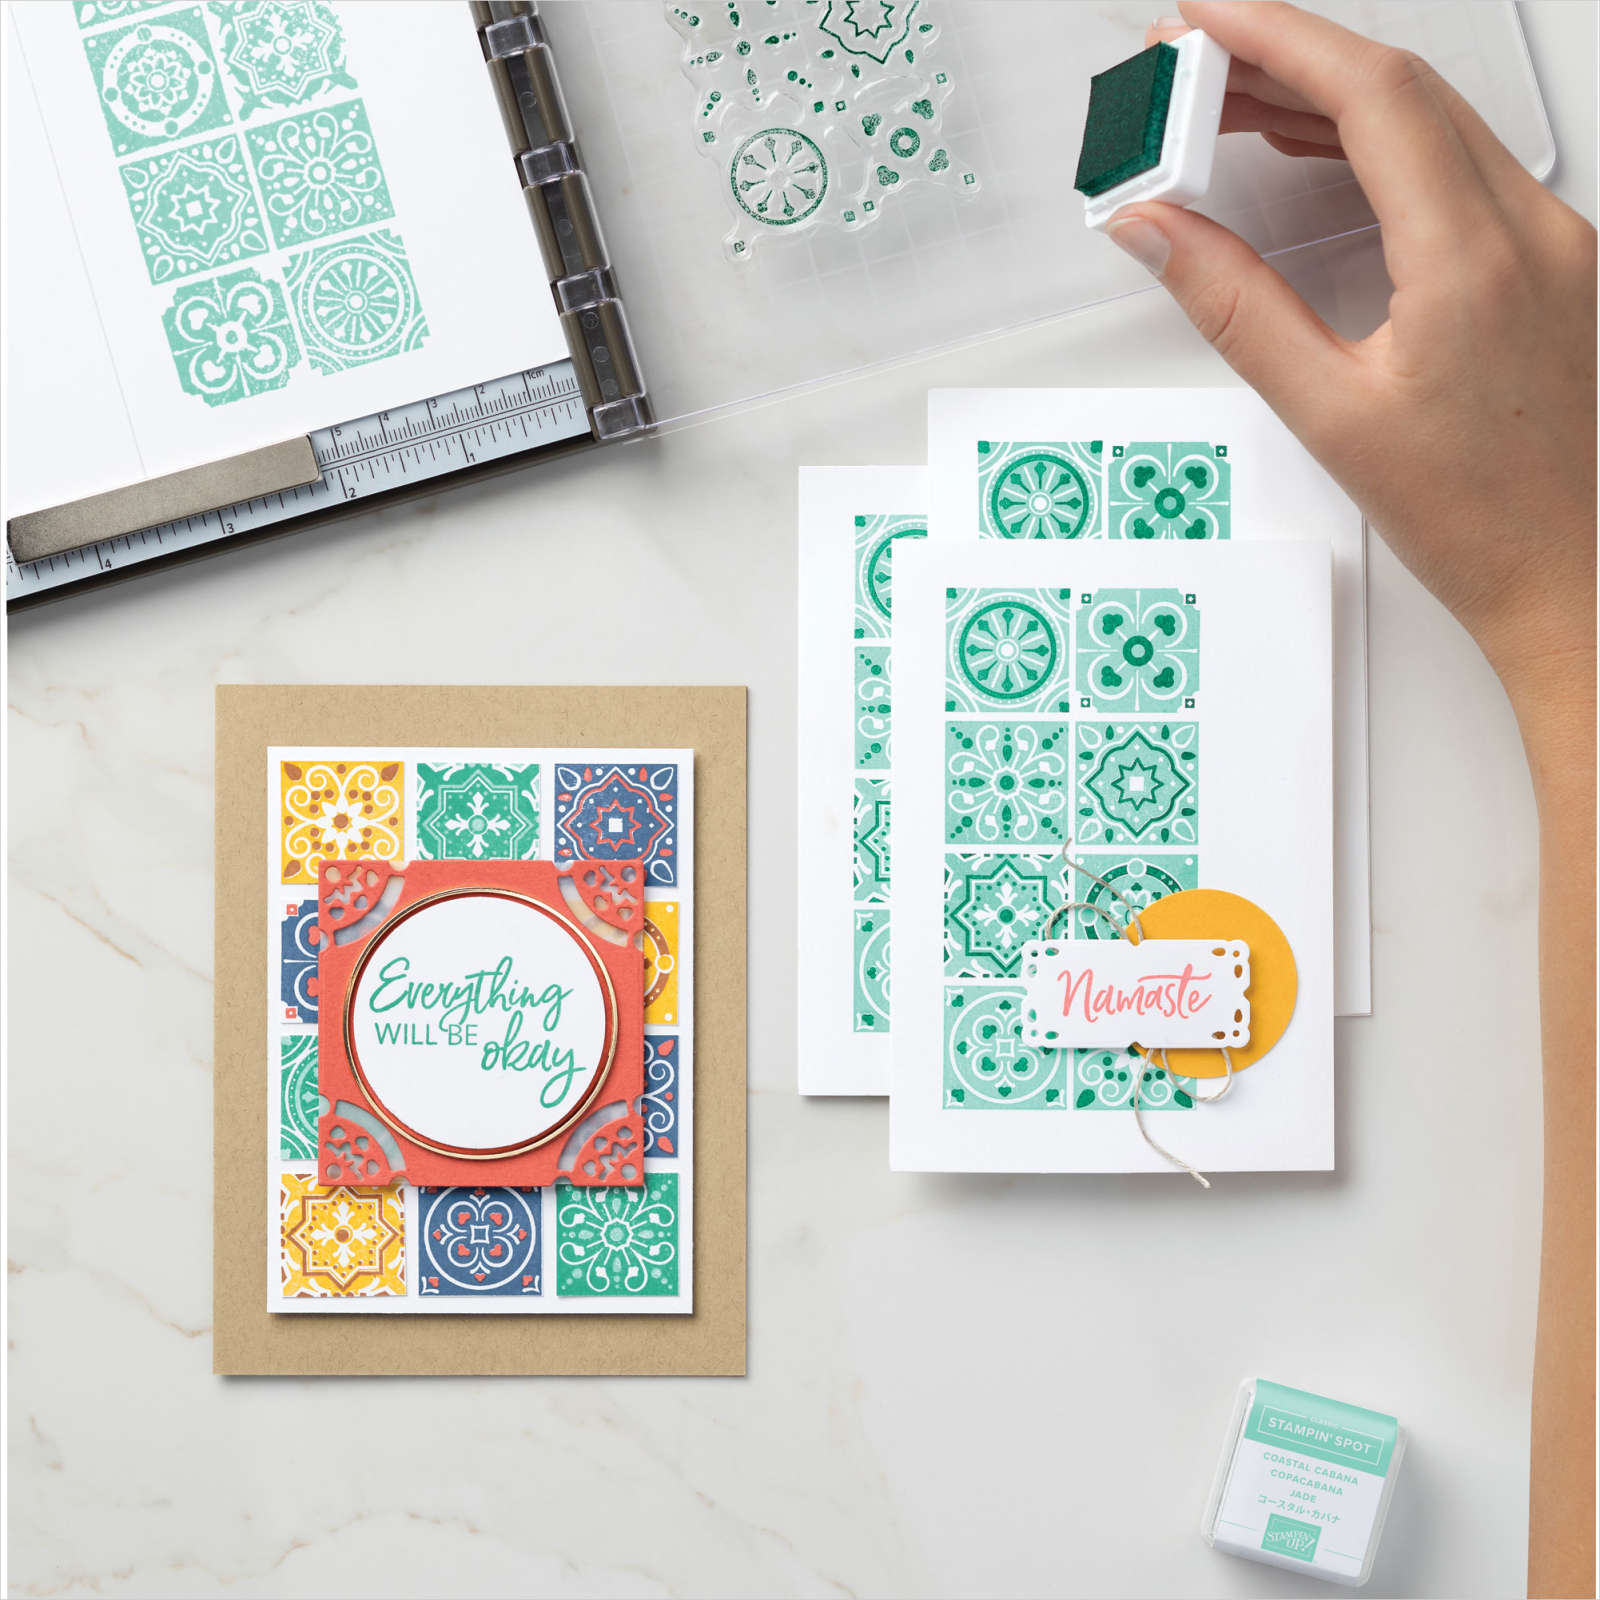
Start with the palest colour and ink up each tile you want that colour... nice and fast with the Stampin Spot in your hand! 

Then pick up the darker ink spot place it on your work surface... and carefully place your stamp on top to ink up each tile... easier to eyeball that way round... particularly with a darker colour!

Then stamp...
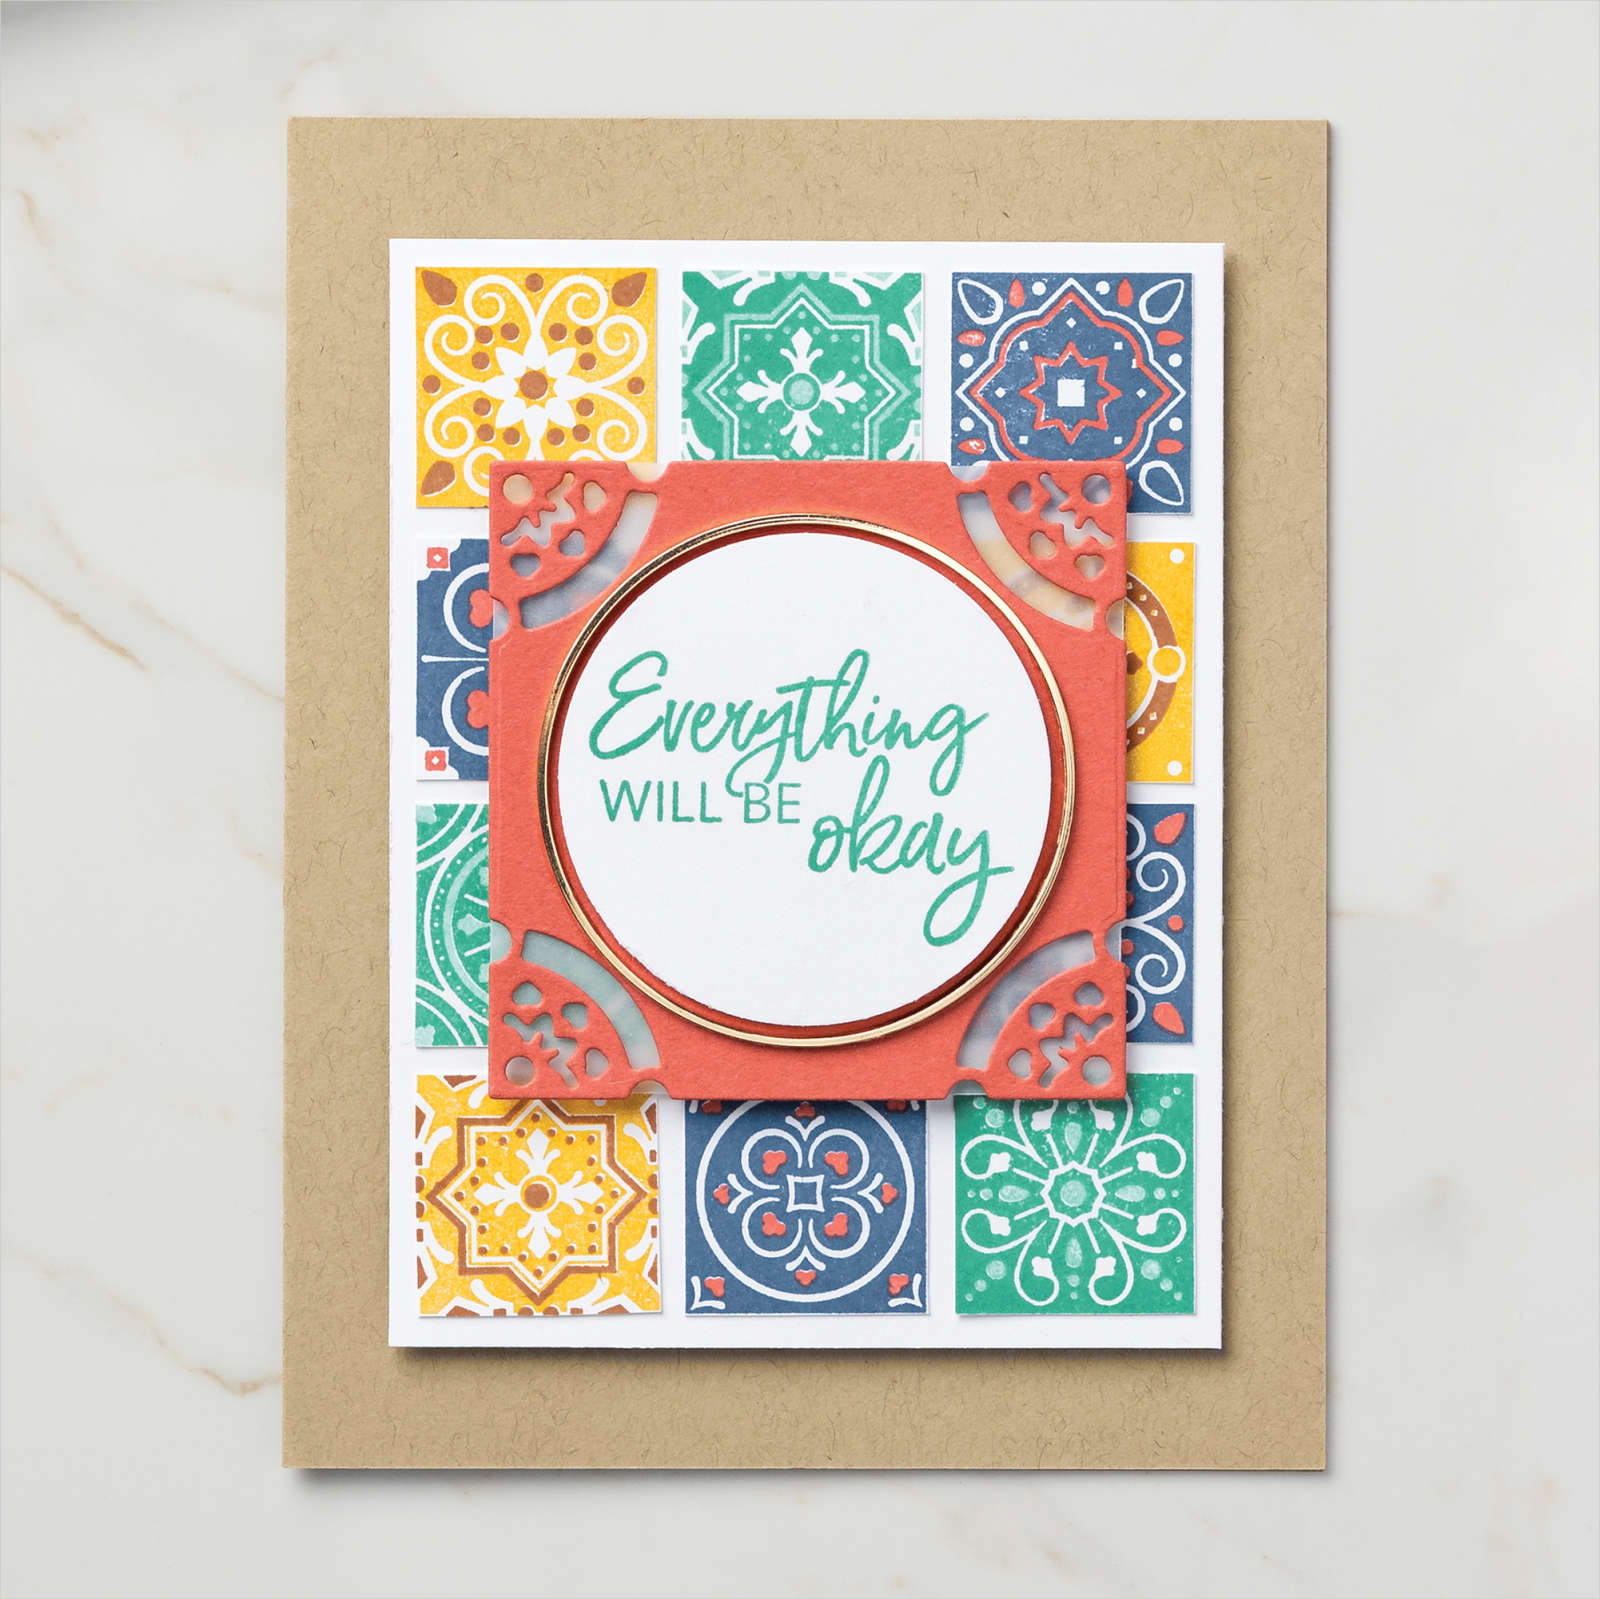
And a laugh for you... I was ever so excited when I came up with the use of Stampin Spots in this way with this set... and couldn't wait to share it with you....  but then I saw the  next image  in the Stampin' Up! catalogue... 
And realised that my thought process weren't that unique after all! Although in my defence I don't actually look at the sample photos in the catalogue so it wasn't in my sub conscious! And check out how many colour variations you can use in this way!
The card is a 10.5cm (4 1/8") Square card in Balmy Blue (Thank You)  or Thick Whisper White (Merry Christmas)... and the Whisper White stamping panel was 10.5cm (4 1/8") too... as that is the perfect size for 2 stampings ... and then I trimmed it down to 10.1cm square.... I just found this easier to get things lined up and stamped nicely! 

Though my last tip would be to use the Stamparatus with this set... as stamping is SO easy once things are all set up.... the hinge spacing being perfect for the job! 

I didn't use mine... as time was of the essence and I was trying out different things with the stamps so mine were all done by eyeballing... with variable results!! Though stupidly I should have stamped a plastic sheet and used my trusty Stamp A Ma Jig (retired but still used daily at The Craft Spa!)... as that would have made my lining up so so much simpler (and better!)

And note... I switched my colour scheme rom the Midnight Muse/Seaside Spray/Gray Granite.... and have used Balmy Blue and Night of Navy with Versamark & Silver Embossing Powder on these cards ... as they were the 2 blues that I happened to have Stampin Spots all ready to go... and time was of the essence as I needed to pass the stamp set onto its rightful owner...
And spot the perfection of the Stitched Shapes square size... love it when that happens!

And a final inking tip... the Thank you greeting has been inked up and stamped in 2 halves... 

Firstly, the Thank You in Versamark ( I actually used a Versamark pen to do this - available readily elsewhere!) and Silver embossing powder... and then heated to melt...  

Then a good clean of the stamp... and a Night of Navy marker pen to ink up I can't and Enough... and then overstamped in exactly the same position... Again think how easy this would be using the Stamparatus... which obviously I didn't as I was in pure eyeballing mode!

Phew ... loads more tips than I thought there... for such a simple little card!!

Thursday, 2 July 2020

Todays Tiles #1

I think I could be addicted!

Starting off today with a really simple make featuring Today's Tiles... just a bit of stamping and a punched label... what can be simpler...

But before I start... in case you missed the news yesterday... Bonus Days have started... meaning free Stampin' Up product for you... click here for all the information...

So... I have been having a lovely play with Today's Tiles which is available as a stamp set...
The Field Tile Dies
Or as a Bundle with 10% off...
Though I only had the stamp set to hand... but for me I didn't need anything else!
So 2 step stamping of the tiles in the new Misty Moonlight and Seaside Spray on a 10cm (4") Whisper White panel ...
Then the lovely So Sentimental set greeting inked up with the Seaside Spray ink pad... 
With the Misty Moonlight marker pen applied over the top and bottom words... 

Then stamped...  and then punched with the (appropriately named) Label Me Lovely Punch... as a similar shape can be found within those mosaic tiles... 
Note that the So Sentimental stamps come within a bundle... 
Including the fabulous Stitched So Sweetly dies dies... with the 10% discounted price still applying....
Lots more to share  - and lots of tips - using this stamps set/bundle... could be quite a long series!