Think these may be the last of my Today's Tiles projects... what will I do for Thursday posts now... LOL!
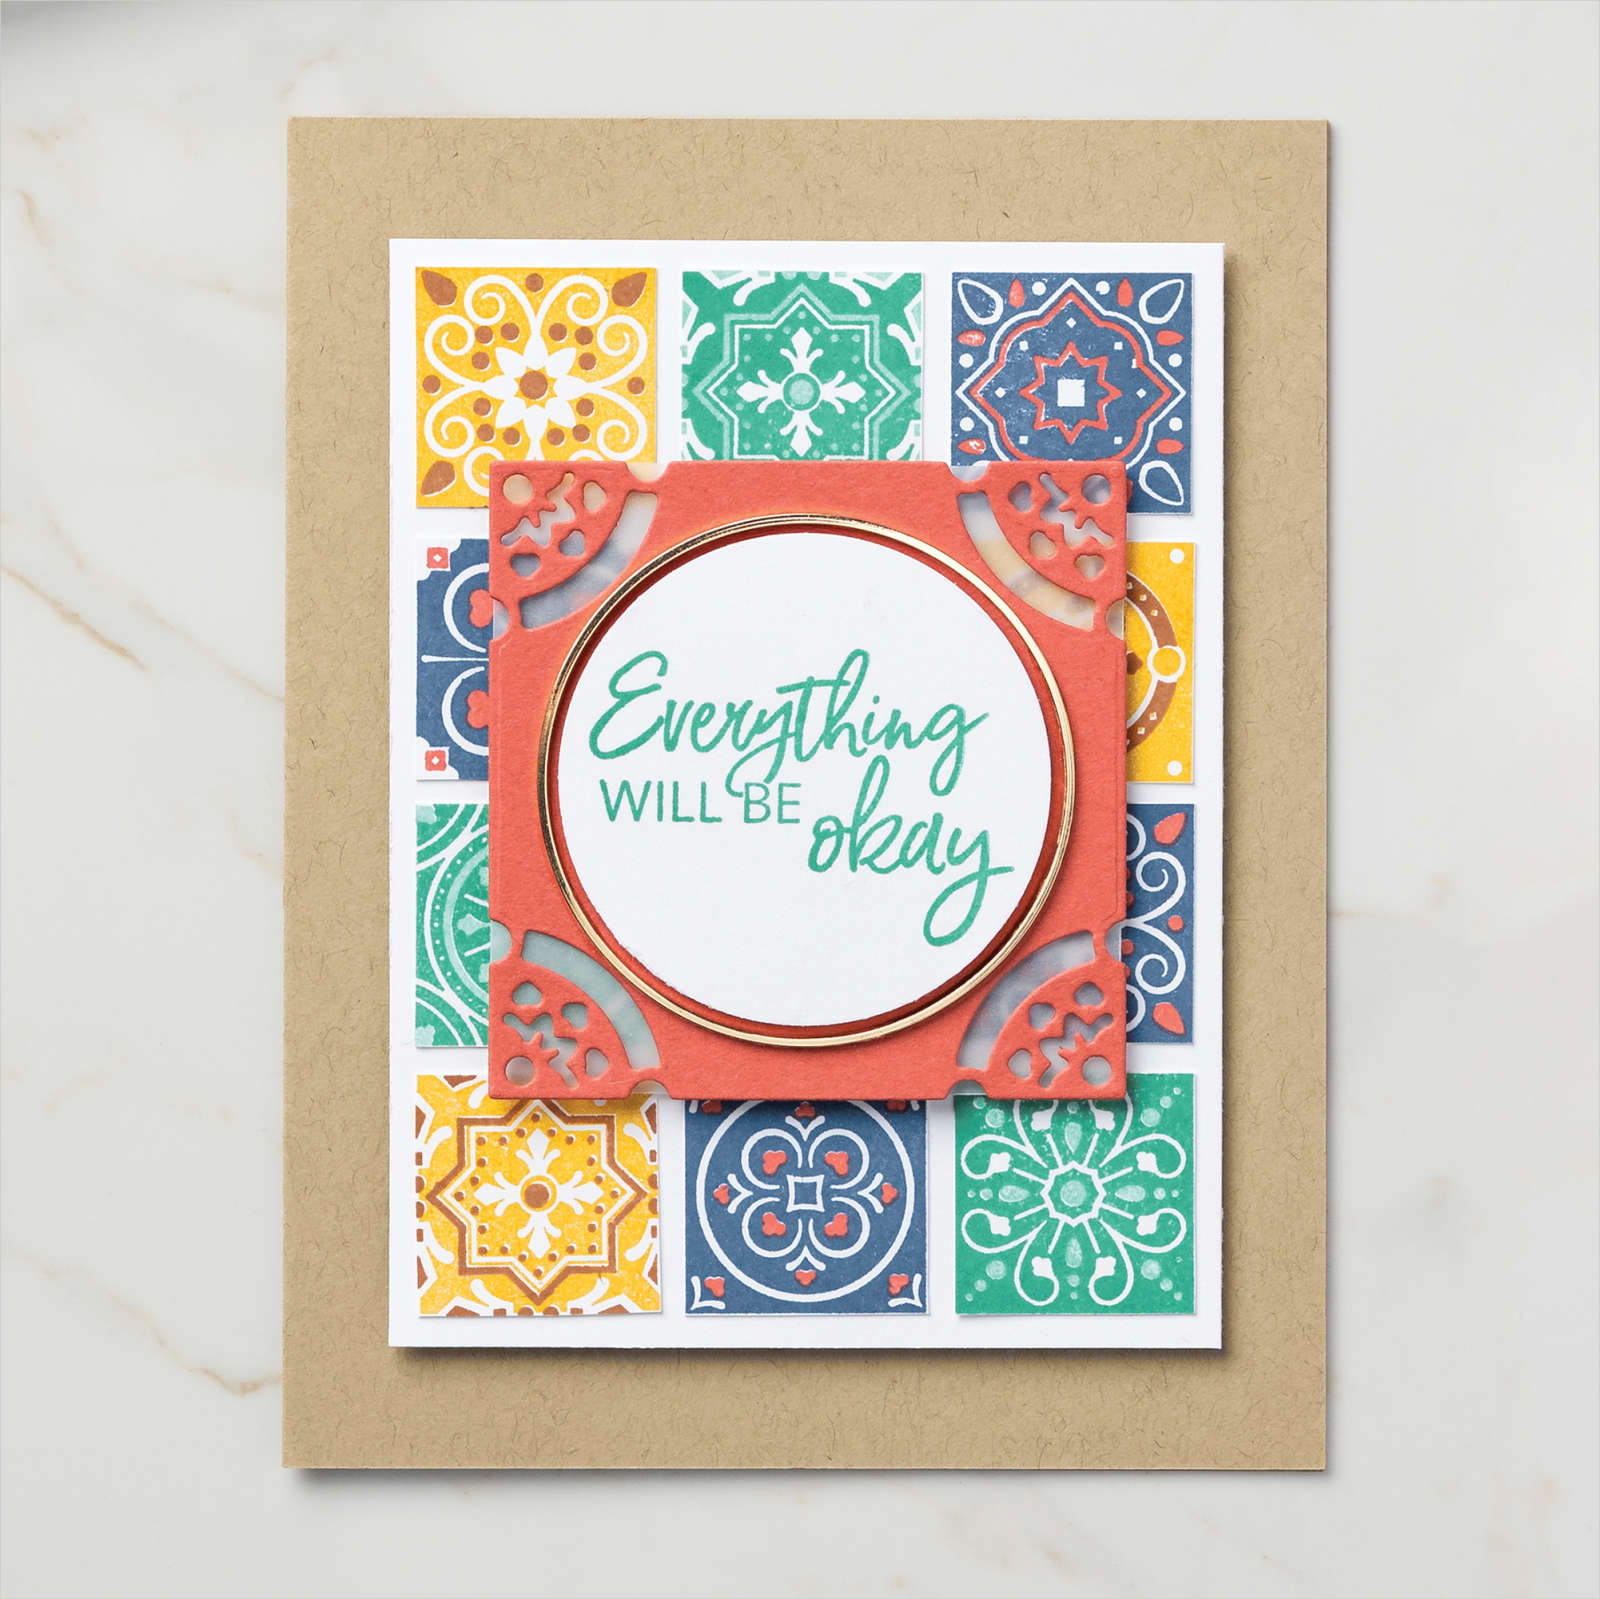
So a round up shot of my Today's Tiles projects... though to be fair some had already been posted off before I took this photo... so there are some missing... wow! I did make a lot in one session... such fun...
Click here to see more details on these (and more) cards.. or ... if that fails!... type Todays Tiles into the "search this blog" box (4 down on the RHS)
So a couple of multi colour variants to share today... created to send cards with friends favourite colourways... so easy to do with the Todays Tiles set... though I wish I had stamped a few brighter variants at the time!!!
So Bermuda Bay & Seaside Spray on Midnight Muse...
And Rich Razzleberry & Seaside Spray on Midnight Muse... with a 3/8" Denim Ribbon bow ... which happens to go well with the new Midnight Muse colour...
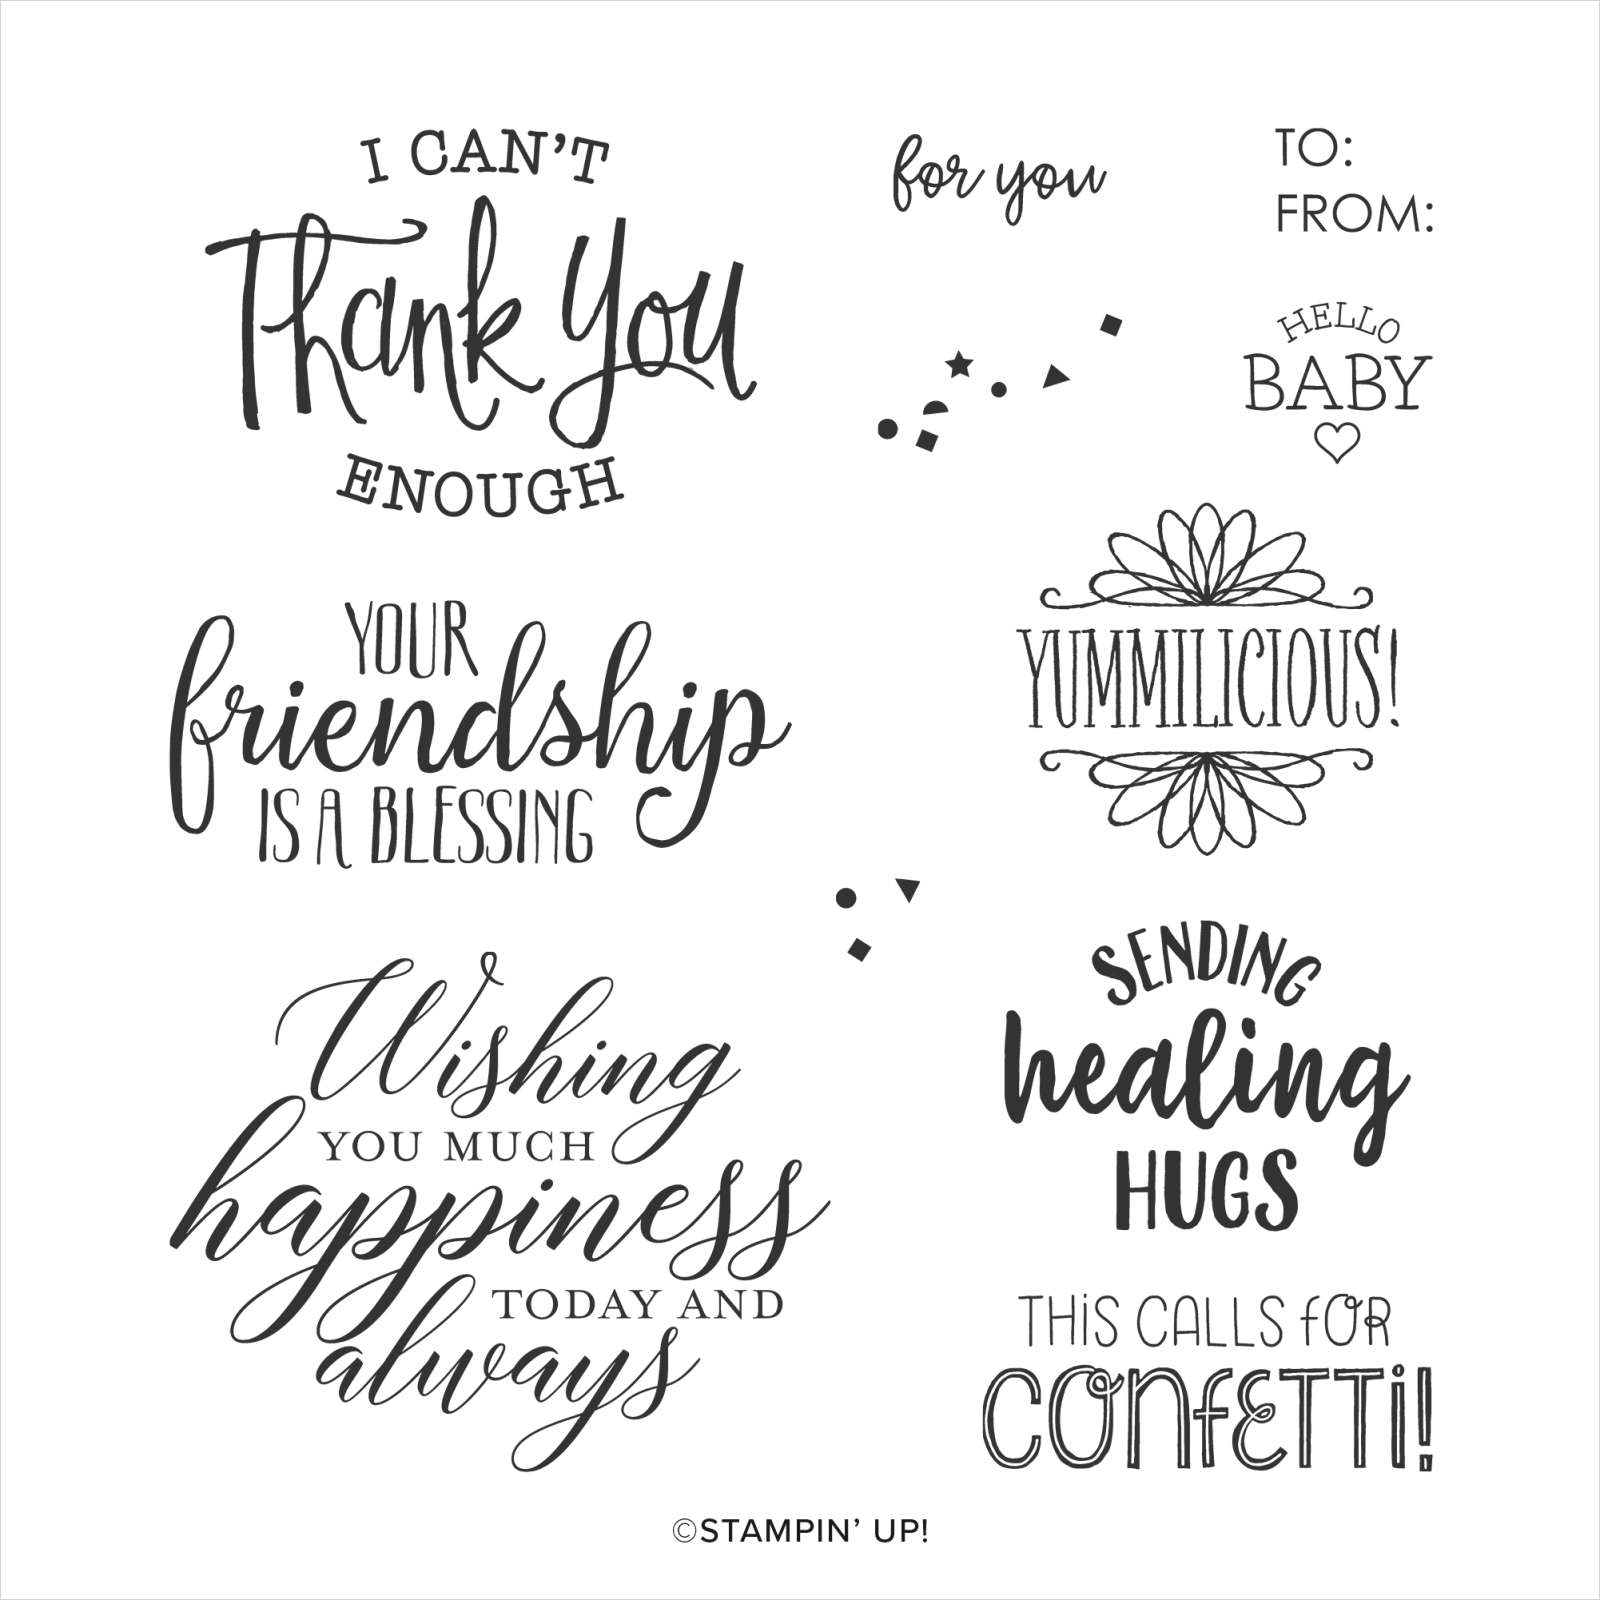
Both finished off with a stamped Healing Hugs greeting on a die cut Stitched Shapes square...
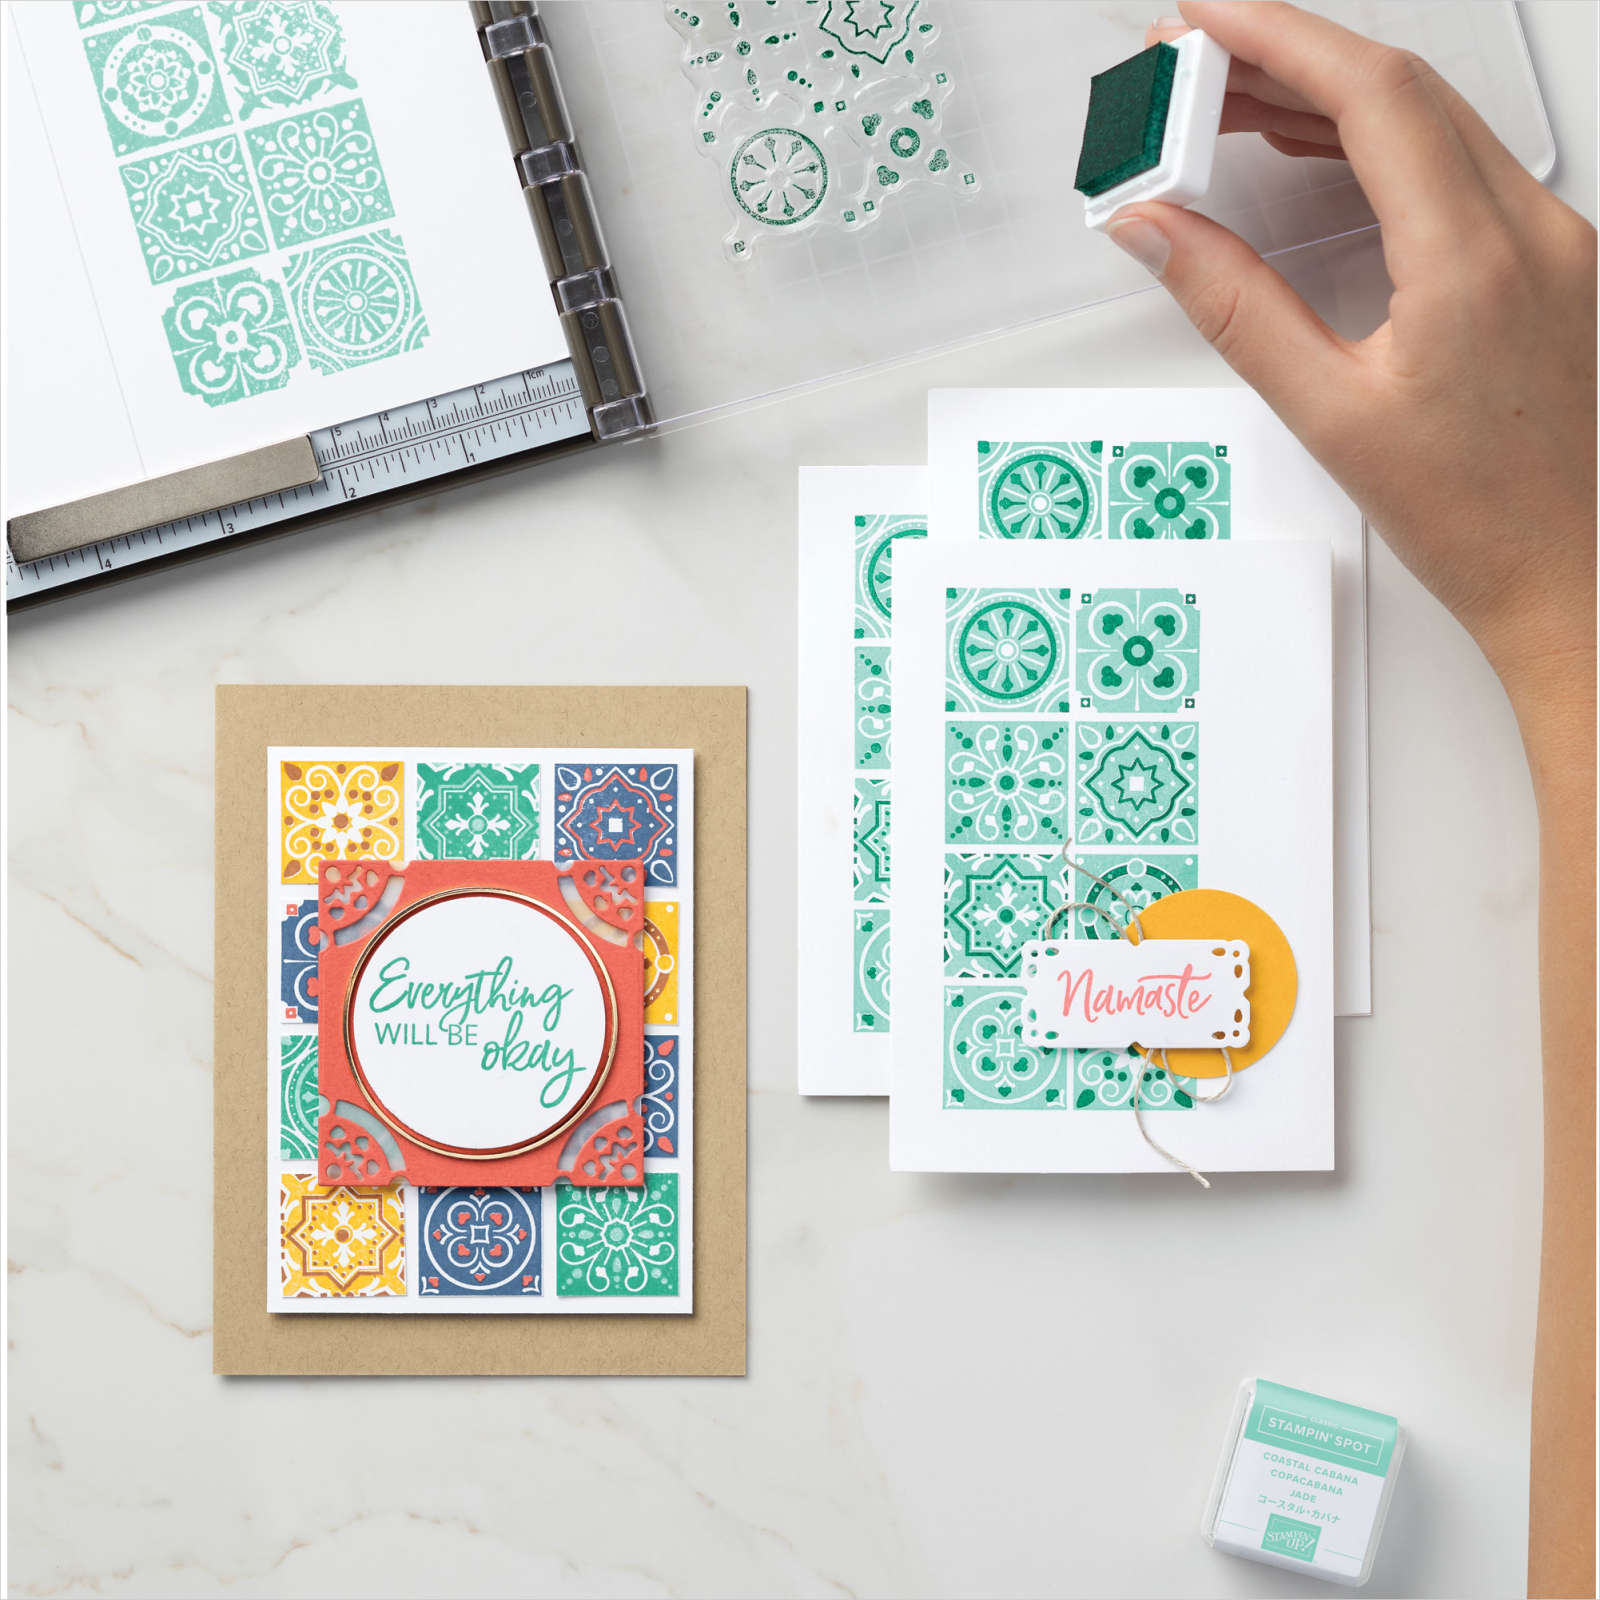
Multicolour stamping using Stampin Spots (as perfect size!) and the decorative "over the top" stamp... inking up every other section* with one colour... then inking up the other sections with the other colour... and then stamping over my background...
* Annoyingly I have misplaced the photos I took at the time... but I found this easiest to ink up by using the paler colour first... Stampin Spot down onto the 4 sections required... and then inking up the darker sections by placing the stamp section down onto the spot...as I found it easier to line up more accurately that way.... but I do think this would have been even easier with the Stamparatus if I had had the patience at the time to set it up... But I only had a few hours with the stamp set... and lots of ideas to try!
Showing posts with label Mosaic. Show all posts
Showing posts with label Mosaic. Show all posts
Thursday, 13 August 2020
Thursday, 30 July 2020
Thursday Today's Tiles Trio & Blog Search Tip...
And yes there are still more Todays Tiles cards left to share... this one actually being the first I produced... so bear with me...
A straightforward A6 card with a simple So Sentimental greeting...
Misty Moonlight Stampin Blends coloured 3/8"silver edged ribbon to finish...
And then a Faux bow added... though I ended up taking that off as I suddenly needed a card for a fella... and most of them are not so partial to a bow!
And so my first little trio of Clean & Simple cards were ready... More details on Namaste here and Hello here...
Until I added a fourth...
And then as all my regular blog subscribers know... I just carried on... so there are many more ideas shared on here if you want to enter TODAYS TILES in the Search This Blog box down the right hand side of this blog and hit enter... and a few more to come!
Tuesday, 21 July 2020
Todays (Tuesday) Tiles... the diamond effect... #7
Liking this effect with Todays Tiles too... stamping "on its side"... from one corner of my little square to the other... to form a diamond effect...
Though I have just realised I could probably have done this differently... maybe I had better borrow the stamps again... and see if that way works! I'll be sure to report back if I can... and if it does...
Namaste...
Thursday, 16 July 2020
Thursday Today's Tiles & Tips #6
These Todays Tiles cards are a real WOW in the flesh... all shimmery and glimmery as only a bit of heat embossing can do...
First up... gold embossed background... detail overstamped with Night of Navy...
And yes... I did stamp the the detail over the wrong way round to the bottom!!! But I didn't realise until just now... and the stamps have gone to their rightful owner... so I can't quickly make another! So here you have it... warts and all.... and all that!
Spot the glimmer on this card...
I quickly embossed this panel which meant that the Navy ink was still a bit wet... so I ended up with a lovely gold pearlescent sheen on navy... couldn't have planned that better if I tried... though the perfectionists of you out there probably won't like the effect!
Finished off with a greeting on a Stitched Shapes square
And spot the difference on the panel sizes on the next photo of the cards... The gold embossed background on the right is stamped and set on a 10.5cm (4 1/8") panel... so it is the same size as the card blank...
Whereas as the navy background (to the left) is stamped on a 10.5cm (4 1/8") panel... which is then trimmed down to 10.1cm and mounted on a 10.5cm (4 1/8") card blank. I find this easier to get things to line up better... (though I could have set up my Stamparatus to do this for me with hindsight!)
Thank You greeting from So Sentimental... Sympathy from Peaceful Moments... two of my favourite greetings sets...
Thursday, 9 July 2020
Todays Tiles on Thursday...
So a bookmark for you today... which I made to thank the owner of the Today's Tiles set for letting me play! So I did select the colours especially for her... as that is so easy to do with this set...
Needless to say... she rather liked it!!
And so did I... so I quickly made one for myself... but I forgot to stamp the 2nd layer... so guess who needs to borrow the set again... lol... so something for another day...
So Night of Navy with Bermuda Bay over n Whisper White card with the words READ ME die cut (using the new Playful Alphabets dies) from Bermuda Bay and Whisper White - the white letters forming shadow layers underneath the Bermuda Bay letters... so as to give greater definition...
Bermuda Bay Stampin Blends coloured 3/8" Metallic Edge White ribbon ... which has come a bit of a go to ribbon nowadays... as I can colour it anything I need at the time...
Tuesday, 7 July 2020
Tuesday Tips - Todays Tiles #4
Another variant of yesterday's Today's Tiles card for you... this time to simply say Thank You... using my current greetings-go-to So Sentimental stamps
And a few tips for you...
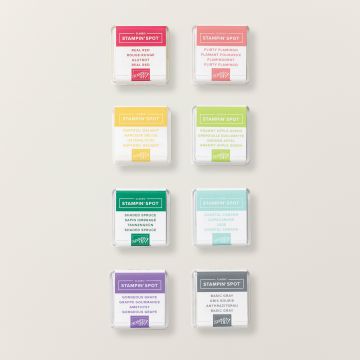
So to have multi colour tiles/mosaics... just grab your Stampin Spots... they are just the perfect size! How clever Stampin' Up to design the stamps that way...
By the way... the linked Classic Stampin' Spots Assortment are a great set if you are building up your ink colours!!

And 2 simple little inking tips...
Start with the palest colour and ink up each tile you want that colour... nice and fast with the Stampin Spot in your hand!
Then pick up the darker ink spot place it on your work surface... and carefully place your stamp on top to ink up each tile... easier to eyeball that way round... particularly with a darker colour!
Then stamp...
And a laugh for you... I was ever so excited when I came up with the use of Stampin Spots in this way with this set... and couldn't wait to share it with you.... but then I saw the next image in the Stampin' Up! catalogue...

And realised that my thought process weren't that unique after all! Although in my defence I don't actually look at the sample photos in the catalogue so it wasn't in my sub conscious! And check out how many colour variations you can use in this way!

The card is a 10.5cm (4 1/8") Square card in Balmy Blue (Thank You) or Thick Whisper White (Merry Christmas)... and the Whisper White stamping panel was 10.5cm (4 1/8") too... as that is the perfect size for 2 stampings ... and then I trimmed it down to 10.1cm square.... I just found this easier to get things lined up and stamped nicely!
Though my last tip would be to use the Stamparatus with this set... as stamping is SO easy once things are all set up.... the hinge spacing being perfect for the job!
I didn't use mine... as time was of the essence and I was trying out different things with the stamps so mine were all done by eyeballing... with variable results!! Though stupidly I should have stamped a plastic sheet and used my trusty Stamp A Ma Jig (retired but still used daily at The Craft Spa!)... as that would have made my lining up so so much simpler (and better!)
And note... I switched my colour scheme rom the Midnight Muse/Seaside Spray/Gray Granite.... and have used Balmy Blue and Night of Navy with Versamark & Silver Embossing Powder on these cards ... as they were the 2 blues that I happened to have Stampin Spots all ready to go... and time was of the essence as I needed to pass the stamp set onto its rightful owner...
And spot the perfection of the Stitched Shapes square size... love it when that happens!
And a final inking tip... the Thank you greeting has been inked up and stamped in 2 halves...
Firstly, the Thank You in Versamark ( I actually used a Versamark pen to do this - available readily elsewhere!) and Silver embossing powder... and then heated to melt...
Then a good clean of the stamp... and a Night of Navy marker pen to ink up I can't and Enough... and then overstamped in exactly the same position... Again think how easy this would be using the Stamparatus... which obviously I didn't as I was in pure eyeballing mode!
Phew ... loads more tips than I thought there... for such a simple little card!!
Monday, 6 July 2020
Merry Monday - Today's Tiles #3
Love this Today's Tiles one! On about 4 levels...
Multi colour stamping care of Balmy Blue and Night of Navy Stampin' Spots... come back tomorrow for some tips on this...
Then just adding a little twinkle care of Versamark and Silver Embossing Powder overstamping...
Little thing... Big difference...
Christmas greeting care of Perfectly Plaid...
 And look at the perfect sizing of the Stitched Shapes die cut square at the centre....
And click here for more information and images of Todays Tiles...
Multi colour stamping care of Balmy Blue and Night of Navy Stampin' Spots... come back tomorrow for some tips on this...
Then just adding a little twinkle care of Versamark and Silver Embossing Powder overstamping...
Little thing... Big difference...
Christmas greeting care of Perfectly Plaid...

And click here for more information and images of Todays Tiles...
Saturday, 4 July 2020
Simples for Saturday.... Todays Tiles #2
Stamped in Midnight Muse and Gray Granite on Whisper White... with a Gray Granite square mat and Whisper White stamped square greeting panel on top...
Simples...
And click here for more information and images of Todays Tiles...
Thursday, 2 July 2020
Todays Tiles #1
Starting off today with a really simple make featuring Today's Tiles... just a bit of stamping and a punched label... what can be simpler...
But before I start... in case you missed the news yesterday... Bonus Days have started... meaning free Stampin' Up product for you... click here for all the information...
So... I have been having a lovely play with Today's Tiles which is available as a stamp set...
The Field Tile Dies
Or as a Bundle with 10% off...
Though I only had the stamp set to hand... but for me I didn't need anything else!
So 2 step stamping of the tiles in the new Misty Moonlight and Seaside Spray on a 10cm (4") Whisper White panel ...
Then the lovely So Sentimental set greeting inked up with the Seaside Spray ink pad...

With the Misty Moonlight marker pen applied over the top and bottom words...
Then stamped... and then punched with the (appropriately named) Label Me Lovely Punch... as a similar shape can be found within those mosaic tiles...

Note that the So Sentimental stamps come within a bundle...
Including the fabulous Stitched So Sweetly dies dies... with the 10% discounted price still applying....

Lots more to share - and lots of tips - using this stamps set/bundle... could be quite a long series!
Subscribe to:
Posts (Atom)


