Showing posts with label Daisy Lane. Show all posts

Tuesday, 24 August 2021

Penguin Place Buddies - Olly the Owl


A few quick posts over the next few days... starting with the lovely little Olly the Owl...


As I have been having a little play with my Penguin Place and Penguin Builder Punch... 

And I thought it high time that I started to share! 
Been so much fun... And remember... penguins are not just for Christmas!

Oh and... chest feathers courtesy of the little daisy in Daisy Lane... though you could also use the new and fabulous Daisy Garden  instead

And yes do not fear.... I have some penguins too!

Thursday, 31 October 2019

Friday, 4 October 2019

Fancy Fold Friday - Landscape Gap Card with Tutorial

I think that I warned you that there would be a few versions of the Gap Card...

Todays' is a standard A6 card ... but in landscape orientation this time... and so I have the Tutorial for you today... 
But click here for the A6 portrait tutorial... which has step by step photos if you need them.... 

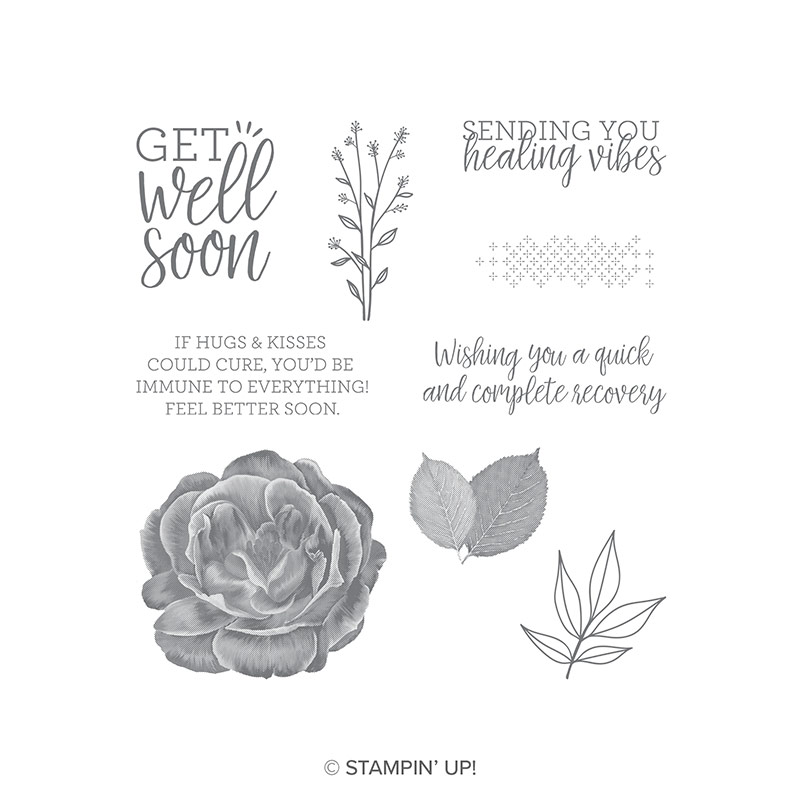
Using the Garden Lane papers... and other Stampin' Up! products used are Butterfly WishesDaisy Lane & Medium Daisy PunchHealing Hugs, and Frosted Frames dies... 

And I love the fact that these Frosted Frames dies are not just for Christmas! The snowflakes looking like little leaves behind those daisies...
Craft Spa Recipe
Soft Sea Foam 14.8 x 17.5cm
Papers 14.3 x 3cm (x2) 
(D) (Fancy Frame) Mossy Meadow 10.5 x 14.8cm 
(S, D) (Stitched Frame)Thick Whisper White 7 x 8cm 

Craft Spa Tutorial

1.     Large panel LANDSCAPE
2.     Cut at 3.5cm
3.     Move along & score at 3.5cm
4.     Bone Fold
5.     Adhere papers

6.     Put temporary glue on back of small panel
7.     Line up at bottom of main card & temporarily adhere
TIP – use grid paper to aid your eye in getting things all straight

8.     Thinking about where you need your glue, apply glue to top and bottom of fancy die cut frame
TIP – I tend to just use a finger or thumb to eyeball where I don’t want my glue to go…but you can mark the back of the card as shown here…
9.     Adhere the frame

10.            Decorate as required

11.            Rub off the temporary glue (I just used my finger... but the retired Adhesive Remover works a treat too!

Saturday, 28 September 2019

Simple for Saturday... Garden Lane Faux Double Point

So time for a remake of the Faux (or Deconstructed) Double Point Card in the Garden Lane papers for my classes this week...

But before I start... Live in the UK? Want crafty supplies at discount? Have a large Stampin' Up! Wish List?

Then I would love it if you joined my team... as I have a very special place for you... and so a very special gift for you.... Click here for more details and/or please contact me via this email link...  No future pressures (unless you want them!) ... and Hobby Demonstrators truly welcome...
And so back to my card... now I have to admit that this is definitely the favourite of  the Double Point Cards... as  it is simpler... and quick... and you don't use much paper... so it is a good value card too!

Click here for the Tutorial... 

Other Stampin' Up! products used today include... 
All of which does make for a very quick card... 

Friday, 27 September 2019

Double Point Card - Garden Lane

Another remake for my Garden Lane class this week... a Double Point Card (the stuck down version)
More details on the Magnolia Lane version of the Card here... and there is a link to a tutorial here... 

I just stuck down those folded papers/sides under the Nested Label greeting... which is popped up on 3D foam Stampin Dimensionals...
And added a couple of stamped and punched So Saffron Daisy Lane daisies and a couple of Pear Pizzazz punched leaves... 
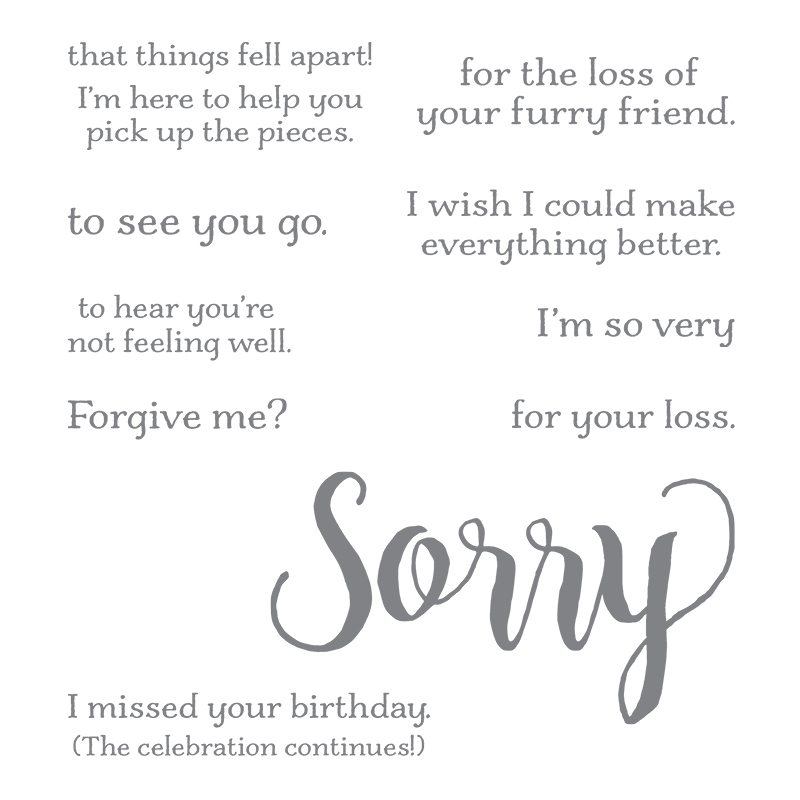
And greeting from Sorry for Everything... which is such a useful greeting set for those things that just need to be said when we least want to... 

Thursday, 26 September 2019

Garden Lane Gap Card

Back to another Gap Card...
This time in the Garden Lane papers... which are one of the packs on the Buy 3 Get a Fourth pack for Free paper promotion running at the moment...
And these papers are worth checking out... as they are suitable for virtually everyone and every occasion in your life... and can be simple dressed with flowers and leaves as and when required!
Click here for the card tutorial... with these Garden Lane papers pictured... though I didn't make the Scrap Card this time as these papers are 12x12 so I could get another card or two from the strip instead!
Other products used are Butterfly Wishes, Daisy Lane & Medium Daisy Punch, Healing Hugs, Leaf Punch, Floral Centres and Stitched Rectangle dies...

Tuesday, 3 September 2019

Tuesday Tip - a Frugal card with co-ordinating envelope!


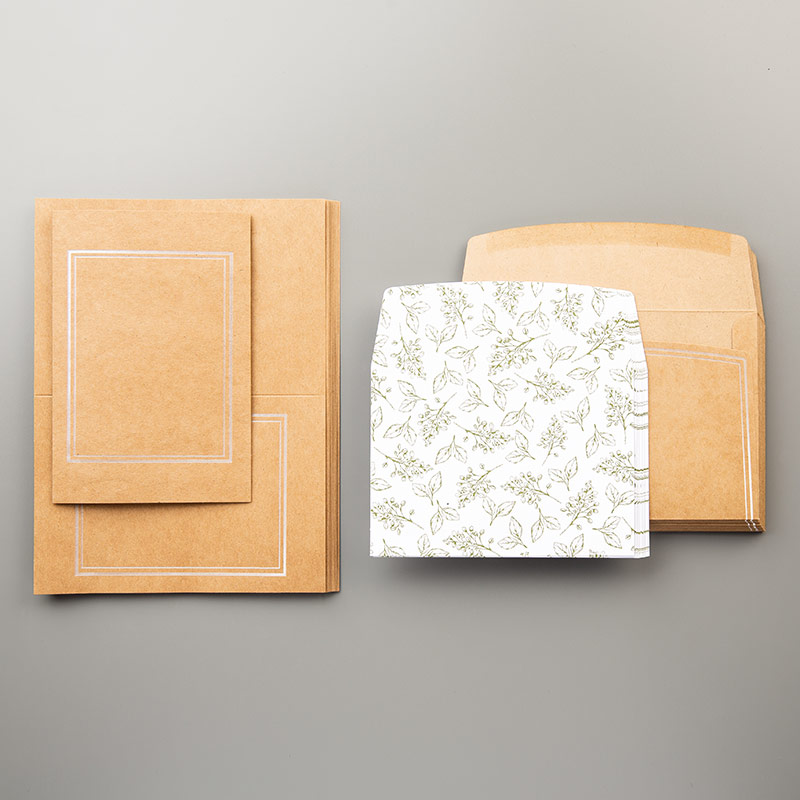
Had to share this quick frugal tip for your Magnolia Lane Memories & More Cards & Envelopes... 
Paper for the card decoration simply cut from the envelope liner... 9.2cm of it (aka 3 5/8")

Talk about waste not want not! And still enough to cover the top of the envelope!
Finished off with a few Daisy Lane daisies and the Genuine Gems large saying again!


Tuesday, 13 August 2019

Tuesday Tip with Daisy Lane punched daisies

 
Just a quickie for you today... 

Want to make smaller daisies than our 2 punched sizes... so you can layer and layer to your heart's content!

Well just bring out your Daisy Lane bundle and Layering Circles dies... and cut like so...
Then a die size smaller... and so on... starting with both the (Large) Daisy Punch or Medium Daisy Punch daisies...

And if you want to add a bit of shape to those ends... then just combine with this tip here... 

Sorry that I could not produce lots of daisies and produce a finished multi layer daisy for you...but I am sure that you can get the idea from this post... that way you know that it can be done if you need to!

Monday, 12 August 2019

More on Monday - Pressed Petals cards #5 with Round Up...

 
So I made 6 cards with the "card topper" piece of Pressed Petals paper... and here is the last one...
There were more toppers to use to create more... but then "life got in the way"... so I had to quickly put it everything away... which was a shame as I was really enjoying making these...
But I hope that these give you some ideas as to what to do with your papers....
And here are the 4 cards using the Sorry for Everything stamp set...
So you can get a better idea of some of the sentiments included...
Though these were my favourite cards with the suite... click on the pictures to go straight there... with the Card Fold Tutorial being on the green Get Well Soon one!


Sunday, 11 August 2019

Daisy Lane Pressed Petals Sorry for Everything #4 ...

Back to the Pressed Petals suite and the simple "card topper " cards series I began to post the other week....

Click here for more cards from my series... and here for all the details on the Pressed Petals suite...
This one being finished off with Daffodil Delight and Crumb Cake Daisy Lane daisies... and the large greeting from the Sorry for Everything stamp set...

Saturday, 10 August 2019

Double framed Daisy Lane card

CASEing me... as this has been one of the favourite cards of the year in classes... but using Daisy Lane this time instead of butterflies...

And spot the stunning Metallic Designer Elements daisy centre... looks gorgeous!
So then had to add gold embossed leaves and Gold Foil to my Gray Granite for the Stitched Rectangles to finish off...

Click here for the card tutorial...
And a quick update - my mother is still critically ill in ITU... so my life is there at present - normal blog service will resume as soon as possible... please bear with me...

Wednesday, 7 August 2019

Deconstructed Simple Double Point Noble Peacock card

So how many of you have seen the Double Point cards doing the rounds...

Perfect with our new Nested Label die cut shape... and I have loved every card I have seen using the design... and will come back to some cards as intended sometime soon...
But in the meantime... well I decided to deconstruct the design... and simplify... and here you have it!

Incorporating Stitched Nested Labels dies, Sorry for Everything stamps, Noble Peacock papers, Bloom & Grow and Daisy Lane bundles for good measure!

And spot the Nested Label shape cut from this Royal Peacock card... and that the white greerting panel id the same size but trimmed by hand using the line inside the stitched line... so as to get a thin mat...
Please visit my Online Store here to find all the named products and more... thank you... 

And I will be back with more details on this card design sometime very soon... as we are a bit addicted to them!