Showing posts with label Baby. Show all posts

Thursday, 18 June 2020

Moving Along 4 ways...

If you’re looking for a simple way to add variety to your projects, start by sifting through the supplies you already have! With just a few sheets of cardstock and your trusty Paper Trimmer, you can easily create three unique designs to highlight stamps of every size from your favourite set.
For all of the cards above, we started with:
  • The Moving Along Stamp Set
  • The same ink colours (Bermuda Bay, Pool Party, Real Red, Smoky Slate, and Tuxedo Black Memento Ink)
  • Smoky Slate Cardstock (8-1/2" x 5-1/2"; 21.6 x 14 cm)
  • Whisper White Cardstock (3-3/4" x 3-3/4"; 9.5 x 9.5 cm)
  • Neutrals 6" x 6" (15.2 x 15.2 cm) Designer Series Paper in Smoky Slate (3" x 5"; 7.6 x 12.7 cm)
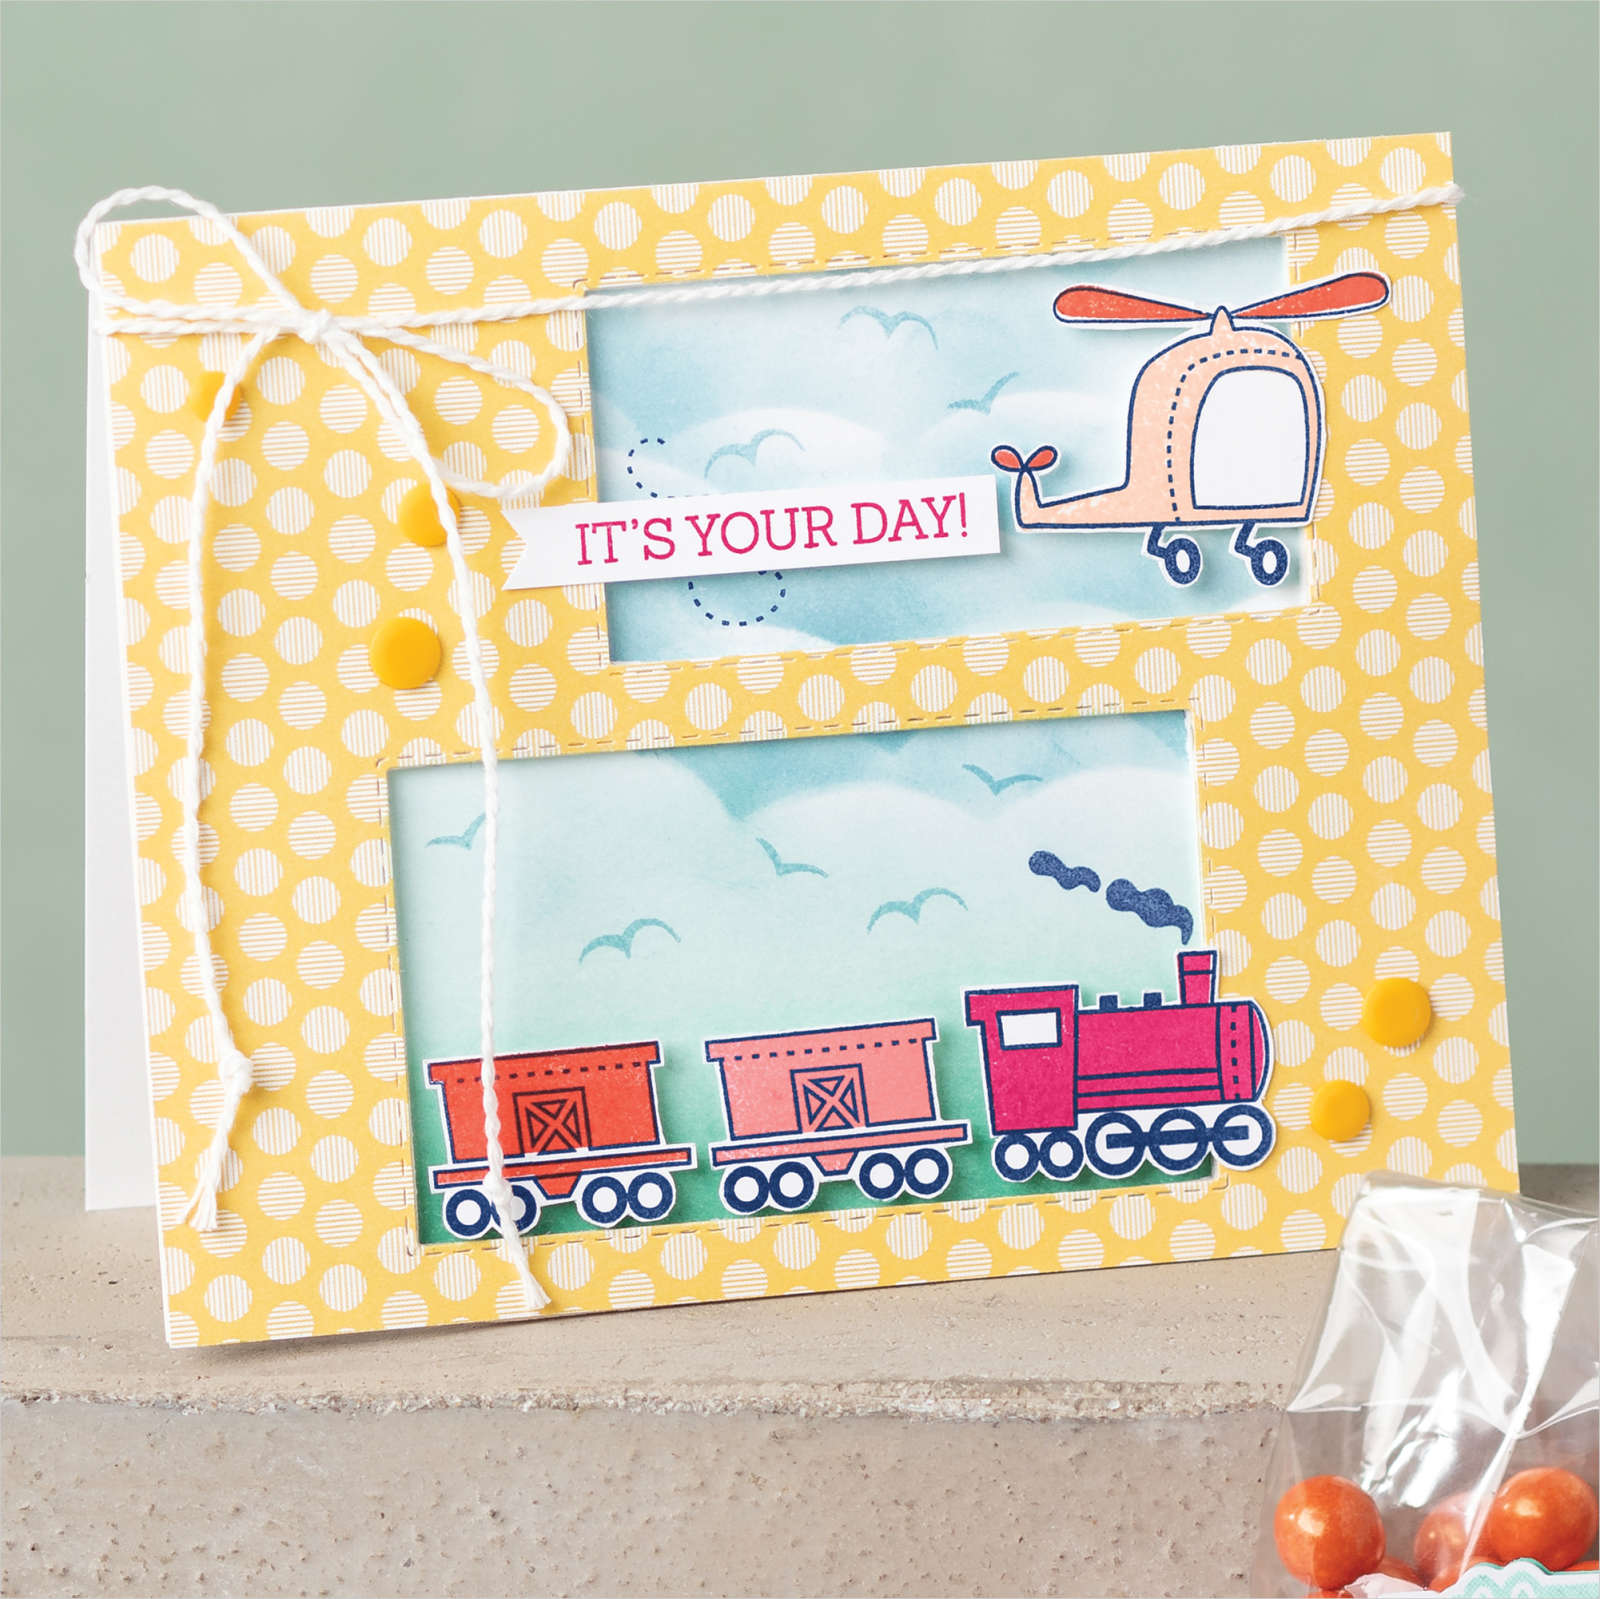
Helicopter Card
No trimming needed! Stamp on the Whisper White Cardstock, use Stampin’ Seal to adhere the Designer Series Paper to the Smoky Slate card base, then attach the stamped cardstock using Stampin’ Dimensionals.
Car Card
Cut the Whisper White Cardstock into four squares measuring 1-7/8" x 1-7/8" (4.8 x 4.8 cm) and stamp. Attach the Designer Series Paper to the Smoky Slate card base with Stampin’ Seal, then adhere the squares to the Designer Series Paper using Stampin’ Dimensionals.
Train Card
Trim the Whisper White Cardstock into three strips measuring 3-3/4" x 1-1/4" (9.5 x 3.2 cm) and stamp. Attach the Designer Series Paper to the Smoky Slate cardstock with Stampin’ Seal, then adhere the stamped strips to the Designer Series Paper using Dimensionals.

Great to wish your friends happy travels with this whimsical, transportation-themed stamp set. Great for children or adults.

Personally I love the images in the Moving Along stamp set... So will soon be part of my collection... as trains and VW Beetles definitely figure large in my family's life!
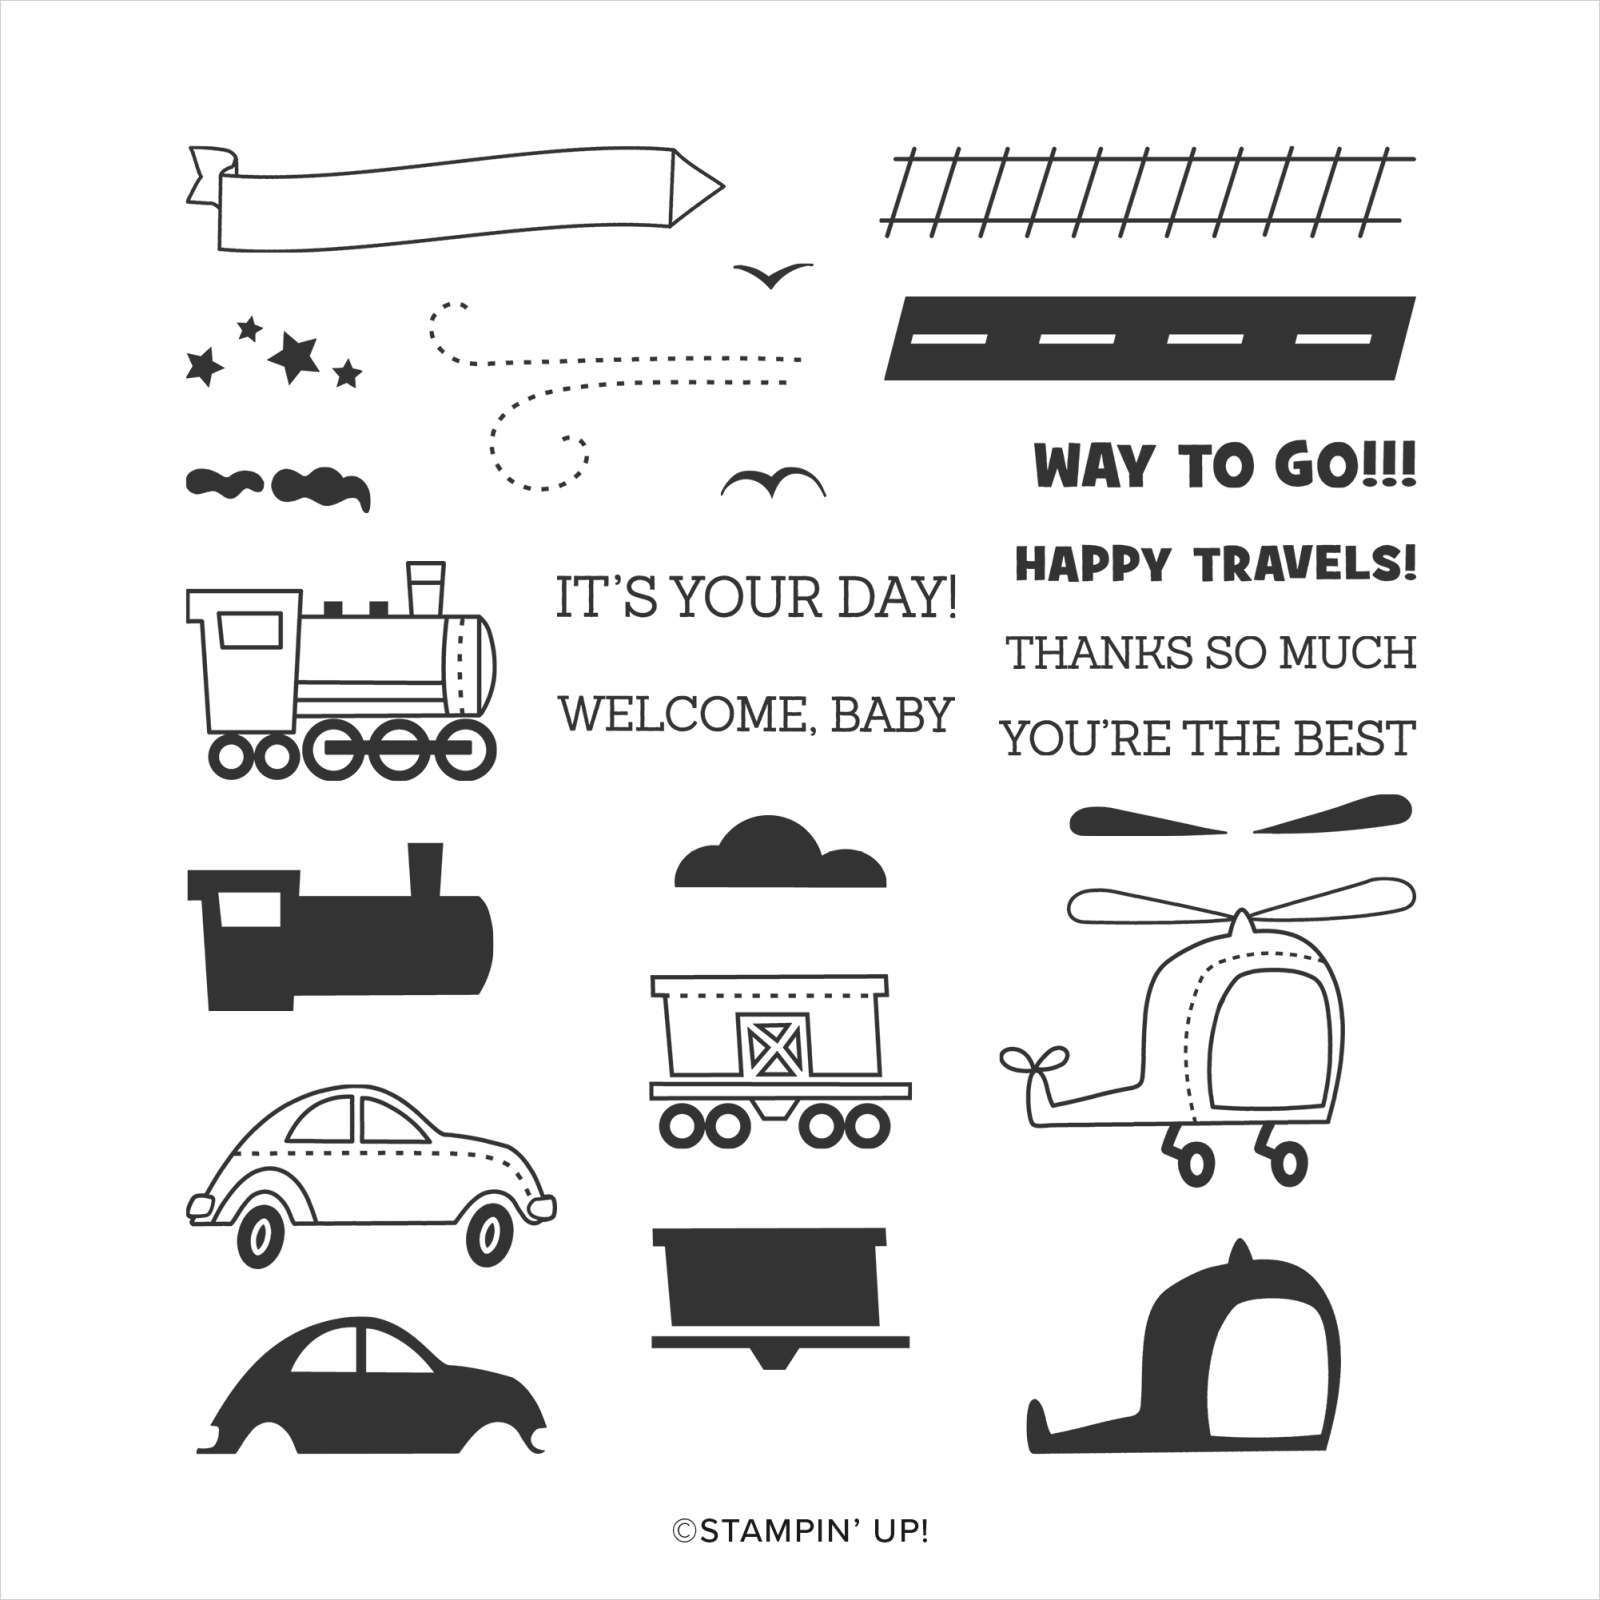
And here's another project sample for you... showcasing the wonderful two step stamping aspect of this stamp set to create depth and dimension with your images ... stamp the silhouette image in the lightest colour of ink. Then stamp the detailed images over the top in darker colours. 
Monday, 15 January 2018

Baby Pandas...

So when the partying is over for the Party Pandas... the baby pandas can play!

So a cute mini panda for you... now I just need to find a stamp set with the words Welcome Little One...
And a sweet little card made to celebrate a one year milestone for someone very cute I know! It was perfect as his first cuddly toy was a Panda (not that I knew that until they got the card! But there were tears!!)

And yes... I just fussy cut my standing Panda from the Party Pandas Sale A Bration set... just like this!
And then popped the head down onto the body to make my mini one... the top of the "note" forming the bottom of the head in the mini panda....

Also note that you need to trim the top of the baby panda body... behind the arms at the left and right hand side... you can see the left hand part needing trimming below...
Also used Milestone Moments and Picture Perfect Birthday stamps.... and Stitched Shapes dies...

His little hat is in Picture Perfect Birthday... and also the Happy (on the candle) and Birthday (centre bottom) stamp... I just inked up each word separately with the Basic Black marker pen and stamped separately... with a good clean in between!


Tuesday, 18 April 2017

Pop of Pink... Round Up post...

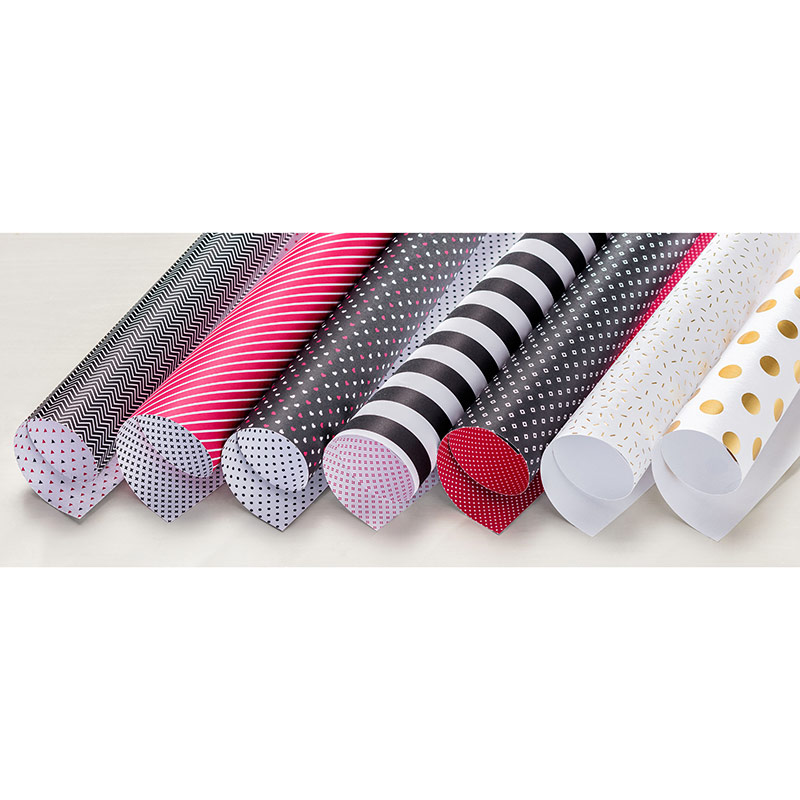
Pop of Pink Specialty Designer Series Paper
Had some great use of - and fun with - these Pop of Pink papers this year... for lots of different occasions... and suitable for both males and females.... BUT soon to retire ... though still in stock as of now... as all retiring products only while supplies last... 

Definitely a great pack of papers... although I have just spotted that I haven't used my favourite large gold polka dot piece... I think that may come in useful for something BIG I am working on this week.... I must have known...

First up another Dutch Map Explosion Card... directions linked if you click here..
Then the Graduation cards from last year... click here for more information...

The Head-girl Tag Topper Concertina Congratulations card...  click here for more information...

The Double Z Panel Birthday cards... click here for more information and the Tutorial... 


And finally the Double Z Fold Sweet Cupcake and Baby Bear cards... click the highlighted links for more infomation....


Monday, 25 July 2016

Foxy Suite #6 - White Peekaboo...

 Such a cute little card... making great use of the stamps in the Foxy Friends stamp set... and the new heart dies
And yes... another Quarterly Team Training make... we did have great fun making all these....

Sunday, 24 July 2016

Foxy Suite #5 - Peekaboo

 
Another Team Training Foxy card to celebrate the arrival of someone new... 

Sunday, 17 July 2016

Baby Bear Pop of Pink Card


This is the card that Nicola made... a Large Square Double Pop Up Z Fold Card... but she needed a Baby Girl card to send in the post that week...so a quick change was in order... So cute!
Nice job Nicola....

Friday, 3 June 2016

Baby Bear in Blue

OK I can't wait any longer to share my number 1 favourite stamp set in the catalogue... Introducing Baby Bear... Can't you just see why my Ted and I were so happy to see him in the SU catalogue.... and I wasn't alone when Stampin Up! unveiled him at the On Stage event... he definitely got the biggest reaction! He is going to be VERY popular.....#bringingback the bear ...
Baby Bear turned up yesterday in my Display Stamper "thank you" box from Stampin Up! - and I was SO happy to meet him.... and to put him to work straightaway with a card for a friend (with 10 minutes notice!! But hey this time I was quite happy to oblige...)
Obviously it was going to be another Pop Up Z Fold card... well I only had 10 minutes after all!! And of course I don't have lots of pretty papers yet as they are travelling over from Germany as I write.... so the Subtles paper stack came to the rescue....
The bears are a 3 step stamp set... stamp each of them over each other and you end with a very realistic looking furry bear....  I was lucky enough to have a play at our Monthly Training and a team Social Stamping event... so I knew which colours I wanted to use.... and how to best stamp my little friend ( I had started off with quite a few mis-stamped - or fuzzy bears!)

My number 1 tip is to use the Thick Mat to stamp on!!! I could not get the image right without....
I also find it much easier to stamp the bears the reverse way round to that intended.... starting with the detail (no 3) in Tip Top Taupe; no 2 in Crumb Cake and finally no 1 (filler) in Sahara Sand. Much easier to see through the clear block & stamp and therefore to line things up....
I did stamp 2 images...and shock horror... cut off one head!!! Ouch... But it was worth it as he has rather come to 3D life as a result.... And I did "stretch" the bow and the card around his feet so as to add more shape... again bringing him to life a bit more....
And I ink up and stamp the 2 bow parts as follows.... neat Pool Party detail stamp first...followed by stamped off Pool Party to fill...  I would have also added Fine Tip glue to his eyes and nose... but... yup I only had 10 minutes... no drying time..
And hey my friend was VERY impressed... may make her a stamper yet....

And then I spent the whole day playing with my bears!!! Such fun..... Check some more out here tomorrow.... along with a Blog Hop too... 

Stampin Up ! Products used
Click on the links for more product information on my On Line Site...and feel free to pop him in your basket... as I do perfectly understand if you want him straight way!!!
Baby Bear
Ink Pads - Sahara Sand, Crumb Cake, Tip Top Taupe, Pool Party
Card - Tip Top Taupe
Papers - Subtles 12x12 Paper Stack
Other - Thick Stampin Pierce Mat

Wednesday, 7 October 2015

Cot anyone?

Just realised I have a few more furniture items that I haven't yet shared here from my Training Inspiration Station using the Hearth & Home Window dies...
 
Here is a simple little Baby Cot... dressed up with bootees from the Something for Baby stamp set...

Built for Free Using: My Stampin Blog

Monday, 10 March 2014

Welcome Mia Ruby – Baby Girl Scallop Tag Topper Concertina Card

Scallop Tag Concertina Card,2014_03_Baby Girl Mia Ruby 017

Here is the Baby Girl card I have been working on over the weekend. Full stretch above…. and closed in a different way as shown below…. (recipe for the box envelope for this version shown at the end of this post)

Tag Concertina Card, Baby, Mia Ruby, Amanda Bates, The Craft Spa , Closed (1)

So two versions for you here… the one that I am sending and one that I had “in the bank”…. My bank card is the BABY GIRL version… but this little one will be a very special one to me and my family …so something more personal was needed…so welcome to the world Mia Ruby….

Tag Topper Concertina Card_Baby Girl_2014_03_09_Amanda Bates_The Craft Spa (4)

And a couple of close up shots….

Scallop Tag Concertina Card,2014_03_Baby Girl Mia Ruby_ MIA (1)Scallop Tag Concertina Card,2014_03_Baby Girl Mia Ruby_ RUBY

Again…thank you to Julie for this gorgeous card format – I guess you can tell it is one of my favourites of all time!!!! So simple to make…yet so effective….

Here is the link to more details and Julie’s video tutorial….

And here are the dimensions  for a box envelope  to put it in……. (made using the Envelope Punch Board)

8 3/4” Square Cardstock.

First score 3 1/4”. Second Score 4 5/8”

SU! Supplies

Stamps – Label Love, Morning Post Alphabet, Cuddles & Kisses, Baby Prints, Banner Blast, Petite Petals

Punches – Scallop Tag Topper , Artisan Label, 1 3/4” Circle, SAB Banner , Petite Petals

Envelope Punch Board

Dies – Circle Framelits

Inks – Crisp Canteloupe, Pistachio Pudding, Sahara Sand, Summer Starfruit, Pool Party

Cardstock – Pistachio Pudding, Whisper White

DSP – SAB Sweet Sorbet

Embellishments -  In Color Stitched Summer Starfruit Ribbon, Pearls

Thursday, 31 March 2011

Nursery Suite & the Baby Girl Mini Scrapbook Page & Fancy Cover


So this is the other project we did in the Class with the Baby Boy Flap Mini Book.   Apart from the Fancy Flower Punch flower - this is a CASED project of the one to the right  ... but with a story....  and with no-one (or two!!) to attribute it to - so please let me know if you know/are the originator of this - so I can not only credit you properly - but thank you too!!

I first saw this on the Display boards at the Stampin' Up! Convention in November last year - and it just took my heart away!! It certainly inspired me to buy all my ladies a set of Nursery Suite papers and Quick Accents .... but then I couldn't find a photo of the project that I thought I had taken at Convention.

So I set too designing another project using this wonderful 12x12 Scalloped Circle piece of paper... and I got really excited about my new idea... and I had even almost finished the sample for class.... and then it was Stampin' Up's regional training event in Leeds.... and Lo and Behold - what was on the Display table but the same project I had seen back in November.... so a quick photo later.... and my class stayed as per the original plan..... one day I will finish my other circular paper project that I was so pleased with ... and post it here.... so watch this space......

Please see details of The Baby Boy Mini Book posted earlier for details on the tutorial for this project. 

Nursery Suite & the Baby Boy Flap Mini Book!

So another project using the Nursery Suite papers and Quick Accent stickers.  This is an update of another favourite project of mine - namely the Flap Book of the  Newsprint mini-books. I loved this simple little book then... but I absolutely adore it now.....  I knew I wanted to do another of these books as soon as I saw this gorgeous fancy scalloped edge piece of 12x12 paper - I wasn't sure it would work ( ie line up OK...) but it SO did.....

This flap book is orienteered the other way round to the original. That is to say, it opens with a top flap rather than the original's book page format. And I added punched 1" circles down the right hand side to visually pull it together when the book is closed.... a little thing that made a HUGE difference..... 

And here are a couple more pictures to show you the inside of the book - this piece of paper is amazing!!! And you get 2 in a full pack......


Edited to Add:  I have had quite a bit of contact about the details for this.....   If anyone else would like the tutorial ...I can provide by email for £2.50 ... payable via Paypal....  ( sorry no proper Paypal/order button as yet... that is my next blog project!!)  The tutorial will also contain the Scrapbook Page & Fancy Cover due to be posted soon!!

Please just press the Email Me button at the top right of this page and I will get back to you.....