Showing posts with label Scalloped Tag Topper Punch. Show all posts

Tuesday, 3 July 2018

Another Share What You Love Tag Topper Concertina Card

Another class... another demo... means another card version... and I LOVE this one...

Though I will be honest... this piece of paper with pearlescent Petal Pink flowers was my least favourite pattern... but I have now definitely changed my mind!!
Click here for the original EIGHTEENTH card and/or here for the Tutorial....

Large Letters die cut from more of the Share What You Love papers...
 And flowers fussy cut from another piece (s)...
Always like doing these cards in classes... as they always please... and are pretty simple to make... 


Friday, 15 June 2018

Share What You Love... Scallop Tag Topper Concertina Card

I have been asked to do an Eighteenth Birthday Celebrations card for my next class... and we are using the Share What You Love papers... so this is what I came up with... a Scallop Tag Topper Concertina card...

Always been a favourite card format... one that always WOWs the recipient... and one that is great to do when faced with some beautiful papers!!
And before I forget... Details of my Share What You Love Kit in the Mail here... next round to be ordered towards the end of June...

And you can find the Concertina Card Tutorial here... 

But back to the card details... 

Purposefully kept simple in style... using the "simplest" of the paper patterns... and using the wonderful Letters for You alphabet stamps in Tranquil Tide... with a subtle touch of flowers inside to dress the card... though they will hate me as they will have to fussy cut these!! 

Extra internal word decorations from the  Rooted in Nature Be Strong Be Happy Be You quote... just seemed right for the occasion!
And one feature to point out... check out the ribbon... I don't have much current ribbon to use yet... so I sponged up the lovely new White 5/8" Polka Dot Tulle Ribbon using Tranquil Tide ink... great ribbon to have and to use in any colour!!
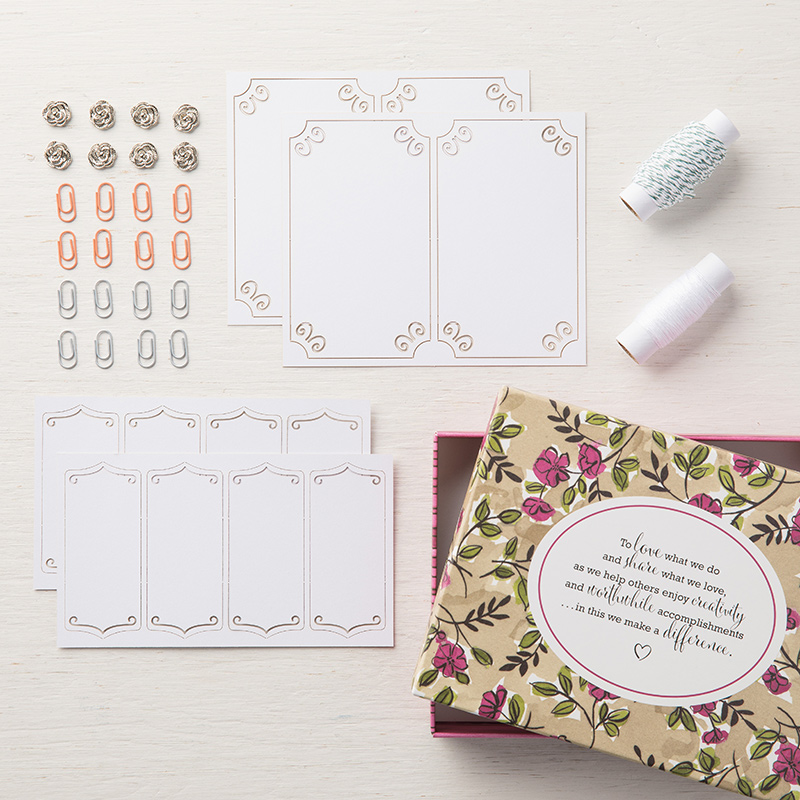
Rest of the front decorated using a metal silver flower centre from the Share What You Love embellishments kit... 
Share What You Love Embellishment Kit
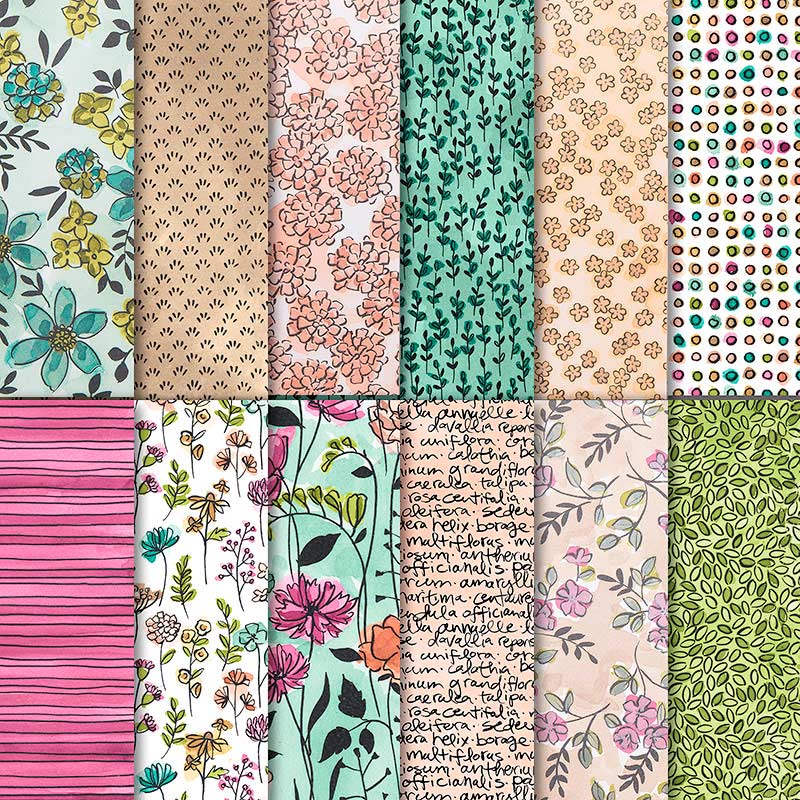
Onto a fussy cut flower from another of the Share What You Love paper patterns.... see top left below!
Share What You Love Specialty Designer Series Paper
Greeting from Detailed With Love stamp set... 

Onto a Stitched Shapes circle die cut... laid on a 2" Circle Punched Tranquil Tide circle... onto a Pearlised Doily... onto a 2 1/2" Layering Circles die cut Mint Macaron circle

And finally finished off with a few more of the tiny handcut Saffron flowers to the top right...


Saturday, 3 March 2018

Easter Treats for Jems March Blog Hop

Hello and welcome to the Jems Team Blog Hop from Amanda Bates at The Craft Spa...

Officially the theme is anything for Spring or Easter... but for me it had to be something for a treat with chocolate in! Caramel chocolate of course! Though any of the small easter egg treats would fit...

And a re-visit of a Craft Spa Scalloped Tag Topper Punch classic for you... just click here for the Tutorial... for Charlie Chick! (as the lovely Doreen nicknamed him)
With a very simple update for 2018... as somewhat unusually... everything is still current for my little Easter treat project... apart from the Wide Oval Punch... though we now have the Layering Ovals or Stitched Shapes dies to do the same job...

So just an update to the greeting really... Crushed Curry HAPPY from Perennial Birthday... plus Pumpkin Pie EASTER from Teeny Tiny Sentiments (aka Teeny Tiny Wishes for those of you in the US) ... both partial greetings...so simply marker inked as required...

And of course... containing a Caramel Egg instead of a Creme Egg... so DS will be happy!

And I have to laugh... as it is amazing how many characters Charlie Chick takes on depending on the angle of the camera lens... particularly as I am looking at about 15 photos...

Some look more feminine... some more masculine... some more cheeky... some more aloof...

Kind of like an e-Moji on chocolate ... Reckon I will now call him e-Chicki!! Now there would be an idea if only I had more hours in the day!!
And now it is time to say Happy Easter & Goodbye from me... and Hello & Springtime Welcome to the lovely Uma... just click on the arrow below to go straight to her Springtime post... 
And in case of any early link gremlins... or if you prefer to hop back and forth from a list... here you go...

1.    Sarah-Jane Rae
2.    Amanda Bates (YOU ARE HERE!)
3.    Uma K
4.    Karyn Davies
5.    Lynn Smith
6.    Julie Dix

7.    Sarah Lavelle

Saturday, 15 July 2017

Foil Frenzy & Crafting Forever Concertina Card

The perfect way to celebrate a milestone moment for Betty in my Craft Therapists team... a specially designed new card with our new Crafting Forever stamp set and some special shiny Foil Frenzy paper which proved perfect for the job!
Crafting Forever Clear-Mount Stamp Set
Firstly, the card fold... I have shared many a Scallop Tag Topper Concertina card over the years since we first made one at Julie's training. But they all had 10 panels and more preparation/decoration... click here for the tutorial for the 10 panel ones...
The tutorial for this one will be another day...but this version has 14 panels allowing me to include the 11 letters in the Bronze Elite words plus 3 more for decoration... and this one is a lot simpler and quicker to decorate care of the thickness of the Foil Frenzy papers...
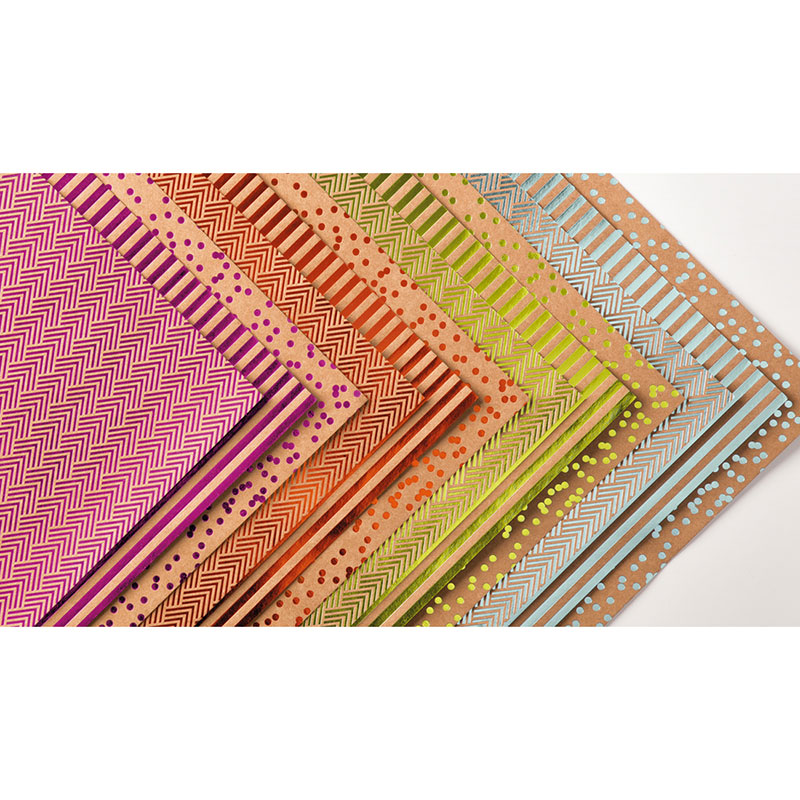
And secondly, the paper. The Tangerine Tango foiled papers in the very shiny Foil Frenzy pack are fantastic coupled with the Copper Foil to mark such a Bronze Elite occasion...
Foil Frenzy Specialty Designer Series Paper
I also used greetings from Happy Birthday Gorgeous (very glad I bought this stamp set... have to admit that I have had a lot of use out of it - many unexpected!), the wonderful Scallop Tag Topper Punch and the Classic Label punch
Congratulations on your promotion again Betty... I am very proud of you... enjoy your 25% discount on your Stampin' Up! supplies in the future!!! And your very special gift from me!

And for anyone else ready for a discount on products or to take on a new journey in their crafting life... click here to join me and The Craft Therapists Team... there are lots of extras available to you in the starter kit this month.... so now is a good time...

Monday, 8 May 2017

Happy 18th Birthday Joe....

Wow! 18 years of Joe today... how did that happen!!?!

Long term blog followers will know that today is normally my annual Real Red Card day... but he is all grown up now... so Cherry Cobbler seemed more appropriate this time!! Along with Basic Grey and Black still of course!

The old favourite Scallop Tag Topper Punch Concertina Card came to the rescue (long story at the end!!)... which is great as I now have a cunning plan with it for another day!
Click here for the Tutorial...

And the specific details...
Basic Black papers from the Neutrals 12x12 Designer Series Paper Stack.
Cherry Cobbler, Basic Grey and Whisper White card...

Lots of dies used!! Large Numbers, Large Letters, Stitched Shapes, Layering CirclesLots of Labels

Difficult to see in the photos (clearest on the number 18 on the front)... but makes a huge difference in the flesh... I overstamped my Basic Grey die cut letters and numbers with the hexagon pattern stamp in Butterfly Basics using Craft Whisper White ... and then a Basic Grey postmark too...

And I have just realised that I have "forgotten" to add the stars I had planned as the final decoration...so please imagine those all over!!! The card is safely sealed in the envelope and it is time for bed... I will add them when he is at school... he'll never notice!!!
So the back story.... So his card was going to be this... then that.... then the other... then I finally made a decision ... something special I saw a while ago that had stuck in my head.....

So then I tried desperately to find a written tutorial (with maybe some photos) for what I wanted to make... and failed... although I had to laugh at how many of my own card designs popped up in my search... but they are nothing like what I was searching for...

So then I had to follow a video tutorial... and failed!!! Not for the fault of the video/creator.... I think it was probably a good one... Maybe I just don't have the patience for that method of delivery... I did REALLY try though.... as I never (usually) give up on a card fold... and I do have to admit that an essential part of the card fold wouldn't be explainable just in words in any case...

So onto Plan B... great start... great new card fold... but major fail at the last stick of paper!!! In the bin...

So then I was back to this, that and the other.... having rather lost the will... and far too many hours... and then I remembered the wonderful Concertina card... moment saved! A card special enough for my 18 year old... even though a photo never does them justice....

Tuesday, 4 October 2016

Floral Boutique Papers Round Up & Special Offer on Papers

Now seeing as one of my all time favourite papers is on the Buy 3, Get a 4th for Free offer this month... I have a great excuse for a Round Up post...

Want to purchase some papers whilst they are on offer - just go here - select 3 from those shown... - then add another and it gets added to your basket for free! 4 packs for just £30... and don't forget to add my month's Stampin Rewards/Host Code (shown to the top Right side of this blog page) - and then I will also send you a card and gift next month!

So here are a few Concertina Card projects I shared earlier in the year... click on the first photo to go straight to the original posts for more details


And a few Birthday ones... the first one also shows you how to decorate those letters...


And one for Retirement wishes too..
Remember you can select 4 different packs - or 4 of the same pack - or any combination in between! Simples... 


Friday, 8 July 2016

Special Card for a Special Girl... and Fancy Fold Friday!

Have to share how useful the Large Letters dies are when you need a sentiment or a word that you would never find in a stamp set!

I had a lovely call this week from a family friend whose daughter had just been made Head Girl at our school... so I am delighted for her and so so proud of her! 
So a very special card was in order to shout out her achievement in big letters! 

This is another Tag Topper Concertina card for which the tutorial is here... but I used the Pop of Pink papers this time
Quick Baby Wipe swipe with Pool Party on each white panel plus a few random stars. Star and greetings from the Confetti Celebrations stamp set...
And a quick tip for you... my white background letters looked a bit lost when I took the photo...so I just grabbed my Basic Black marker pen and carefully drew an outline around with the thin end... the before photo added so you can see below...
Definitely a unique card for a special and very happy girl!

And remember if you buy the Large Letters stamps & dies bundle this month... you will have two £4.50 Bonus Days coupon codes to spend in August...and very nearly a third (just £15.50 more for that third!)... Bonus Days details here... But if you are going for 3 coupons ... remember it is then just a further £15 for a £150 order which will also earn you another £15 in Stampin Rewards for free! Feels like we are giving money away!!!

Alternatively if you are going for just the Large Letter dies... remember to add something (anything!)  to go over the £90 for 2 Bonus Days coupons ...

Friday, 24 June 2016

Scallop Tag Topper Concertina Card Tutorial

Another couple of versions of the Tag Topper Concertina Card for you today...and seeing as it is Fancy Fold Friday... the recipe and metric/imperial (inches) tutorial(s) for you...
This is a remake of a fabulous card produced by Julie Kettlewell for our Quarterly Training over 2 years ago... but one that I have re-made a few times... as it is such a fabulous and special card and always causes a real WOW... Though I have to admit they do always look better in the flesh than on a photo... a card this long is difficult to photo!!

Metric Recipe
Paper 12x12 Floral Bouquet  x 1 piece
Card Sahara Sand 5.5 x 9cm (x10)
Card Whisper White 5 x 8.5cm (x10)
Ribbon x 24"

Imperial (inches) Recipe
Mmm...2 ways to do this.... Firstly the exact same dimensions (so scoring every 2 9/16") ... and then the easier version!! (every 2 1/2") Oh I am going for the easier version! It will look more or less the same!!
Paper 12x12 Floral Bouquet  x 1 piece
Card Sahara Sand 2 1/4" x 3 3/4" (x10)
Card Whisper White 2" x 3 1/2"(x10)
Ribbon x 24"

Tutorial
1. Cut 12x12 paper into 3 x 4" strips
TIP - easiest if you use paper with no pattern match/directional pattern!!
But otherwise... think about the pattern direction you want to show on the front & back of your finished card eg for stripes ending up vertical on my finished project - I need to cut the 4" strips looking at horizontal stripes!)
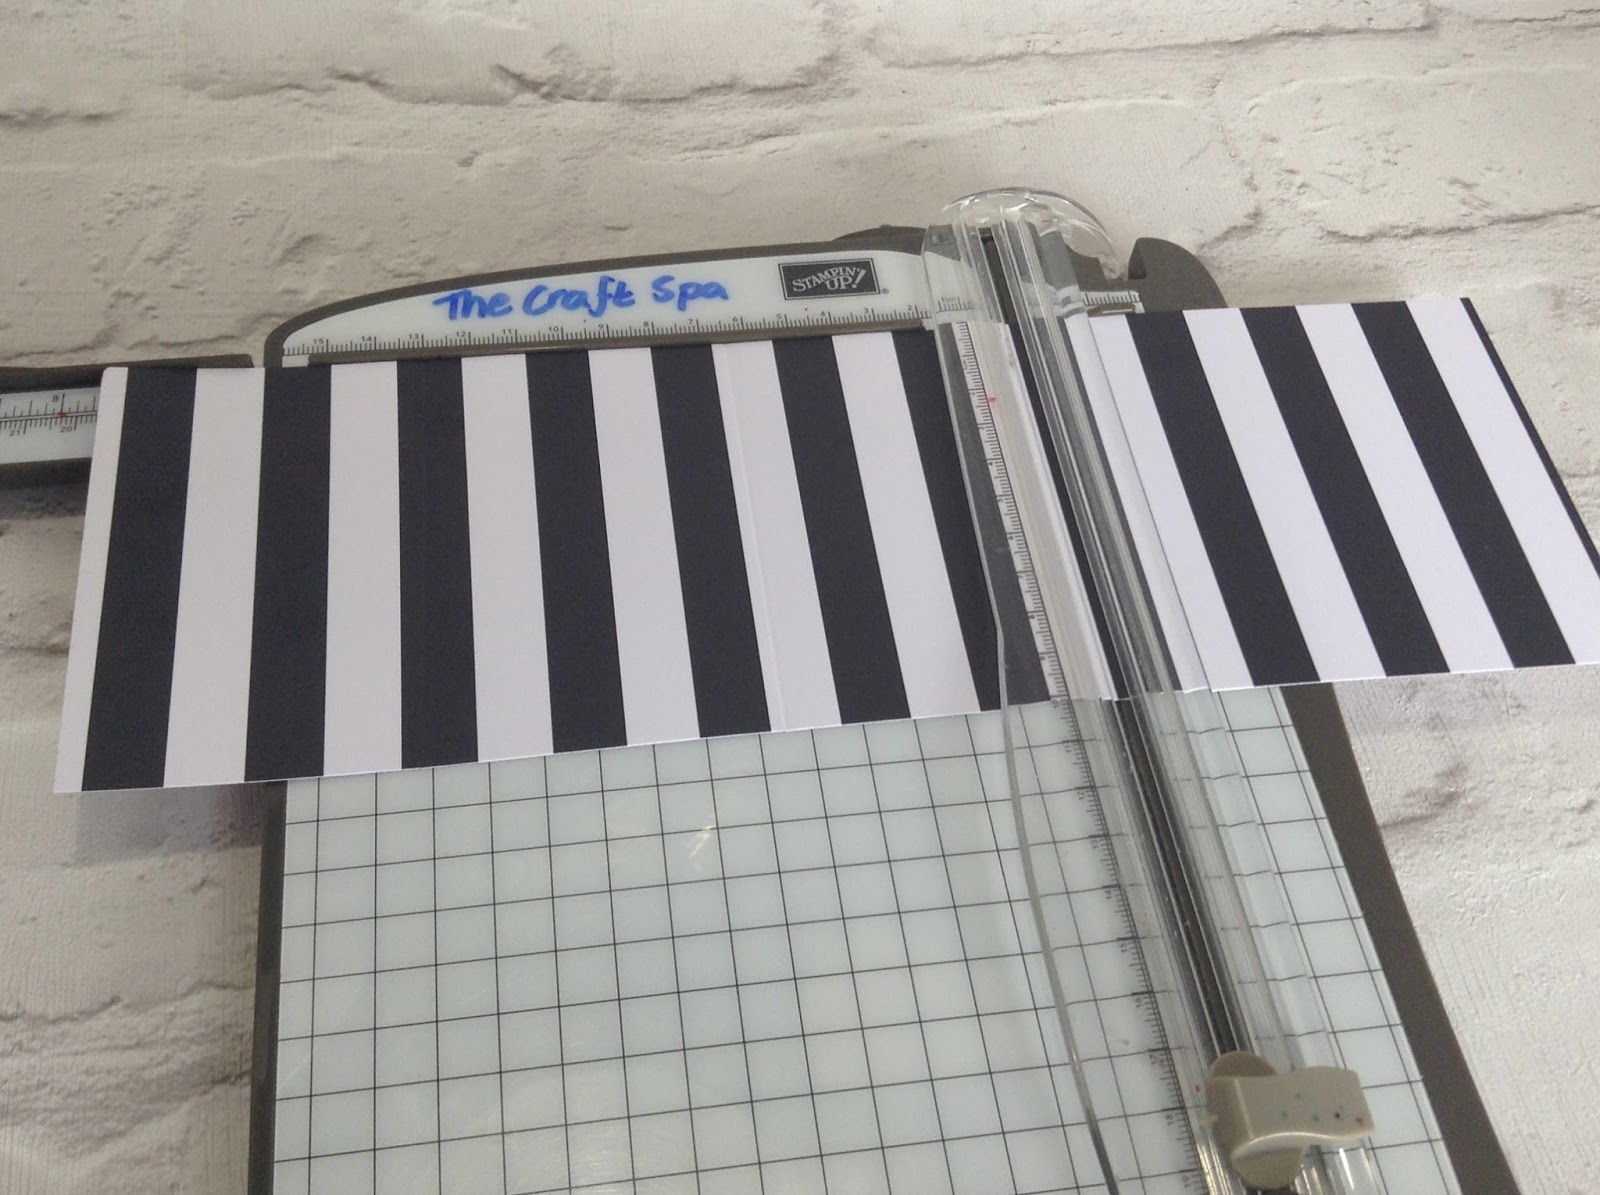
2. Score 2 strips LIGHTLY every 6 1/2cm ( ie 6.5, 13, 19.5 and 26cm)
OR every 2 1/2" ( ie 2 1/2", 5", 7 1/2" & 10")
4. Trim off the last short section on ONE of the strips
5 Pick up the 3rd strip and turn 180degrees (so any pattern direction is facing the other way up) and score LIGHTLY every 6 1/2cm ( ie 6.5, 13, 19.5 and 26cm) OR every 2 1/2" ( ie 2 1/2", 5", 7 1/2" & 10")  Sorry - no obvious pattern direction to see here!!!! But if you look closely to right and left of the strip you will see that it has been turned 180degrees.... so that the left has become the right...
4. Pick up the 2 longer strips & place 2 short sections together
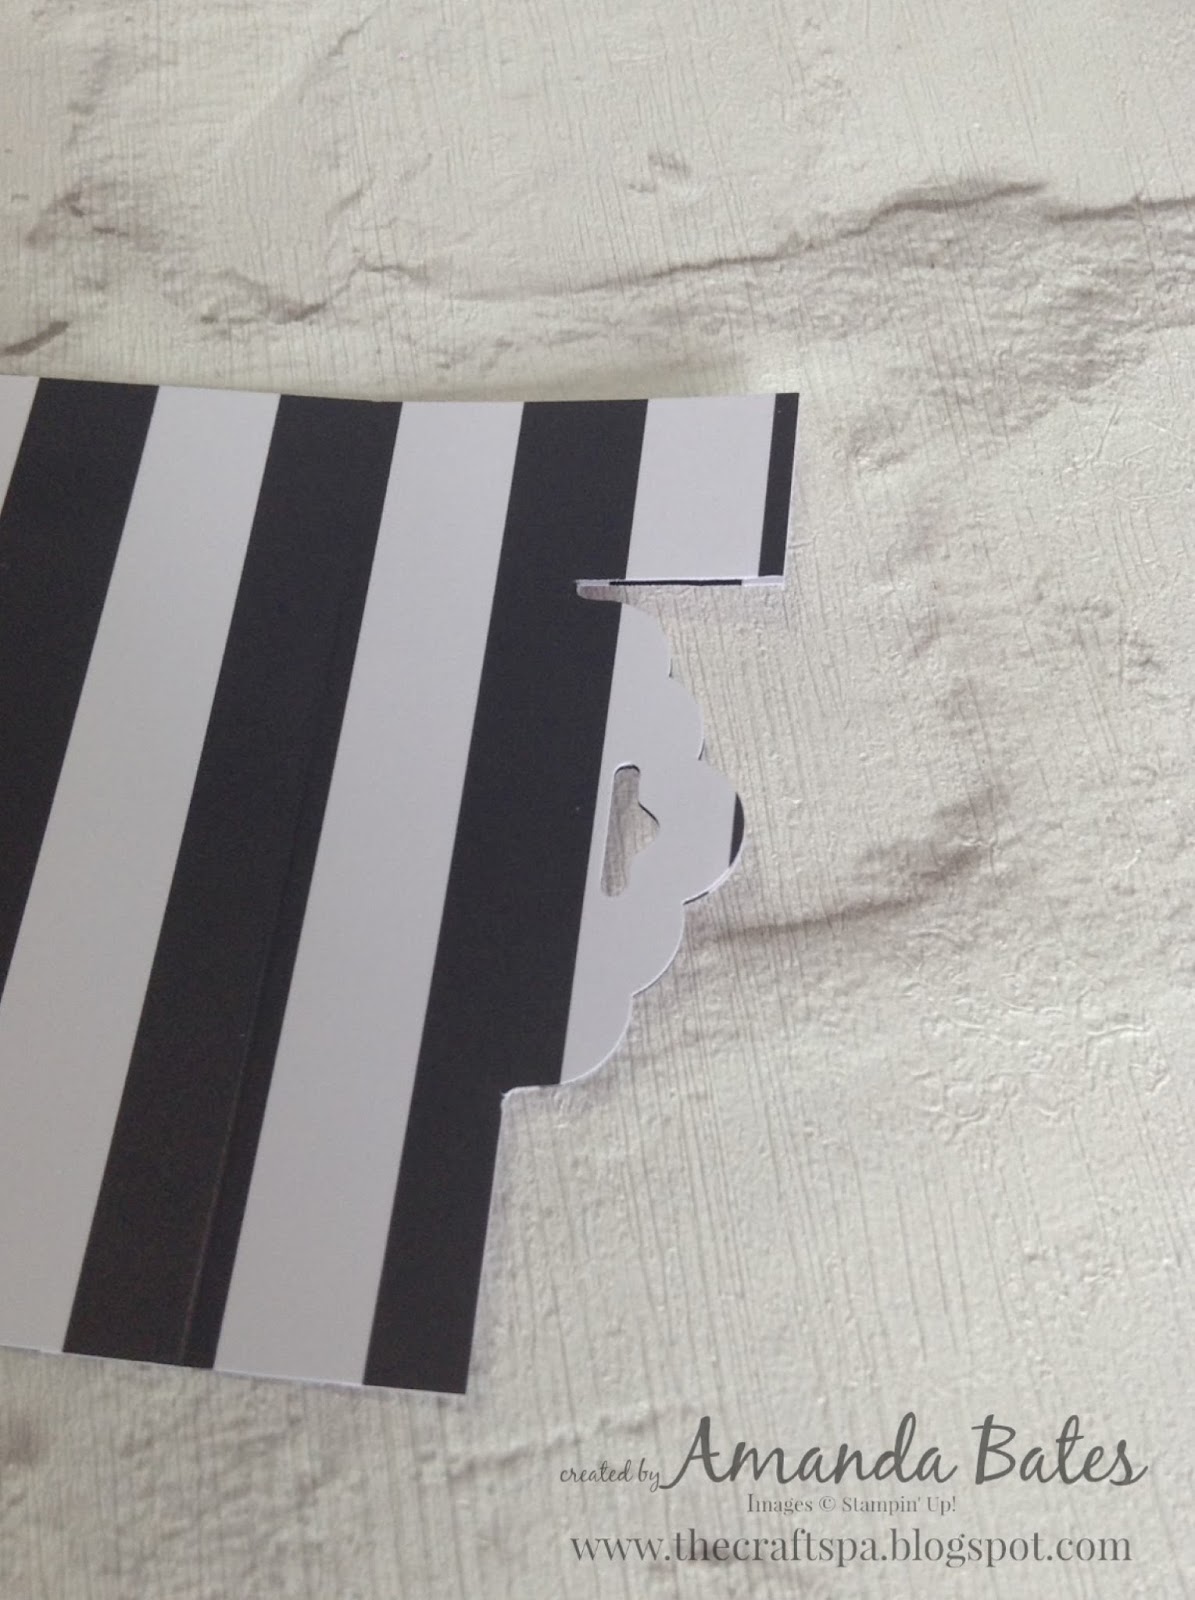
5. Scallop Tag Topper punch those short sections

6. Trim off the "shoulders" (trimmer or scissors will do the job!)
7. Concertina fold shorter strip (mountain, valley, mountain with front pattern facing you) & place standing up in front of you!
8. Concertina fold other 2 strips from short punched section end (mountain, valley, mountain,valley with front pattern facing you)

9. Place standing up in front of you with shorter punched sections to outsides. One to left and other to right of the smaller (central) piece
10. Adhere longer pieces to shorter/central
11. Decorate as necessary. But don't stick your decorative front on yet!!

See this alternative to the birthday greeting version I showed here... I love the add of the 2U.... Nicky was inspired with her solution to having stuck her lettered mats down (cough) differently!!! And thank you to Heidi for the Retirement version...
Die cut Letters decoration tutorial here...
Night of Navy circle mat is 1 3/4" circle punched
White greeting circle is 1 5/8" circle from Layering Circles dies
Floral frame is Floral Phrases rose spray stamped above and below along the straight line & then handcut...

12. Place ribbon up through the punched hole on the left hand side, pull through over to the right and lay across the front. ( Tip - NOT through the right hand side punched hole)
13. Lay the LHS of the remaining ribbon across to the left, down & around the back and across to the right. Size as necessary (with bow allowance)
TIP - I personally find it easier to have the front & back ribbon lengths to be the same size off to the right... and then tie the bow and trim off as necessary... but you do cut off a few inches...
14. Adhere your decorative front (TIP - you only want glue to the left!!!)

15. Decide how you want to have the final fold of your card... I usually leave as a double fold as shown here... but you can have as a single fold too (example here ) ... and then tie off to close & make a bow with your ribbon. Trim ribbon as necessary...
16. Pop in an envelope (Double Fold fits nice and snugly/protectively into a Stampin' Up! medium envelope or a standard C6 envelope is great if your ribbon bow has gone off to the side!) or make an envelope box (Tutorial here) for a Single Fold version

If you prefer a video tutorial to the Metric Tag Topper Concertina Card... Julie has kindly already shared one here...