Showing posts with label Floral Boutique. Show all posts

Wednesday, 21 June 2017

Simply Decorated Tissue Box for Julie...

So when I sent this card to my fellow team member and friend, Julie Wade 2 weeks ago... I was told that I owed her a box of tissues! So never one to shirk from my duties... I had to oblige... and I searched for the largest box that I could find... but I couldn't resist a quick decorative treatment before I handed them over at our Quarterly Training on Monday...

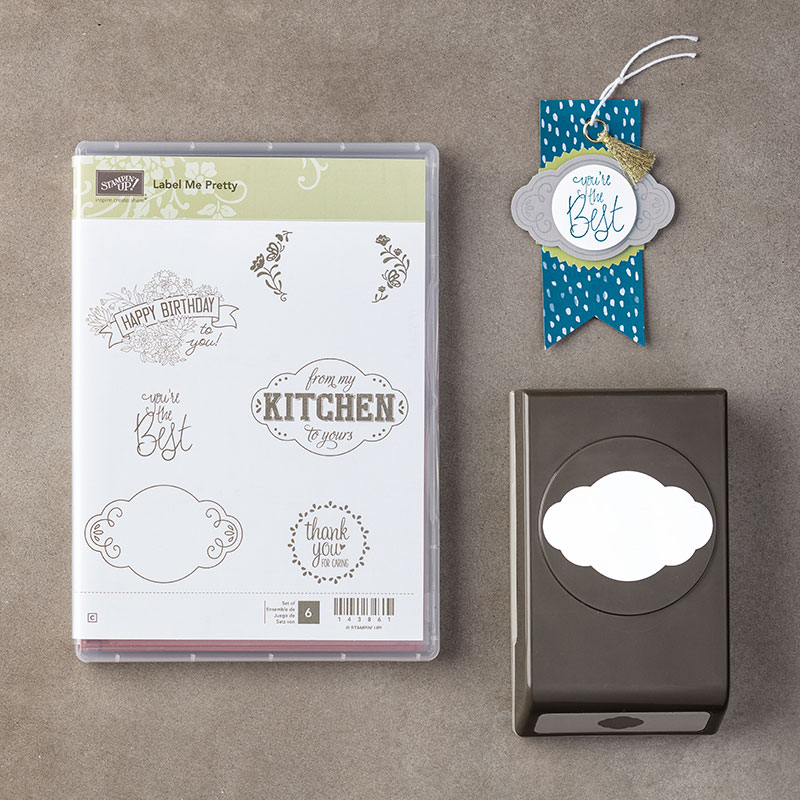
Stamping and punching of the label care of the new Label Me Pretty bundle (with Pretty Label punch) plus the 1 3/8" and 1 1/4" Circle Punches...
Label Me Pretty Clear-Mount Bundle
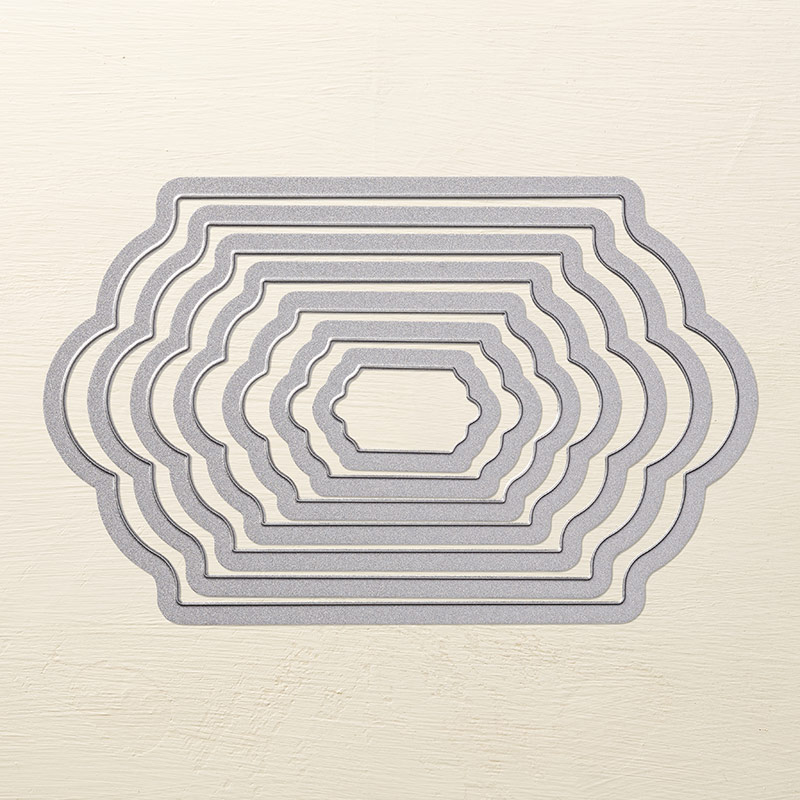
The top opening made using Lots of Labels dies... which I was so glad I remembered as they were perfect for this job... and for a few others I have planned over the next few weeks...
Lots Of Labels Framelits Dies
And the rest was just cutting and sticking of paper... Measure your top and sides. Take off 1/4" (or 1/2cm aka 5mm) off each of the measurements and cut paper to suit... and then just stick it on... 

So for my record (as I will be making one of these again quite soon!)... My box was 9" Wide by 4 1/2" Deep x 2 3/4" High... so I cut my papers as follows...
- one x 8 3/4" x 4 1/4" for the top
- two x 8 3/4" x 2 1/2" for front & back
- two x 4 1/4" x 2 1/2" for the sides
And... apologies for sharing something made out of retired Floral Boutique papers... but the largest tissue box I could find was blue... so these papers had to be used... as co-ordination is very important to me!!

And now I am trying to find tissue boxes in the new In Colors (or white!) so I can use my lovely co-ordinating Fresh Florals papers (which do of course include these same patterns as in these Night of Navy Floral Boutique papers)

And lastly.... did these get used at training... oh yes! By more than one of us actually.... And are they still... oh yes! I have reason to believe that our lovely 💖Julie 💖may need some more soon....  Who knew when we signed up as demonstrators ... that a bit of stamping and sharing what we love could lead to such emotional highs and joys.... 

Tuesday, 4 October 2016

Floral Boutique Papers Round Up & Special Offer on Papers

Now seeing as one of my all time favourite papers is on the Buy 3, Get a 4th for Free offer this month... I have a great excuse for a Round Up post...

Want to purchase some papers whilst they are on offer - just go here - select 3 from those shown... - then add another and it gets added to your basket for free! 4 packs for just £30... and don't forget to add my month's Stampin Rewards/Host Code (shown to the top Right side of this blog page) - and then I will also send you a card and gift next month!

So here are a few Concertina Card projects I shared earlier in the year... click on the first photo to go straight to the original posts for more details


And a few Birthday ones... the first one also shows you how to decorate those letters...


And one for Retirement wishes too..
Remember you can select 4 different packs - or 4 of the same pack - or any combination in between! Simples... 


Tuesday, 19 July 2016

Time for a Tardis on Tuesday!?

Not made a Tardis for a while... but I was given a Tardii Convention Class Challenge!
So hows about a Tardis mini book... just to prove that it is bigger on the inside...
I used the Floral Boutique papers and Washi tape...as the colours just suited...
Lots of room for photos... or Dr Who memorabilia!

And here is the one that Alice made... love her central stamped panel much more than mine! Lot more subtle....!
Though I have to admit to the polka dot papers on Alices' version being retired ones... I had a major mistake on prepping!! Oops...
And back to mine...


Friday, 24 June 2016

Scallop Tag Topper Concertina Card Tutorial

Another couple of versions of the Tag Topper Concertina Card for you today...and seeing as it is Fancy Fold Friday... the recipe and metric/imperial (inches) tutorial(s) for you...
This is a remake of a fabulous card produced by Julie Kettlewell for our Quarterly Training over 2 years ago... but one that I have re-made a few times... as it is such a fabulous and special card and always causes a real WOW... Though I have to admit they do always look better in the flesh than on a photo... a card this long is difficult to photo!!

Metric Recipe
Paper 12x12 Floral Bouquet  x 1 piece
Card Sahara Sand 5.5 x 9cm (x10)
Card Whisper White 5 x 8.5cm (x10)
Ribbon x 24"

Imperial (inches) Recipe
Mmm...2 ways to do this.... Firstly the exact same dimensions (so scoring every 2 9/16") ... and then the easier version!! (every 2 1/2") Oh I am going for the easier version! It will look more or less the same!!
Paper 12x12 Floral Bouquet  x 1 piece
Card Sahara Sand 2 1/4" x 3 3/4" (x10)
Card Whisper White 2" x 3 1/2"(x10)
Ribbon x 24"

Tutorial
1. Cut 12x12 paper into 3 x 4" strips
TIP - easiest if you use paper with no pattern match/directional pattern!!
But otherwise... think about the pattern direction you want to show on the front & back of your finished card eg for stripes ending up vertical on my finished project - I need to cut the 4" strips looking at horizontal stripes!)
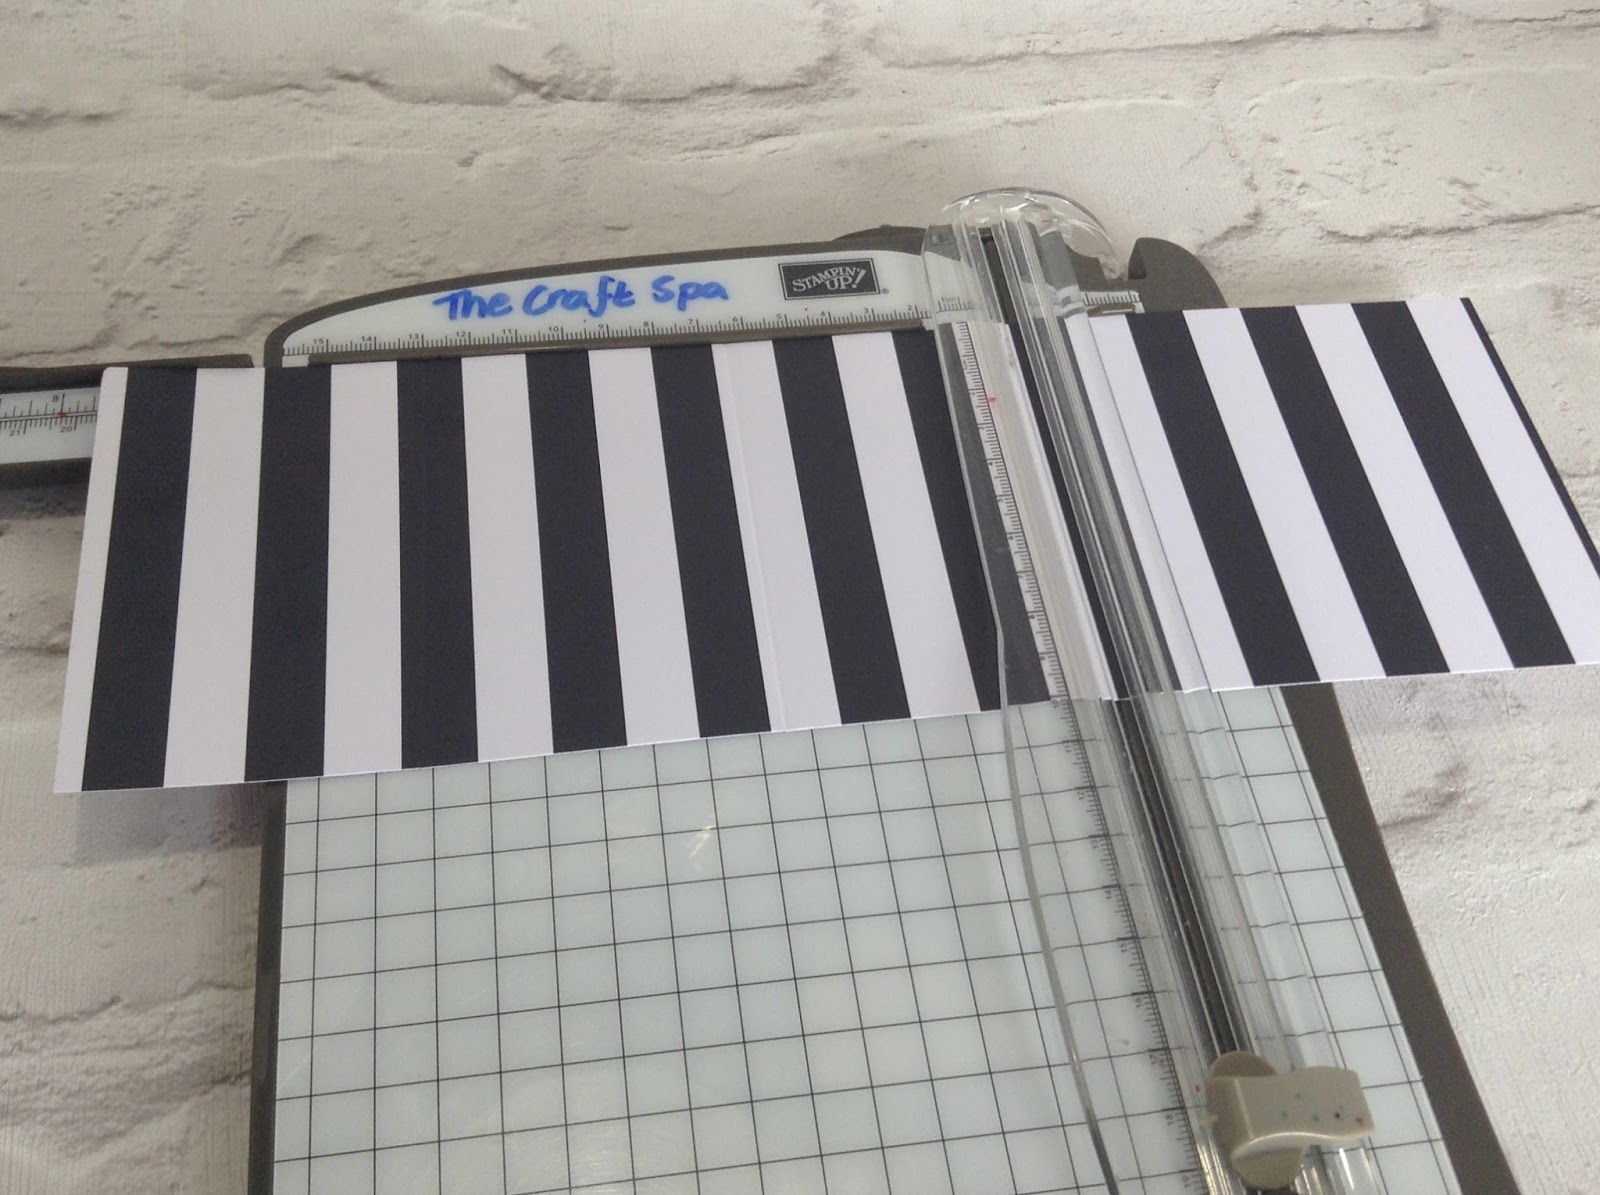
2. Score 2 strips LIGHTLY every 6 1/2cm ( ie 6.5, 13, 19.5 and 26cm)
OR every 2 1/2" ( ie 2 1/2", 5", 7 1/2" & 10")
4. Trim off the last short section on ONE of the strips
5 Pick up the 3rd strip and turn 180degrees (so any pattern direction is facing the other way up) and score LIGHTLY every 6 1/2cm ( ie 6.5, 13, 19.5 and 26cm) OR every 2 1/2" ( ie 2 1/2", 5", 7 1/2" & 10")  Sorry - no obvious pattern direction to see here!!!! But if you look closely to right and left of the strip you will see that it has been turned 180degrees.... so that the left has become the right...
4. Pick up the 2 longer strips & place 2 short sections together
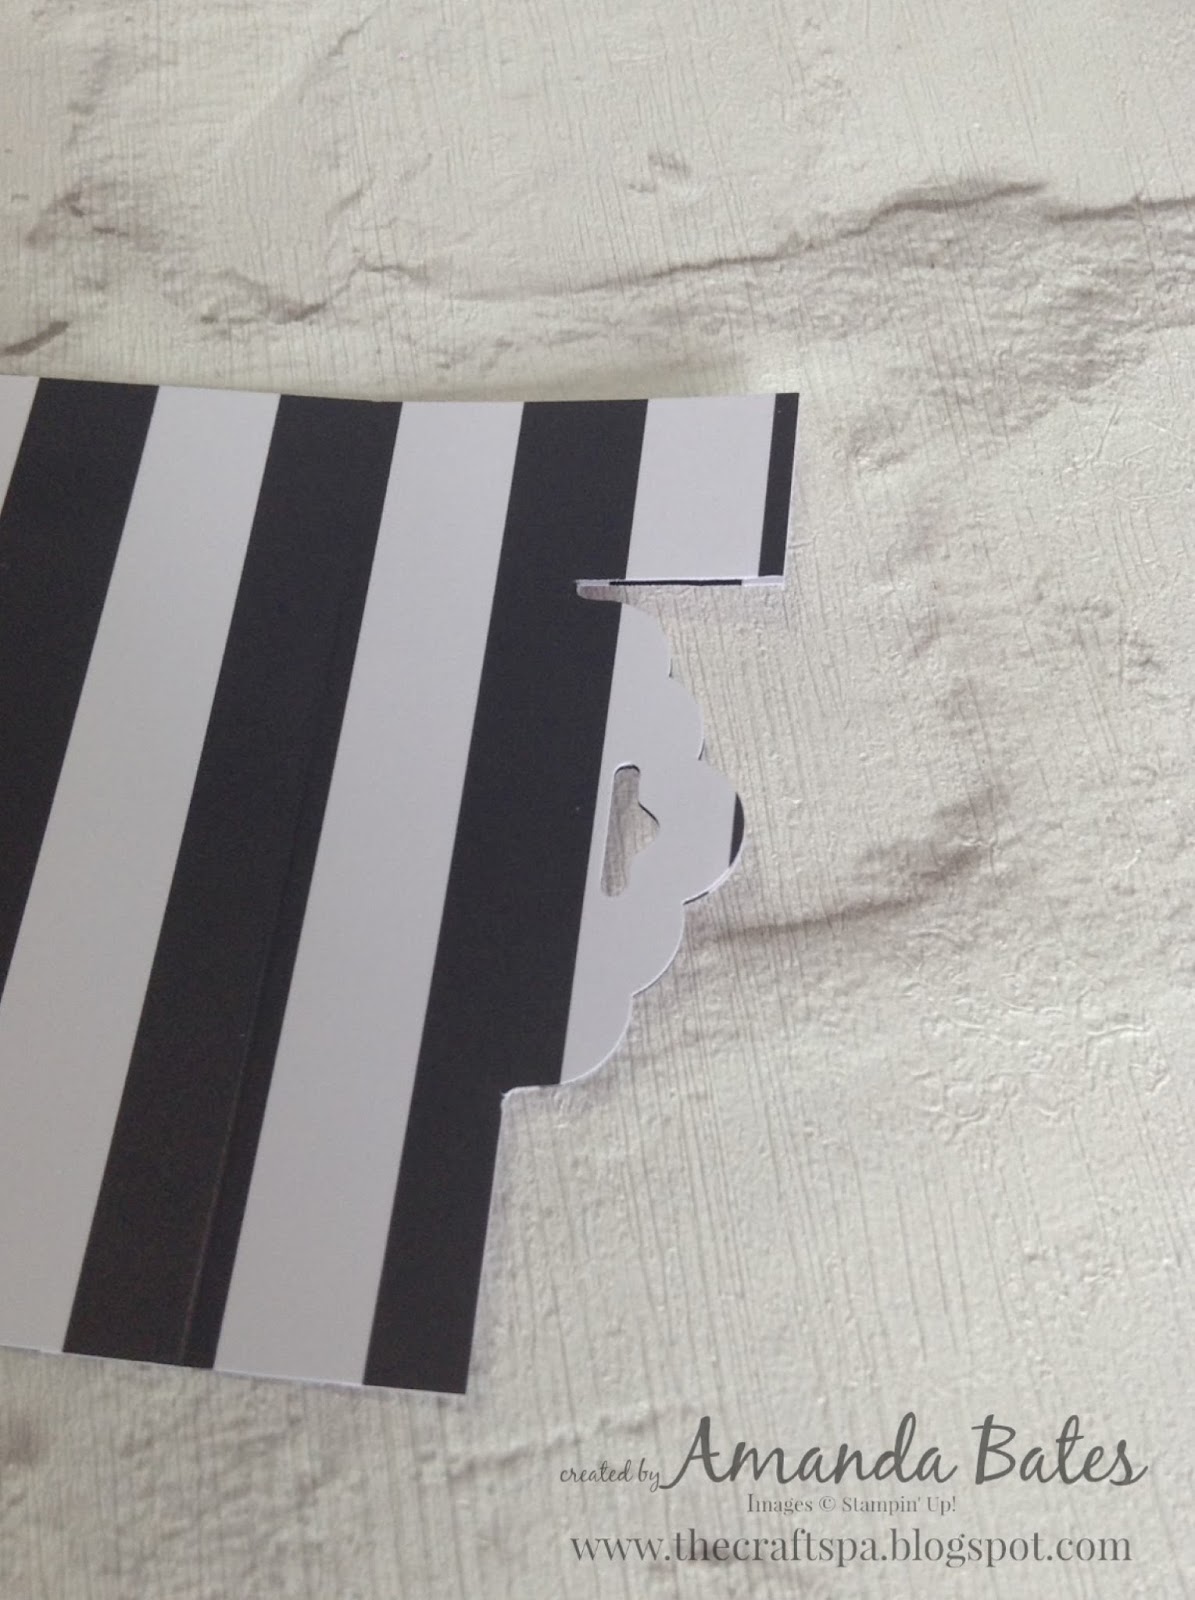
5. Scallop Tag Topper punch those short sections

6. Trim off the "shoulders" (trimmer or scissors will do the job!)
7. Concertina fold shorter strip (mountain, valley, mountain with front pattern facing you) & place standing up in front of you!
8. Concertina fold other 2 strips from short punched section end (mountain, valley, mountain,valley with front pattern facing you)

9. Place standing up in front of you with shorter punched sections to outsides. One to left and other to right of the smaller (central) piece
10. Adhere longer pieces to shorter/central
11. Decorate as necessary. But don't stick your decorative front on yet!!

See this alternative to the birthday greeting version I showed here... I love the add of the 2U.... Nicky was inspired with her solution to having stuck her lettered mats down (cough) differently!!! And thank you to Heidi for the Retirement version...
Die cut Letters decoration tutorial here...
Night of Navy circle mat is 1 3/4" circle punched
White greeting circle is 1 5/8" circle from Layering Circles dies
Floral frame is Floral Phrases rose spray stamped above and below along the straight line & then handcut...

12. Place ribbon up through the punched hole on the left hand side, pull through over to the right and lay across the front. ( Tip - NOT through the right hand side punched hole)
13. Lay the LHS of the remaining ribbon across to the left, down & around the back and across to the right. Size as necessary (with bow allowance)
TIP - I personally find it easier to have the front & back ribbon lengths to be the same size off to the right... and then tie the bow and trim off as necessary... but you do cut off a few inches...
14. Adhere your decorative front (TIP - you only want glue to the left!!!)

15. Decide how you want to have the final fold of your card... I usually leave as a double fold as shown here... but you can have as a single fold too (example here ) ... and then tie off to close & make a bow with your ribbon. Trim ribbon as necessary...
16. Pop in an envelope (Double Fold fits nice and snugly/protectively into a Stampin' Up! medium envelope or a standard C6 envelope is great if your ribbon bow has gone off to the side!) or make an envelope box (Tutorial here) for a Single Fold version

If you prefer a video tutorial to the Metric Tag Topper Concertina Card... Julie has kindly already shared one here...


Wednesday, 22 June 2016

Birthday Floral Boutique Concertina Card

Another version of the Wedding Card posted earlier in the week... same card, different Floral Boutique paper pattern and the addition of the Floral Phrases rose sprays at either end as Birthday only 8 letters whilst Wedding Day is 10...
The Recipe and Tutorial will be for my Fancy Fold Friday post this week (as it is now late at night and I have a few photos to take!!) ... but for today... as quite a few of you have asked... how I did the letters...

1 Die cut your letters or numbers
2. Place your numbers or letters on a piece of scratch paper...
3. Grab your Night of Navy ink pad and the rose spray stamp from your Floral Phrases set
4. Ink up and stamp centrally...
5. Re re-stamp without inking above and below... adds a bit of extra dimension...
6. Repeat for each letter... 

And an extra tip for you... Some letters (such as I) can be stamped in one.... as per my O example below... but have your pokey/piercing tool or tweezers or something to hand... as those letters will stick to the stamp... and you don't want inky fingers!!!
7. And there you have it... easy and subtly decorated die cut letters and numbers... pretty too!!
And in preparation for my Friday post... have your Scalloped Tag Topper punch and a piece of 12x12 paper ready to go... as well as your alphabet dies, Floral Phrases stamps, Night of Navy ink and Sahara Sand and Whisper White card...and co-ordinating ribbon......