Showing posts with label 18th Birthday. Show all posts

Friday, 15 June 2018

Share What You Love... Scallop Tag Topper Concertina Card

I have been asked to do an Eighteenth Birthday Celebrations card for my next class... and we are using the Share What You Love papers... so this is what I came up with... a Scallop Tag Topper Concertina card...

Always been a favourite card format... one that always WOWs the recipient... and one that is great to do when faced with some beautiful papers!!
And before I forget... Details of my Share What You Love Kit in the Mail here... next round to be ordered towards the end of June...

And you can find the Concertina Card Tutorial here... 

But back to the card details... 

Purposefully kept simple in style... using the "simplest" of the paper patterns... and using the wonderful Letters for You alphabet stamps in Tranquil Tide... with a subtle touch of flowers inside to dress the card... though they will hate me as they will have to fussy cut these!! 

Extra internal word decorations from the  Rooted in Nature Be Strong Be Happy Be You quote... just seemed right for the occasion!
And one feature to point out... check out the ribbon... I don't have much current ribbon to use yet... so I sponged up the lovely new White 5/8" Polka Dot Tulle Ribbon using Tranquil Tide ink... great ribbon to have and to use in any colour!!
Rest of the front decorated using a metal silver flower centre from the Share What You Love embellishments kit... 
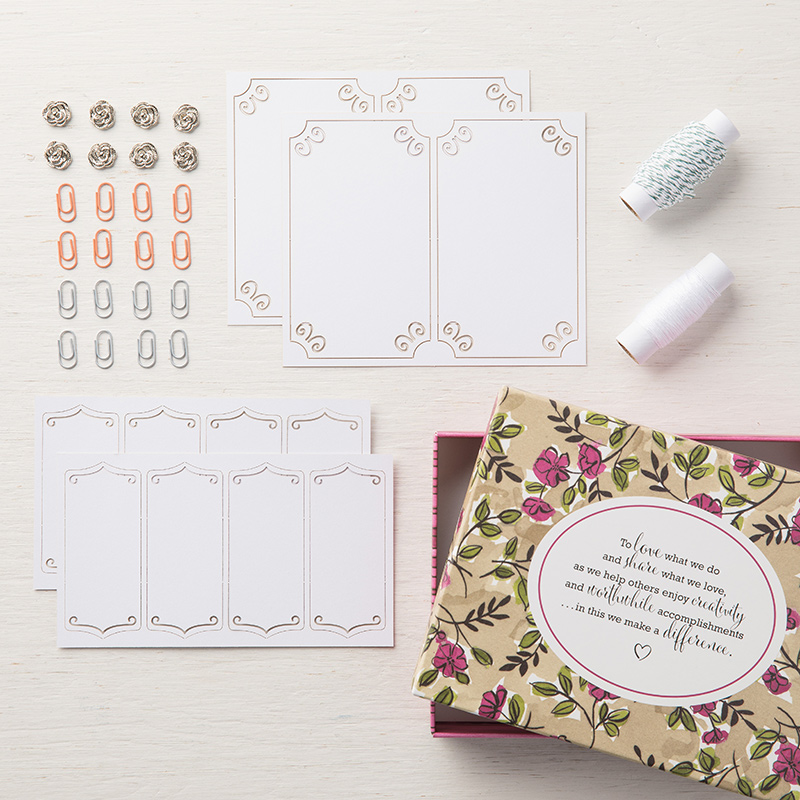
Share What You Love Embellishment Kit
Onto a fussy cut flower from another of the Share What You Love paper patterns.... see top left below!
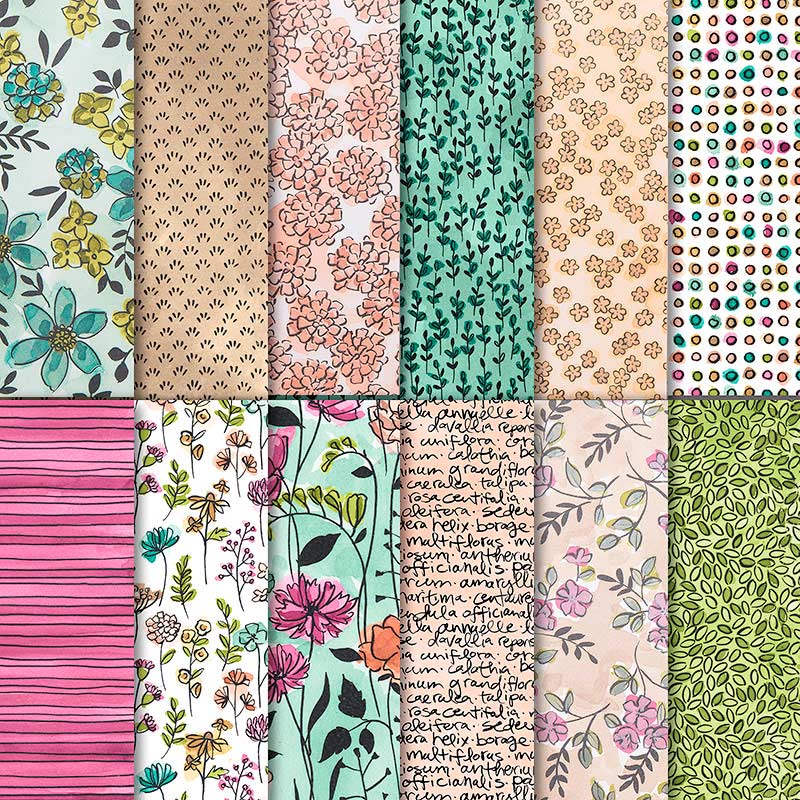
Share What You Love Specialty Designer Series Paper
Greeting from Detailed With Love stamp set... 

Onto a Stitched Shapes circle die cut... laid on a 2" Circle Punched Tranquil Tide circle... onto a Pearlised Doily... onto a 2 1/2" Layering Circles die cut Mint Macaron circle

And finally finished off with a few more of the tiny handcut Saffron flowers to the top right...


Tuesday, 8 May 2018

A Special 18th Birthday Double Display Card... with more back!

So whilst it is Men in May time for classes... I was asked for a special card for an 18th birthday boy... so here you go... hope Oscar likes it!!

But before I start... the Retiring List has just been updated with some discounts on products... up to 50% ... off to research further and post again with a list in a little while... In the meantime...click on the icon below to go to the full Retiring List

Ages since I made a Double Display Card... and my ladies have made quite a few over the years... but not the one with the extra back!
Card Tutorial (but using 12"x12" cardstock for the main card) shared here... Though this one is actually from A4 card... so guess that means another tutorial coming your way at some point... in the meantime no-one else would know the difference!
Stampin Up Products Used
Papers - Naturally Eclectic, Fabulous Foils Acetate
Dies - Stitched Shapes, Happy Birthday, Celebrate You (coming back for sale 1st June) & Large Numbers (retiring - so please do not delay if you havent got them yet!!)
Stamps - Perennial Birthday
Card - Lemon Lime Twist, Night of Navy, Pool Party
Talking of the Fabulous Foils acetate... a word of warning!! There is a very thin protective layer on the sheets... on top of the silver side on this polka dot pattern... ie The acetate sheets are very clear - not slightly misty!! But it is SO difficult to spot if you don't know about it!!!!!


Monday, 8 May 2017

Happy 18th Birthday Joe....

Wow! 18 years of Joe today... how did that happen!!?!

Long term blog followers will know that today is normally my annual Real Red Card day... but he is all grown up now... so Cherry Cobbler seemed more appropriate this time!! Along with Basic Grey and Black still of course!

The old favourite Scallop Tag Topper Punch Concertina Card came to the rescue (long story at the end!!)... which is great as I now have a cunning plan with it for another day!
Click here for the Tutorial...

And the specific details...
Basic Black papers from the Neutrals 12x12 Designer Series Paper Stack.
Cherry Cobbler, Basic Grey and Whisper White card...

Lots of dies used!! Large Numbers, Large Letters, Stitched Shapes, Layering CirclesLots of Labels

Difficult to see in the photos (clearest on the number 18 on the front)... but makes a huge difference in the flesh... I overstamped my Basic Grey die cut letters and numbers with the hexagon pattern stamp in Butterfly Basics using Craft Whisper White ... and then a Basic Grey postmark too...

And I have just realised that I have "forgotten" to add the stars I had planned as the final decoration...so please imagine those all over!!! The card is safely sealed in the envelope and it is time for bed... I will add them when he is at school... he'll never notice!!!
So the back story.... So his card was going to be this... then that.... then the other... then I finally made a decision ... something special I saw a while ago that had stuck in my head.....

So then I tried desperately to find a written tutorial (with maybe some photos) for what I wanted to make... and failed... although I had to laugh at how many of my own card designs popped up in my search... but they are nothing like what I was searching for...

So then I had to follow a video tutorial... and failed!!! Not for the fault of the video/creator.... I think it was probably a good one... Maybe I just don't have the patience for that method of delivery... I did REALLY try though.... as I never (usually) give up on a card fold... and I do have to admit that an essential part of the card fold wouldn't be explainable just in words in any case...

So onto Plan B... great start... great new card fold... but major fail at the last stick of paper!!! In the bin...

So then I was back to this, that and the other.... having rather lost the will... and far too many hours... and then I remembered the wonderful Concertina card... moment saved! A card special enough for my 18 year old... even though a photo never does them justice....

Sunday, 23 April 2017

Eighteenth Birthday Table Centrepiece

When you have a special event... you need a big table centrepiece! The crystal base being about 15" high...

Now I am no flower arranger... and I won't bore you with all the problems that this simple arrangement caused me... it was just supposed to be a simple half-hour!!!...

But I thought I would share it in any case...
But hey it looked great on the night... though I did swich a few things at the last minute... but more on that another day!