Showing posts with label How To. Show all posts

Tuesday, 2 July 2019

Tuesday Tip - Colour your Floral Centre!

It was just screaming out to be done....

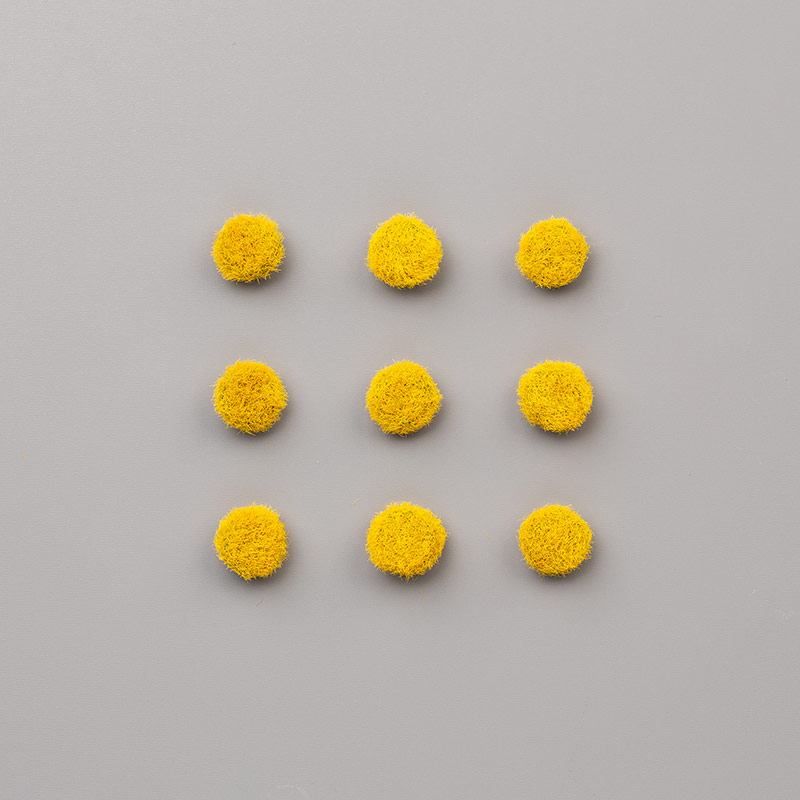
Take one Perennial Essence Floral Centre... and one ink pad... Merry Merlot used here...
Grab your Floral Centre  - using tweezers or something - either side of the foam pad on the back - and dab & push it on said ink pad... top and sides until you have plenty of ink coverage... then let it dry a while!

And voila... come back again soon to see this in action!!
Amanda's Quick Links
Just click on the relevant pictures below for On Line Store, Catalogues and/or more information... 
If you are ordering today... please add the Host Code shown below to earn yourself a gift... For orders over £150 you should claim your own Stampin Host Rewards... you will still get a separate gift from me... 
Kits & Product Shares


Current Catalogues & Products


Tuesday, 12 March 2019

7 ways to colour the Country Floral embossing Folder for Tuesday Tips & Tricks....

I have a round up of different looks and ways for colouring the Country Floral embossing folder for you today... There are other ways... but I had to stop myself...

Should really have shared these a few weeks ago... But I meant to  come back to them and make some pretty cards... and so they got forgotten about... but hey... better late than never... 

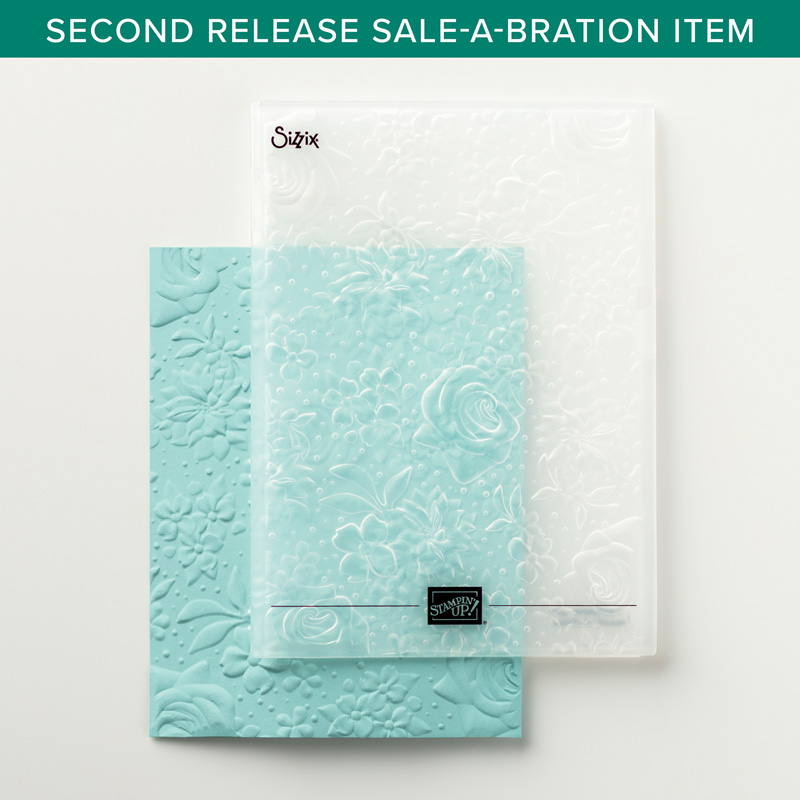
But before I start... know your Country Floral embossing folder! 

Available exclusively for free with a £45 order during the Sale A Bration promotion... which ends 31st March...
It is a Dynamic Textured Impression folder... so use only one plate to emboss through your Big Shot... 

And... for the purposes of the explanations here... the front of the folder is the side with the Stampin' Up! and the Sizzix logos on... so you are looking at the front face of the front side on the picture above... 

First up... white cardstock... with simple inking up of a face... using either an ink pad direct (as I did)... or a brayer if you prefer a lighter touch and more control... 
(1) inking up the back face of the front side... aka the debossed/valley/sunken face... apologies for the different colour (Balmy Blue) here...
(2) inking up the front face of the back side... aka the embossed/peak/raised face...
Then using coloured cardstock... with simple inking up of a face... using the same colour/darker ink... either an ink pad direct... or a brayer if you prefer a lighter touch and more control... I think I used Coastal Cabana ink on my samples... but it may have been Pool Party!!
(3) inking up the back face of the front side... aka the debossed/valley/sunken face... 
(4) inking up the front face of the back side... aka the embossed/peak/raised face... apologies for the smaller panel... I must have been rushing at the time!!
And finally... a bit of multi colouring... three ways... 

I used Balmy Blue, Highland Heather, Pineapple Punch & Granny Apple Green unless otherwise indicated...
(5) Using the Many Marvellous Marker pens to colour onto the back face of the front side of the embossing folder aka the debossed/valley/sunken face... and then embossing the white cardstock... Wouldn't suit the perfectionists out there... as a more vintage random look... 
(6) embossing white cardstock... and then colouring using the Light Stampin Blends... I also used the Soft Sea Foam one here for some of the leaves... nice and precise and bright... 
(7) And my favourite... using Watercolor Pencils... Embossed white card first... then scribble pencils onto embossed/raised side of cardstock... and then Blender Pen to move the colour "out"... 

Slight variation on colours here (Daffodil Delight, Gorgeous Grape, Granny Apple & Garden Green)
Now I could carry on for a while... but I need to move on with my Class schedule and projects... But my next one would be... combining (1) in Pool Party ink and watercolor pencils (7)... 

Hope you have found these a useful round up...  And now you know how to do these... you can search on Google & Pinterest etc and find lots of examples of cards with pretty colour Country Floral coloured flowers... to inspire you even further... 

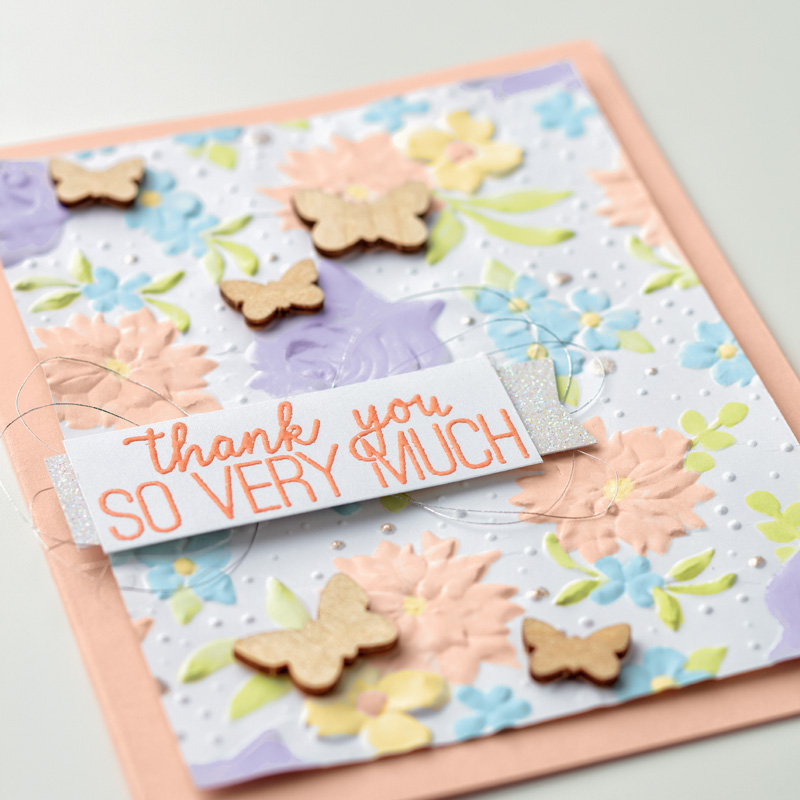
But ... before I go... here is one prepared earlier for you... using the Stampin Blends method (6) described above..

Amanda's Quick Links
Just click on the relevant pictures below for catalogues and/or more information... 

If you are ordering today... do remember to add the Host Code shown below to earn yourself a gift and help support The Craft Spa at the same time... 
Please note that this host code is relevant to today's blog post date... it does expire and change over time... but the current code is always shown at the top right hand side of my blog...

Just click on the relevant pictures below for catalogues and/or more information...
JOIN: £170 product for just £99. OR £170 product plus Tote Bag for £125
Sale A Bration Co-ordination products - available March 2019 only

Earn free Sale A Bration products for every £45 spent (note that some require £90 orders to redeem). Promotion ends 31st March 2019. 

See them all in the Online Store here... or here are the 3 leaflets to flick through...

Current Catalogues & Products


Tuesday, 18 September 2018

Top 20 Uses for Shimmer Paint....

Something a bit different for you today...

As a team of demonstrators... we come together (via our Facebook team page) and share many a project  - or business tip - or just something that has worked for us...

But we have just started something new... and that is to share ideas for using a particular product... This can be general - such as uses of embossing folders- or specific - such as project ideas for a particular stamp set...

So when it was my turn I decided to focus on the returning Shimmer Paints... which are in the Autumn Winter catalogues... as I do think these are little pots of delight!
I quickly write down all the uses I had for them last time around... and then I was off on Google for about an hour (or maybe 2) researching... and found some more great uses... until I had 20 of them!

I did mean to produce some of my own samples for every use I had on my list... but time was really not on my side so (in some cases) I used images from the demos blogs where I had landed! But unfortunately I forgot to make a note of where I was at the time!! But if they used watermarks on their photos... then you can see where I went... thank you ladies...

So now it is time to share my research with you... of 20 Top Uses and Other Tips on using Shimmer Paints...

Just click on the 4 pictures below to download the 4 pages of the pdf file...

Though do read on for a pictorial on Item 17... using Stampin Spots to make your own shimmery ink pad... in any colour....


Oh and don't forget to buy your Shimmer Paint... Live in the UK? Click here to go straight to the Shimmer Paint Online Store page... and/or here for the Mini Spritzers (2 in a pack) ... and here for Stampin Spots blank ink pads... but remember to add my current Host code 2MVEHBBW to get yourself a card & gift from me!

And whilst you are at it... do remember the Clearance Rack was only updated yesterday...

PS do feel free to email me for a copy of the full pdf document if you have any problems...

Coloured Shimmer Paint Ink Pad Tutorial
Mix on a Stampin Spot for more long term use. This is an experimental at this stage! My Spot has only been primed a few days…and is working fine... so I don’t know how long it will last/be usable yet!! But it will be great for class use… even if I need to re-ink everytime…

1. Pick up a Stampin Spot, Frost White Shimmer Paint and an ink refill ( I used Pool Party)
2. Add a drop of Shimmer Paint ... less is more!!
You will need to “push” the coloured ink into the felt later on… so don’t apply too much Shimmer Paint… which I did for this photo!!! As I had made my ink pad ... then realised I hadn't photoed the next 2 steps so I did it again... and oops!! It really sat on top!!!
3. Add a few drops of coloured ink 
4. Mix it up ...
5. "Push down" into the felt of the Stampin Spot...
6. Ink up stamp as desired... and stamp....
7. Gorgeous shimmery Pool Party Beautiful Blizzard snowflakes... and I can't wait to use it with the  background stamp...
Gorgeous!