Showing posts with label No Bones About It. Show all posts

Thursday, 26 April 2018

Retiring Stamps I am going to miss Part 2....

Last-Chance Products
A purposefully shorter round up post today!

Though still with the projects over the years round up for you too... Just click on the project photo to go to that project for more details... and/or click on the product photo to go straight to the product in my Online Store... 

See yesterday's post for the first 5 in the series... 

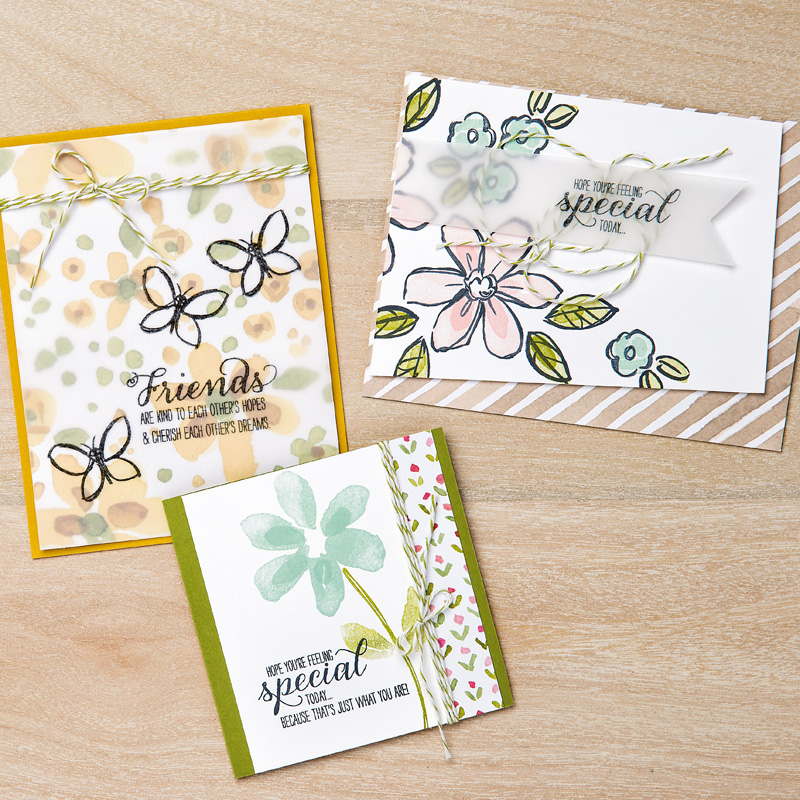
Garden in Bloom
Not bad for a set I won in the Team Training Raffle... Whilst this has always been a very useful floral & fauna set... it has suddenly become a firm favourite!!! So I will deal with it first... thanks to fellow demo, Jo Hooper for spotting this one... and for sharing what she loved!

So product picture up first... spot THE flower... yes the large 2 step one at the bottom left & right...
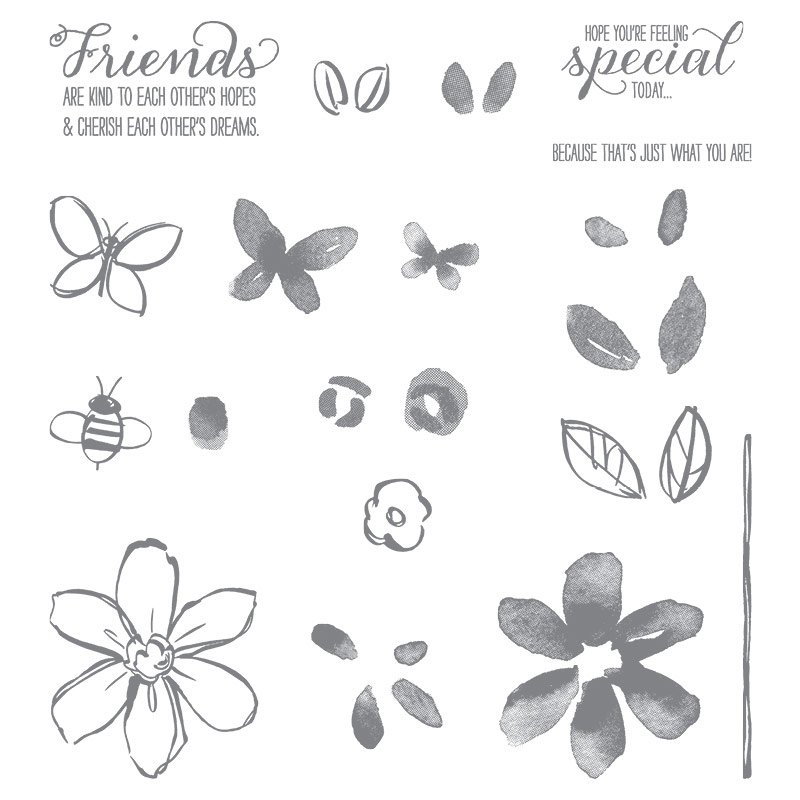
Garden In Bloom Photopolymer Stamp Set
And here is a sneaky peek of part of a stunning sheet in the brand new and coming Share What You Love papers... which are definitely wanted by all my ladies that have seen them so far...
Ooh look at the top... same flower!! And can you spot the pearlescent sheen on these papers too... (though note that the glittery Old Olive flowers are care of my Wink of Stella...)

As an aside... don't miss the early release Share What You Love bundles coming from 1st May... click here for more details (including how to get them now!) ... or  just here for the Flyer ...

And some more CAS Garden in Bloom samples for you...
Garden In Bloom Photopolymer Stamp Set

Hopeful Thoughts (aka Thoughts & Prayers in the US I believe)
This one has been around for a very long time... but still a keeper for me... always had a soft spot for blossoms... and I love the tree!


And gosh these 2 are from 2011... and all the rest ( as I know that there have been a lot more made using this set) must have been pre-blogging days... or maybe prior to using Tags that can be used in the Blog Search function...

Available in Wood mount and Clear Mount
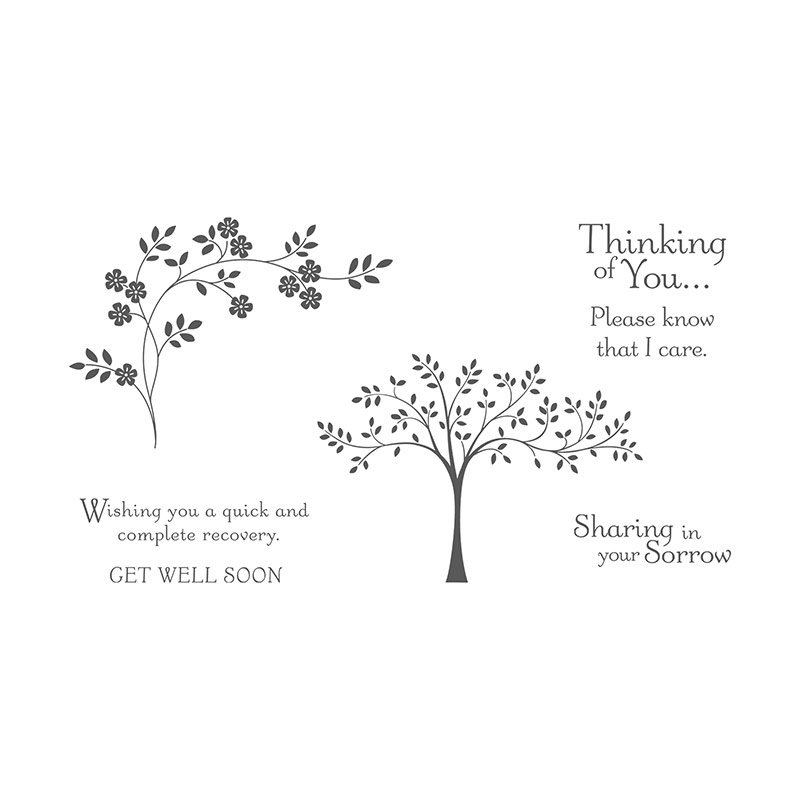
Hopeful Thoughts Clear-Mount Stamp Set
Charming Cafe
Not been around for so long... as made its debut in this years Spring Summer catalogue...but a really useful set of stamps and dies... for which I loved the samples in the catalogue... and has had a lot of other use ...
Available as stamps or bundled with the dies.. in both Clear Mount & Wood Mount
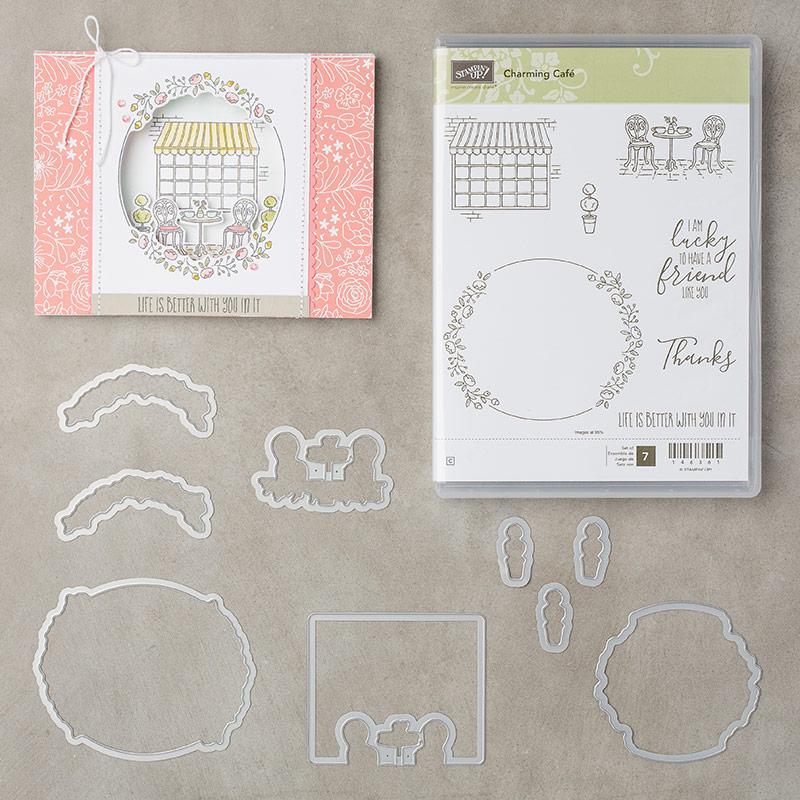
Charming Café Clear-Mount Bundle

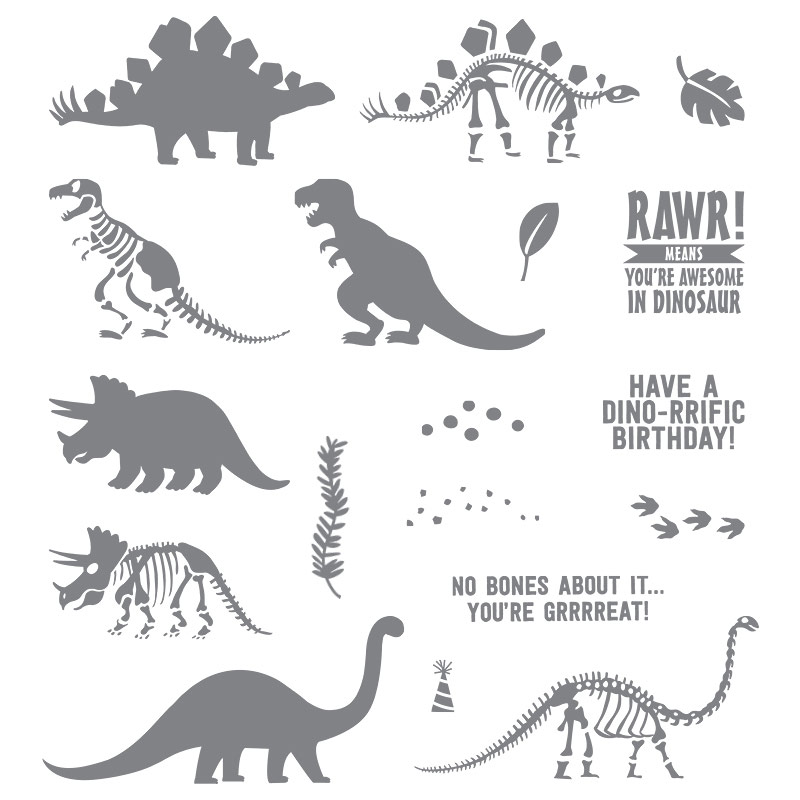
No Bones About It...
This is one of those sets that has always had my heart... even though son and friends & family etc definitely too old to be into dinosaurs... and no-one wanting them to be used for projects in my classes... but a keeper for when our friends start on grandchildren!!! 

But I loved the few cards I made just because!!
And this one that fellow team-mate and friend, Anna made using my Shadow Box Frame card tutorial...
 

No Bones About It Photopolymer Stamp Set

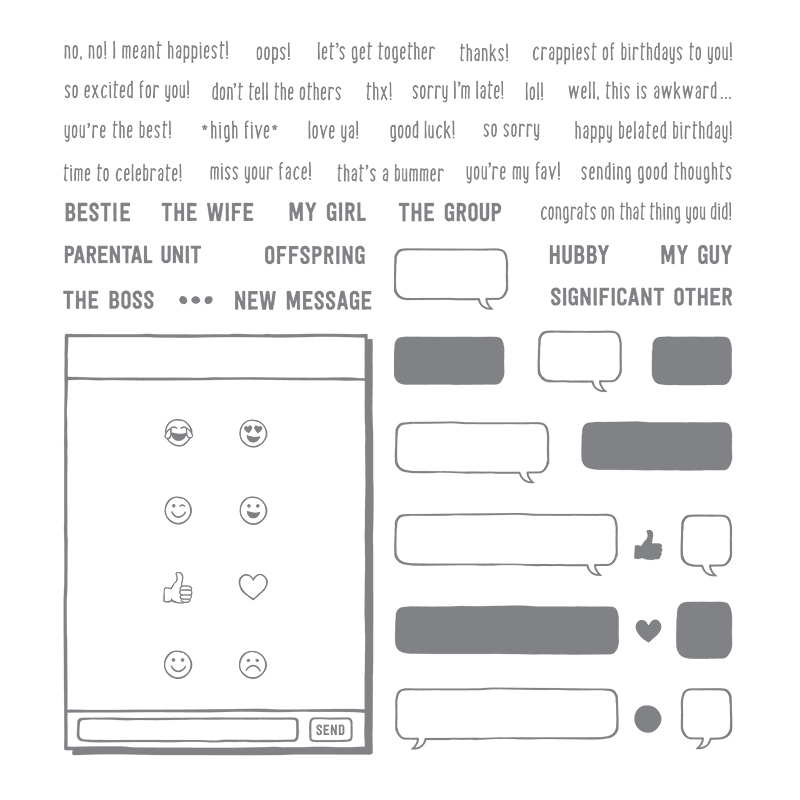
Text Ya Later
And last but not least... for a bit of fun... and great for young, old, teens, tweens and male/female cards etc!!!
Gosh I had a long list of ideas for this one... but guess the timing was just not right... 

Though I will also share the card that should have been quickly remade... as there is a tutorial there for you too... Same idea in the other orientation.... and somewhat less bright!.. 
2014_04_Team Training_Stepped Up_Swap_Teen Male_iPhone5_Make Note (2)
Text Ya Later Photopolymer Stamp Set
Now I found it hard to select just 10 stamps that I am most going to miss most come 31st May (or sooner if they go out of stock before!) What about You? Which ones will you most miss?

Saturday, 12 August 2017

Sponging & Masking a little scene...

When I posted my DinoRama U Fold Card tutorial yesterday... I had some people ask me how I had created the scenic backdrop... so whilst I do not consider myself an artist in any way, shape or form... this is what I did...

And I have to admit that there is also another one waiting in the scenes... got to love those mountains behind a lake for a Christmassy scene!!!

1. Brayer Soft Sky across the whole panel. Don't worry about streaks and missing bits... they just add some texture!I  prefer a brayer for speed but you could use sponges...
2. Rip some pieces of scratch paper so you have undulating mountain peaks on one... and a raggedy straightish edge on the other. You will use both halves of the ripped papers.

Though note that you can't make loads of cards with one set of these papers... as eventually the ink bleeds through and ruins your scenic masterpiece!! I reckon about 3 cards with the one set... OR have a set for each colour... in which case rip through two at the same time so your shapes are the same!! Now why didn't I think of that before!

3. Mask your panel so you cover some sky area at the top and have mountain shapes about 1/3 of the way down... 
4. Grab your Wisteria Wonder ink pad and Stampin Sponge... and dab, smoosh, swoosh, wipe & swipe as you fancy to add colour and texture... I tend to lightly dab all over first and then swoosh/wipe at the peaks to add definition...

Move your masks along until the whole width is sponged...
5. Reposition your masks so that you have more peaks behind your mountains... this is where your 2nd torn half of scratch paper comes in useful to cover your first lot of mountains (though unfortunately I forgot to photo that in place! So please use your imagination...)
6.And sponge again...
7. Reposition your mask and apply more depth of colour to form the sides of some of the mountains...  again I swooshed/wiped down from the edge to add the depth... Little thing that makes a big difference!!
8. Position your 2 raggedy straight line masks to create a narrow horizon below the mountains and above the lake.... and sponge Pear Pizzazz ink over...
9. Voila land in front of the mountains...
10. Grab a Peak paper and raggedy straight edge paper and position at the sides to create hills...
11. Sponge with your Pear Pizzazz ink...
12. Now I carried onto create more of a scene but most of this gets covered up in this card fold...so optional! 

So place raggedy straight edge paper about 1" from the bottom
13. Sponge Pear Pizzazz ink over to create land in front of the lake...
14. Peak papers back on to create some more hills to the font of the scene...
15. Sponge Pear Pizzazz ink (definitely the least artistic bit of my little repeat scene!!) but works OK when cut up...
16. Ink up & stamp Old Olive leaves to the top right and left...
17. Cut as required (see yesterday's tutorial pt.8 for measurements)
18. Ink up & stamp your greeting on the central panel in Old Olive...
19. Assemble the card as per yesterday's tutorial... until you get to pt. 25 at the end...

20. Grab your card and embellishments.... and stick them all on... ... note that my Brontosaurus had his tail chopped and is rearing upwards (like a dog on back legs!) to achieve the Loch Ness monster look I wanted!
The Card Front Builder trees are die cut in Old Olive and then stamped in Old Olive using the Background Bits stamp for more texture (click here and scroll to the end of that post for a close-up pic)

All of the dinosaur, greetings and other images are in the No Bones About It set...

The 2 dinosaurs at the front in the shot above are inked up in a paler colour and then the stamp is stamped with the same Background Bits stamp inked up in a darker colour... adds great scales! 

So this T. Rex is inked up in Soft Suede and then stamped over with Early Espresso and then stamped onto card...

And this Stegosaurus is inked up in Pear Pizzazz and then stamped over with Always Artichoke. An Early Espresso marker on the fins finished the inking off and then he was stamped...

21. Dino Rama U Fold card finished....
Enjoy!