Showing posts with label Charming Cafe. Show all posts

Thursday, 26 April 2018

Retiring Stamps I am going to miss Part 2....

Last-Chance Products
A purposefully shorter round up post today!

Though still with the projects over the years round up for you too... Just click on the project photo to go to that project for more details... and/or click on the product photo to go straight to the product in my Online Store... 

See yesterday's post for the first 5 in the series... 

Garden in Bloom
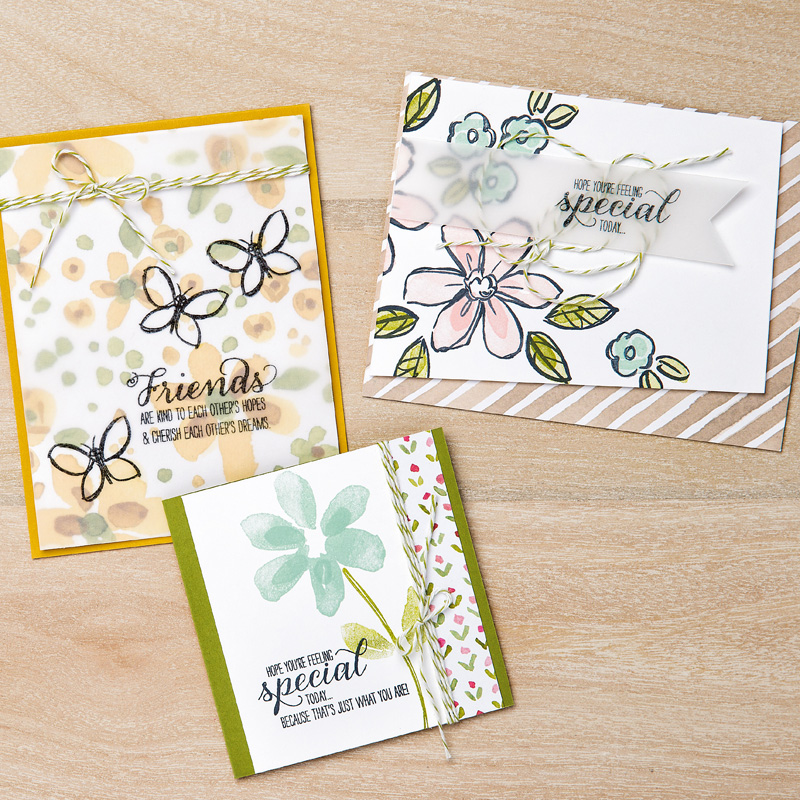
Not bad for a set I won in the Team Training Raffle... Whilst this has always been a very useful floral & fauna set... it has suddenly become a firm favourite!!! So I will deal with it first... thanks to fellow demo, Jo Hooper for spotting this one... and for sharing what she loved!

So product picture up first... spot THE flower... yes the large 2 step one at the bottom left & right...
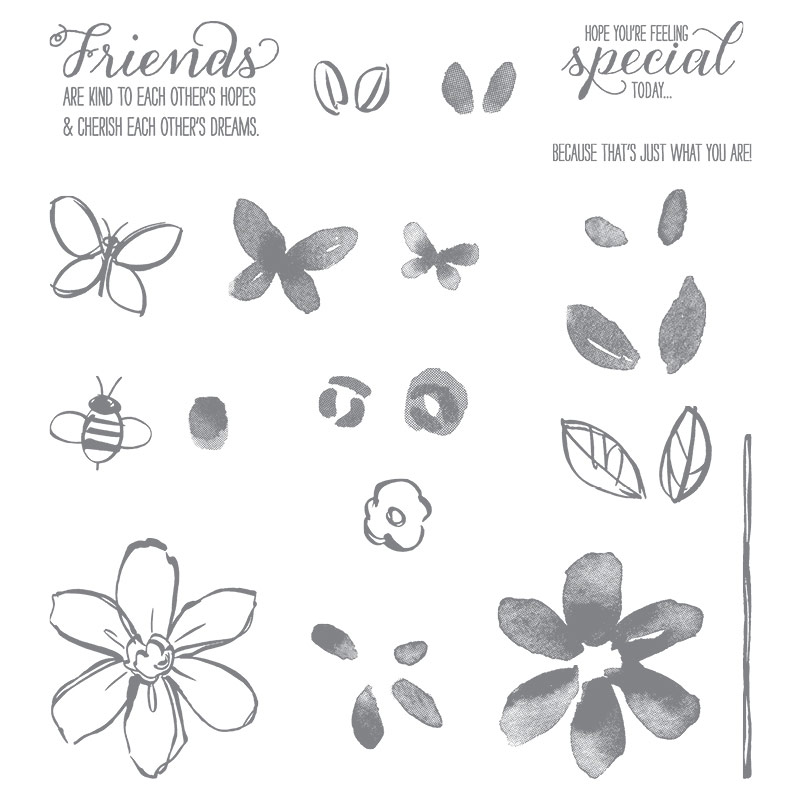
Garden In Bloom Photopolymer Stamp Set
And here is a sneaky peek of part of a stunning sheet in the brand new and coming Share What You Love papers... which are definitely wanted by all my ladies that have seen them so far...
Ooh look at the top... same flower!! And can you spot the pearlescent sheen on these papers too... (though note that the glittery Old Olive flowers are care of my Wink of Stella...)

As an aside... don't miss the early release Share What You Love bundles coming from 1st May... click here for more details (including how to get them now!) ... or  just here for the Flyer ...

And some more CAS Garden in Bloom samples for you...
Garden In Bloom Photopolymer Stamp Set

Hopeful Thoughts (aka Thoughts & Prayers in the US I believe)
This one has been around for a very long time... but still a keeper for me... always had a soft spot for blossoms... and I love the tree!


And gosh these 2 are from 2011... and all the rest ( as I know that there have been a lot more made using this set) must have been pre-blogging days... or maybe prior to using Tags that can be used in the Blog Search function...

Available in Wood mount and Clear Mount
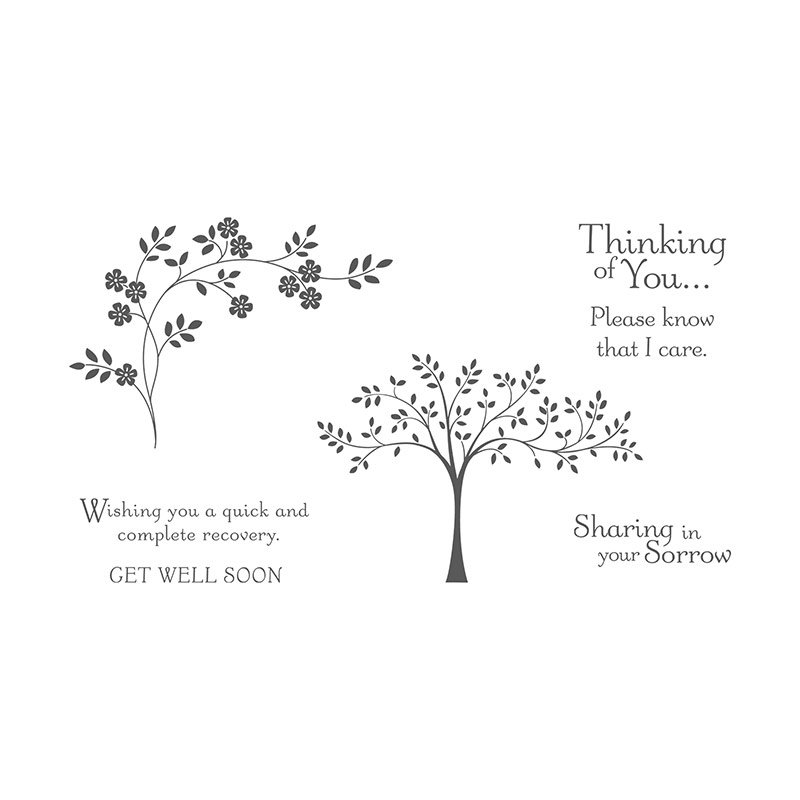
Hopeful Thoughts Clear-Mount Stamp Set
Charming Cafe
Not been around for so long... as made its debut in this years Spring Summer catalogue...but a really useful set of stamps and dies... for which I loved the samples in the catalogue... and has had a lot of other use ...
Available as stamps or bundled with the dies.. in both Clear Mount & Wood Mount
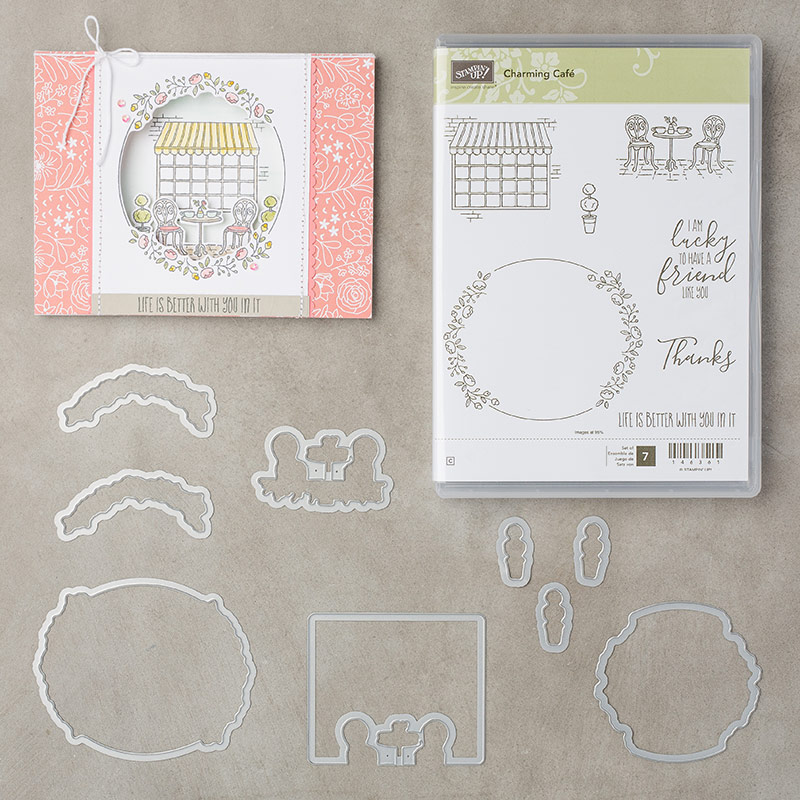
Charming Café Clear-Mount Bundle

No Bones About It...
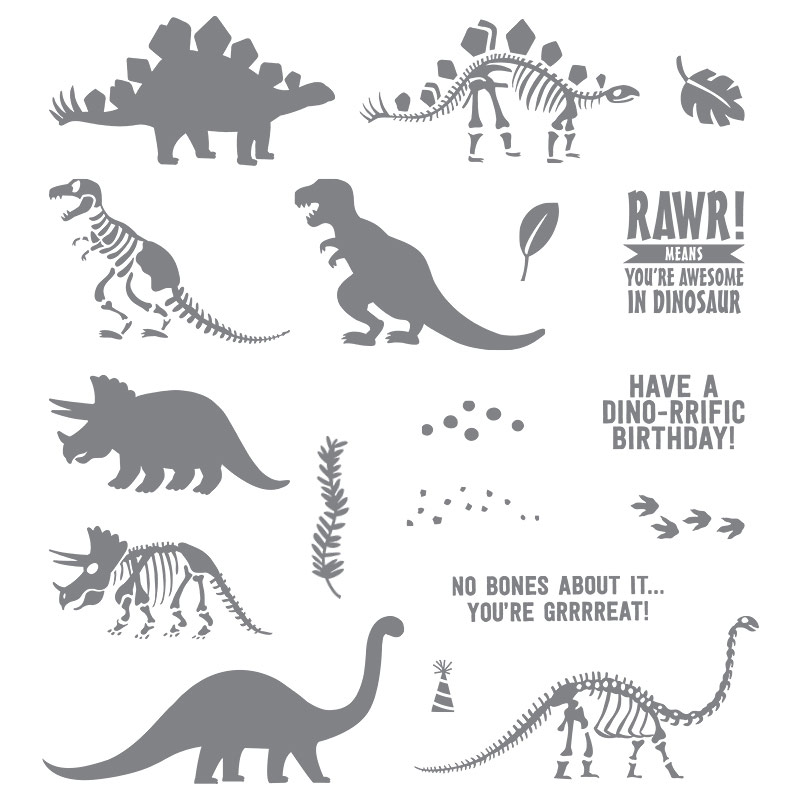
This is one of those sets that has always had my heart... even though son and friends & family etc definitely too old to be into dinosaurs... and no-one wanting them to be used for projects in my classes... but a keeper for when our friends start on grandchildren!!! 

But I loved the few cards I made just because!!
And this one that fellow team-mate and friend, Anna made using my Shadow Box Frame card tutorial...
 

No Bones About It Photopolymer Stamp Set

Text Ya Later
And last but not least... for a bit of fun... and great for young, old, teens, tweens and male/female cards etc!!!
Gosh I had a long list of ideas for this one... but guess the timing was just not right... 

Though I will also share the card that should have been quickly remade... as there is a tutorial there for you too... Same idea in the other orientation.... and somewhat less bright!.. 
2014_04_Team Training_Stepped Up_Swap_Teen Male_iPhone5_Make Note (2)
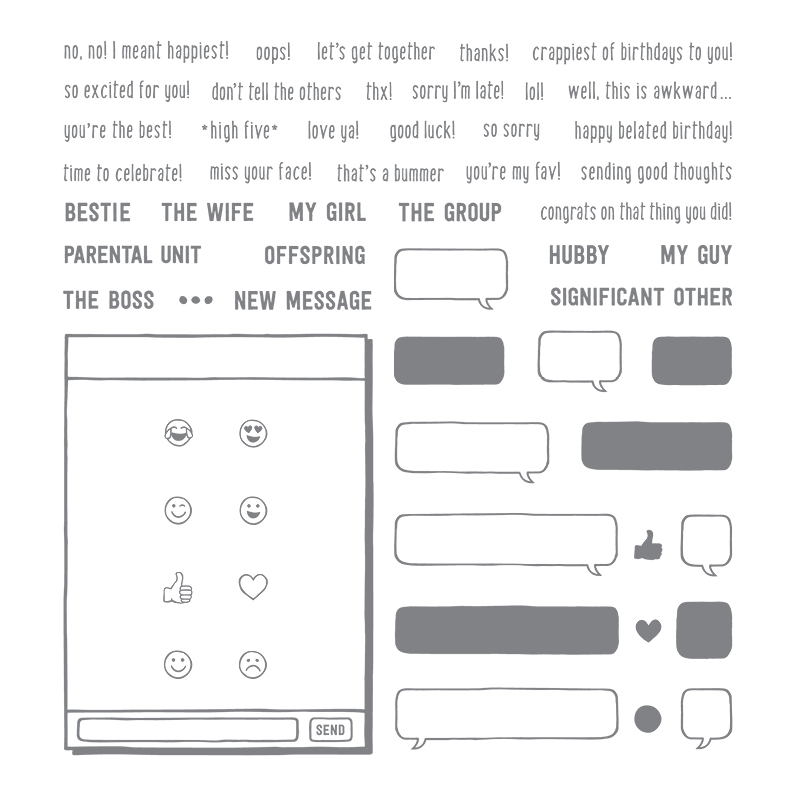
Text Ya Later Photopolymer Stamp Set
Now I found it hard to select just 10 stamps that I am most going to miss most come 31st May (or sooner if they go out of stock before!) What about You? Which ones will you most miss?

Monday, 12 March 2018

Topiary Trio...

You probably can't get much more simple than this... but it has definitely caught the eye of many a lady in my class(room)

Made by me for no apparent reason whatsoever... I just happened to have a couple of coloured and die cut topiary trees from the Charming Cafe stamps and Cafe Builder dies laying around... so I made another.... and now a simple little make selected by my ladies for April classes...

Which now makes 4 cards designed and made a whole month in advance for my April Card Buffet Classes!! About half way there... Never been known before...
So... another small square card blank...  ie 10.5cm from A4 or 4 1/4" from US Letter cardstock... which is a size I seem to be suddenly using for 80% of my card makes this year! With an 8cm (3 1/4") Old Olive mat... and a 7.5cm (3") Whisper White panel...

Topiary bushes stamped in Memento Black... coloured & blended in using Old Olive and Smoky Slate Dark & Light Stampin Blends ... with Light Pool Party around the edge to add definition... and finished off with a simple greeting (also from Charming Cafe)
And I can't tell you how useful the new Mini Stampin Dimensionals were for this card!!! Perfect!

Sunday, 11 March 2018

Lets drink coffee... in a Charming Cafe...


I wanted to just make and send a card to a very good friend who has moved away...

We used to spend a lot of time catching up over an unplanned cup of coffee here (or a glass of wine depending on the time of the day) and I really miss that time with her!

So Charming Cafe and Balloon Celebration to the rescue... and a simple little card to say it all... will make a nice change from our usual texting service!
And a card when spotted .... now selected by some of my ladies for April classes...

And the details for the rest of you... as sadly you can't come to make it in class!

A small square simple (aka simplest!) easel card... 10.5cm x 21cm cardstock, scored in half LANDSCAPE at 10.5cm and in half again at 5.25cm (or with US Letter cardstock... 4 1/4" x 8 1/2" piece, scored at 4 1/4" & 2 1/8") Centre line valley folded, quarter line mountain/peak folded...
With an Old Olive 7cm (2 3/4") Square mat and a 10cm (4") square Delightful Daisy paper panel on the base...

A largest and smallest die cut Stitched Shapes square... stamped as required... and then some craft knife action to remove the window inside the frame!! Scary... not done that for a very long time...

And a couple more stampings of the window & canopy scene...
One in Memento Black on Whisper White card to hand cut the Stampin Blends Bermuda Bay & Old Olive coloured canopy...

One in Staz On Black on Window Sheet to colour with Dark Pool Party Stampin Blends and pop behind my hand cut aperture...

Plus a Memento Black stamping of the chairs and table on Whisper White for more Stampin Blends colouring in Bermuda Bay, Old Olive, Smoky Slate lights and dark Pink Pirouette
And the rest is just assembly and sticking... everything stuck with Stampin Dimensionals to add to the 3D effect... apart from the Window, Old Olive mat and the paper panel...

Friday, 2 March 2018

Colour Challenge for Global Stamping Friends March Blog Hop

 
Hello and welcome to the March Blog Hop for our international Global Stamping Friends group... you are now in the UK with Amanda Bates at The Craft Spa.... a daily Stampin Up! blogger with lots of project tutorials, step by steps, original ideas and crafty tips for you as I go along...

So this month's Blog Hop features a colour challenge... which had me a-thinking a-plenty... as I do find most colour challenges indeed a challenge! And this one was no exception...
So I thought I would revisit a previous card and remake as that card hadn't been quite to plan... But then it needed something more... so I added a little something... and then I just wasn't sure! #bigfailure...

So it was back to the drawing board... featuring a wonderful stamp set that hasn't seen ink for a very long time... Hopeful Thoughts... available in both clear mount and wood mount... a set that had just been got out for a good reason... but more on that another day...
And a couple of really clean & simple cards CASEing myself from way back when... but with a completely fresh twist! Well you can't use Lemon Lime Twist without things looking fresher!

First up... the simple but stunning Tree... Inked up in Lemon Lime Twist... but then the trunks and branches over-inked using an Early Espresso marker pen....
Stamped onto a large Stitched Shapes square whilst temporarily adhered to the card blank... which was later removed and mounted onto a 7cm Lemon Lime Twist mat... and then stuck permanently to the 12 cm Square (5") card blank...

Finished off with a partial Early Espresso inked greeting from the set... Two ways to do this... cover the unwanted wording with a post it note... ink up... remove post it note and stamp OR ink up the wanted wording with a marker pen... and stamp. Either way make sure you have a clean stamp to start with!
But then I was completely stuck with how to add any Island Indigo... until I remembered the Enamel Shapes... and so a little heart finished the card! Not wouldn't this look great with the "Sending Heartfelt Thoughts" greeting out of the SaleABration Heartfelt Blooms set!

Next up... the Blossoms.... Lemon Lime Twist sponge brayered through a circular aperture... aperture removed... blossom spray and greeting inked up with markers & stamped...again a partial greeting...

Also set on a 12cm (5") Square Card blank... but with 9.9cm (3 7/8") Mat..and 9.5cm (3 3/4") white stamping panel
But before I go... oh why not!

So here's another Colour Challenge card for you... well it is made and although I had "rejected" it... I know that someone will probably appreciate it... so why not share... warts and all...
Large Square 14.8cm (5 7/8") card with a 10cm (4") white panel and 10.4cm (4 1/8") mat... 

Charming Cafe wreath... 4 of the separate flowers spray die cuts mounted to form a circle... 

Greeting and flowers from Perennial Birthday... and yes I chopped up my greeting! More details on that here... 

And to finish off... Lemon Lime Twist Mini Stripe Ribbon bow... a Tutti Frutti Sequin... and last... but for me the overkill unfortunately... Lemon Lime Twist tendrils around the mat from Sale A Bration Beautiful Peacock. I will definitely use these flourishes in this way again... as they are gorgeous... but just in a more subtle colour!  And yes... that also meant that I had used 3 stamp sets again!!!

And so to leave you... here is the trio of cards...
And now it is time to pass you on your way... so Goodbye from me... and Hello to Mary Ann who has something lovely to share with you... . Just press on the Big arrow below... 

But if you prefer to hop around from a list... or just in case of any early "bad links" ... here you go...

GSF Blog Hop Participants March 2018 – Colour Challenge

1.     Jan Musselman 
2.     Karie Beglau 
3.     Libby Dyson
4.     LIsa Ann Bernard 
5.     Anastasia Radloff 
6.     Tricia Butts 
7.     Amanda Bates (YOU ARE HERE!)
9.     Claudia Perry

Friday, 23 February 2018

Fancy Fold Friday Tutorial for Large Square Pop Out Swing Card - The Fully Opening version...

So having re-made some Pop Out Swing cards... or Lever cards as they are also known... for class projects last month... I went back to the drawing board ... as my original design does not fold out flat when assembled... and you know that I prefer a card that opens out fully! And I also wanted to have apertures in different shapes to the standard square too...

So here is the first... in quite a long series of card shares over the next few weeks...

And seeing as it is Fancy Fold Friday today... here is the step by step tutorial for you... for the Large Square (5 1/2" or 14cm) Pop out Swing Card (Fully Opening!) In both centimetres (metric) and inches (imperial)...
But I will admit that getting these to fully open was a real tweak with the measurements!  Which is code for some precise cutting and scoring dimensions being required! Thank heavens for the Personal Trimmer to make it all easy! 

Also slightly different mat size increments compared to my standard 5mm/ 1/4" ones...

PS If you prefer it to not fully open...  and/or you prefer simpler scoring/cutting measurements! Click here for the original 14cm/5 1/2" Square Card tutorial...  Or click here for the 6" Square Card from 12x12 cardstock... both with a standard square aperture...
Craft Spa Recipe
Card Blank - Cardstock Thick Whisper White 28 x 14cm (11" x 5 ½" )
Insert - Cardstock Powder Pink 20.4 x 13.6cm (7 7/8" x 5 1/4")
Tabs - CS Thick Whisper White 2 x 13.6cm (3/4" x 5 1/4") (x2)
Paper for Front of Card 13.2cm Square (5" Square)
Paper/Card for Inner Panel 6.4 x 13.2cm (2 3/8" x 5")
Card for stamping front centre panel 8 x 9.9cm (3 1/4" x 4")

Papers- Springtime Foils... Available exclusively and for free during the Sale A Bration promotion
Dies - Cafe Builder

Note that normally I would have added a Powder Pink mat to the front of the card... but the metal dies will not fit through 3 layers of card and paper to cut the aperture in one go... so I didn't! As I sadly couldn't! And lining up this die shape twice on separate pieces of card/paper would definitely have been too hard!
Craft Spa Instructions
1. Score LANDSCAPE larger (white for this card) card blank panel at 14cm (5 ½”) Bone Fold.
Tabbed Pop Out Swing Card Tutorial, Amanda Bates @ The Craft Spa 001
2. Score smaller (Powder Pink for this card) insert panel at 6.8 & 13.6cm (2 5/8" & 5 1/4")
3. Bone Fold as concertina/Z-fold ( ie one as mountain & 1 as valley fold)
Tabbed Pop Out Swing Card Tutorial, Amanda Bates @ The Craft Spa 002
4. Score 2 smallest (white) panels at 6.8cm (2 5/8")

5. 
Adhere paper to front of card blank...
6. Die cut Aperture in card blank front  …
Tabbed Pop Out Swing Card Tutorial, Amanda Bates @ The Craft Spa 004
7. Adhere Z folded panel to RHS of open card blank (note: valley fold of Z Fold panel to LHS when stuck )
Tabbed Pop Out Swing Card Tutorial, Amanda Bates @ The Craft Spa 008
8. Fold over front of card blank. (with Z folded panel folded)
9. Apply glue through aperture to top of Z fold panel ( ie to RHS of aperture) Note I have used Sticky Strip just so you can see where the glue needs to be…..
Tabbed Pop Out Swing Card Tutorial, Amanda Bates @ The Craft Spa 009
10. Adhere stamped and die-cut wreath through the aperture (making sure it can swing through the aperture)
 Tabbed Pop Out Swing Card Tutorial, Amanda Bates @ The Craft Spa 010Tabbed Pop Out Swing Card Tutorial, Amanda Bates @ The Craft Spa 015
So now for the Tabs to attach it all together….. and allow it all to pop out and swing…

10.Open up Card blank. Open out Z folded panel to the right.
 Tabbed Pop Out Swing Card Tutorial, Amanda Bates @ The Craft Spa 016
11. Apply Glue to one side of the 2 Tabs
Tabbed Pop Out Swing Card Tutorial, Amanda Bates @ The Craft Spa 017
12. With folded edge of Tabs to outer/RH edge of Z panel - adhere one side of Tabs to top and bottom of Z fold insert panel  (ie above and below the die cut panel) ensuring that these tabs are clear ...

(a) above and below the aperture shape
and
(b) the Z fold insert panel LHS score line.
Trim if necessary
 Tabbed Pop Out Swing Card Tutorial, Amanda Bates @ The Craft Spa 018
13.Fold top layer of Z Fold panel back over & open the Tabs out towards the central score line of the card blank.
  Tabbed Pop Out Swing Card Tutorial, Amanda Bates @ The Craft Spa 019
Check that the Tabs will clear the central score line of the card blank.
Tabbed Pop Out Swing Card Tutorial, Amanda Bates @ The Craft Spa 020
Trim if necessary
Tabbed Pop Out Swing Card Tutorial, Amanda Bates @ The Craft Spa 021
14. With the Tabs opened out, apply glue to top side ( ie facing you)
Tabbed Pop Out Swing Card Tutorial, Amanda Bates @ The Craft Spa 022
14. Fold front of card blank shut to close down onto tabs
Tabbed Pop Out Swing Card Tutorial, Amanda Bates @ The Craft Spa 023
And there you have it…one safely attached swing out card mechanism….
Tabbed Pop Out Swing Card Tutorial, Amanda Bates @ The Craft Spa 024Tabbed Pop Out Swing Card Tutorial, Amanda Bates @ The Craft Spa 025
Now depending on the colours you have used for the card blank and the insert panel... some of you won’t like the fact that you can see the Tab on the back of the white Z folded panel…
Tabbed Pop Out Swing Card Tutorial, Amanda Bates @ The Craft Spa 026
3 ways to work round that …
(1) have the card blank and tabs in the same colour (as I have with this card) so that you can't see the colour difference when you open the card... 
(2) have the card blank and Z folded insert panel all in the same colour ... so no colour difference anywhere!
(3) cut two extra 2 x 6.8cm (3/4" x 2 5/8") Tabs in the same colour as your Z Fold insert panel…and just stick over the top!
Tabbed Pop Out Swing Card Tutorial, Amanda Bates @ The Craft Spa 030
Tabbed Pop Out Swing Card Tutorial, Amanda Bates @ The Craft Spa 031
Look vanished! 

So there you have it… finish off your decoration to the front section… and you have a simple looking card with a WOW on opening… and it is simple to make too… especially by the third run...