Showing posts with label Succulent Garden. Show all posts

Friday, 26 May 2017

Fancy Fold Friday Tutorial for Double Z Joy Fold Card

You asked... and here it is!  The recipe and directions for the fully opening Large Square Double Z Joy Fold Card that I quickly shared earlier in the week here... And this is a SIMPLE one...

The card pictured today is exactly the same card... but the papers are flipped ie showing the reverse side... which meant everyone could choose their preferred colour way in classes... always like doing that when I can! Most people did this version...
And I know that some of you will laugh with me as you see how logical (aka obvious) - and simple - it is... still do not understand why my brain could not compute this when it tried to last year!!!

And this is a "tryer" girls (and boys) ... Too simple a Fancy Fold not to... I have made a few!!!

So it is the same card size whether you use A4 or US 8 1/2" x 11"... ending up as a 5 1/2" Square or 14cm Square card... so you are free to cut your panels & score in inches from A4 if you prefer ...  So cm measurements and directions are highlighted in yellow... 
Metric Recipe
A4 Thick Whisper White 28 x 14cm
A4 Thick Whisper White 23.5 x 9.5cm
A4 (Front) Soft Sky 9cm Square; (Insides) 6.5 x 9cm [x2]
Paper Gingham (Front) 8.5cm Square; (Insides) 6 x 8.5cm [x2]
Paper Flowery (Back)  13.5cm Square
Paper Olive Dots (Front) 6.5 x 13.5cm

Inches Recipe
A4 Thick Whisper White 11" x 5 1/2"
A4 Thick Whisper White 9 1/4" x 3 3/4"
A4 Soft Sky (Front) 3 1/2" Square ; (Insides) 2 1/2" x 3 1/2" [x2]
Paper Gingham (Front) 3 1/4" Square ; (Insides) 2 1/4" x 3 1/4" [x2]
Paper Flowery (Back) 5 1/4" Square
Paper Olive Dots (Front) 2 1/2" x 5 1/4"

Directions
  1. Place large panel LANDSCAPE (long side along top) on trimmer
  2. Score at 2 3/4" & 5 1/2" (7 & 14cm)
  3. Z Bone Fold. Valley for halfway/centre fold... Peak for quarter-way/front fold
  4. Place small panel LANDSCAPE on trimmer
  5. Score at (wait for it!!!!) 2 3/4" & 5 1/2" (7 & 14cm)
  6. Z Bone Fold. Peak for "halfway-ish" fold (ie front fold)... Valley for "quarter-ish"fold ie back fold
  7. Adhere larger papers on card front & back
  8. Adhere back section of top/smaller Z Fold onto square Back of main/larger card AND AN IMPORTANT TIP! Think about what needs to go where!!! Otherwise you will just stick your whole card together!! Suggest a dry run with no glue the first time... it should all become obvious!

    SO.... make sure the left/inside valley fold of the smaller Z section panel is behind your main/larger card front left peak fold

    ie slip the smaller Z in behind the larger left fold as you stick it down/square it all off on the front...
  9. Adhere square front part of smaller Z Fold onto main/larger card front (think about where NOT to put your glue!?)
  10. Decorate as desired
Stampin Up! Products Used
Papers - Succulent Garden (retires 31st May - but discounted!)
Stamps - Stylised Birthday; Big on Birthdays
Card  - Thick Whisper White, Soft Sky


Sunday, 21 May 2017

Succulent Garden re-designed Double Z Joy Fold Card

Just popping on with a quick share today... but one I will come back to soon with all the details for you... seems like a good Fancy Fold Friday tutorial post to start off next weekend!

Edited To Add:- Bench Fold Card tutorials for the Kitchen Range, BBQ & Tool Bench will start to be emailed out tonight when I get back home... so please allow 36 hours before worrying that you haven't got it... 

Remember this one...

And this one
And this one with the Tutorial...
Well I finally tweaked it... so now it opens fully... and in parallel!!
Can't believe I couldn't suss it before... and boy did I try!!!
So glad I now have... 
Back with the full lowdown soon...


Tuesday, 16 May 2017

Succulent Garden 8" Explosion Card

Just thought I would give you a break from men's cards for a day!

But don't forget that today is the last day you can register your interest in the Card Trio Kit in the Mail... Click here for more details...

So last month we were also using the Succulent Garden papers (wow £10 reduced to £7 a pack) along with the Irresistibly Floral (wow £11.75 down to £9.40) in my classes...
And I was asked on the spot to make a larger version of the 6" paper Explosion card (aka Dutch Map Fold) ... so I obliged with a spare full piece of the Succulent Garden papers and this is what I came up with ... so here you go Patsy!

So take an 8" Square piece of paper.... and fold as directed here... I just added an extra fold at the 4 corners... folding the peaks back on themselves to show a bit of the other side of the paper when open...
The Thick Whisper White outer card blank is a 10.5cm Square one (4 1/8" for my US Readers)...with the front papers being 10 cm (3 15/16") Square with a 3 x 10cm (1 1/4" x 3 15/16")  piece stuck on top (at the bottom)... then the ribbon wrapped round...

Then decorate as desired.... I just quickly used some of the flowers I had cut from another of the Succulent Garden papers... with the greetings from Super Duper... 
Great size for this fold & card... as the papers for the front are cut from the off cuts as you cut your 8" Square piece of paper from the 12x12" piece... and I do think a 12" x 12" centre folded piece would be somewhat too large for a card (oh! unless you needed lots of signature space or something...and then I guess it would be really cool!)

Such a great way to use all those papers sitting in your stash cupboard! Definitely one I will use again sometime soon...


Thursday, 4 May 2017

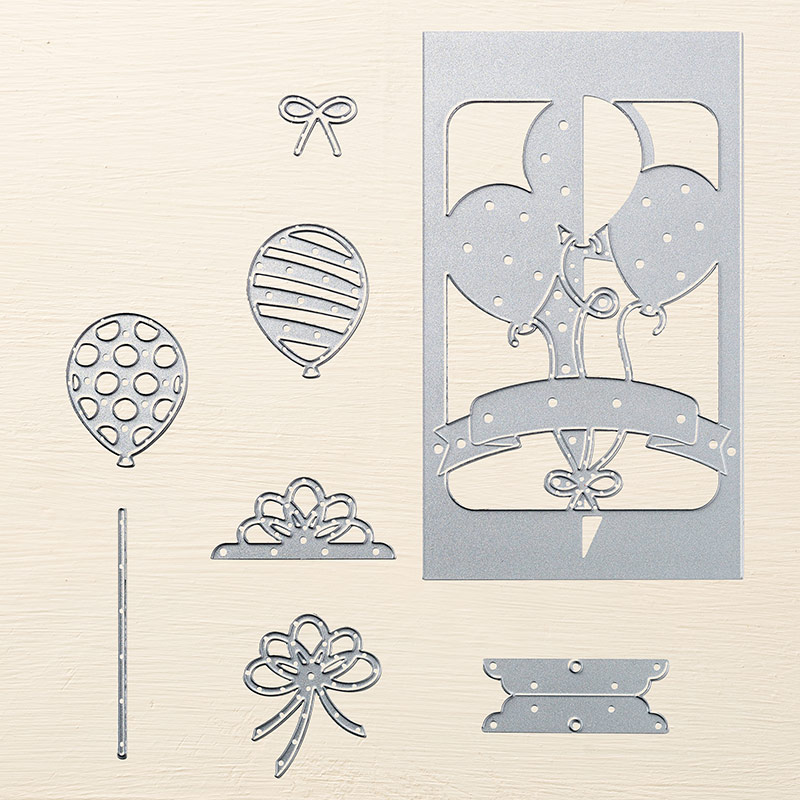
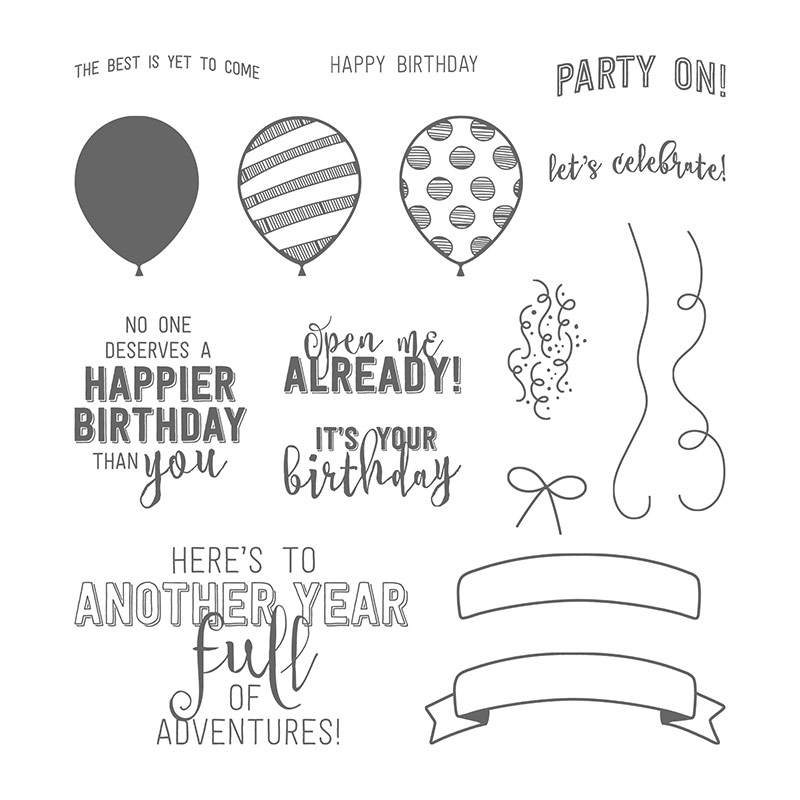
Balloon Adventures & Balloon Pop Up dies...

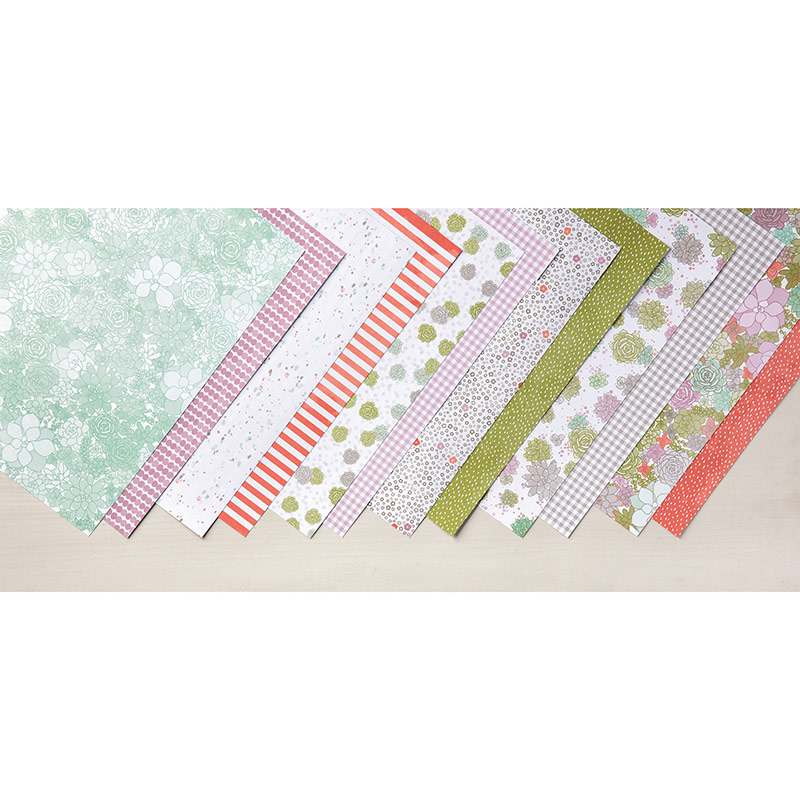
Showcasing another soon to be retiring (sadly) stamp set, Balloon Adventures with the co-ordinating Balloon Pop Up dies... along with a paper pattern from Succulent Garden papers that set the colour scheme...

Now this DL card is simple enough in style... but the combination of steps in a particular order made it somewhat more difficult to put together (and explain!) than first envisaged... so I congratulate all of you that finished it in its entirety! And it still looked fabulous by those that just achieved the front shaker card element...
In fact I even made another inside for follow up classes... but I will have to share that another day as I now realise that I haven't photographed that yet!

And a story for you... I picked up this particular piece of paper from the Succulent Garden  pack... and being honest... I couldn't cope with the concept of using it! Too much going on - even though such a small pattern... 

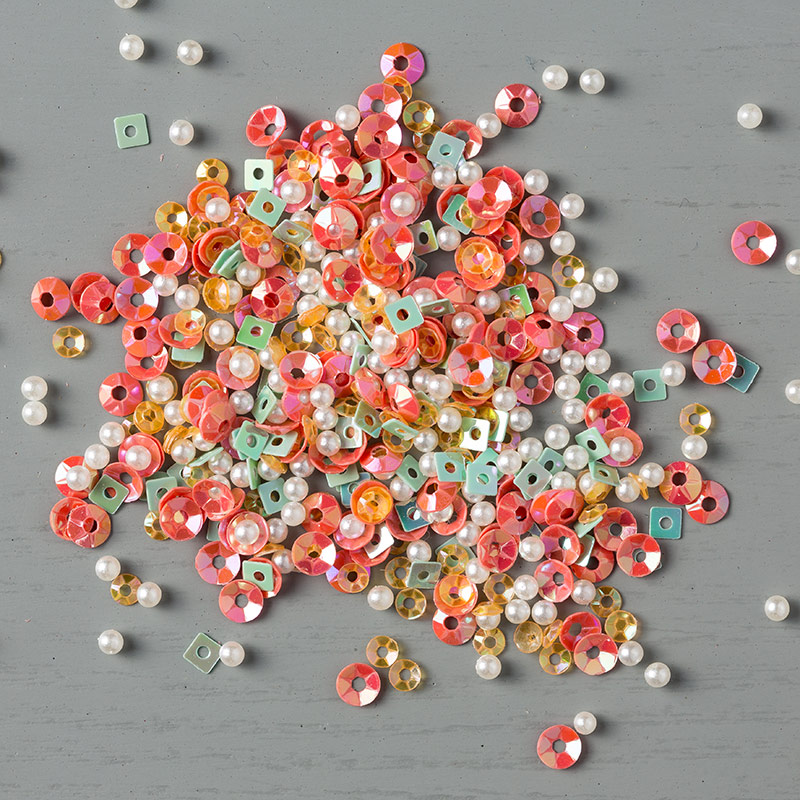
Then I realised that it was a perfect backdrop  - and colourway - to a shaker card that I had also promised for this months' classes using the Sprinkles Embellishments (which are half price now folks! Just £2.50 a pack)... and so here you have it...
It seriously looks to be FULL of Sprinkles! Perfect...

All of these items are reduced... and retiring... so please check them out ... I am sure you will not be disappointed! I for one particularly love the stamps and dies... and I am really gutted to be seeing them go...
Oh and a quick roll call of these products as I have a spare few minutes and really believe in these items for a quick go to but WOW card!... though maybe not this extended version!... 

Click on the photo or highlighted title to go straight to the item in my Online Store...

Balloon Pop Up Dies £21 (were £30)
Balloon Pop-Up Thinlits Dies
Balloon Adventures Stamps £19.20 (were £24)
Balloon Adventures Photopolymer Stamp Set
Sprinkles Embellishments £2.50 (were £5)
Sprinkles Embellishments
Succulent Garden Papers £7 (were £10)
And I also used Window Sheets, Foam Adhesive Strips and Tear & Tape Adhesive to make a simpler job of the Shaker Card element on the front... 


Tuesday, 21 March 2017

New Sale A Bration promotional items - Third Release

Second post today... Scroll down or click here for my earlier creative share...

Ooh how exciting! Just popping on to share eight more items just released by Stampin' Up! that you can select for free when you order £45+ Stampin' Up! products during the Sale A Bration promotion which ends 31st March.

These are items in the Annual or Spring Summer catalogues... but please enter the item codes shown below to get them for free... ie not the item codes shown in the catalogues!
Need the full picture of what you can select? Click here for the round up on the first and second release Sale A Bration items

And for those of you new to Stampin' Up! and/or Sale A Bration... this is how the Sale A Bration promotion works...  
Earn Free Product in any (or all) of 3 ways... until 31st March 2017...

SHOP: For every £45 you spend (before shipping), you get a FREE Sale-A-Bration product. Spend £90 get 2 free SAB products... and so on... with no limits...  Choose now from a total of 15 items.

JOIN:- Get an extra TWO STAMP SETS for FREE. Choose the standard £130 product plus 2 more free current stamp sets (could be an extra £93 for free!! Yes...up to £223 product). Pay just £99. Ships for FREE too...

HOST:- Order over £200 or... host a qualifying party with at least £200 in sales... and you'll earn £20 more Host/Stampin' Rewards. You can even use the Host/Stampin Rewards towards a Demonstrator Starter Kit. Example: For a £200 order... earn £40 total Host/Stampin Rewards during Sale A Bration