Showing posts with label White Trees. Show all posts

Thursday, 18 October 2018

Cheeky Snowman in the Winter Woods

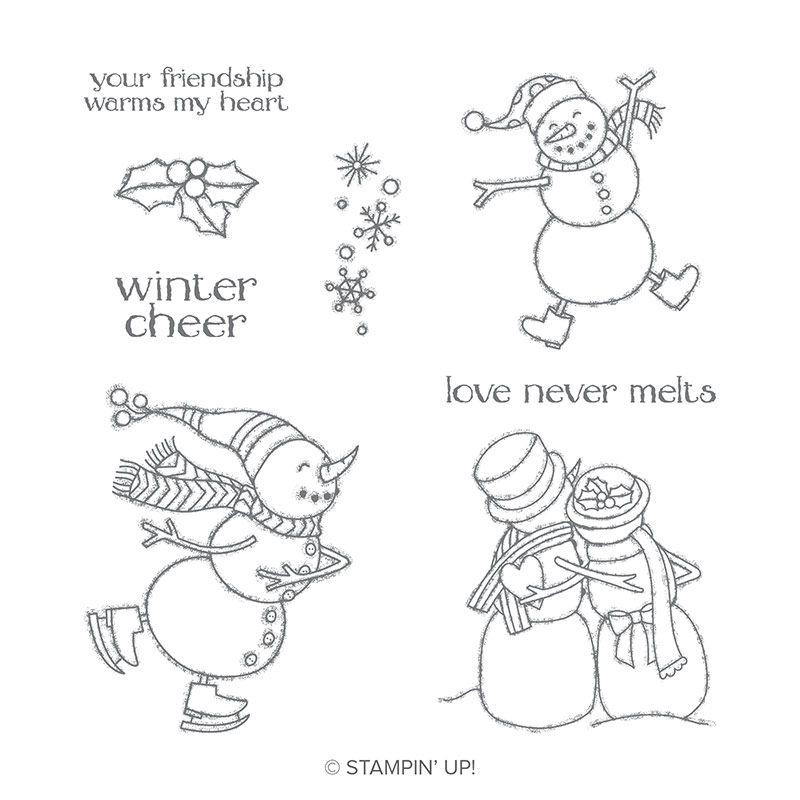
 Couldn't resist this cheeky little snowman from Spirited Snowmen... he makes me so happy! There again I have always loved a cheeky face...
More details on the card and background here... yup... cheeky crafting too!! And so quick!!!
Spirited Snowmen comes in both Wood Mount and Clear Mount... 
Spirited Snowmen Wood-Mount Stamp Set
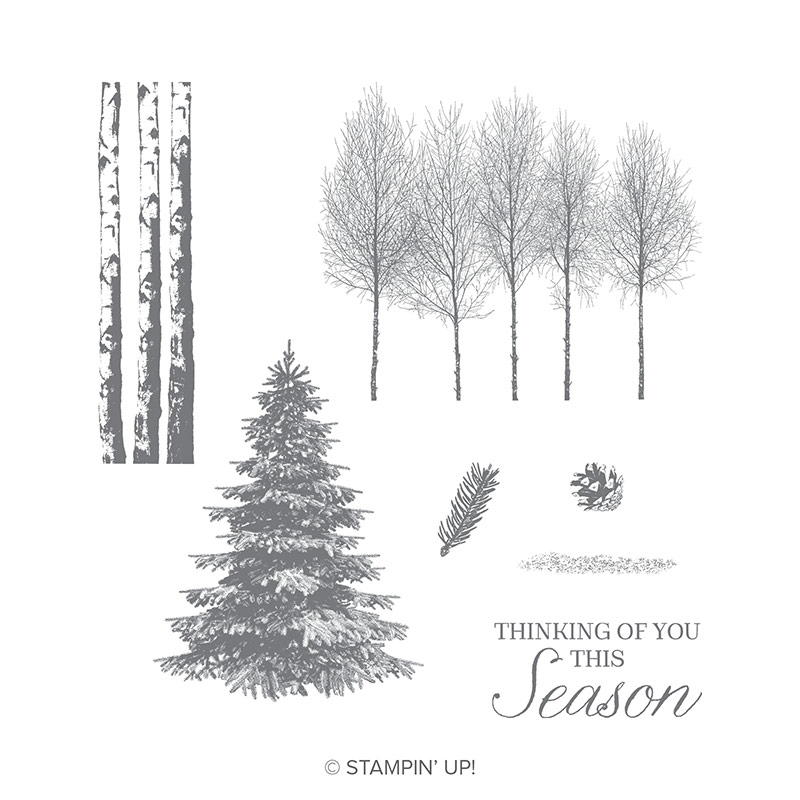
As does the Winter Woods used for the background too... which also comes with co-ordinating dies... In the Woods
Winter Woods Wood-Mount Stamp Set

Thursday, 27 September 2018

Glittery Blue Winter Woods

Similar card to Monday's post... but with an important detail difference...

Well actually 2 differences... as I didn't add the Dashing Deer to this card...
Spot the glitter in the trees... the blue glitter!

Not quite as intended.. as the sponged Night of Navy ink soaked up through the tree branches and turned the Dazzling Diamonds glitter blue...
So I quickly moved on to just putting the glitter on the horizon instead... as I am not one for coloured lights on trees!!!... hence the 2 similar cards!!
Remember to look at this post for the step by step pictorial for the trees and night sky background creation

Monday, 24 September 2018

Merry Monday - Winter Woods and Dashing Deer

Yes again.... well whilst they were still out.... though I do so need to make something with the other trees... particularly the lovely Silver Birch trio... so they will have to come out again... you have been warned!!

Very similar to this card I shared last week for my Training swap... but with an inset frame... (aka "out of the frame" as is my way!)
This time I temporarily stuck a 7cm square (2 3/4") white panel on top of my card blank... then did all my embossing and sponging... Click here for the step by step photo tutorial to create the background etc...
And then I mounted the centre square panel onto another 7.4cm (c 2 7/8") white panel to create the frame... and then stuck that onto the card blank front...

Monday, 17 September 2018

Winter Woods & Dashing Deer Training Swaps - and Tutorial

Before I start... the CLEARANCE RACK has just been updated... and there are some amazing bargains to be had!! Paper, Ink pads, Dies, Ribbons etc etc etc...

So now you can see why I had Winter Woods and Dashing Deer out in my craft space... a little matter of making card swaps for our Quarterly Training...

This means that we each design and create a card (or 3D project)... and produce one for each team member going to Training... We then swap with each other at Training... so we all go home with samples and inspirations to share with our own customers... I usually find that I get a few samples of products that I don't own...so it is a great way to show more from the catalogues than each of us on our own can... wonderful synergy!
And whilst I was creating the backgrounds I took a few photos as I went along... so hopefully you can follow and make some of these scenes for yourself... all you need is a bit of sponge and some Night of Navy ink...
1. Emboss your trees on a card panel using Versamark, White embossing powder and your Heat Tool (gun)...
2. Make a mask by stamping the trees on a piece of paper and cutting along your tree line... and place over the bottom of the tree trunks... and an extra tip for you here... use a deeper piece of paper than I did! ie so that your embossed panel is covered right to the bottom (rather than having a gap at the bottom like I did... as I had to take care to not add ink to this area!!

3. Ink up your sponge from the ink pad... and swoosh along your horizon... swooshing along gives you a neat line....
4. Lightly sponge all over your trees... but you don't need to be precise at this stage...
5. Go over again... with your sponge in a more dabbing motion this time... as then you get texture and depth... which adds to the interest of the night sky... and makes it more realistic...
6. Grab a tissue and wipe off the ink from the trees (VERY important step or you/recipient will have such inky fingers!!!
7. Remove your mask and reveal your snowy banks...
8. Ink up & stamp your greeting...
9. Finish off by adding Tombow glue along the horizon and Dazzling Diamonds glitter 

10. Ink up and stamp Gray Granite deer... die cut and adhere to your card...