Showing posts with label Trio. Show all posts

Tuesday, 26 April 2022

Tuesday Trio - Bouquet of Love

A few quick little Bouquet of Love cards to say thanks for some sneaky orders over the last week... a free shipping offer is always so appreciated!
And a great opportunity to play with one of the new In Colors... so introducing Orchid Oasis... 
Think this is my favourite new In Color... a lovely deep lavender colour... hues of blues and purples... though it was my least favourite before I saw them all in the flesh... funny how that has happened!


Tuesday, 5 April 2022

Tuesday Trio - New Horizons & In The Moment

I am sure that some of you spotted the main 2 panels I cut from the New Horizons 6x6 paper sheet to have the leftover for the window card I shared last Sunday...
Well ... these are the 2 Simple Diorama cards I created from those 2 panels... instructions for the card HERE...

Monday, 1 November 2021

Merriest Moments Monday #12-14


Adding more detail to my Merriest Moments cards... as the dies set has a large "mat die" which I have used with the gold Metallic Speciality paper...

Mounting up my embossed, die cut and stamped main feature panel with gold mat three ways...
So we have A5 card blanks in Evening Evergreen and then Very Vanilla... and finishing off with a large A5 Very Vanilla blank 

And a tip (and/or a bit of a laugh for you!) You can of course die cut flowers, leaves and even a gold matting panel from the large gold mat before you adhere it to the main feature panel....
But please think about the die placement! I cut lots out where I didn' t mean to!! Though luckily it didn't really show from the front...  In fact it made the gold mat a bit lighter....


Tuesday, 17 August 2021

Tranquil Tuesday Trio - Reflected in Nature


And breathe.... a simple serene and calm scene for you to enjoy today...

Care of the fabulous Reflected in Nature stamp set...which includes a fantastic array of great sentiments too...

Three simple ways... Small square card... 
Large square card ... 
and small square Z fold card...

Whole stamp inked up with Gray Granite with direct Early Espresso marker inking over the top for the top half...

Perfect!


Thursday, 17 June 2021

Thursday Three Ways - Plentiful Plants


Friday, 28 May 2021

Friday Five - For the Birds...


Love these three sweet and simple cards as they are such great examples of how you can create your own #SimpleStamping cards with just a few supplies and simple steps.

All three cards use just the one stamp set—the Garden Birdhouses Stamp Set—and yet each card uses a different technique to create a unique style. 

Each card features only two ink pads and one or two colours of cardstock. 

The Birthday Wishes card is the simplest with just one colour of cardstock and a couple of images, all stamped on a single layer. 

The Hello card uses more images, layers, and the Everyday Label Punch. Spot that the punch shape is customised to fit the sentiment a little better—all it took was a couple of snips with our trusty Paper Snips. 

And lastly, the third card has some additional colour added in, which is easy to do with a set of Watercolor Pencils.


Want to see more using this stamp set... which is one I absolutely adore!! Though I guess a lot of you knew that already.... as I have shared a thing or two on birdhouses over the years!

Well here you go... so now there are 5 (in case you were wondering!)


Sunday, 19 July 2020

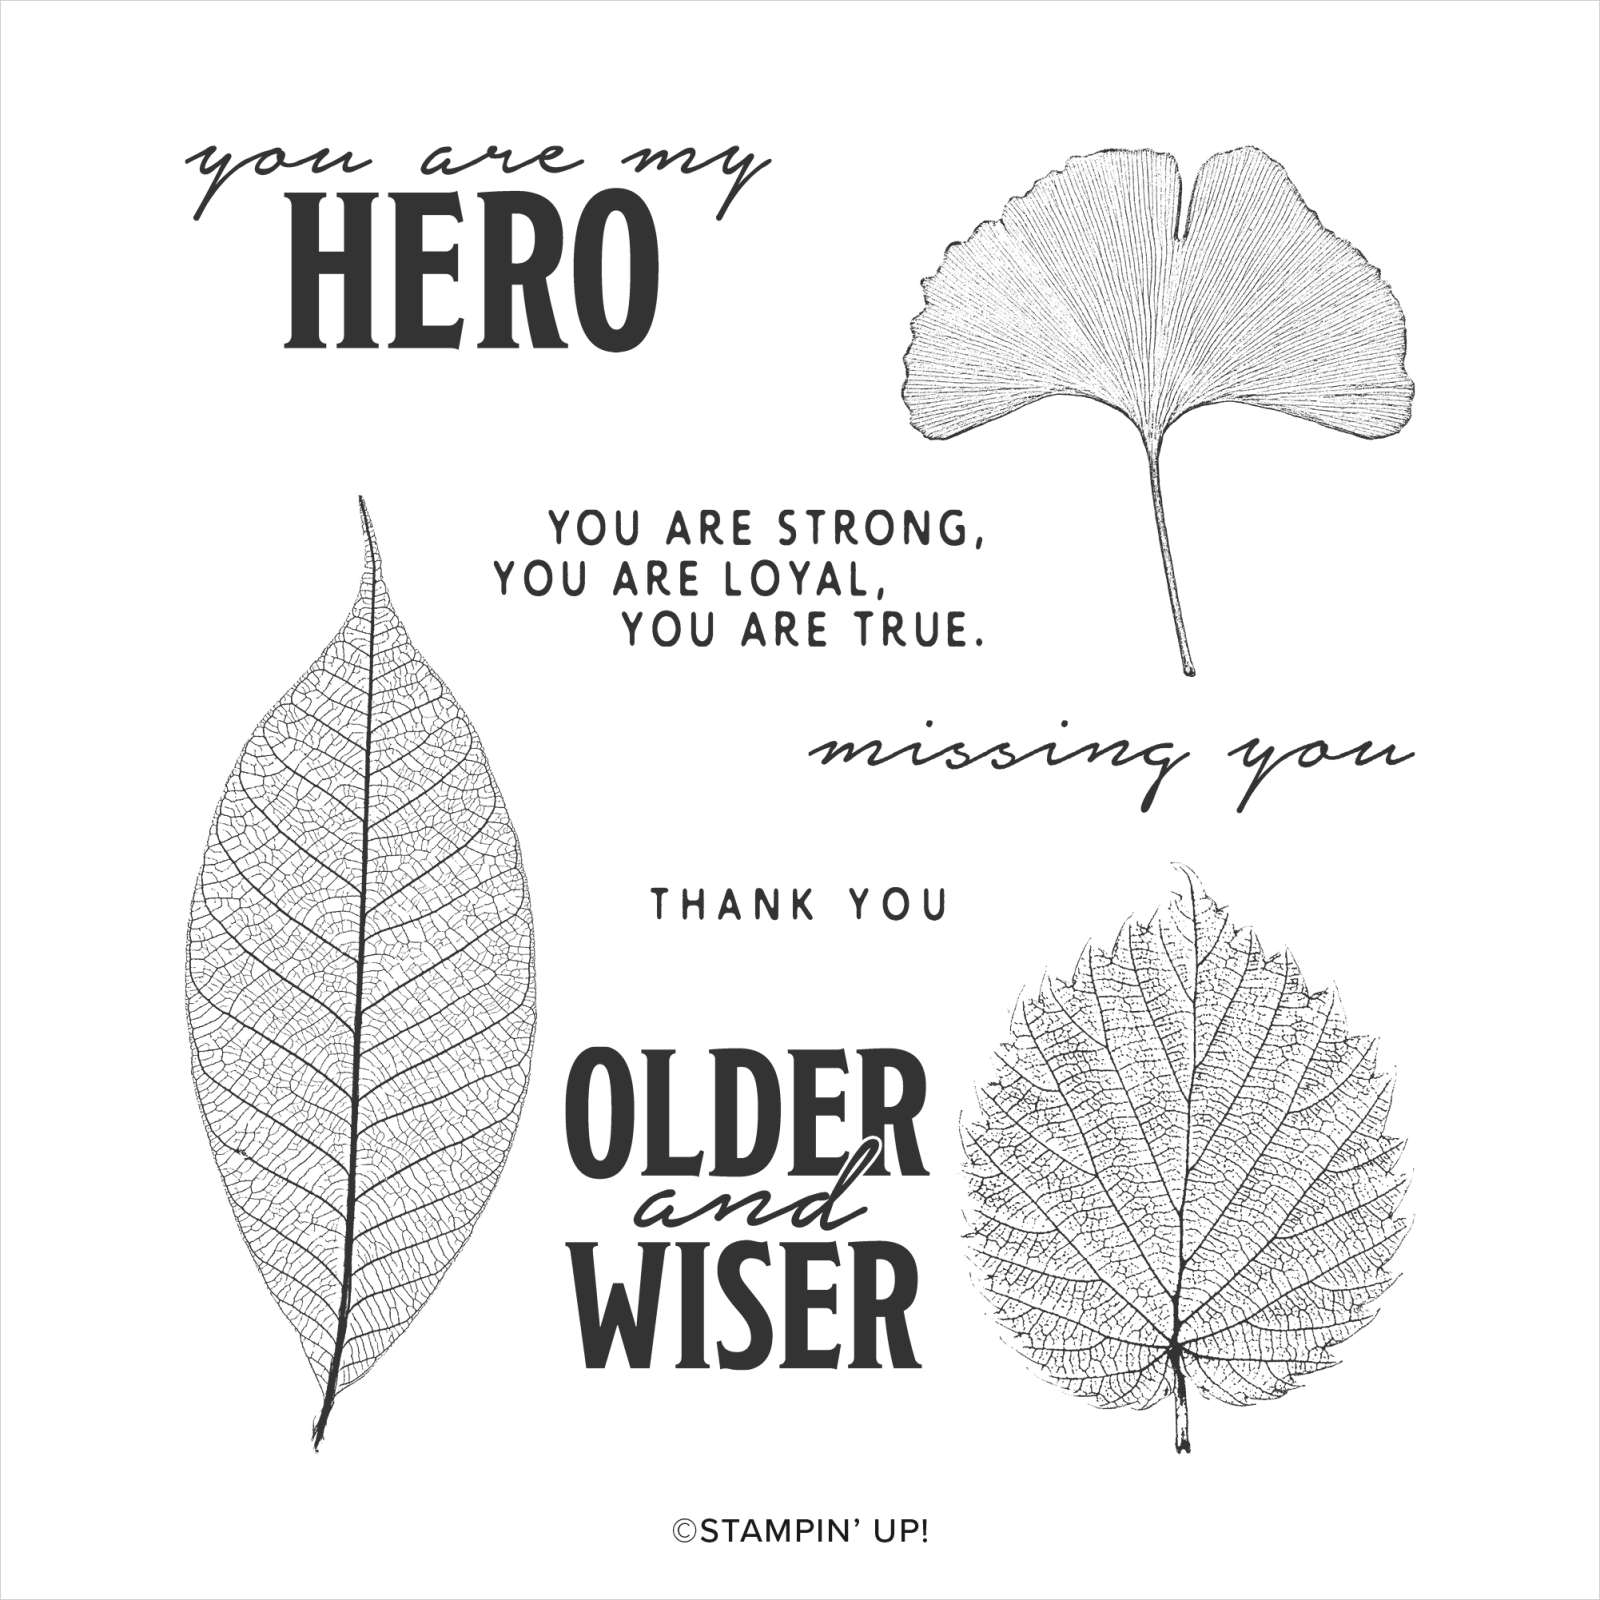
Simple on Sunday - Loyal Leaves

 
Another trio of Loyal Leaves cards... Another quick share...
And I think you can now tell which is my favourite leaf!!!
Using 10.5cm card blanks... 9.5cm coloured mats with 9cm white panels... and click here for more details on the colourways used and the lovely Loyal Leaves  stamp set...
And... ooh... where did the last 3 days go?...  Apologies to those of you waiting the Field of Flowers Class at Home details... almost there! Coming soon...


Saturday, 11 July 2020

Simple for Saturday - Loyal Leaves


Sharing a set of makes using another loaned set, Loyal Leaves...
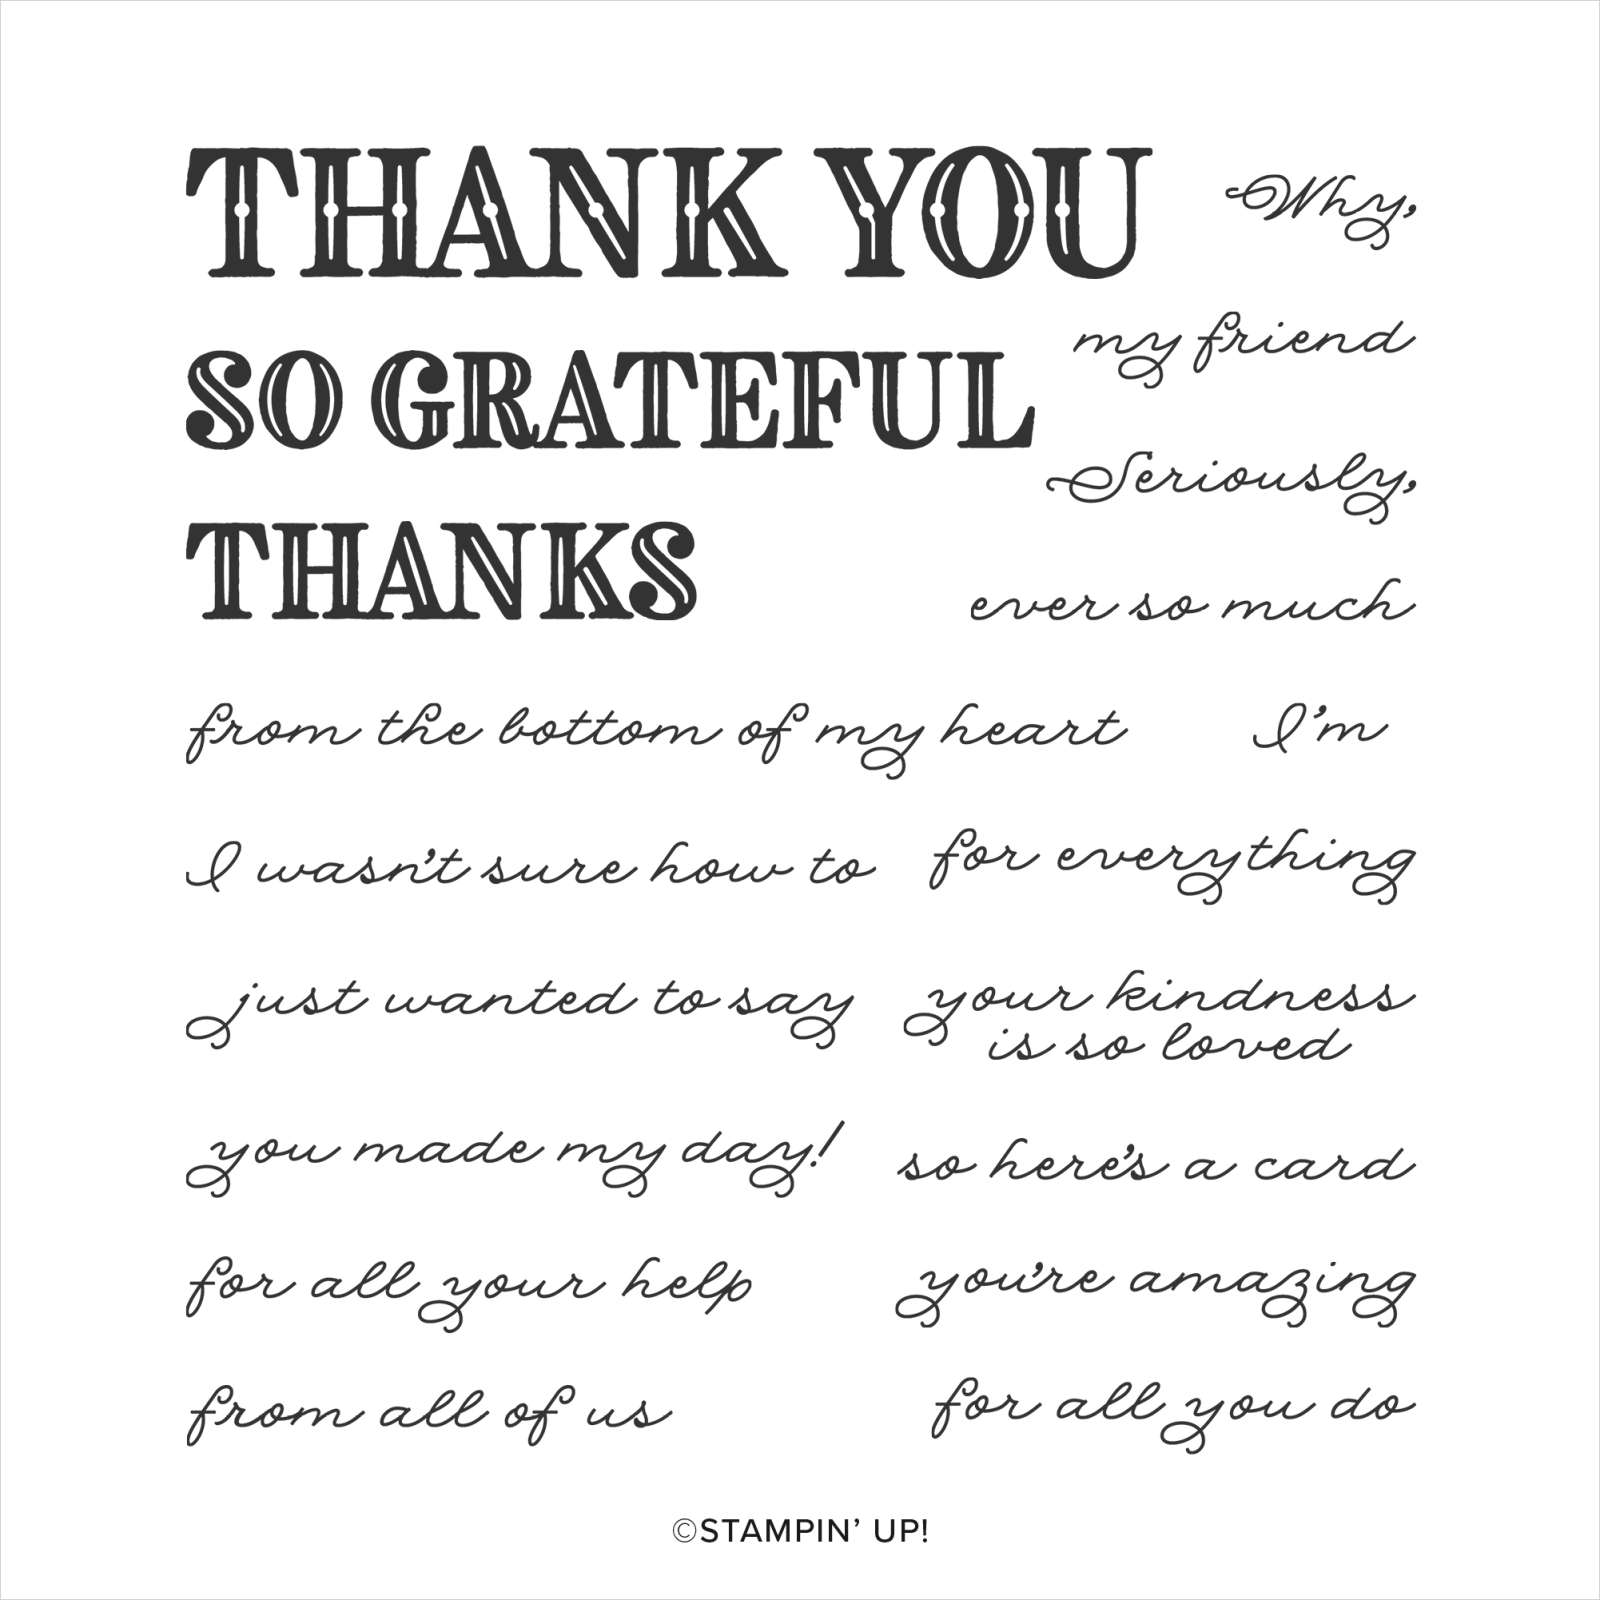
Along with greetings from the brilliant Ornate Thanks set...
I had some Thank You cards to make for a all male group... so creating with this stamp set filled the bill perfectly...
 A simple little trio... using Mint Macaron, new In Color Just Jade and Garden Green ink pads and cardstock...along with Whisper White of course!
A true #simplestamping and #maximisecarduse gem... sized so you get 3 cards from your piece of cardstock...
 
A4 Card Recipe
Card Blank  9.9cm Square
Mat 7.5cm Square
Panel 7cm Square
US Letter Recipe
Card Blank 3 3/4" Square
Mat 2 15/16" Square
Panel 2 3/4" Square

Friday, 10 April 2020

Happy Easter Three Ways from Stampin' Up!

Happy Easter everyone... 

This Easter is obviously going to be different for all of us... but I hope that you still get to do something  lovely... make some special memories... and eat some nice things!! I am really looking forward to the Hot Cross buns that a kind neighbour has just left on our doorstep! Yum!

I have three Easter cards to share today, and each one features a unique tip that you can add to your paper-crafting repertoire.
If you’d like a card with simple lines and a subtle touch of colour, try the Direct Marker technique featured on the Easter Promise Happy Easter card. Simply use Stampin’ Write Markers to colour directly on the rubber. This gives you perfect control over the depth of colour in your stamped image; it also lets you easily incorporate more than one colour for a clean, sophisticated look.
Go bold with Melon Mambo and Pool Party, as we did with our Welcome Easter Sweet Friend lamb card. Pro tip: Birthday Bonanza Designer Series Paper isn’t just for birthdays! We love how it makes the Melon Mambo Cardstock pop.
The adorable You Brighten My Day chick card features the Distinktive Full of Happiness Stamp Set. The varying rubber densities give your image depth and complexity, making it super fun & easy to stamp with and get extra texture....

Not got Stampin' Write Markers... then click here to contact me for more details on a Marker Share...  

Tuesday, 25 February 2020

Painted Poppies Splatter Notecards Trio Step by Step Pictorial


So I have been asked a few questions on the creation of my Painted Poppy notecards with splatters .... so I thought it easiest to just make another, take some photos and come back to share!

So colourwise... I used Pretty Peacock, Seaside Spray and Granny Apple Green on this and most of my other Painted Poppies samples but Poppy Parade (instead of Pretty Peacock) on the first version shared (as shown below but first shared here with more product details and images...
No masking involved...

And note that ...

I stamped off the Seaside Spray (sky) splatters ie ink up stamp, stamp on scrap paper, then stamp onto card... 

But I didn't stamp off the Granny Apple Green (grass) splatters - I just stamped twice/thrice without re-inking ...

(1) Die cut label ( this label is in the co-ordinating Painted Labels dies)
(2) Stamp single stem poppy in Memento Black
(3) Stamp large Splatters behind poppy (to top) NB stamped off!
(4) Stamp Granny Apple Green splatters to bottom NB stamped twice
(5) Using stamped label for required positioning on card... ink up and stamp Seaside Spray and Granny Apple Green large splatters directly onto notecard to left hand side... you can see better in the 3rd photo below...

(6) Colour in flowers and leaves using Stampin Blends
(7) Adhere stamped label to card using 3D foam Stampin Dimensionals
(8) Finish off with a hand cut Label Me Bold greeting (in Pretty Peacock/Poppy Parade)

And then I used the same technique on this card...
With the extra touch of the Enjoy Life grass image (in Granny Apple Green)... over the "grass splatters"  for extra definition... ie Top Left image below...
And I will be back soon with a tip for the shaped card mat behind that Painted Poppies/ Labels die cut label on this last card!