Showing posts with label Detailed Dragonflies. Show all posts

Sunday, 2 June 2019

Sunday So Long... Farewell... Auf Wiedersehen... Goodbye!

Two posts for you today... almost a wedding kind of a day... as there is something old... something new... something borrowed... and something blue! Starting with the something old... and the blue... Scroll down to my earlier for the NEW... 
So I have a quick round up of some 10 retiring discounted favourites... using products now only available for less than 48 hours! 

Just click on the photos to go to the original blog post (many with Tutorials) or click on the highlighted product name to go straight to the product in the Online Store...
And I have to admit that ... having just finished this round up post... I am SO SO SAD to see these all time favourites disappear from my crafty stash for classes... but I have to admit that most will be staying in the Keep Box!!
Or here for the rest of the Last Chance ( aka Retiring) products...

So first up! Used just a few times.. At Home With You stamps... and co-ordinating At Home dies
And these are just a few of my samples!! So going to miss using this one... for New Home, Christmas... and furniture in particular!
Next... my 3 Top don't miss these whilst you can! No sample pictures as they cover too much ground!!

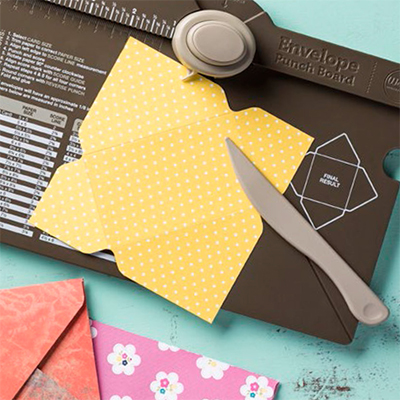
The Envelope Punch Board... to much fun and usage of this one over the years... and I never did make many envelopes!! But I am particularly sad to see this essential tool disappear from my repertoire ( though I will keep it for making envelopes and boxes for personal use!!)
Envelope Punch Board
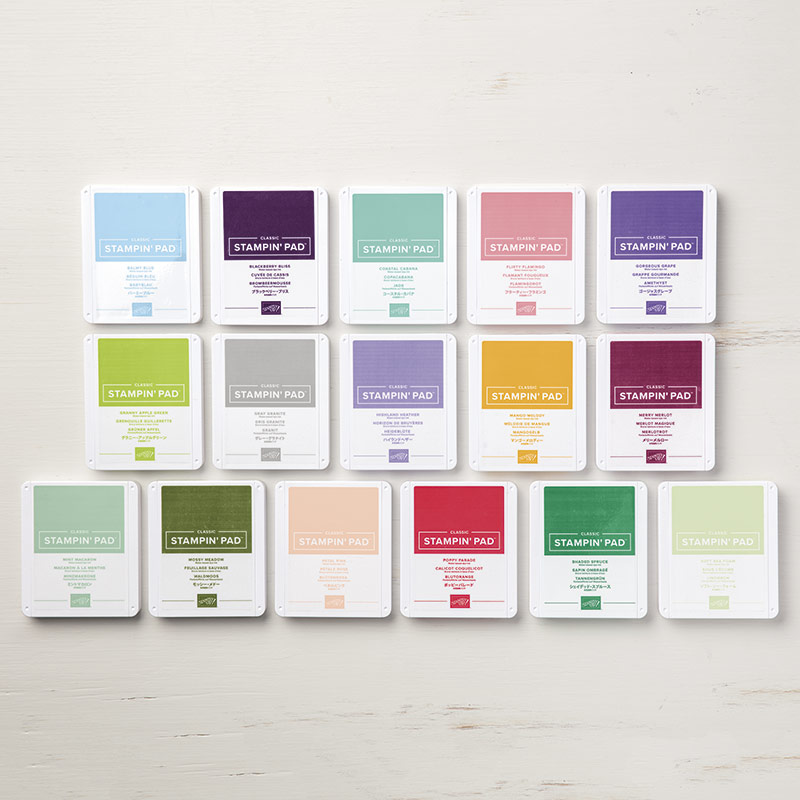
Classic Stampin' Pads New Color Assortment
Remember we had a Colour Refresh last year? So we had a pack of just the new colours to "top up" the carryover old colours to end up with a full new collection (or four!)... and now they go!
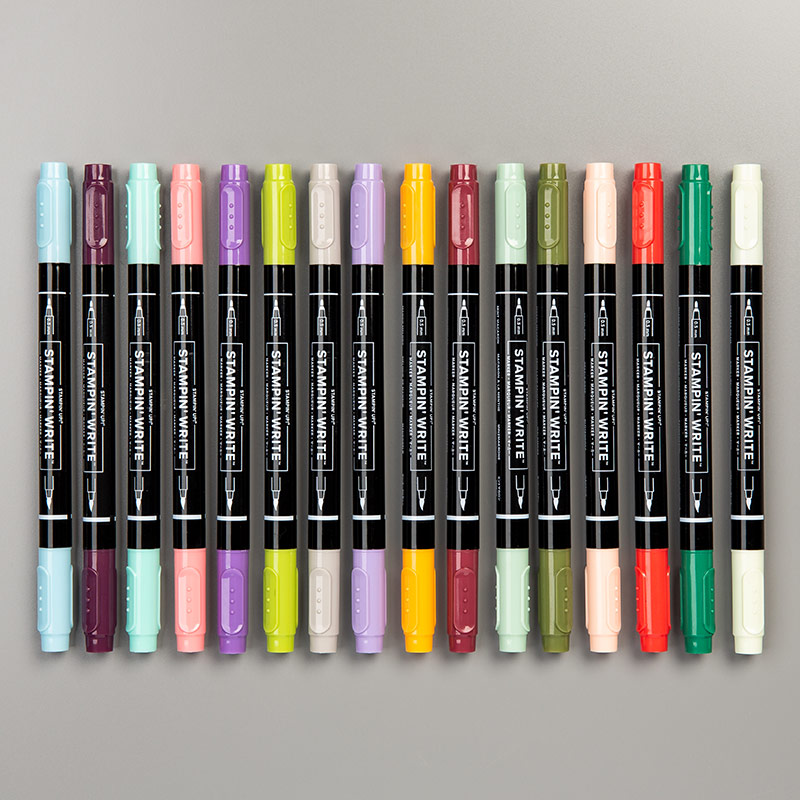
Stampin' Write Markers New Color Assortment
 Great value ...particularly now they are discounted....

Then we have... Hometown Greetings dies (with co-ordinating Hearts Come Home stamps)... 
 
Far far too many projects to share in this post... but luckily I already have a round-up post for you here! All in the blues!!!

Bubble Over stamps and co-ordinating Bottles & Bubbles dies also going... such a useful set for Men & Kids alike... another tear being shed here!


Ooh... gosh... Coffee Cafe too... and co-ordinating Coffee Cups dies... 


Gulp... Detailed Floral dies! Again much used... 

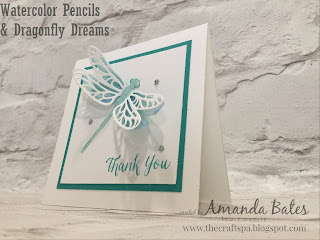
Dragonfly Dreams & Detailed Dragonfly dies! Loved these for showcasing different techniques... and ending up with a spectacular card too...

Beautifully and Delightfully Detailed papers... happy to keep and use what I have left of these... as they just produce a simply stunning and special card with no faff! In seconds!
As well as a lovely Home Decor project or two!

Amanda's Quick Links
Just click on the relevant pictures below for On Line Store, Catalogues and/or more information... 
If you are ordering today... please add the Host Code shown below to earn yourself a gift and help support The Craft Spa at the same time... For orders over £150 you should claim your own Stampin Host Rewards when ordering... you will still get a separate gift from me... 
Please note that this host code is relevant to today's blog post date... it does expire and change over the months... but the current code is always shown at the top right hand side of my blog...
Current Catalogues & Products
Paper Pumpkin The Shelli Cards-in-mail KIT... Available only while supplies last... Just £20 delivered


Thursday, 16 March 2017

Watercolor Pencils Damp & Stamp Technique - #7

2 simple small square cards to try out a technique I made up and to see the difference between using Watercolor paper and Shimmery White cardstock with the Watercolor pencils

Watercolor Paper on the right (and below)... muter/more watercoloured look
And Shimmery White on the left (and below)... brighter and colours more distinct...
And a new technique for you (well I think it is - as I did make it up on the spur of the moment!) ... I call it Watercolor Pencil Damp & Stamp...

Remember the Watercolor Crayons Stampin' Up! used to sell years ago... the ones in a tin for each colour family... where you could colour the stamp direct... then spritz and stamp!
Well that doesn't work the same with the Watercolor Pencils... as they are too dry to colour direct onto the stamp...
So I lightly spritzed the stamp with water - or alternatively "coloured" the stamp with an Aquapainter - then coloured on top with the pencils... Bermuda Bay for most of the wings - with Pacific Point at the tips and next to the body... then spritzed again... and stamped...

The body was Damped & Stamped in the same way - just using the Pacific Point pencil. 

And a quick Bonus Tip for you about the dragonflies... stamp your body... die cut the dragonfly - then stamp your wings... otherwise you will not get it all to line up!! (Or wings... cut... body... whichever way your prefer!)
And we all loved it!!! Every dragonfly was different... and very life-like...

You may also notice the Partial Stamping of just the white mat for the Shimmery White dragonfly who therefore sits on a Bermuda Bay Bay base - a few more details on that in this post here... 

Whereas the Watercolor Paper dragonfly is mounted straight onto the white mat (achieved by sticking the white mat to the Bermuda Bay mat - and then partially diecutting the dragonfly shape...)

And so here you have my Watercolor Pencils Dragonfly Trio... click here for more details on the Vellum one at the bottom 

Monday, 13 March 2017

Watercolour Pencils # 4 - on Vellum

Carrying on sharing another project from my Watercolor Pencils Introduction class... this one caused a real WOW but is incredibly simple!

Die cut a solid Detailed Dragonflies dragonfly in Vellum ... Bermuda Bay pencil scribble all over the wings... Pacific Point pencil scribble over the tips and next to the body... apply water using an Aqua-painter to activate & blend both together... (NOTE- the vellum really curls as you apply the water... lots off oohs in the room!!)...  so dry off with a heat gun to straighten it as much as possible...
Die cut a Thick Whisper White smaller Detailed Dragonfly... scribble Bermuda Bay pencil over the body and activate using your Clear Wink of Stella to get shimmer at the same time...
Shape both dragonflies with your bone folder... Adhere both together using the body area... 

Stamp your white mat - greeting from Rose Wonder & Bermuda Bay used here...
Adhere dragonfly to your mats and apply gemstones to finish...
For Info - Card is a 10.5cm (4 1/8") square card with a 8cm (3 1/8") white mat and 8.5cm (3 3/8") coloured (Bermuda Bay) mat. You get 2 white cards & mats nicely from a sheet of A4 Thick Whisper White cardstock


Monday, 6 March 2017

Dragonfly Dreams on a Brick Wall....

A Tunnel Fold Card for you today.... CASEing myself... using Dragonfly Dreams dragonflies instead of the Watercolor Wings butterflies used before....

And using my favourite Big on Birthdays for the BIG greeting
Dragonflies both embossed on vellum... left hand one with white embossing powder and right hand one with clear embossing powder. 

Then both just have Pool Party and Mint Macaron marker pens scribbled over to colour them up... remembering to wipe off the excess ink with a tissue! 

But wow do they look different... the right hand one takes on an ethereal (or jelly like!) appearance... 
Have to say that these dragonflies seriously look like they have just flown in and are hovering over the front of the card...