Showing posts with label Colour Blending. Show all posts

Thursday, 2 November 2017

Blending your Stampin' Blends... and more...


May seem like a funny little photo... but just something I wanted to quickly share with you today... and it would have been well into next week if I waited until I had made it into a full project!

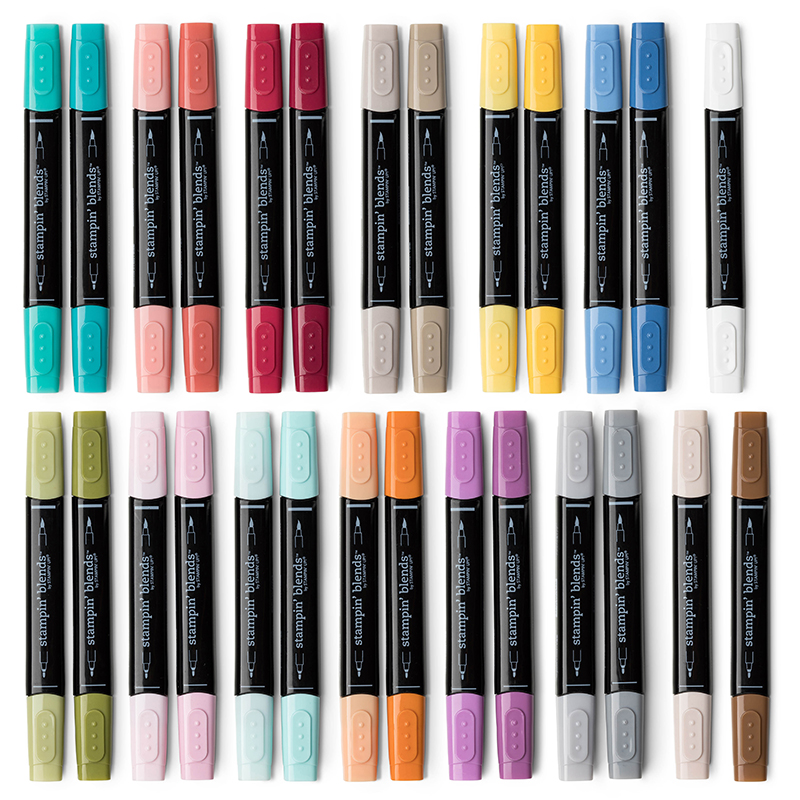
The Stampin Blends in their light and dark duo format are designed to give you seamless blending in 12 of the Stampin' Up! colours... but there is no reason why you can't blend different colours when you need more variety... infinite possibilities!
Stampin' Blends Markers Collection
So take my little pot of succulents here... I needed more than a couple of greens to make my display more interesting and life-like... so I grabbed 4 Blendies - Old Olive in dark and light... and Night of Navy in dark and light...
Front right - just light Old Olive
Front left - blended dark & light Old Olive
Back right - dark Night of Navy plus dark Old Olive
Back left - light Night of Navy plus light Old Olive
Stampin' Blends
The pot is just in the dark and light Night of Navy in the alternate stripes...

Live in the UK? Want your own Stampin' Blends? Click here for ordering options - including my 3 month Stampin' Blends Club - exclusive to The Craft Spa...

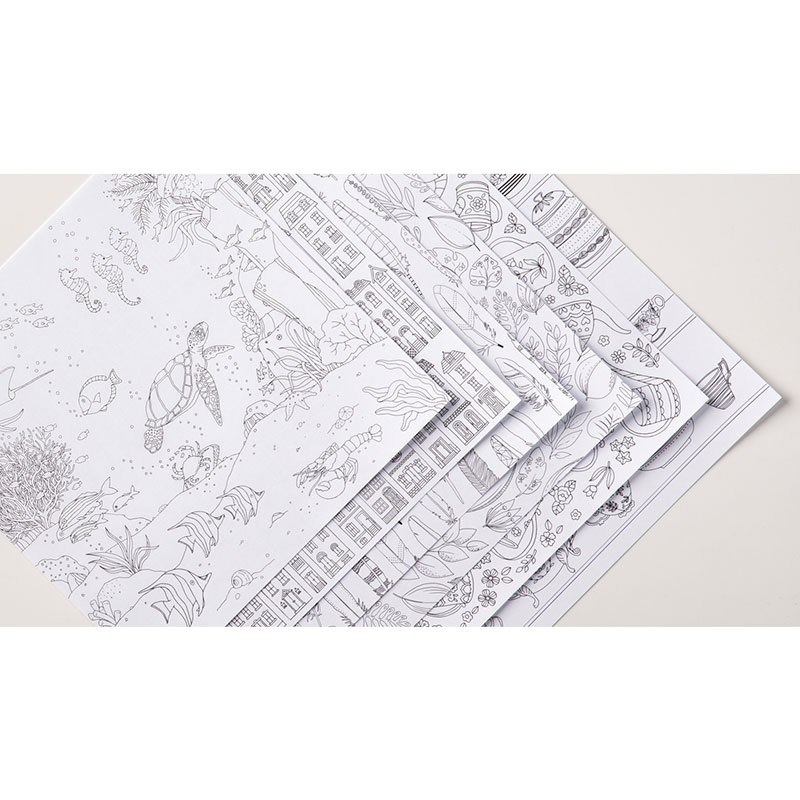
Image is from the Just Add Color Speciality Paper pack... which is fabulous for a bit of colouring therapy with the Blendies...
Just Add Color Specialty Designer Series Paper
And now as promised... more information for you about the Stampin Blends... in the form of a video Web Series... click on the relevant image (or highlighted title/link) to be taken straight to the relevant video on You Tube...

Basics of Blending

Color Lifter & Skin Tones

Stampin Blends - Features & Benefits

Color Me Happy Kit

Saturday, 10 June 2017

Background Bits again.... Sponging & marbling...

Another very quick share... back to the Background Bits hostess set extras for the Team colour challenge this week... click here for Part 1 and more details on what I used...

But first a quick "daisy" update...  If you would like the Daisy Punch or Daisy Delight bundle as a priority... please order by 12 noon 13th June... as it will then go unorderable for a while... The Daisy Delight stamp set will continue to be orderable... The Daisy punch is already on backorder and supplies will not recommence until w/c 3rd July...

Right back to today's card....

Suddenly I remembered that Glossy White Card has come back to us!! So simple very light sponging through an aperture was the order of the day... almost looks like marble or polished stone... and everyone has loved making this card!

Though I did add a bit of Dapper Denim at the end as the sky needed to be more blue.... gosh stand back amazed - 5 colours Julie!!!
And I like this quick and easy card so much that I will be making 20 more (hopefully)... destined for London tomorrow... and I may get a chance to try out some other In Colour combinations whilst I make them!!

Unfortunately the cold/flu has taken hold for now... so it is just a get into bed and sleep it off mode for the moment... so night-night!

Monday, 13 March 2017

Watercolour Pencils # 4 - on Vellum

Carrying on sharing another project from my Watercolor Pencils Introduction class... this one caused a real WOW but is incredibly simple!

Die cut a solid Detailed Dragonflies dragonfly in Vellum ... Bermuda Bay pencil scribble all over the wings... Pacific Point pencil scribble over the tips and next to the body... apply water using an Aqua-painter to activate & blend both together... (NOTE- the vellum really curls as you apply the water... lots off oohs in the room!!)...  so dry off with a heat gun to straighten it as much as possible...
Die cut a Thick Whisper White smaller Detailed Dragonfly... scribble Bermuda Bay pencil over the body and activate using your Clear Wink of Stella to get shimmer at the same time...
Shape both dragonflies with your bone folder... Adhere both together using the body area... 

Stamp your white mat - greeting from Rose Wonder & Bermuda Bay used here...
Adhere dragonfly to your mats and apply gemstones to finish...
For Info - Card is a 10.5cm (4 1/8") square card with a 8cm (3 1/8") white mat and 8.5cm (3 3/8") coloured (Bermuda Bay) mat. You get 2 white cards & mats nicely from a sheet of A4 Thick Whisper White cardstock


Saturday, 11 March 2017

Watercolour Pencils #2 - Colour Blending

Another quick and simple card from my Watercolor Pencils Introduction class...   I am truly having great fun for this class and am loving coming up with different ideas on how to use your pencils... a real value investment in a box....

But wait... there is no purple colour pencil in the Watercolor Pencils box...
So instead... take your Pacific Point and Rich Razzleberry pencils and shade over each other before adding your water to blend them out... and this is what you get...

It will of course be different every time depending on how much of each colour you add... and what base you use ( I used Watercolor Paper with my Aqua Painter here) but these Helping Me Grow flowers are perfect for practicing a bit of blending... as the differences make the flower heads look all the more realistic...
And please ignore the "smidge"... I really should always take my photos before my classes...

And some Bonus Tips for you....

(1) I cut my Watercolor Paper down into 2" squares... that way I get 6 panels from each sheet... plenty to play around with... and a great size for making up into a small square card (10.5cm Square - or 4 1/8" [alternitavely 4 1/4" Square from US standard card size!])

(2) I used Memento Black ink as these stamps are photopolymer... and left the stamped panel a short while to dry just in case! Or dried off with the aid of a heat gun in class.... though I would always use Staz On black ink for watercolouring with rubber (ie wood or clear mount) I could also have used Archival Black ink... but again I would make sure things had dried just in case!

(3) in case you don't spot... the flowers are stamped to the bottom right corner of the Wisteria Wonder panel using Wisteria Wonder ink...