Such a simple card... but everyone loved this one...
Thanks to the wonderful
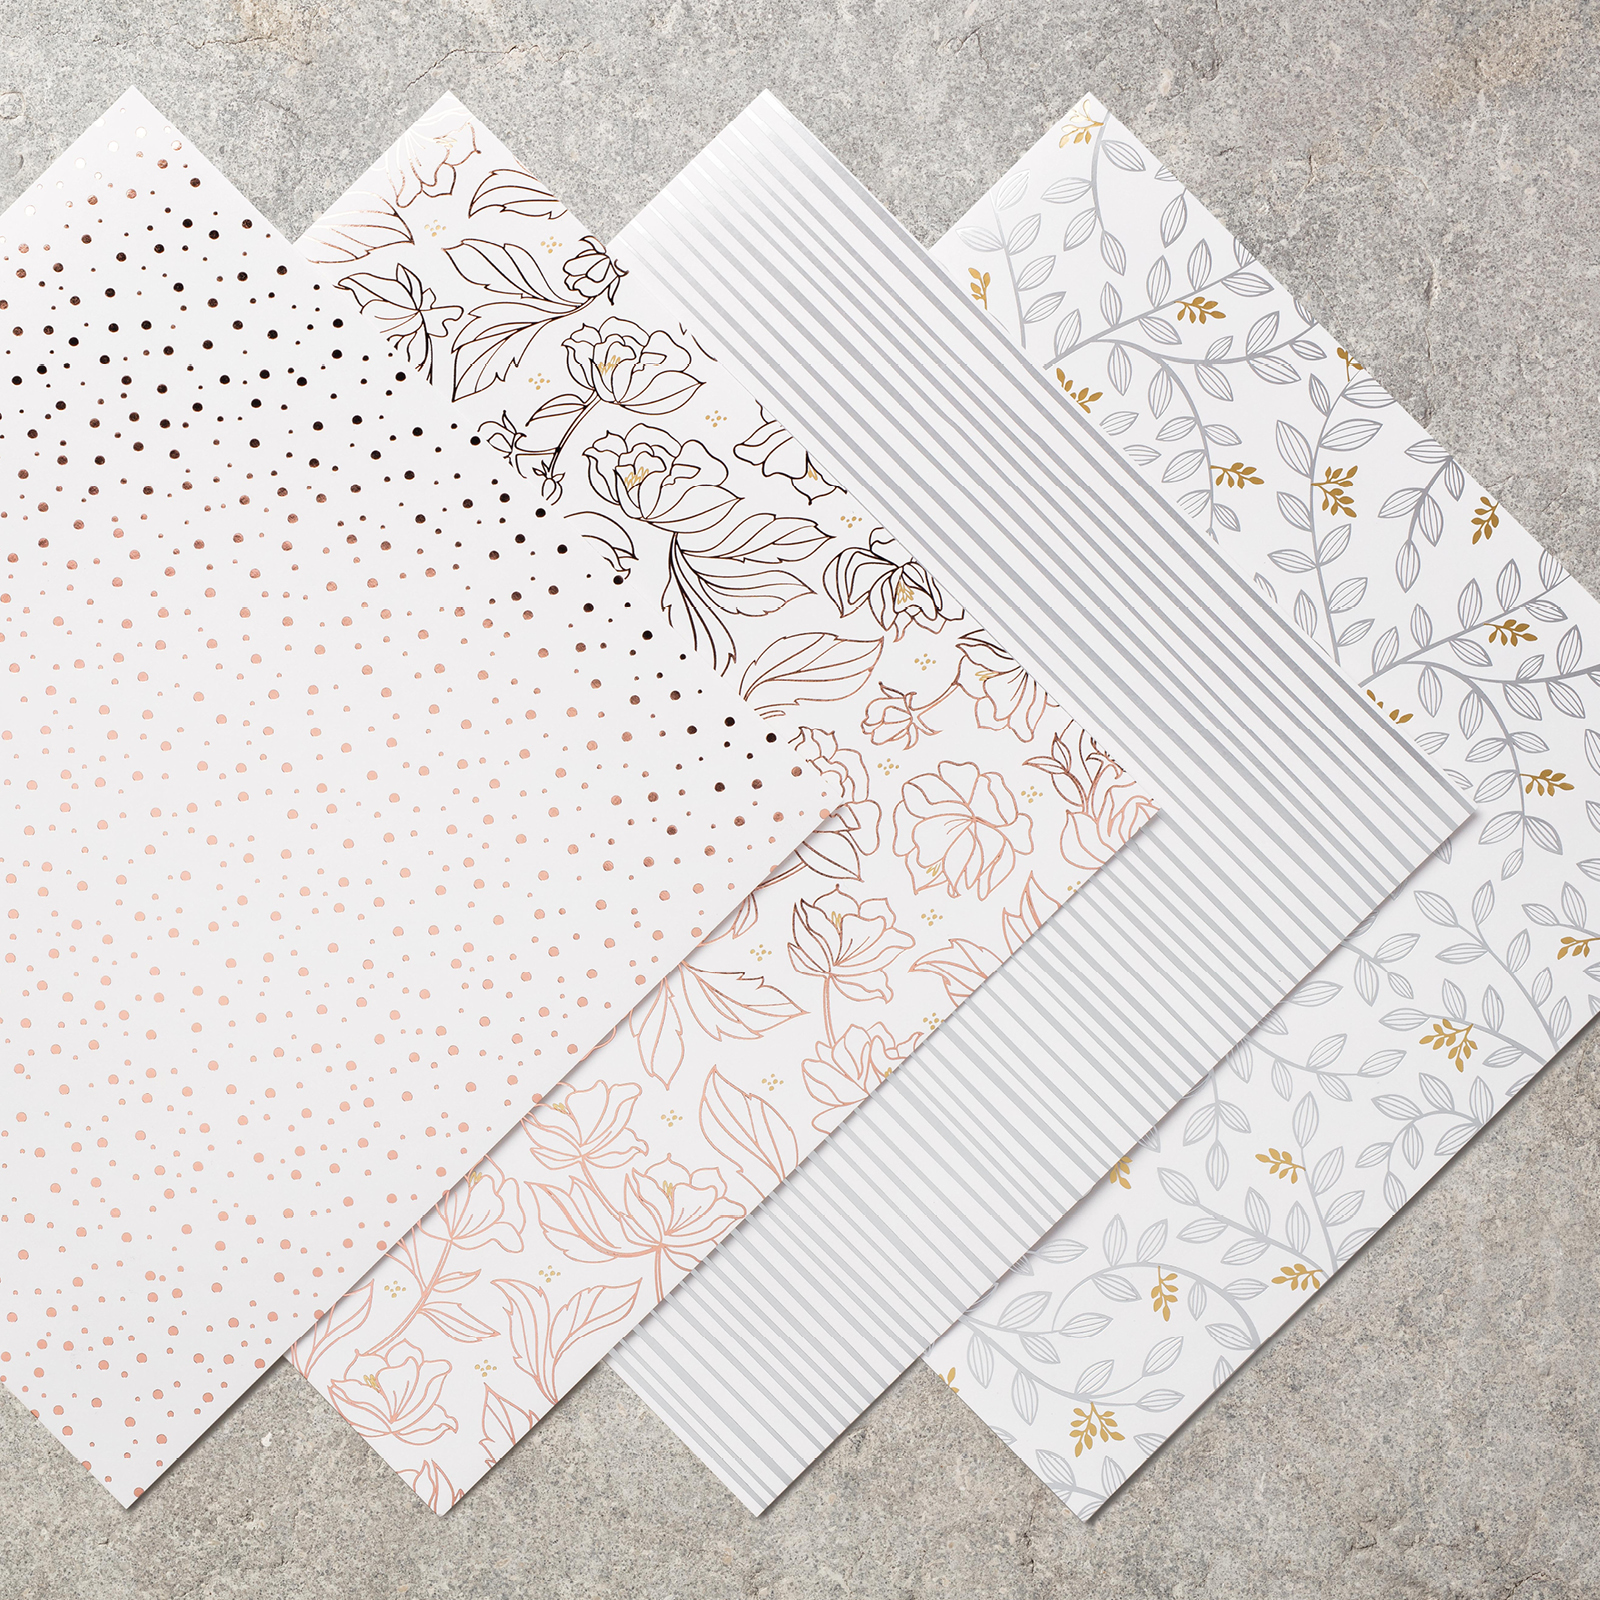
Springtime Foils foiled papers that can be yours exclusively for free during Sale A Bration... one pack for every £45 ordered...
And a quick tutorial for you... well actually three versions... from A4 card, US Letter card...and then from the easier for us all 12x12 card...
Note that I trimmed a small amount off my A4 card length as I didn't want to have to tell everyone to do 1/2 mm (1/32"ish) line ups on their trimmer in class!!
Note that these 2 papers are actually Rose Gold foiled... but I find that the
Copper Embossing Powder is similar in colour... though I would not have been so happy to use the
Copper Foil with it...
A4 Pink Powder card 29.4 x 9.8cm (or whatever colour you fancy!)
Paper Dots 4.5 x 9.3cm (x4)
Paper Flowers 9.3cm Square
Thick Whisper White 6 cm Square (x2) for die cutting
Stitched Shapes Framelits
Craft Spa Tutorial (A4 card)
1. Pink card LANDSCAPE (ie long side along top)
2. Score at 4.9, 9.8, 19.6 and 24.5cm
3. Bone Fold Mountain/Valley/Valley/Mountain
4. Die cut 2 of the second largest Stitched Squares
5. Copper emboss greetings
6. Adhere papers
7. Adhere one Stitched Square (Tip - think where you DON'T want your glue!)
8. Open and reclose your card blank so that the stuck on Stitched Square frame is behind half of your card blank
9. Adhere other Stitched Square lining up perfectly over first one... (Same tip re glue!)
10. Colour and fussy cut a flower (I used Stampin Blends dark & light Pink Pirouette here)
11. Adhere...
And for my US Followers... from US Letter sized cardstock... although it would be a bit smaller than mine... I would do...
Craft Spa Recipe (US Letter)
US Letter Pink Powder card 10 1/2" x 3 1/2" (or whatever colour you fancy!)
Paper Dots 1 1/2" x 3 1/4" (x4)
Paper Flowers 3 1/4" Square
Thick Whisper White 2 1/2" Square (x2) for die cutting
Stitched Shapes Framelits
Perennial Birthday (greetings)
Copper Embossing Powder & Versamark
Craft Spa Tutorial (US Letter)
1. Pink card LANDSCAPE (ie long side along top)
2. Score at 1 3/4", 3 1/2", 7", 8 3/4"
3. Bone Fold Mountain/Valley/Valley/Mountain
4. Die cut 2 of the second largest Stitched Squares
5. Copper emboss greetings
6. Adhere papers
7. Adhere one Stitched Square (Tip - think where you DON'T want your glue!)
8. Open and reclose your card blank so that the stuck on Stitched Square frame is behind half of your card blank
9. Adhere other Stitched Square lining up perfectly over first one... (Same tip re glue!)
10. Colour and fussy cut a flower (I used Stampin Blends dark & light Pink Pirouette here)
11. Adhere...
Or of course... it would actually be easier for us all with 12x12" cardstock... with the card being slightly larger than mine! Think my next class prep will be using this version if I can get enough of the 12x12!
Craft Spa Recipe (12x12 card)
Pink Powder card 12" x 4" (or whatever colour you fancy!)
Paper Dots 1 3/4" x 3 3/4" (x4)
Paper Flowers 3 3/4" Square
Thick Whisper White 6 cm/2 1/2" Square (x2) for die cutting
Stitched Shapes Framelits
Craft Spa Tutorial (12x12 card)
1. Pink card LANDSCAPE (ie long side along top)
2. Score at 2", 4", 8" & 10"
3. Bone Fold Mountain/Valley/Valley/Mountain
4. Die cut 2 of the second largest Stitched Squares
5. Copper emboss greetings
6. Adhere papers
7. Adhere one Stitched Square (Tip - think where you DON'T want your glue!)
8. Open and reclose your card blank so that the stuck on Stitched Square frame is behind half of your card blank
9. Adhere other Stitched Square lining up perfectly over first one... (Same tip re glue!)
10. Colour and fussy cut a flower (I used Stampin Blends dark & light Pink Pirouette here)
11. Adhere...