Showing posts with label Copper emboss powder. Show all posts

Monday, 10 May 2021

Simply Elegant Elegantly Said! And Order cut off today...


Keeping it simple... keeping it elegant... in Evening Evergreen with just a touch of shine care of Gold & Copper embossing powder and Gold Foil sheets...   

And I think you maybe seeing a lot of this new In Color... could be my new black! And just think how fantastic it is going to be for christmas makes!

So easy to achieve such elegance with the Elegantly Said stamps ... and the Stitched Rectangles dies...

Remember you can order a co-ordinating Simply Elegant Paper Kit if you don't want full packs of everything... though I do highly recommend adding at least the stamp set with this one... OR just Click here if you would like the full Simply Elegant Suite... the free extras from me will soon be with you too...

By the way... having now used the papers .. there are Whisper White as well as Very Vanilla backgrounds and features... so I now intend to send both colours in your kit not just Very Vanilla...  unless you prefer otherwise... Oh... and you will get both gold and silver trim (that omission was a typo that I have only just spotted!!) so the above Kit flyer image has been updated accordingly...

However you need to be quick if you are wanting a split Kit or May's Double Value Gifts ... as today is the cut off day for my May orders & gifts which will be ordered tomorrow... 

Quick images of my other specials this month.... but check out the details  - and/or place your order - for any of these offers here...


Saturday, 1 December 2018

3 more Pieces of Cake

So... you asked to see more of the Piece of Cake cakes... so here are 3 more!

Icing on the Cake!
Dotty Cake...

Layered Cake...
Click here for more details on this card... and a peek at the fourth cake!

Piece of Cake stamp set and and co-ordinating Cake Builder Punch coming January 2019...

Wednesday, 28 November 2018

Swirls & Curls with your Piece Of Cake? And Last Day of Sale...

Back to my clean & simple Piece of Cake card that I posted yesterday...

But before I start... today is the last day of the Extravaganza Sale... Tools & Inks with 10% off ..but only for about 15 more hours... Big Shot or Stamparatus not included... Ends 10.30pm today, Wednesday 28 November.

See my Top Picks below...

And/or Click on the picture below to go straight to all of the products in the Sale...
And so now back to Piece of Cake and the card...
I just had to add a Swirls & Curls debossed mat to finish it off... Probably the first time I used a debossed side... but both sides of this pattern are truly scrumptious! Available in the Autumn Winter Catalogue (and shhh... happy dance... carrying over!)
And three versions of the card for you today... with and without the Copper Foil mat... More details on the stamping and colouring elements in yesterdays post... 
And finished off with a tiny Copper Trim bow... for those of you that like your bows...
And seeing as I was taking a few more photos... here is your Sneak Peek of the whole stamp set... though apologies as I forgot to put the punch in the shot!!! Aargh!
Piece of Cake stamps and co-ordinating punch available from January 2019. Punch is a doubler... punches the cake and the stand...

And finally a couple of gluing tips for you for the stand part... You can either use the Thin Foam strips...like so...
Or you can use a couple of Mini Stampin Dimensionals and cut up the thinnest left around the sides of your Stampin Dimensionals... like so...


Tuesday, 27 November 2018

Piece of Cake... Sneak Peek...

Two versions of a super simple little card to give you a sneak peek of a lovely new product coming in the Spring Summer Catalogue... These are for you Sarah!

But before I start... Extravaganza Sale Part 3 is now in place... Tools & Ink with 10% off for 48 hours... Big Shot or Stamparatus not included... Ends 10.30pm Wednesday 28 November.

And I have some Top Picks for you!

And/or Click on the picture below to go straight to all of the products in the Sale...
So introducing... a 21 piece photopolymer stamp set called Piece of Cake... with coordinating Cake Builder Punch... available from January 2018...
I know this is going to be popular! It just covers so many occasions... and who doesn't like a piece of cake! Especially when it is such an easy BAKE (make!)

And oh I have forgotten to photo the inside... but is says "Who cares what the question is!"

Come back tomorrow to see inside... along with the whole stamp set.... and a slightly more decorated version of the card... as I will have taken some more photos by then!!
Stamped, copper heat embossed & punched cake set on a Stitched Shapes die cut square... with Bright Copper Shimmer Paint colouring of the flowers... for which I used the Blender Pen (against SU! advise!! But it worked fine for me here!)

With and without a Copper Foil mat... mounted onto a small square (10.5cm or 4 1/4") Whisper White card

Sunday, 5 August 2018

Shiny Sunday Copper & Ombre Dandelion Wishes

I already have quite a few Dandelion Wishes cards to share with you over the next few weeks... but I thought I should share this one earlier rather than later... as it was created and sent to celebrate a big moment in my team member, Caroline's life!!

As she finally promoted to being a Bronze Elite demonstrator... which took a bit longer than initially expected... so I am delighted that she now gets her 25% discount on all her Stampin Up supplies... Congratulations again Caroline... very proud of you...
So another card featuring my 3 favourite stamp sets in the Annual Catalogue... Bokeh Dots with Dandelion Wishes... and Friendly Expressions...

But as it was for a special event this time...
The Bokeh Dots image stamp was inked up in 3 different colours to achieve an Ombre effect... starting with Pool Party at the bottom... then adding RETURNING Coastal Cabana  in the centre and finishing with Bermuda Bay at the top...

I started off my series of samples using Sponge Daubers to achieve this effect in a smooth fashion... but actually I just went at it with ink pads for the one you see here... as it gave a more distinctive colour variation...

And finally the dandelion trio and greetings were stamped & embossed using Versamark & Copper Embossing Powder 
Simple but effective I think... and all the more special with the shine of the Copper Foil and Copper Embossing Powder! And finished off with Copper Trim...

And what do you think of my piece of architecture!!?

Thursday, 22 February 2018

Springtime Foils Double Gatefold Card & Tutorial

Such a simple card... but everyone loved this one...

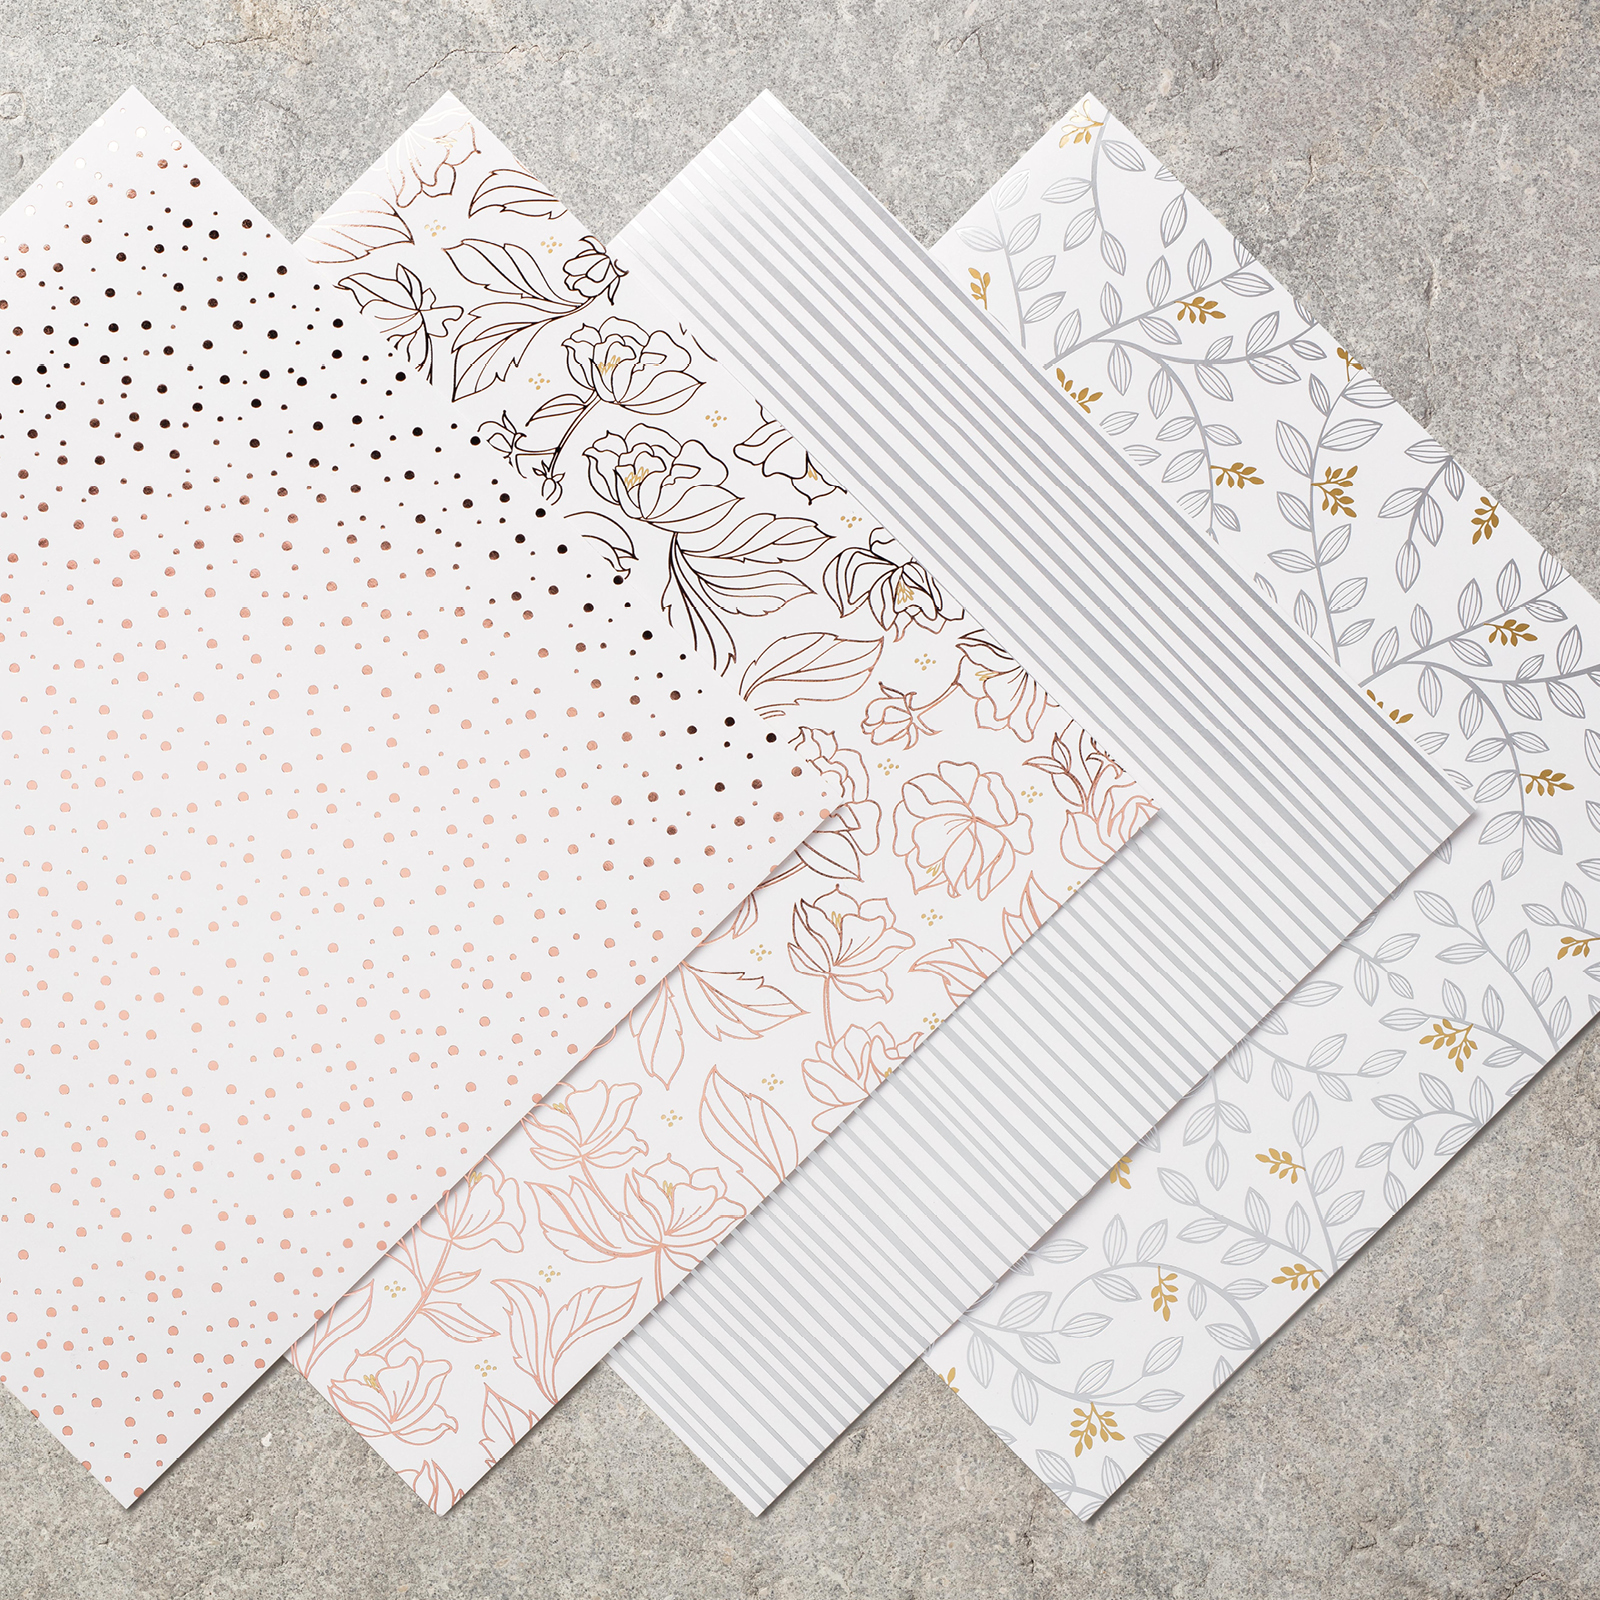
Thanks to the wonderful Springtime Foils foiled papers that can be yours exclusively for free during Sale A Bration... one pack for every £45 ordered...
And a quick tutorial for you... well actually three versions... from A4 card, US Letter card...and then from the easier for us all 12x12 card...

Note that I trimmed a small amount off my A4 card length as I didn't want to have to tell everyone to do 1/2 mm (1/32"ish) line ups on their trimmer in class!!
Note that these 2 papers are actually Rose Gold foiled... but I find that the Copper Embossing Powder is similar in colour... though I would not have been so happy to use the Copper Foil with it... 
Springtime Foils Specialty Designer Series Paper
Craft Spa Recipe (A4 card)
A4 Pink Powder card 29.4 x 9.8cm (or whatever colour you fancy!)
Paper Dots 4.5 x 9.3cm (x4)
Paper Flowers 9.3cm Square
Thick Whisper White 6 cm Square (x2) for die cutting
Stitched Shapes Framelits
Perennial Birthday (greetings)

Craft Spa Tutorial (A4 card)
1. Pink card LANDSCAPE (ie long side along top)
2. Score at 4.9, 9.8, 19.6 and 24.5cm
3. Bone Fold Mountain/Valley/Valley/Mountain

4. Die cut 2 of the second largest Stitched Squares
5. Copper emboss greetings

6. Adhere papers
7. Adhere one Stitched Square (Tip - think where you DON'T want your glue!)
8. Open and reclose your card blank so that the stuck on Stitched Square frame is behind half of your card blank
9. Adhere other Stitched Square lining up perfectly over first one... (Same tip re glue!)

10. Colour and fussy cut a flower (I used Stampin Blends dark & light Pink Pirouette here)
11. Adhere...
And for my US Followers... from US Letter sized cardstock... although it would be a bit smaller than mine... I would do... 

Craft Spa Recipe (US Letter)
US Letter Pink Powder card 10 1/2" x 3 1/2" (or whatever colour you fancy!) 
Paper Dots 1 1/2" x 3 1/4" (x4)
Paper Flowers 3 1/4" Square
Thick Whisper White 2 1/2" Square (x2) for die cutting
Stitched Shapes Framelits
Perennial Birthday (greetings)
Copper Embossing Powder & Versamark

Craft Spa Tutorial (US Letter)
1. Pink card LANDSCAPE (ie long side along top)
2. Score at 1 3/4", 3 1/2", 7", 8 3/4"
3. Bone Fold Mountain/Valley/Valley/Mountain

4. Die cut 2 of the second largest Stitched Squares
5. Copper emboss greetings

6. Adhere papers
7. Adhere one Stitched Square (Tip - think where you DON'T want your glue!)
8. Open and reclose your card blank so that the stuck on Stitched Square frame is behind half of your card blank
9. Adhere other Stitched Square lining up perfectly over first one... (Same tip re glue!)

10. Colour and fussy cut a flower (I used Stampin Blends dark & light Pink Pirouette here)
11. Adhere...
Or of course... it would actually be easier for us all with 12x12" cardstock... with the card being slightly larger than mine! Think my next class prep will be using this version if I can get enough of the 12x12!

Craft Spa Recipe (12x12 card)
Pink Powder card 12" x 4" (or whatever colour you fancy!)
Paper Dots 1 3/4" x 3 3/4" (x4)
Paper Flowers 3 3/4" Square
Thick Whisper White 6 cm/2 1/2" Square (x2) for die cutting
Stitched Shapes Framelits
Perennial Birthday (greetings)

Craft Spa Tutorial (12x12 card)
1. Pink card LANDSCAPE (ie long side along top)
2. Score at 2", 4", 8" & 10"
3. Bone Fold Mountain/Valley/Valley/Mountain

4. Die cut 2 of the second largest Stitched Squares
5. Copper emboss greetings

6. Adhere papers
7. Adhere one Stitched Square (Tip - think where you DON'T want your glue!)
8. Open and reclose your card blank so that the stuck on Stitched Square frame is behind half of your card blank
9. Adhere other Stitched Square lining up perfectly over first one... (Same tip re glue!)

10. Colour and fussy cut a flower (I used Stampin Blends dark & light Pink Pirouette here)
11. Adhere...

Saturday, 17 February 2018

Springtime Foils ...

You will get used to that as part of the title over the next fortnight... as I really can't get enough of these beautiful Sale A Bration Springtime Foils papers... and even better I now get a pack for free with every £45 ordered... and so you can you!

Very simple card to create with the Stitched Shapes dies... just 2 of the largest stitched squares die cut from each of 2 of the papers...

Have I ever told you that these are my favourite... never-put-away-dies!!
Plus another plain Whisper White for the greeting panel... set on a 7cm Square Pink Powder mat... I used Copper Embossing Powder for the greeting as it is similar to the rose gold foiling on the papers...

Oh and the greeting is a chopped clear mount stamp from the very useful Perennial Birthday... comes long & thin and gorgeous... but I needed it to fit in my square... so I cut the stamp in between the 2 words!!!! And mounted one above the other on a clear block.... I can always mount my part stamps side by side when I need the lovely original long greeting.... as bottom left in the image below...
Perennial Birthday Clear-Mount Stamp Set
A bit of Stampin Blends colouring  in Bermuda Bay and Pink Pirouette for the flowers... and Old Olive for the leaves...

And blink and you will miss it... some foiled dot colouring too with the Bermuda Bay and Old Olive Stampin Blends too... careful how you go though... easy to do... but precise colouring action in a small area required!
And more Stampin Blends action on the white Silver Metallic Edge Ribbon... a quick and light colour with one sweep of the brush tip of the dark Bermuda Bay Blendy... Lightly (and as horizontal as you can) does it to protect your brush tip! And dark so it colours in one swoop... whereas the light Bermuda Bay needed a few sweeps...

Large Square card this time... so 14.8cm Square (5 7/8") from A4 Thick Whisper White cardstock... with a 13.8cm ( 5 3/8") Square Bermuda Bay mat... So you could just squeeze one onto a 5 1/2" Square card blank if using US Letter sized cardstock... but I would go for a 6" Square from 12" x 12" cardstock instead...

Sunday, 24 December 2017

The main Tags this year...

Mentioned these earlier when I shared these tags...
But I hadn't shared these copper embossed versions to match my wrapping paper (which I have forgotten to photo!) 
... so here they are... 
Again finished off with the Tinsel Trim for a bit of glitz... and for speed.... in the making...  and in attaching to the gift...

Oh and greeting changed to one from Father Christmas as it fit better in my wreath without going onto the embossed section... and so avoid potential ink smudging!


Tuesday, 7 November 2017

Year of Cheer 20th Wedding Anniversary Double Display card

Very quick share today... as I am up to my eyeballs in spray paint!! Minor exaggeration there... but more on that another day...

Here is the finished 20th Wedding Anniversary double display card I made for Jon using the Year of Cheer papers...
Want to make one of your own? Tutorials are linked in this post here...
A Birthday version shared here... And a christmas version shared here...