Showing posts with label Festive Flower Builder Punch. Show all posts

Sunday, 16 April 2017

e-Moji Egg Carton

The last of the mini egg cartons! But a mini-series that we could have collectively have played along for hours with!!

So here is my trio of e-Moji mini egg cartons to wish you a very Happy Easter Sunday...

First up... LOL eMoji... also known as Laughing With Tears e-Moji,  Laughing eMoji, Laughing Crying eMoji, Happy Tears eMoji, Laughing Tears eMoji
Next up... Heart Eyes eMoji to send to your loved ones!
And last but not least Smiling eMoji...
Too much fun! And treat holders that have gone down REALLY well this Easter... even with the Teens...  laughs all round...!

And a few how to tips...

For Heart Eyes eMoji... 

Die cut or punch 2 Real Red hearts (mine were from the retired Hearts Framelits collection as I don't have the Sweet & Sassy ones...)

Then punch a Duet Banner shape in Basic Black... and trim by hand as shown below!

For LOL eMoji... sorry about the wrong way round photo...but I am sure you will get the idea!

For the eyes... Punch a 1/2" circle through the side of some Basic Black cardstock... then punch around it to form curves... times 4... then trim off 2 for the eyebrows...
The teardrops are care of the Swirly Bird stamp (though I could have used the small/double petals in the Festive Flower Builder punch - reduced in the Retiring List while supplies last )

And the mouth was half a Basic Black die-cut Layering Oval with another Duet Banner punch hand-trimmed banner in Whisper White... 

And finally for Smiling eMoji...

For the mouth... Half a die cut Basic Black die cut Layering Circle with another Duet Banner punch hand-trimmed banner in Whisper White

And for the eyes... 1/2" punched circle on the edge of the cardstock with the smallest Layering Oval die cut around it... finished off with a small trim at the edges...


Wednesday, 23 December 2015

Poinsettia Festive Fairy Lights

The story of these started the day I showed the girls the new Autumn Winter (Occasions) catalogue back in August...

We were discussing the products we liked and the special projects we wanted to make for Christmas this year...

I suggested Fairy Lights... for which there was some excitement...
And then ...just seconds afterwards... the Reason For the Season/Festive Flower Builder poinsettias were spotted in the catalogue!! Oh boy was there increased excitement in the room...

And then there was no going back...it had to be poinsettia fairy lights... for everyone but me (who had had other plans!)
I even tried to talk them out of them (having decided I wasn't buying this stamp set...and that there would be a lot of work involved!)

But then I saw the Poinsettia fairy lights my fellow friend & team demonstrator, Sally Jo Houghton had made and shared (1 September post)... and I was hooked too....
But hey... these prove that you do have to go with the flow...and do things that don't take your fancy initially...as they are SO stunning!!

They may have been a labour of love... but they are SO worth it... So thanks girls (and Sally-Jo) for forcing my hands!! I will truly treasure these as they come out in my home every year...
Things to point out...

I used Cherry Cobbler card... I should have used Real Red as definitely more poinsettia coloured and brighter in effect... but I went with the colour theme in my dining room...which is definitely more Cherry Cobbler than Real Red!

But all but one of my girls went Real Red... which is why I have some lovely bright poinsettia fairy lights to show you too!! Thank you for the in-situ photos Heidi... they look fabulous!

But I used Real Red ink, Cherry Cobbler ink was too harsh for my taste...

Took me a few attempts to line up with the punch layout...but I mounted the 3 petals stamps up on a clear block, stamped the trio loads of times... and then punched...

Whereas the extra large singles... I punched and then stamped...

I sponged around the edge of every petal! Yes seriously - took a couple of hours or so!

I stretched every petal with my bone folder and shaped it down the centre with the bone folder down the centre whilst on a thick Stampin Pierce mat... again an hour or so!

I actually used retired gold shimmer card for the centres... trying to stick gold glimmer or gold foil to itself (with everything else going on) just proving too hard!
Just need to add the leaves I created too!! I think they will just be packed away safely for next year....


Built for Free Using: My Stampin Blog

Tuesday, 22 December 2015

Holly Box Frame Card

Another Simple Box Frame card....
Card details as before...
But this time...
Dressed with punched Mossy Meadow holly leaves care of the Reason for the Season stamps & Festive Flower punch nibbled around the edges with the 1/2" circle punch...
Topped off with Real Red 1/2" berries...


Friday, 4 December 2015

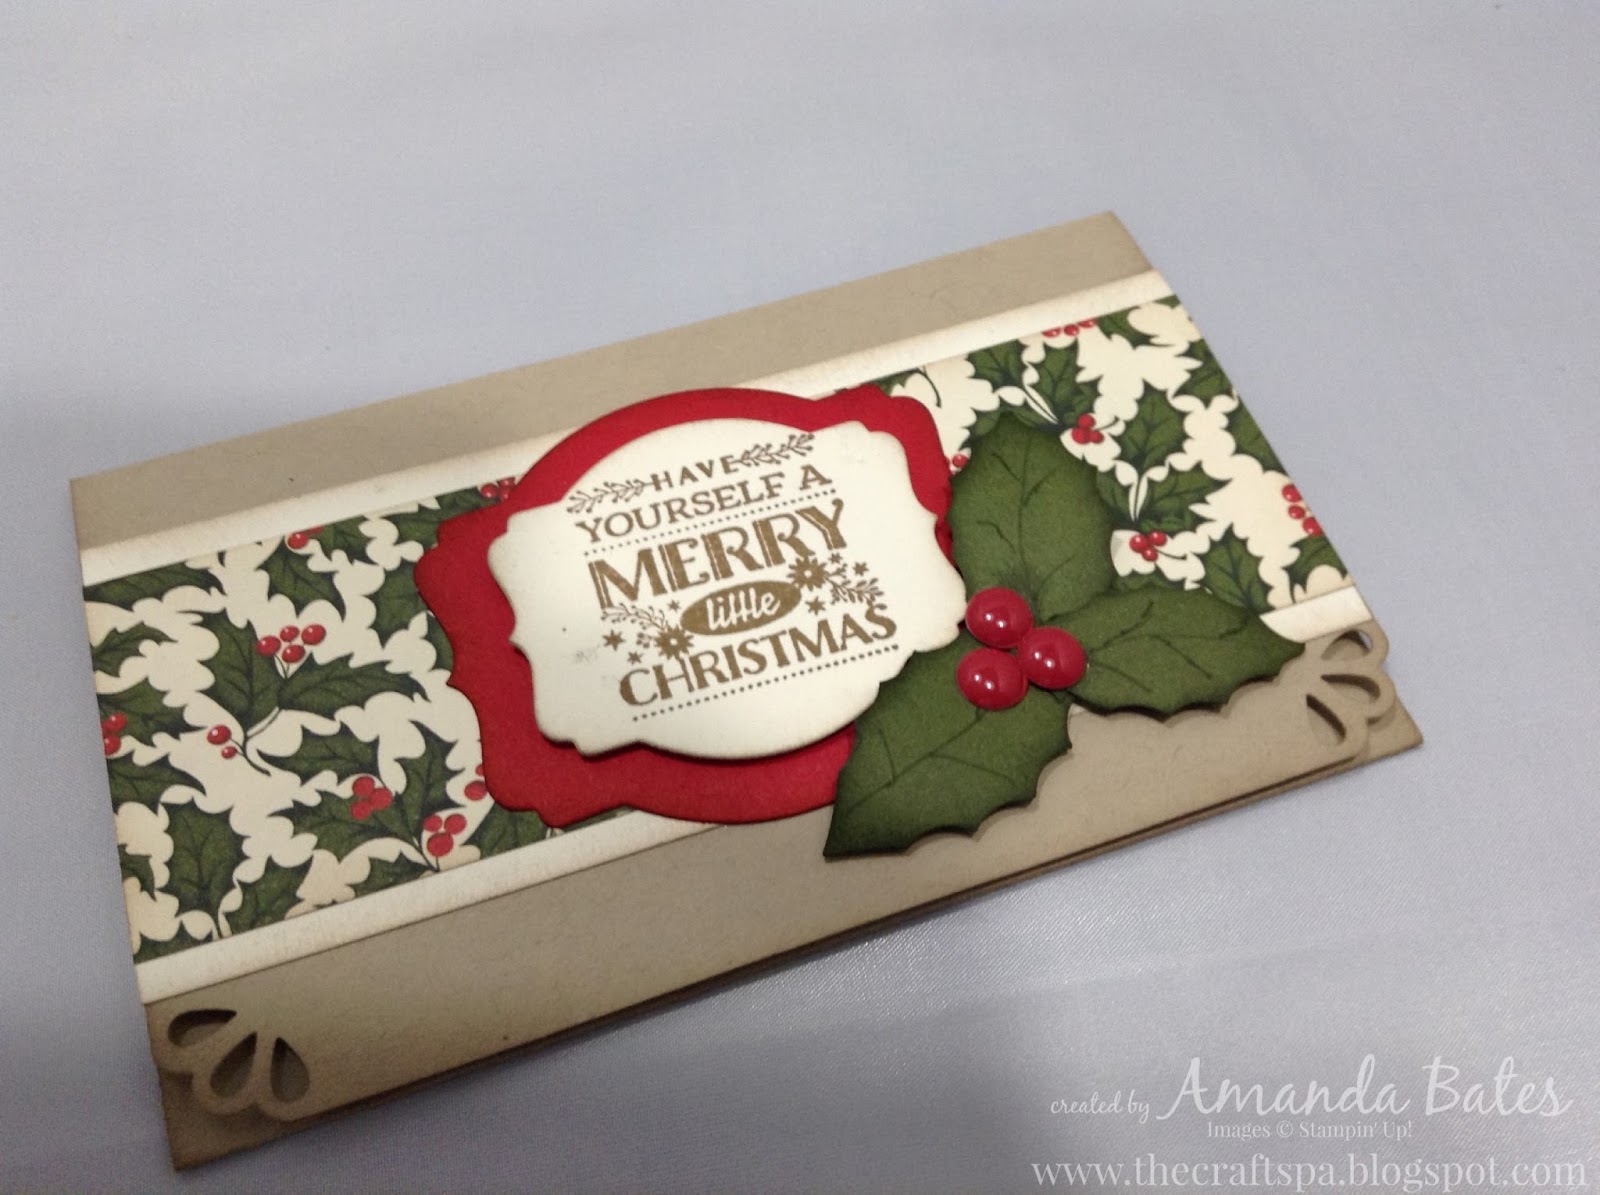
Festive Flower Builder Holly & Gift Voucher Wallet

 
A lovely Home For Christmas wallet for a Gift Voucher that we made at Team training last month... nice design Julie....

Holly leaves care of the Festive Flower Builder Punch and slight snipping around the edges with a 1/2" circle punch...

I had a few spare enamel dots...which finishes it off very nicely... though we punched Real Red berries using the Owl Builder Punch and highlighted with the Signo white gel pen on the day...
Designed to hold a special Gift Voucher...
A voucher for Stampin' Up! products (recommended for spending during Sale A Bration which runs Jan-March - one product free for every £45 spent) - or for a Craft Spa Class....
Just contact me for more details...

Or know what you would like your nearest and dearest to buy you & wrap up for Christmas... then contact me about my Wish List service... Last guaranteed postal date from Stampin' Up! 13th December...


Built for Free Using: My Stampin Blog

Thursday, 26 November 2015

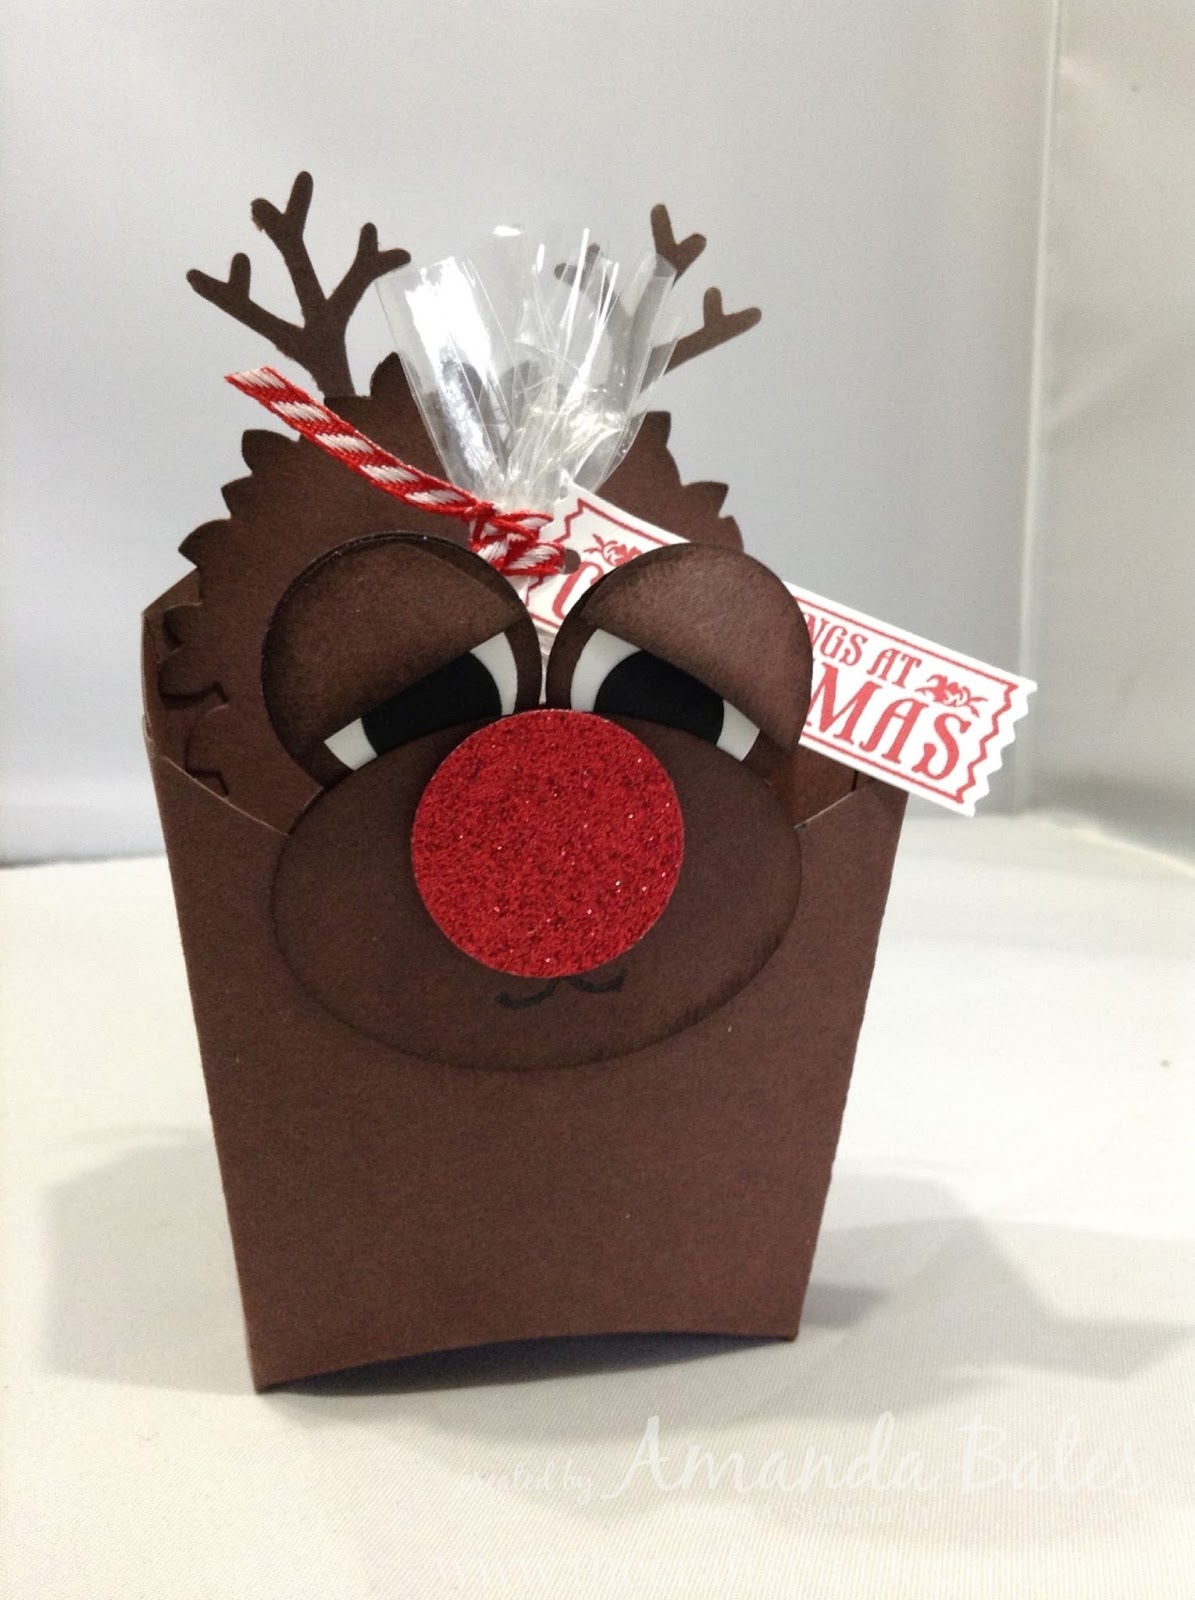
Rudolph Christmas Treats Fry Box

Santa was feeling lonely!!
So I made him a friend... 
Rudolph with his nose so bright...
And here is the Punch Art crib sheet... oops just realised I took all of these photos before I put his Festive Flower Builder ears on! Back soon...
Though I have to admit that the Rudolph face looks a lot scarier when you just stick the bits on top of each other! Definitely better with eyes to the front and mane/antlers at the back!

Wednesday, 25 November 2015

Wonderful Wreath Santa - The Re Make & The How To!

As this post last year is proving so popular again...
I thought it time to re-make without the need of the retired moustache die...
So here you have Santa with a small, medium and large moustache...
All care of the new Festive Builder Flower punch... (aka the poinsettia one!)
And the HOW To sheet... note this sheet still includes the moustache die for the moustache - well you didn't expect me to have sold it did you!!!?
And here is Santa holding is little Treats sack this year....
Built for Free Using: My Stampin Blog