Showing posts with label UK papercrafting blog. Show all posts

Wednesday, 24 October 2018

Wednesday Wideo... Take Your Pick

Don't believe I have shared this short little video featuring the new Take Your Pick tool... but here you go! Just CLICK HERE to play!

And here are the images...

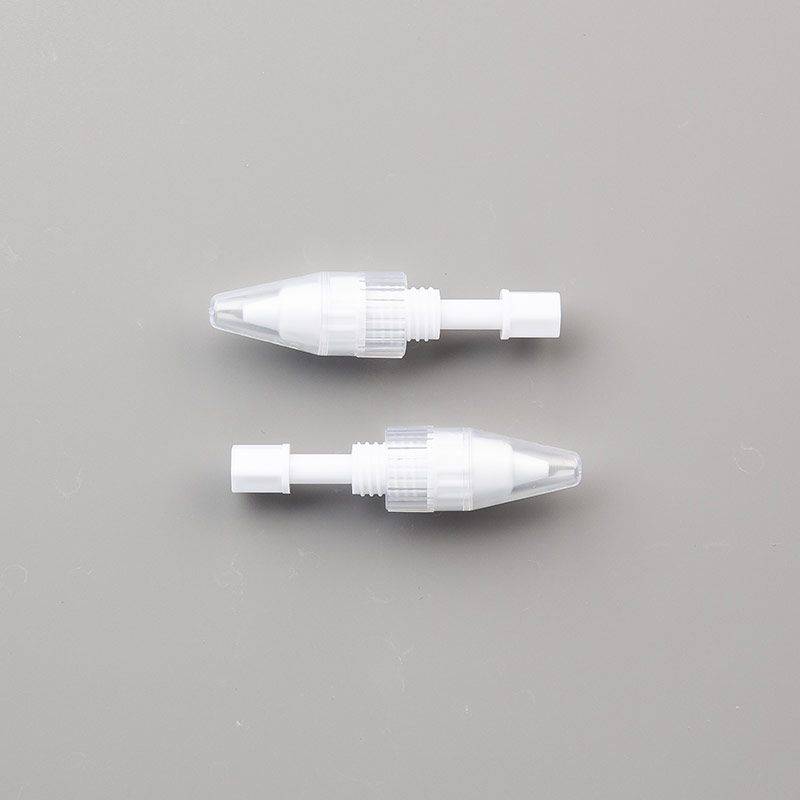
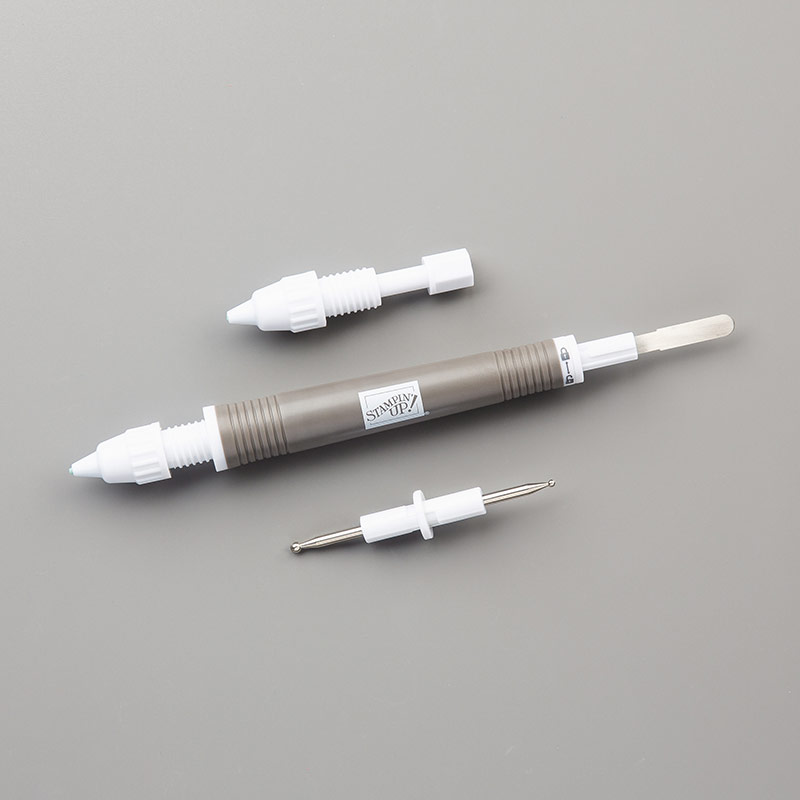
Introducing... the Take Your Pick Tool...
Take Your Pick
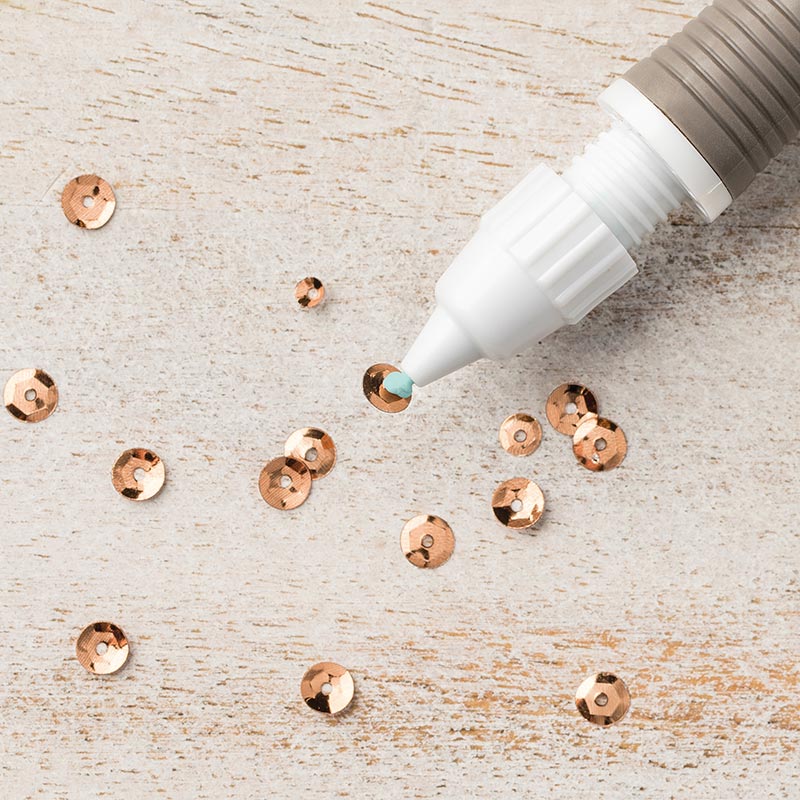
And the Refill kit...
Take Your Pick Putty Refill
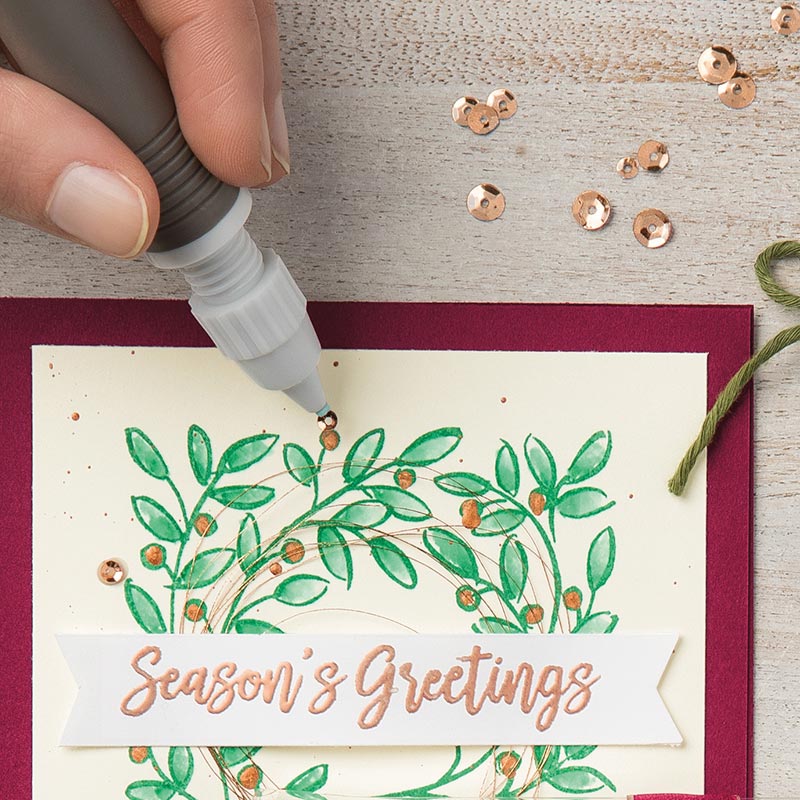
And the Tool in action... 
Take Your Pick Putty Refill
Take Your Pick
And I can't tell you how useful it was for putting all those tiny red bows on my little Farmhouse Christmas wreaths... a real must have!!


Tuesday, 22 August 2017

WOW! 8 year Blog-A-Versary of The Craft Spa...

Another Anniversary! Must be a week for them....

I really can't believe that I have been scrawling away and sharing my creative soul on this blog for 8 years now... though the first 4 years or so were a bit more ad-hoc!

Hopefully I have brought you all some inspiration, some new ideas, a few tutorials you have used... and a laugh or two... usually at my expense!

And I just want to say a big thank you for your support and encouragement of my crafty endeavours - without you none of this would get written and shared!

Though I will admit to life being very busy at present as the household prepares for my son's cruciate ligament knee operation this week , 7-14 days of crutch mobility... and then university in 4 weeks time... so I will apologise in advance should my daily scheduling not happen quite as you are used to!!

But do bear with me... as once he is gone... I will have more time to spend on creating and sharing! I might even start to do some extra things you wouldn't expect!! Could be a new chapter if all goes to plan...


Monday, 26 June 2017

Whole Lot of Lovely #2 - U Fold Card

Following on from yesterday's post I have another card made on the spot with the Whole Lot of Lovely kit we were given at Quarterly Team Training...

So the U Fold card was in my brain on the day having just presented Julie with such a card for her Stampin' Up! 9th year birthday (which I did forget to photo!) ... and then quickly helped her make one up for her crafty session the following day...
But I had to laugh as I remembered the dimensions slightly wrong when making this one.... luckily you can't really tell... but anyways you can click here for the Tutorial with the correct dimensions for a C6 envelope... the front bar being the simple 5.5 x 3cm version...
Not much to say about the decoration... the cardstock and stamping is all Pear Pizzazz.... the flowers are fussy cut from the papers and the ribbon is the new Pear Pizzazz Shimmer ribbon... 
And an update on my efforts for the Birthday Wishes Challenge... 100 birthday cards finished and ready to send to Stampin' Up! for distribution to the Ronald Mac Donald houses... 

And I have to add... what a card making marathon this month... I have made nearly 250 cards in total... no wonder I had run out of Thick Whisper White!!!

Sunday, 25 June 2017

Whole Lot of Lovely #1 - Double Z Joy Fold Card

So we had Quarterly Training last week... and we were given a little unexpected challenge....

Julie handed us a bagged kit of Whole Lot of Lovely papers, co-ordinating cardstock & embellishments and the Lots of Love stamps and ink were placed in the centre of the table... one of the ideas being that we should be on the receiving end of a class situation where everything needs to be shared amongst everyone in the room....
But we had to design our own cards on the spot too... you should have seen our faces!!!

But you can never stop a group of demonstrators from being creative... and everyone made some gorgeous projects... Though we were all uncommonly polite and tidy with the stamps and inks!!!
So this is the first of my Whole Lot of Lovely makes... another fully opening A6 Double Z Joy Fold card as the tutorial was in my brain at the time!! Click here for the Tutorial to make one for yourself...

Quick share today as I am a woman on a mission... 100 cards to make today for the Stampin' Up! UK 10000 Birthday Wishes card challenge for Ronald MacDonald Houses. Read more about this weekend's challenge here....

Monday, 10 April 2017

In the Meadow Part 3

Another quick card I made whilst In the Meadow and the Watercolor Pencils were out...

But before I start on the card... don't forget that the Retiring List publishes at 8pm UK tonight... I will be back to publish the link as soon as it posts!
Background just Wet-Aquapainted (ie scribble pencil on plastic, add a drop of water and colour across the watercolor card using the AquaPainter) & then very quickly dabbed with a tissue to add a bit of extra texture/clouds...

Corn at the front with the Damp & Stamp Technique... click here for directions on that... 

And here is the trio of In The Meadow using the Watercolor Pencils cards together...
Hope to "see you" later... 8pm for the Retiring List! Please remember to just go and order online... quoting this month's Host/Stampin Rewards Code JU9WH4MV. Yes you can email or ring me for my Tuesday night order but then I can't promise to get you everything you want at first view! And I will be very busy oohing and aahing over the new catalogue that is released to we demos at 8pm - so you may find me a bit distracted!!!


Friday, 24 March 2017

Watercolor Pencils # 11 - Damp & Stamp Technique Parts 2 & 3
Another card made with the Watercolor Pencils Damp & Stamp Technique (as shared earlier here)... but a little more controlled this time... 

First the background... Pacific Point and White pencils scribbled onto plastic (Stamp A Ma Jig sheet perfect! Clear blocks not...)  Spritzed (or added drop of water from the Aqua painter) and then Aqua painter washed the sky on the Watercolor Paper. Same but with Old Olive pencil for the grass... left to dry...
Then onto the Damp & Stamp technique Part 2... I used the Aquapainter to cover the leafy areas of the stamp with water... then coloured those areas with the Old Olive pencil... then I went back with the Aquapainter and applied the water to the trunk and branch areas... then coloured those areas with the Early Espresso pencil. Then spritzed and then stamped... (Note to self for a remake! Don't add water to those long grass bits in the centre of the trees!!)

And then onto the Damp & Stamp Technique Part 3... using the grass stamp in the In the Meadow set... wet just the bottom of the grass stamp (see image top right).... add Old Olive pencil... Spritz and stamp upside down... perfect grass length!
In the Meadow Clear-Mount Stamp Set


Wednesday, 18 January 2017

Any Occasion Stamps for Free Anyone?

Like a banner or two!? 

Then look no further than this very versatile Sale A Bration exclusive photopolymer stamp set... again yours for free with a £45 order... 

Want to see more of this stamp set and how these cute samples were made...  and/or how to "bend" your stamps for even more versatility... 

Then click on the picture below for a video presentation showing its versatility for any occasion...


Thursday, 3 November 2016

Greetings From Santa - 25% off in The Sale!

A quick round up post of projects shared so far using the Greetings From Santa stamp set featured in this month's promotion... So with 25% off for November only...
Available in Wood Mount...or Clear Mount... with co-ordinating Detailed Santa Framelits - which are one of my favourites!. And Stop Press... the stamps plus dies are slightly cheaper than the Bundles...for this month only!

So a few projects for you.... just click on the picture to go to the original blog post for more details...
And here are some lovely projects that Stampin' Up! and their Concept Team made.... 

Sunday, 23 October 2016

Star of Light Tunnel Fold Card Part 2

 
Simpler version of yesterday's Tunnel Fold card... with the colours the other way round... check out yesterdays' post for the card tutorial

Simple stamped star on the inside... Smoky Slate 8 prong one & large Island Indigo one to get the layered effect... plus Wink of Stella all over the Smoky Slate to make it all shine...just as the card says!
And a thought for all you Whovians... can't you just see the Tardis in the centre of one of these cards....!


Saturday, 22 October 2016

Star of Light Tunnel Fold Card & Tutorial

Another simple Star of Light card that packs a punch...

Clean & Simple on the front... 
But opening up to a bit of paper engineering... with a 3D star to finish it all off...
Craft Spa A4 Cardstock Recipe
Island Indigo 21x14.8cm (1)
Thick Whisper White 20 x 14.3cm (2)
Smoky Slate 9.8 x 14.3cm
Whisper White 9.3 x 13.8cm
(St) Thick Whisper White 10 x A4L (6)
(D) Silver Foil 7.5 x 10cm
(D) Island Indigo 4 x 4.5cm
where (St) means for stamping on and (D) means for die-cutting

Stamps - Star of Light
Inks - Soft Sky, Island Indigo, Smoky Slate
Tools - Layering Ovals dies, Starlight Dies
Embellishment - Gemstones, Wink of Stella

And the How To...
(1) Score Island Indigo panel LANDSCAPE at 10.5cm ( ie standard A6 card blank!)

(2) Score Thick Whisper White panel LANDSCAPE at 5,10,15 cm (TIP-Don't Bone Fold yet!)
(3) Die cut largest Layering Oval centrally
(4) Stamp all over
(5) Bone Fold Valley, Mountain, Valley

(6) Stamp 3 large Island Indigo stars & die cut
(7) Score down the vertical centre axis of each star
TIP - these 2 steps are a lot easier/more accurate if you do them in reverse.... ie Score Whisper White strip LANDSCAPE at 5,13 & 21cm, then stamp the 3 stars centrally on the score lines, then die cut
(8) Valley bone fold each star
(9) Adhere right and left half-sides of 2 stars, then repeat for 3rd star

(10) Adhere right hand side of stamped white panel to inside right hand side of Island Indigo card blank
(11) Adhere 3D star to inside of card blank ( ie centre of star to centre line!)
(12) Fold flat & apply glue to top of left hand side of stamped white panel
(13) Close card over onto the glued panel

(14)Ink up and stamp front White panel - Soft Sky star spray, Island Indigo 8-prong star and greeting
(15) Die cut large Silver Foil & small Island Indigo fancy stars
(16) Adhere all parts