Showing posts with label Vellum. Show all posts

Friday, 3 December 2021

Fun Fold Friday - Whimsy & Wonder Double Pop Up Concertina Card

Time for another of these Double Pop Up Concertina House cards... though this one is simpler (and a lot quicker to make) - as the Whimsy & Wonder papers do most of the decorative work.... as well as a bit of Brick & Mortar embossing and use of Perfectly Plaid and Welcoming Window...

But before I start... I hope you got what you wanted from the Last Chance List and the Clearance Rack... as many many items are now discontinued... and not orderable... which explains why you can't see them!

However... there are also many items "stuck in transit" somewhere... or due in next week or later.. and so unfortunately not orderable too... So if there is something you really really want... be sure to email (or use the contact me box down the right hand side of the page) and I can check when more stock is due... so then you know when you may be able to order...

And these Whimsy & Wonder papers fall into this latter category - more stock is due in this week... so hopefully will get booked in today... which I am delighted about as I have rather fallen in love with these stunning papers... such a gorgeous, fresh & contemporary colour combination...

BTW - as I know many of you are wanting them... the Peaceful Place papers are the same ie overdue for this week...

Live in the UK - order the Peaceful Place papers or Peaceful Cabin stamps - and get my Class Tutorial' s for free (Please note that sadly the Cabin dies are now discontinued) Note that a Double Pop Up Concertina card tutorial is included in this Tutorial Package... albeit a different size... though I can easily send these measurements if requested (by email ) at the time of purchase...


Saturday, 2 June 2018

Sharing.... New Graceful Glass Suite

One of my favourite suites.... and one I know will be very popular around here...

So here is a video to watch so you can check it all out too... just click on the arrow to start play...
And for those of you that prefer the pictures... and blurb!!

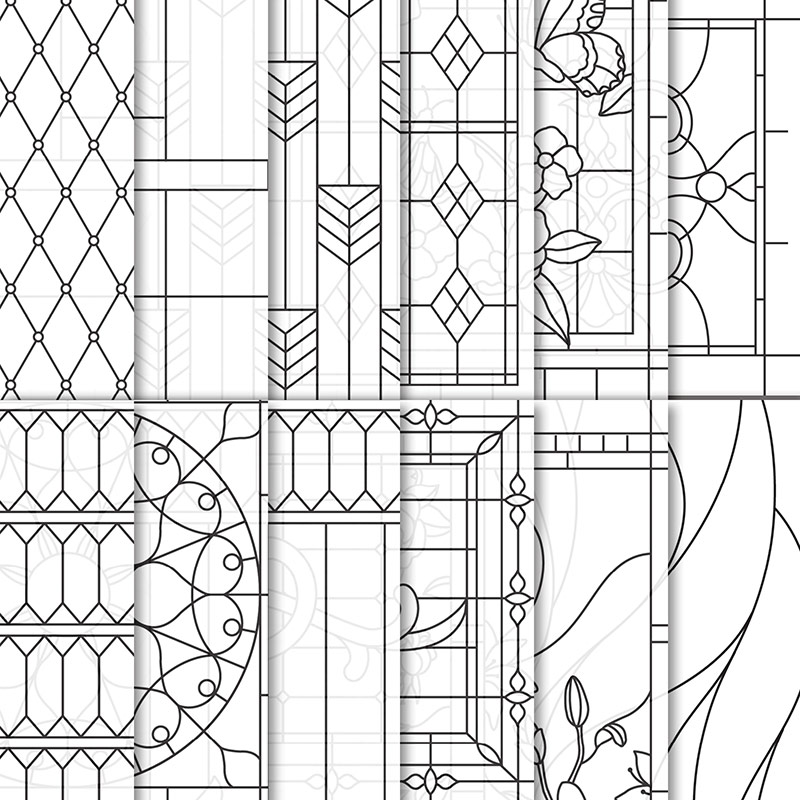
So these Stained Glass papers bring you lots of colouring opportunities... though beautiful as they come too! 12 different designs of 6x6 vellum paper... 2 of each in a pack...
Graceful Glass 6" x 6"  (15.2 x 15.x cm) Designer Vellum
Perfect not only for cards... but for home decor too... I can imagine some beautiful lanterns and sun catchers arriving soon....
Graceful Glass
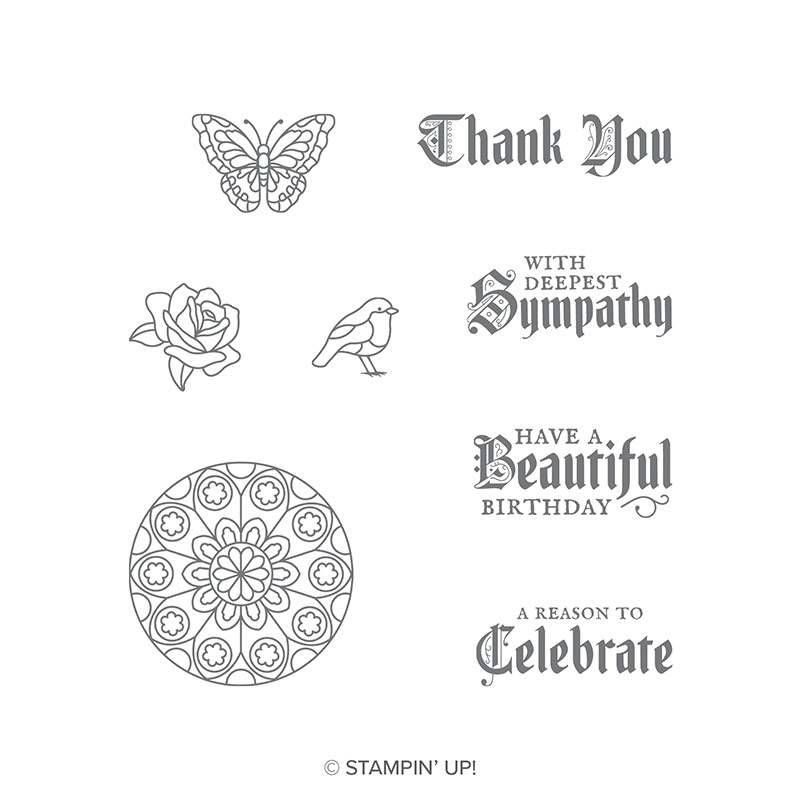
And the stamps bring you a lovely gothic font... very eye catching but different from anything we have had before... as well as some must-have images too...
Painted Glass Clear-Mount Stamp Set
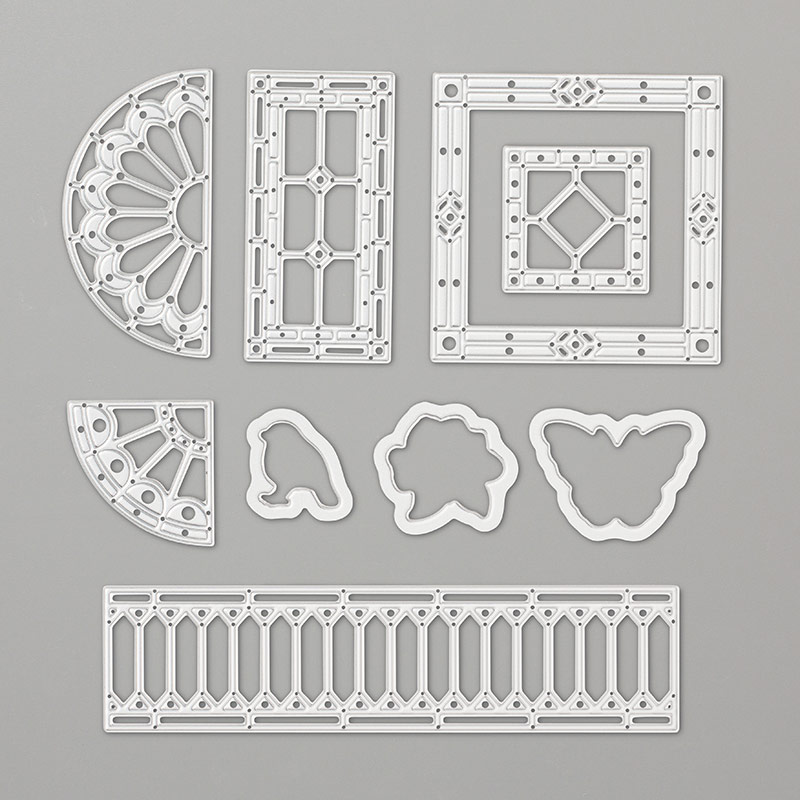
And the co-ordinating Stained Glass dies bring us plenty of window display!! And plenty of creativity... but more on that another day...
Stained Glass Thinlits Dies
And yes the stamps and dies are available as a bundle with the 10% off for you... in Clear Mount... and Wood Mount...

Black Cord ribbon and Tinted Faceted Buttons embellishments too...
 Black 1/8 (3.2 mm) Cord Tinted Faceted Buttons
Just click here for the full Suite in one place in the Online Store... 

Saturday, 26 May 2018

Graceful & Stained Glass... coming soon...

Just sharing a card made with new product coming 1st June... a wonderful pack of 24 vellum papers with 12 different stained glass designs, called Graceful Glass.... which can be coloured using Stampin Blends or Many Marvellous Markers... Just stunning...

More samples coming soon... but for now this is a card made at the Stampin Up On Stage event back in April... though mine is somewhat tamer than the original...
The colours are also new to share... 2 of the new In Colors... Lovely Lipstick (gorgeous pinky reddy colour) and Pineapple Punch (very very bright yellow... a real WOW)

And the greeting is from the co-ordinating stamp set, Painted Glass... which comes along with its coordinating dies, Stained Glass

Monday, 13 March 2017

Watercolour Pencils # 4 - on Vellum

Carrying on sharing another project from my Watercolor Pencils Introduction class... this one caused a real WOW but is incredibly simple!

Die cut a solid Detailed Dragonflies dragonfly in Vellum ... Bermuda Bay pencil scribble all over the wings... Pacific Point pencil scribble over the tips and next to the body... apply water using an Aqua-painter to activate & blend both together... (NOTE- the vellum really curls as you apply the water... lots off oohs in the room!!)...  so dry off with a heat gun to straighten it as much as possible...
Die cut a Thick Whisper White smaller Detailed Dragonfly... scribble Bermuda Bay pencil over the body and activate using your Clear Wink of Stella to get shimmer at the same time...
Shape both dragonflies with your bone folder... Adhere both together using the body area... 

Stamp your white mat - greeting from Rose Wonder & Bermuda Bay used here...
Adhere dragonfly to your mats and apply gemstones to finish...
For Info - Card is a 10.5cm (4 1/8") square card with a 8cm (3 1/8") white mat and 8.5cm (3 3/8") coloured (Bermuda Bay) mat. You get 2 white cards & mats nicely from a sheet of A4 Thick Whisper White cardstock


Monday, 6 March 2017

Dragonfly Dreams on a Brick Wall....

A Tunnel Fold Card for you today.... CASEing myself... using Dragonfly Dreams dragonflies instead of the Watercolor Wings butterflies used before....

And using my favourite Big on Birthdays for the BIG greeting
Dragonflies both embossed on vellum... left hand one with white embossing powder and right hand one with clear embossing powder. 

Then both just have Pool Party and Mint Macaron marker pens scribbled over to colour them up... remembering to wipe off the excess ink with a tissue! 

But wow do they look different... the right hand one takes on an ethereal (or jelly like!) appearance... 
Have to say that these dragonflies seriously look like they have just flown in and are hovering over the front of the card...


Sunday, 31 January 2016

Kissing Beautiful Ride Beetles - and a Tutorial

Just realised I haven't yet shared my Quarterly Team Training swap card... perfect for Valentine's Day... or just because!

So without further ado... here it is... and please feel free read on to the end for the long story behind these!
But to be brief... I call this my Kissing Beetles- or Beetles have feelings too- card...

So before I start rambling with the full story... A quick photo tutorial of how to get the Beetle mirrored image..

1. Ink up and stamp  Beetles on vellum using black Staz On
2. Hand cut both

3. Turn one Beetle over...
4. Job done!

Note that you could just do one Beetle on vellum, cut out and flip... but they "match" better if you want them both clean/white in style! A Beetle stamped straight onto the white card panel does look different..

And if you want to colour in...

1. Flip both over so you are looking at the reverse of the images

2. Colour in using Marker pen... I just used Soft Sky, Smoky Slate and Basic Grey..
3. Turn back over...
Note that you can colour in on the front of the image... but it is quicker and neater to do on the reverse..

And so the full story... one in 2 parts...

The idea for the kissing Beetles is triggered from the Mini advert from way back when... remember the strap line... "Minis have feelings too"... For those of you feeling nostalgic... or curious... I quickly found the Christmas advert on You Tube by Googling "Kissing Minis"

Why do I remember this so well!

I used to be a Austin Rover sponsored student and work down in Northfield, Birmingham at the time... where they made the Mini cars...

I met my (now) husband back in those days... as he worked there too... and one of his first jobs... was to go and get a pair of shiny chrome spare bumpers from the production liner for the filming of the advert!

And the second side of the story... well where do I begin...

VW Beetles mean a lot in my family!

My first car... a silver one... nicknamed Chuggle Bug!

My brother's first car... second car...and probably third car!

The only car my father could draw... and he did very good job of it too...

We used to play spot (and count) the Beetle on the drive to school and back everyday... usually getting well over 20s in the count! How times have changed...

My brother (and usually father too!) was constantly in the garage fiddling with something in or under a Beetle!

I used to get messages under the windscreen wiper everytime I borrowed my brother's Beetle... everyone wanted to buy it!

My brother's souped up Beetle won competitions... yes it looked cool! And it was white!

But... my husband HATES VW Beetles!

So be warned.. over the next few months I will make lots of Beautiful Ride Beetle projects!!! Call them close to my heart..

I even have a plan/wish to make 50 projects and ship over to my brother for a surprise for his 50th birthday in September!!! Though if anyone would like to donate any Beetle projects to this cause... I would be forever in your debt!!


Built for Free Using: My Stampin Blog

Saturday, 24 October 2015

Winter Wonderland Decorated House Scene Card Tutorial

So a Something Special for Saturday post for a change this week..

When I posted this card a week or so ago.... I had lots of emails and messages offering to pay me for a tutorial (thanks - I love that concept!)... but the card itself is somewhat simple as it is just a gatefold card with an extra cut or two!

So I thought I would just post the details for you all on here...  though if anyone would like to make a Paypal contribution to thecraftspa@gmail.com - then I would be delighted! LOL....

So the card blank is formed from just 1 piece of A4 Thick Whisper White card ... So all of the measurements are to suit! ie my made/tested measurements are the metric (centimetres) ones...

For those of you over in the States  - I have calculated & added the inches measurements for US card  8 1/2" x 11" size ... but they are not tried & tested! Reader beware!

1. With Whisper White A4 card LANDSCAPE  - Score at 7.4cm  (2 3/4" US)

 2. If using your Simply Scored & Metric Plate - Turn 180 degrees - Score at 7.4cm ( 2 3/4" US)
    (or if using  trimmer - you can score at 22.3cm - 8 1/4" US)
3. Bone Fold to form Gatefold Card
4. Mark at 4.6cm (2" US) down each side from top of card
5. Cut from mark to Top Centre of card blank
6. Card done!

7. Trim paper using your cut off card bits. The papers are 20.5cm high. Central 14.2cm. Sides 6,9cm
(US 8 1/4" H. Central 4 3/4". Sides 2 1/2")


8 Stamp & die cut as necessary...
The bows are gold embossed
The stockings are decorated with Gold glitter glue
The fire is water-coloured using Tip Top Taupe and Delightful Dijon - then Gold Glitter glue added
The scene is stamped then sponged using masks and Lost Lagoon ink
The greenery is stamped using Mossy Meadow ink on Old Olive card ( pine cones over-coloured using Early Espresso marker pen and then coloured in using Tip Top Taupe marker) and the wreath has Real Red berries added
9. Die cut 7 Whisper White & 2 Gold Foil Windows
10. Make 2 front doors from 4 white window die cuts
11. Make 1 fireplace from 1 white window die cut
12. Make Skirting board parts from 2 white window die cuts. the 3 panels are 2 cm high - one  14.2cm ( US 4 3/4"), the other 2 being 6.9cm (US 2 1/2")

13. Make 2 windows (the 2 white frames being from the skirting board windows)


14. Make the mirror... the Circle Framelit is the 6 cm ( 2 3/8") one... the Smoky Slate circle is a 2 1/2" punched circle 


Note I had to use a Silver Metallic Foil Doily in these photos ( instead of the gold one in my project)- as the Gold Doily cupboard is bare....

15. Make the 3 little cards - all gold embossed... the wording ones are scored LANDSCAPE at 1.5 cm (5/8" ish...very ish!)
16. Decorate your roof... the central part is just the scrap part from a 2 cm (3/4") wide strip punched in the Triple Banner Punch...but this may not be such a perfect fit for a US card - maybe 5/8" strip?)


Forgot to take a photo of the piece.... but I just doodled the central section to match my roofline...stuck it on the left hand side of my card...then trimmed in half... and stuck the right hand side onto the right hand side... hopefully you can see on the blurry photo blow...
However if you find the thought of that tricky doodling too much...here is a  plain white version....
17. Add your doors and Iced Rhinestone door handles
18. Decorate your Fireplace
19. Voila!

Built for Free Using: My Stampin Blog