Well these 2 stamp sets go together like... Batman and Robin...!
But before I start...don't forget that today is the VERY LAST DAY... to get your 10 free ink pads extra when you order your Demo Starter Kit... OR order 3 paper packs and get a fourth for free.... Click here for all the details...
So back to the card... such a simple little beauty...
Bokeh Dots background in Balmy Blue... I used the left hand image for this card...
Dandelion Wishes dandelion trio and greeting in Memento Black
White stamped panel mounted onto Balmy Blue card... definitely liking this blue...
Tuesday, 31 July 2018
Monday, 30 July 2018
Simple Tropical Aperture card
Keeping things simple for a while longer... another simple Tropical die cut small square (10.5cm Square or US Letter 4 1/4" Square) card...
Aperture cut using the large Stitched Shapes square die... as it was out ... and it was the perfect size...
Thin line of Tombow glue added around the Lemon Lime Twist die cut leaf panel (7cm Square) and then panel stuck to back of aperture...
Small Itty Bitty Greetings greeting added in Memento Black... stamps available in Wood mount and Clear mount... This is definitely my favourite small greeting stamp set...
 Done!
Done!
And as this card could be used for virtually any occasion... I am going to make some... and keep them in "stock" to add a sentiment as and when needed...
And remember that the the co-ordinating Tropical Escape papers are available in July's 4 for 3 Paper Sale promotion... but only for 1 more day...
Click here to check all the papers in the promotion out...
Aperture cut using the large Stitched Shapes square die... as it was out ... and it was the perfect size...
Thin line of Tombow glue added around the Lemon Lime Twist die cut leaf panel (7cm Square) and then panel stuck to back of aperture...
Small Itty Bitty Greetings greeting added in Memento Black... stamps available in Wood mount and Clear mount... This is definitely my favourite small greeting stamp set...

And as this card could be used for virtually any occasion... I am going to make some... and keep them in "stock" to add a sentiment as and when needed...
And remember that the the co-ordinating Tropical Escape papers are available in July's 4 for 3 Paper Sale promotion... but only for 1 more day...
Click here to check all the papers in the promotion out...
Sunday, 29 July 2018
Seasonal Wreath Happy One Year Anniversary Kate
Really can't believe it was a year ago that the lovely Kate joined my Craft Therapists team of Stampin Up Demonstrators...
And I am very proud of what she has achieved in that time... as (for fellow demos out there) she has just earned her Silver promotion... so I thought it was high time I told her so in the form of a card... well how else!!??
Oh and a gift too... though I have forgotten to take a photo of that!! Oops! I sent a nice pack of Tropical Escape papers and a few co-ordinating ribbons so that she can make some more of her lovely creations and thus inspire others...
And an admittance... I made the card... then realised I didn't have any co-ordinating ribbon... so I grabbed the Gold Metallic Thread... wrapped it about 10 times around my Peg Bow maker and cam up with this bow... and big oops on the photo... I needed to rotate it!! But I am sure you get the idea...
And I am very proud of what she has achieved in that time... as (for fellow demos out there) she has just earned her Silver promotion... so I thought it was high time I told her so in the form of a card... well how else!!??
And whilst I am on the subject of my Team... don't forget the amazing promotion for joining Stampin Up this month ( so only 2 more days to go!!)... Get 10 ink pads as an extra free bonus in your Starter Kit... Read all about it here... or Click here to order your Starter Kit straight away...
Ok back to the card... Gold embossed greetings care of the lovely Friendly Expressions stamps... available in wood and clear mount...
I used the Subtle embossing folder on the card blank... hopefully you can see it in this shot... as it is what is says... very subtle! Takes me back to the Textured cardstock we used to have... aka Bazzill card for those of you more new to this game... definitely an embossing folder not to miss!
With the Seasonal Wreath embossing folder for the main image... another unmissable emboosing folder!... plus a few gold Metallic Pearls to finish it off...
And an admittance... I made the card... then realised I didn't have any co-ordinating ribbon... so I grabbed the Gold Metallic Thread... wrapped it about 10 times around my Peg Bow maker and cam up with this bow... and big oops on the photo... I needed to rotate it!! But I am sure you get the idea...
And another big ooops... as I pierced my 2 holes to tie the bow on... with another length of the Metallic Thread... in the wrong orientation... they should have been one above the other... not side by side as I did... Case of more haste less speed!
And a last detail... I "gutted" the gold foil 1cm (3/8") in on all 4 sides... and the cut-out panel then became the focal point for yesterday's card...
And the inside... again simple but saying it all... care of the lovely Friendly Expressions stamps... which I are my new favourite (large) greetings stamps
Saturday, 28 July 2018
Simple Saturday Card - Tropical Chic on Foil...
Not sure you can get much easier cards than this...
Nature... clean... simple... with a bit of shine...
And says all I want it to say...
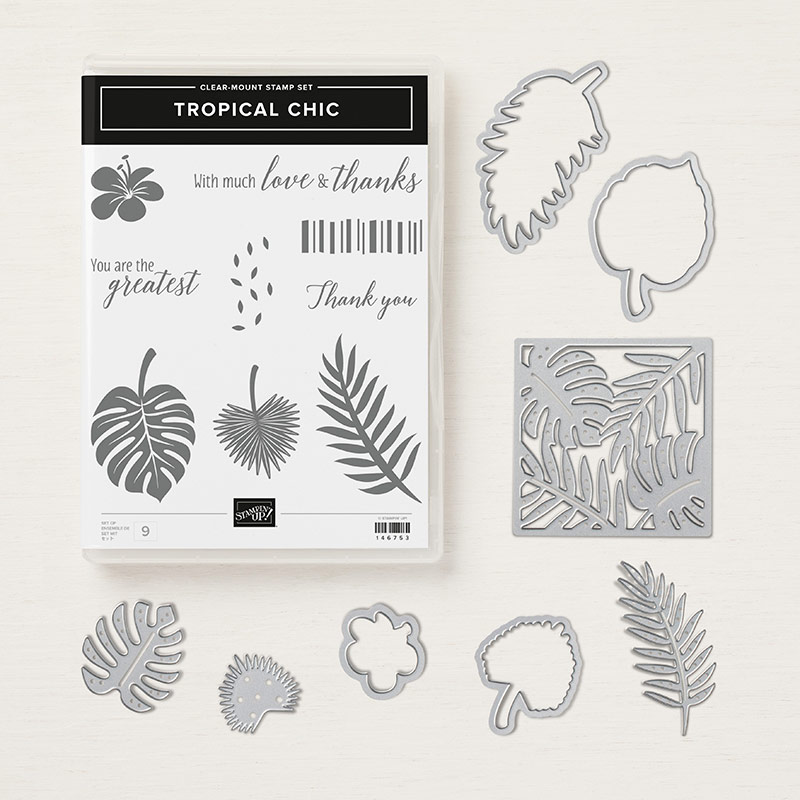
Care of one die cut using the Tropical Thinlits dies... Gold Foil... and gold embossed greeting from the co-ordinating Tropical Chic stamp set... which is available in Wood Mount or Clear Mount
Stamps & dies available as a bundle with 10% off... again in either Wood Mount or Clear Mount...
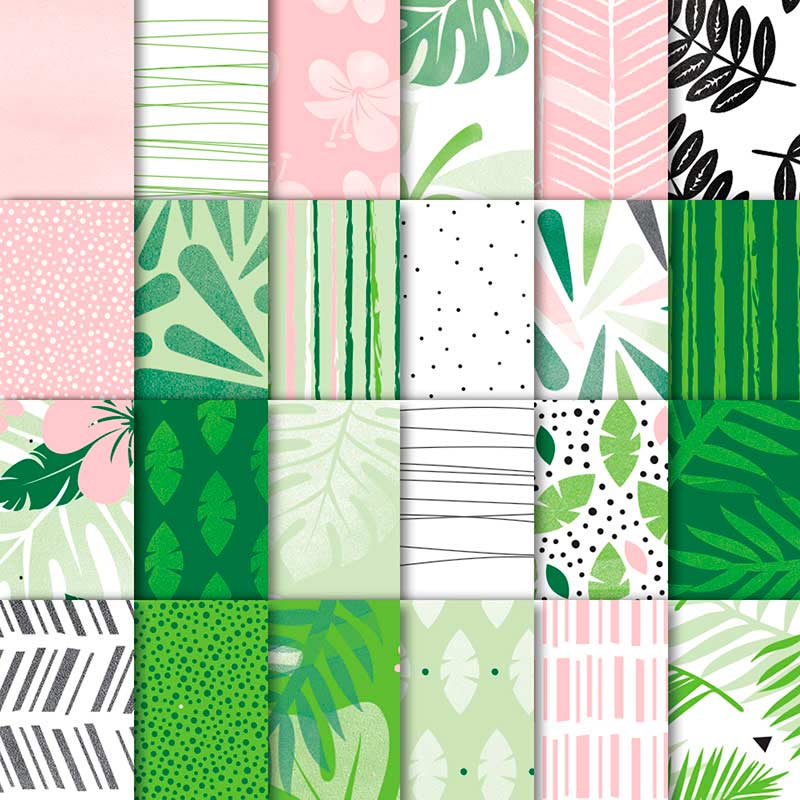
And remember that the the co-ordinating Tropical Escape papers are available in July's 4 for 3 Paper Sale promotion... but only for 3 more days...
Click here to check all the papers in the promotion out...
Friday, 27 July 2018
Fancy Fold Friday - Broadway Bound Swing Easel Card
A really quick share for you today... with the last of the Broadway Bound & Broadway Birthday Swing Easel card series...
Sorry this is so quick a share... but sometimes things aren't as you think they will be and then they just get in the way of your To Do List!
But I had to share as I think this one ended up as my favourite!! Who would have thought...
Original Cut & Score card Tutorial here (which was used for this card) ... Simpler Die Cut & Score version Tutorial here!!! (which is how I will make it in the future!!)
This one is definitely worth a try!!
Thursday, 26 July 2018
Chocolate Treat Holder Cube Tutorial for 3D Thursday
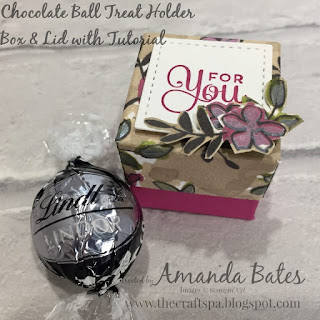
A re-make of this very popular Ferrero Rocher or Lindor ball treat holder (in Foil Frenzy papers)... as requested by my lovely ladies! Re-made in the Share What You Love papers this time round...
And... as a result ... I realised that I didn't share the Tutorial at the time... so now there is a Tutorial for you all.... a simple little cube box with lid... be it for chocolate treats... or rings... or even earrings...
Recipe
Base - A4 card- 10.5cm (4 1/8") Square ( I used Berry Burst here)
Lid - Paper (or Card!) 3" (7.6cm) Square
Tutorial
1. Base cardstock panel. Score at 3.5cm (1 3/8") on all 4 sides
2. Lid paper panel. Score at 2 cm (3/4") on all 4 sides (Note that I used 2 cm which is actually a generous 3/4" for those of you in the US that have no choice with your equipment...)
3. Dart 2 score lines on 2 opposing sides.
Tip - for neatness - I cut straight up the inside of the score lines on either side of the central section... but then with a slight diagonal dart on the narrow/outside sections...
4. Assemble and stick Base
5. Assemble and stick Lid (using your Base to stick it on... so you know your lid fits!!!)
6. Decorate as necessary.
I used a Stitched Shapes die cut small square, with Cake Soiree greeting and a few fussy cut flowers from the same Share What You Love paper
Oh and if you are using stripes or a paper with a particular pattern orientation... click here to check out how to get the pattern the same all the way round the lid! Simple but effective!
Wednesday, 25 July 2018
Make a Wish Peekaboo Gatefold card... with a punched closure
Another of the standard A6 size Broadway Bound Peekaboo Gatefold Cards... for which you will find the recipe and Tutorial here...
But with a different closure this time... care of a punched Classic Label greeting... so that the stitched circle can just be popped behind and the card closes really nicely...
Note that the greeting was inked & stamped with the line beneath it (ie as it comes) ... as the Classic Label punch then punched "the line off"
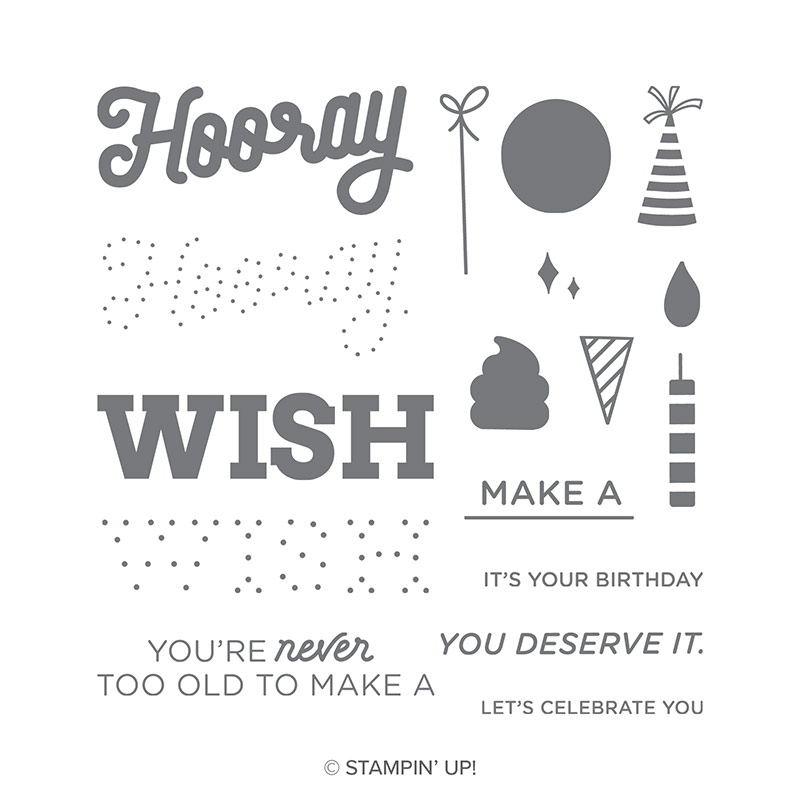
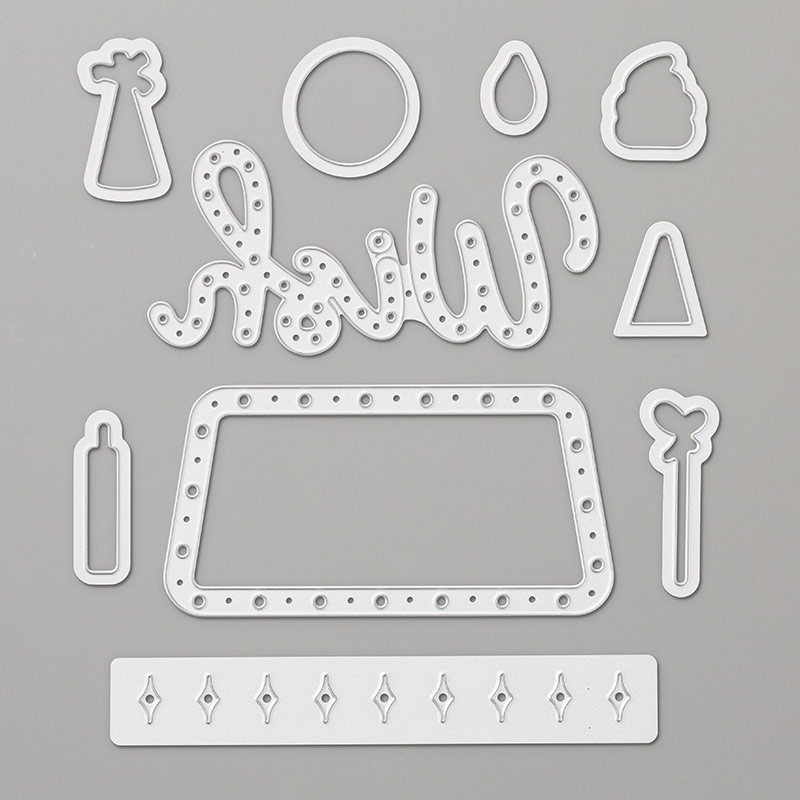
This is where the 2 parts of the Wish die cut Broadway Lights greeting really come into their own... as you can place the 2 parts where it makes sense for your project!!
Love this Suite of products... which we will be using in August classes... so don't hesitate to contact me today if you would like to attend a class... or if you are interested in a Class At Home... aka Class in the Post...
Tuesday, 24 July 2018
Tuesday Tutorial - Small Square Peekaboo Gatefold Card with Bow Closure
As promised... back with the recipe and tutorial for the Small Square Peekaboo Gatefold Card with Bow Closure I posted on Saturday...
So so simple... a must try!
Card Recipe
A4 card 10.5 x 19cm (US 4 1/4" x 7 3/4")
Paper 10 x 3.7cm (x2) (US 4" x 1 1/2" [x2])
Inside Mat 10cm Square (US 4" Square)
Ribbon x 11" (28cm)
Card Tutorial
1. LANDSCAPE (ie long side along top bar) on trimmer.
2. Score 4.25cm (US 1 3/4") from either side (ie score 4.25cm (US 1 3/4"), turn 180 degrees, score 4.25cm (US 1 3/4"))
3. Bone Fold (the stronger your bone folding the better!!!)
4. Decorate as necessary
Note that I use Tear n Tape for sticking the bow... I find it stronger than using glue dots... and therefore the overall closure stays down better.... Though (with hindsight & thinking out loud) using 2 glue dots would probably work as well!!
Slightly different version of the card for you today... though they do look very similar!...
With the multicoloured starry Twinkle Twinkle papers on the front... and a Pool Party stamped star on the front... With the very lovely 1/2" Textured Weave Gray Granite Ribbon bow as the closure...
Mine is made from A4 card... so here are the standard 10.5cm Small Square card dimensions for you... with a conversion for you US Letter card size users too! So so simple... a must try!
Card Recipe
A4 card 10.5 x 19cm (US 4 1/4" x 7 3/4")
Paper 10 x 3.7cm (x2) (US 4" x 1 1/2" [x2])
Inside Mat 10cm Square (US 4" Square)
Ribbon x 11" (28cm)
Card Tutorial
1. LANDSCAPE (ie long side along top bar) on trimmer.
2. Score 4.25cm (US 1 3/4") from either side (ie score 4.25cm (US 1 3/4"), turn 180 degrees, score 4.25cm (US 1 3/4"))
3. Bone Fold (the stronger your bone folding the better!!!)
4. Decorate as necessary
Note that I use Tear n Tape for sticking the bow... I find it stronger than using glue dots... and therefore the overall closure stays down better.... Though (with hindsight & thinking out loud) using 2 glue dots would probably work as well!!
Monday, 23 July 2018
Monday Message.. Too Good To Miss...
Just popping on to tell you again about the wonderful offer that Stampin Up has given us this month of July... a free colour family of ink pads... as an extra... when you become a Demonstrator! So now only a week left to benefit from this offer...
When else would you be able to get 10 free ink pads (worth £63)... not forgetting all those new and up-to-date colours you will get too... and new style ink pads... yay!
So if you live in the UK... and you are thinking about joining our worldwide crafty Stampin Up family... then don't hesitate to contact me today or just click here to join straightaway
But here are 10 reasons why you should join today...
1. Get the promotional July bonus of a 10 ink pad colour family (worth £63) extra for free- 5 sets to choose from...
2. Choose £130 current product (but not a penny more!) - plus your ink pad family - and pay just £99 (yes - £99 for £193 product!!) And yes you can choose anything you want! And don't forget Clearance Rack items to use up those last pennies...
3. No P&P to pay either... as your Starter Kit ships for free...
4. You can select the Blended Seasons bundle and the new Watercolour Pencils collection as part of your July Starter Kit
5. 20% discount for at least the next 7 months... till January 2019... which includes Autumn Winter and Spring Summer Catalogue... and Sale A Bration purchases...
6. See the Autumn Winter Catalogue online on July 31st... as well as some sneek peeks next week 24-26 July too...
7. Pre-order your Christmas products during August (one month before customers)
8. Register for the 30 year Anniversary celebrations on 14 August at the Stampin Up On Stage event... as you will still be a live Demonstrator and can attend 9-10 November (in Birmingham, UK)
9. Get all my Tutorials for free when you sign up as part of my team... and be part of one of the best Demo teams in the UK!!!
10. Enjoy your Starter Kit and all those extra ink pads with no guilt or stress! No obligations! Hobbyists welcome...
Want to know more... Click here for more information... or here to contact me with specific questions or concerns... or here for some example best practice Starter Kits if you find it difficult to decide...
Subscribe to:
Comments (Atom)


