Showing posts with label Stitched Shapes Framelits. Show all posts

Thursday, 13 August 2020

Todays (Thursday) Tiles with multi colour stamping and a Round Up Shot...

Think these may be the last of my Today's Tiles projects... what will I do for Thursday posts now... LOL!

So a round up shot of my Today's Tiles projects... though to be fair some had already been posted off before I took this photo... so there are some missing...  wow! I did make a lot in one session... such fun...
Click here to see more details on these (and more) cards.. or ... if that fails!... type Todays Tiles into the "search this blog" box (4 down on the RHS)

So a couple of multi colour variants to share today... created to send cards with friends favourite colourways... so easy to do with the Todays Tiles set... though I wish I had stamped a few brighter variants at the time!!!

So Bermuda Bay  & Seaside Spray on Midnight Muse...
And Rich Razzleberry & Seaside Spray on Midnight Muse... with a 3/8" Denim Ribbon bow ... which  happens to go well with the new Midnight Muse colour...
Both finished off with a stamped Healing Hugs greeting on a die cut Stitched Shapes square...

Multicolour stamping using Stampin Spots (as perfect size!) and the decorative "over the top" stamp... inking up every other section* with one colour... then inking up the other sections with the other colour... and then stamping over my background...

* Annoyingly I have misplaced the photos I took at the time... but I found this easiest to ink up by using the paler colour first... Stampin Spot down onto the 4 sections required... and then inking up the darker sections by placing the stamp section down onto the spot...as I found it easier to line up more accurately that way.... but I do think this would have been even easier with the Stamparatus if I had had the patience at the time to set it up... But I only had a few hours with the stamp set... and lots of ideas to try!

Saturday, 22 June 2019

Saturday, 1 December 2018

3 more Pieces of Cake

So... you asked to see more of the Piece of Cake cakes... so here are 3 more!

Icing on the Cake!
Dotty Cake...

Layered Cake...
Click here for more details on this card... and a peek at the fourth cake!

Piece of Cake stamp set and and co-ordinating Cake Builder Punch coming January 2019...

Wednesday, 28 November 2018

Swirls & Curls with your Piece Of Cake? And Last Day of Sale...

Back to my clean & simple Piece of Cake card that I posted yesterday...

But before I start... today is the last day of the Extravaganza Sale... Tools & Inks with 10% off ..but only for about 15 more hours... Big Shot or Stamparatus not included... Ends 10.30pm today, Wednesday 28 November.

See my Top Picks below...

And/or Click on the picture below to go straight to all of the products in the Sale...
And so now back to Piece of Cake and the card...
I just had to add a Swirls & Curls debossed mat to finish it off... Probably the first time I used a debossed side... but both sides of this pattern are truly scrumptious! Available in the Autumn Winter Catalogue (and shhh... happy dance... carrying over!)
And three versions of the card for you today... with and without the Copper Foil mat... More details on the stamping and colouring elements in yesterdays post... 
And finished off with a tiny Copper Trim bow... for those of you that like your bows...
And seeing as I was taking a few more photos... here is your Sneak Peek of the whole stamp set... though apologies as I forgot to put the punch in the shot!!! Aargh!
Piece of Cake stamps and co-ordinating punch available from January 2019. Punch is a doubler... punches the cake and the stand...

And finally a couple of gluing tips for you for the stand part... You can either use the Thin Foam strips...like so...
Or you can use a couple of Mini Stampin Dimensionals and cut up the thinnest left around the sides of your Stampin Dimensionals... like so...


Tuesday, 27 November 2018

Piece of Cake... Sneak Peek...

Two versions of a super simple little card to give you a sneak peek of a lovely new product coming in the Spring Summer Catalogue... These are for you Sarah!

But before I start... Extravaganza Sale Part 3 is now in place... Tools & Ink with 10% off for 48 hours... Big Shot or Stamparatus not included... Ends 10.30pm Wednesday 28 November.

And I have some Top Picks for you!

And/or Click on the picture below to go straight to all of the products in the Sale...
So introducing... a 21 piece photopolymer stamp set called Piece of Cake... with coordinating Cake Builder Punch... available from January 2018...
I know this is going to be popular! It just covers so many occasions... and who doesn't like a piece of cake! Especially when it is such an easy BAKE (make!)

And oh I have forgotten to photo the inside... but is says "Who cares what the question is!"

Come back tomorrow to see inside... along with the whole stamp set.... and a slightly more decorated version of the card... as I will have taken some more photos by then!!
Stamped, copper heat embossed & punched cake set on a Stitched Shapes die cut square... with Bright Copper Shimmer Paint colouring of the flowers... for which I used the Blender Pen (against SU! advise!! But it worked fine for me here!)

With and without a Copper Foil mat... mounted onto a small square (10.5cm or 4 1/4") Whisper White card

Monday, 30 July 2018

Simple Tropical Aperture card

Keeping things simple for a while longer... another simple Tropical die cut small square (10.5cm Square or US Letter 4 1/4" Square) card...

Aperture cut using the large Stitched Shapes square die... as it was out ... and it was the perfect size...

Thin line of Tombow glue added around the Lemon Lime Twist die cut leaf panel (7cm Square) and then panel stuck to back of aperture...
Small Itty Bitty Greetings greeting added in Memento Black... stamps available in Wood mount and Clear mount... This is definitely my favourite small greeting stamp set...
Itty Bitty Greetings Clear-Mount Stamp Set
Done!

And as this card could be used for virtually any occasion... I am going to make some... and keep them in "stock" to add a sentiment as and when needed...
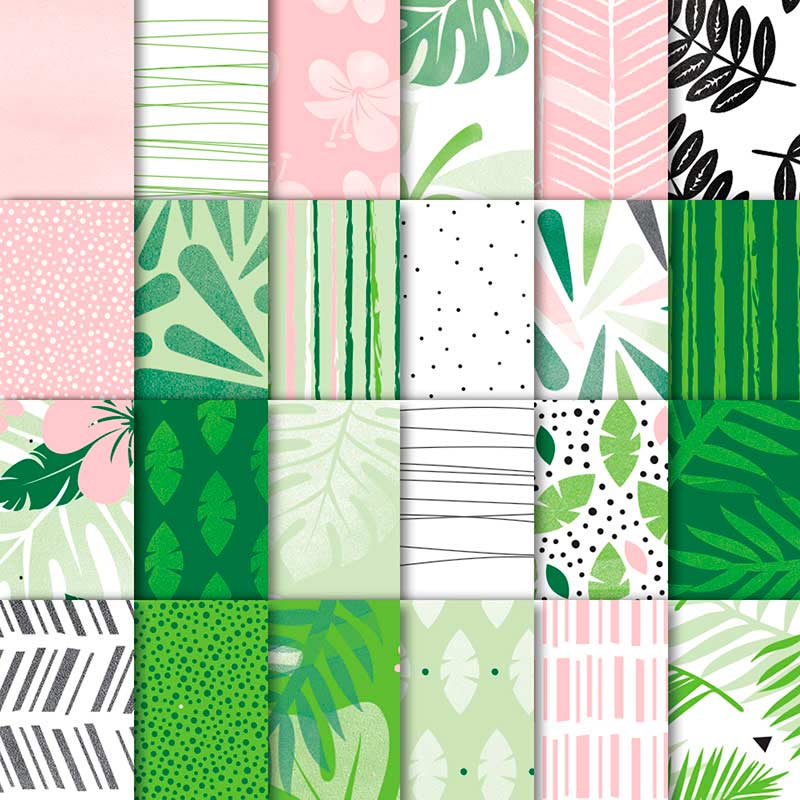
And remember that the the co-ordinating Tropical Escape papers are available in July's 4 for 3 Paper Sale promotion... but only for 1 more day...
Tropical Escape 6" x 6" (15.2 x 15.2 cm) Designer Series Paper
Click here to check all the papers in the promotion out...

Thursday, 26 July 2018

Chocolate Treat Holder Cube Tutorial for 3D Thursday

A re-make of this very popular Ferrero Rocher or Lindor ball treat holder (in Foil Frenzy papers)... as requested by my lovely ladies! Re-made in the Share What You Love papers this time round...

And... as a result ... I realised that I didn't share the Tutorial at the time... so now there is a Tutorial for you all.... a simple little cube box with lid... be it for chocolate treats... or rings... or even earrings...
Recipe
Base - A4 card- 10.5cm (4 1/8") Square ( I used Berry Burst here)
Lid - Paper (or Card!) 3" (7.6cm) Square

Tutorial
1. Base cardstock panel. Score at 3.5cm (1 3/8") on all 4 sides 
2. Lid paper panel. Score at 2 cm (3/4") on all 4 sides (Note that I used 2 cm which is actually a generous 3/4" for those of you in the US that have no choice with your equipment...)

3. Dart 2 score lines on 2 opposing sides.
Tip - for neatness - I cut straight up the inside of the score lines on either side of the central section... but then with a slight diagonal dart on the narrow/outside sections...

4. Assemble and stick Base
5. Assemble and stick Lid (using your Base to stick it on... so you know your lid fits!!!)
6. Decorate as necessary.
I used a Stitched Shapes die cut small square, with Cake Soiree greeting and a few fussy cut flowers from the same Share What You Love paper
Oh and if you are using stripes or a paper with a particular pattern orientation... click here to check out how to get the pattern the same all the way round the lid! Simple but effective!

Tuesday, 24 July 2018

Tuesday Tutorial - Small Square Peekaboo Gatefold Card with Bow Closure

As promised... back with the recipe and tutorial for the Small Square Peekaboo Gatefold Card with Bow Closure I posted on Saturday...
Slightly different version of the card for you today... though they do look very similar!... 

With the multicoloured starry Twinkle Twinkle papers on the front... and a Pool Party stamped star on the front... With the very lovely 1/2" Textured Weave Gray Granite Ribbon bow as the closure...
Mine is made from A4 card... so here are the standard 10.5cm Small Square card dimensions for you... with a conversion for you US Letter card size users too! 

So so simple... a must try! 

Card Recipe
A4 card 10.5 x 19cm (US 4 1/4" x 7 3/4")
Paper 10 x 3.7cm (x2) (US 4" x 1 1/2" [x2])
Inside Mat 10cm Square (US 4" Square)
Ribbon x 11" (28cm)

Card Tutorial
1. LANDSCAPE (ie long side along top bar) on trimmer.
2. Score 4.25cm (US 1 3/4") from either side (ie score 4.25cm (US 1 3/4"), turn 180 degrees, score 4.25cm 
(US 1 3/4"))
3. Bone Fold (the stronger your bone folding the better!!!)
4. Decorate as necessary

Note that I use Tear n Tape for sticking the bow... I find it stronger than using glue dots... and therefore the overall closure stays down better.... Though (with hindsight & thinking out loud) using 2 glue dots would probably work as well!!


Wednesday, 18 July 2018

Wednesday WOW! Peekaboo Gate Fold Card with Bow Closure with A6 Tutorial

As promised... quickly back to this "quick to make but WOW to receive" card fold...
We made one of these at Julie's Monthly Training... using the really pretty Petal Promenade papers which are in July's 4 for 3 Paper Sale promotion...
And I loved the simple little fold with it's bow closure... for which Julie was inspired by these cards created and shared here by Rachel Tessman in the USA... including her video tutorial for the US Letter/A2 version in inches...

So I made a few more in Broadway Bound and Twinkle Twinkle papers... some for this months customer Thank You cards and some for July classes... so I have a few to share with you over the next few weeks...

First up... a sweet little Twinkle Twinkle paper version... also in the 4 for 3 paper promotion... With the very lovely 1/2" Textured Weave Gray Granite Ribbon bow as the closure...
These are made from A4 card... so here are the standard A6 card dimensions for you... so so simple...

Card Recipe
A4 card 14.8 x 19cm
Paper 14.3 x 3.7cm (x2)
Inside Mat 14.3 x 10cm (not required on my Twinkle Twinkle version)
Ribbon x 11" (28cm)

Card Tutorial
1. LANDSCAPE (ie long side along top bar) on trimmer.
2. Score 4.25cm from either side (ie score 4.25cm, turn 180 degrees, score 4.25cm)
3. Bone Fold (the stronger your bone folding the better!!!)
4. Decorate as necessary

Note that I use Tear n Tape for sticking the bow... I find it stronger than using glue dots... and therefore the overall closure stays down better.... Though (with hindsight & thinking out loud) using 2 glue dots would probably work as well!!
Pop over to the 4 for 3 Paper Sale promotion by clicking on the Buy 3, Get 1 Free image below..
Or read about all the July promotions by clicking on the image below... as there is something for everyone...

Wednesday, 23 May 2018

3-in-1 Z Fold Cards - Sweet Soiree for CLAPA

As many of you will be aware... for the last 12 months... our Stampin Up  team have joined together to make Cards for Causes (aka card for charities) every month...
So these are the 25 cards I have made for CLAPA ... which is the only UK-wide voluntary organisation specifically helping those with, and affected by, cleft lip and palate. 
They have asked for Thank You cards so they can thank their volunteers after a large event they are holding in June... what a pleasure to be able to help...

So I was back to my favourite 3-in-1 Z Fold card format... for which the Tutorial was posted here... and almost half a Sweet Soiree paper pack... what a great way for you to see all the different papers in the pack!! Papers retire 31st May (or sooner as only available while supplies last)
Though actually... this colourway was my favourite of them all... bet that has surprised quite a few of you! Did me!!
Thank you greeting from the One Big Meaning stamp set... Stitched Square die cut care of the Stitched Shapes dies...