Showing posts with label Stampin Up Demonstrator UK. Show all posts

Wednesday, 2 September 2020

Wednesday Wreath and WOW!

Something a bit different for you today.....

And WOW! I SO love this ... and I am SO SO happy to have inspired one of my lovely blog readers to give this a go! To such great effect...

So fellow Stampin' Up demonstrator, the lovely Gracemarie Balantic, shared this with me the other day... and seeing as she doesn't have a blog of her own ... and I reckoned it is far too good to not share... and luckily Gracemarie is happy to let me share it with all of you... here you go!
So a Stamped One Sheet Wonder wreath for Halloween... then cut down to create 6 cards in one swoop! See here for Gracemarie's original inspiration...

A few extra die cuts added to finish off one or two of the cards... but most just finished off with a strategically placed greeting....

And sorry I can't provide a products used list in this instance... but I do think that the real magic of this stamping technique is in using your own unique mix of stamps.... and just enjoying the true creativity of what you are doing...

Thank you so much for sharing Gracemarie... I love both the wreath as a home decor piece... and the cards...

And for the rest of you... what do you think? I would love to give Gracemarie the feedback I think she deserves... so a comment would be lovely....

Saturday, 30 May 2020

Saturday Sneak Peak - Field of Flowers sunset

Quickly sharing of another simple card with the Field Of Flowers bundle... featuring silhouettes and a colourful sponged sunset background... and another new bundle called Lovely You...

Can't tell you how much fun I have been having with these sets!
More information on Field of Flowers here...

And I will be offering a Class in the Mail Kit for the Field of Flowers bundle... more details to follow but it will be about £35 for the Base Kit ... so please email me by clicking here if you are interested... No obligation at this time...

Friday, 13 March 2020

You will do Amazing Things Gap Card .. with Noble Peacock papers

Another one of the Gap cards that I didn't share at the time... click here for the Card tutorial...
One created for another of my son's friends off to university after an exciting year out travelling many parts of the world... and he was well chuffed!
Though I used the Noble Peacock papers, Stitched Nested Labels dies and Everything Amazing to create this card... the star is actually a "random punch I have" from somewhere... but of course I would used the Stitched Stars dies if I were to re-make this now! So it would be even better... 
And I liked the card so much... I made two... did you spot that?

Here's the duo... I just switched the stamped colours around and added an extra bit of ribbon to the one on the right...
And an admittance! Forgot to press the publish button again yesterday! But it'll save... 

Sunday, 1 March 2020

Painted Poppies Thank You cards and Round up...

I realised that I hadn't used the wonderful wreath die cut image in the suite of 9 cards for which I am offering my Painted Poppies free Class in the Mail...
So I thought I had better make a Thank You card to provide some inspiration for using it...
And think this is my second favourite card out of the 25 Painted Poppies & Labels projects I ended up making!!!
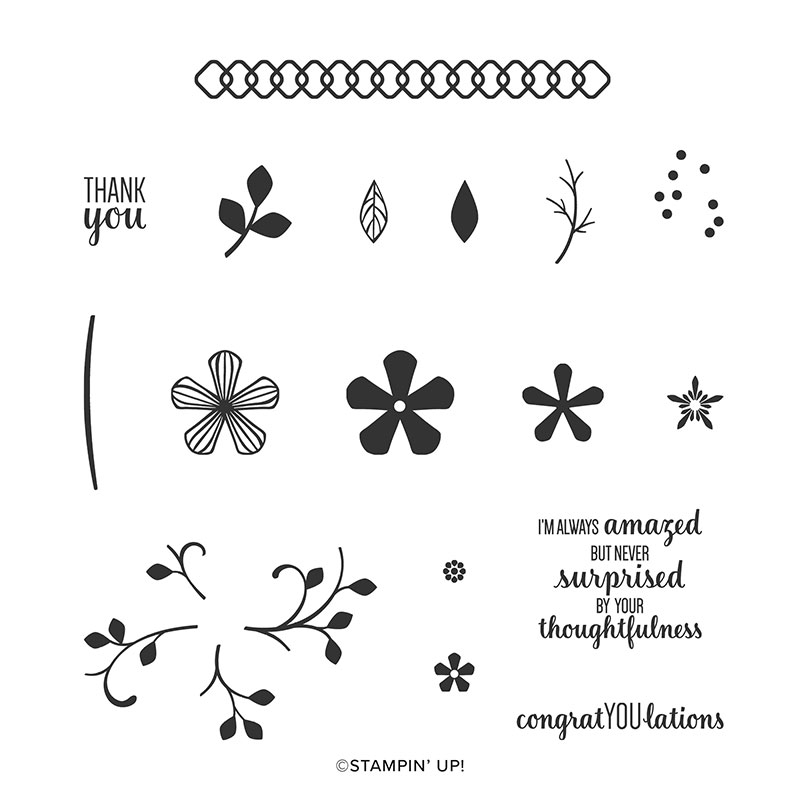
So whilst they were all out I played around with a few colour combinations* and images from the Thoughtful Blooms stamp set (Yours for Free with a £45 purchase during Sale A Bration)
And a fun fact... Thoughtful Blooms is the best selling stamp set this year in the UK so far!
That co-ordinates with the Small Bloom punch (yours for free with a £90 purchase during Sale A Bration)
And here are the 9 cards included in the Painted Poppies free Class... 
Live in the UK? Fancy a class for free? Either here "at home" or in the mail... then simply order* the Painted Poppies bundle  (and don't forget to add a free Sale A Bration product as your order will be over £45... and my host code DUCCVEGD when you do) 

Orders in by tomorrow, 2nd March please... You will get a prepped class kit and written instructions for the 9 cards....

Alternatively  - for those of you that can collect and that have financial arrangements already set up with The Craft Spa... I am placing an order on 3rd March... and can add yours onto that! I will also include one of these cards!
* Colour combinations Daffodil Delight & Mango Medley or Grapefruit Grove & Calypso Coral with  Coastal Cabana & Bermuda Bay. Both of which were inspired by the Birthday Bonanza papers...

And greetings from Label Me Bold and Magnolia Blooms

Thursday, 20 February 2020

3D Thursday Easter Baskets... AKA Painted Poppies # 8

Before I put the Painted Poppies away.... I couldn't resist a re-make of these 2 favourite Easter projects for the display...

But now I have been asked to include the Large one in some of next month's classes... happy to oblige for those that didn't create one before! Or would like another one....
Too many miles away from me to visit... then click here for the tutorial for the Small Basket... or here for the Large Basket... The main difference being that we now have the fantastic Basket Weave embossing folder for the even more realistic finish!


Tuesday, 15 October 2019

Noble Peacock Christmas Gleaming CAS card

So I had a few prepped card kits left over from my Noble Peacock papers classes where my ladies had just run out of time (which is code for "I had designed and prepped too many projects"... as I don't like people to run out of things to do when at mine!! So I always have some "just in case" projects on standby!)
But we are now onto Christmas makes....

So I thought why not! And... with all the shine... these papers do work well for Christmas too...
And then I had to laugh...as they ran out of time again!! Next time maybe!?
Stampin Up Products used
Papers - Noble Peacock
Foils - Noble Peacock
Stamps - Christmas Gleaming, Itty Bitty Christmas

Monday, 30 September 2019

Merry Monday - Brightly Gleaming Triangular Tri Fold Card


An interesting Fancy Fold card we made using the Brightly Gleaming papers and Christmas Gleaming stamps and punches at Quarterly Training a few weeks ago... 

But before I start... promotion finishing today.... The Paper Sale - Buy 4 Pay for 3 - click here for more details... Offer ends 10.30pm today.

So back to the Triangular Tri Fold Card... which opens like so....
Click here for a video tutorial by Julie...

Tuesday, 24 September 2019

Tuesday Tutorial - Feels Like Frost Gap & Scrap cards

Another Feels Like Frost & Frosted Foliage card for you... check out the shiny foiled side of these papers!

But be warned... as I am loving this card! It is just a perfect format with these beautiful Frosted Frames die cuts...
And as promised... one tutorial... but for 2 cards...

So I am calling this a "Gap card"... as
(1) I just think that just sums it up...

And (2) Gap just happens to rhyme with Scrap...

Which is what I called this co-ordinating card I shared yesterday... as that is just created with the paper scrap left from my Gap card...
Though I know there are other names for this card fold out there... such as Split Panel card ... Floating Card (though the more recent  Floating Die Cut Frame card or abbreviated Floating Frame card or Floating card or has kind of taken over for that name)... as well as Gap card... 

And so onto the Tutorial for you... photos from a remake going on behind the scenes for my non Christmas classes this week! Hence the change in colours and papers... and the front panel! Sorry for any confusion that causes!!! But I thought best to share with photos than without...
Craft Spa Recipe 
Gap Card - Seaside Spray 10.5 x 24.8cm
Scrap Card - Thick Whisper White A4L x 10.5cm (scored LANDSCAPE at 14.8cm)
Papers 10 x 4.5cm (x2) and Scrap
Seaside Spray 6.6 x 7.4cm (x2)
(D) (Fancy Frame)Whisper White 10.4 x 14.8cm 
(S, D) (Stitched Frame)Thick Whisper White 7 x 8cm (x2)
(D) (Snowflakes) 3.5 X 6CM Clear Glimmer, Seaside Spray, Silver Foil
(D) (Leaves) Silver Foil  
where (D) is for die cutting and (S) is for stamping 

Craft Spa Tutorial
1.       Large panel LANDSCAPE

2.       Cut at 5cm

3.       Move along and Score at 5cm

4.       Bone Fold

5.       Adhere papers

6.       Put temporary glue on back of small panel

7.       Line up at bottom of main card & temporarily adhere TIP – use grid paper to aid your eye in getting things all straight
8.       Thinking about where you need your glue, apply glue to top and bottom of fancy die cut frame ( or matted stitched rectangle as in this example!)
TIP – I tend to just use a finger or thumb to eyeball where I don’t want my glue to go…but you can mark the back of the card as shown here…
9.       Adhere the frame
10.   Decorate as required
TIP – I used a ½” Circle Punch (now retired) to trim the 4 corners of my Seaside Spray mat to match the corners of the die cut greeting frame)
11. Rub off the temporary glue (I just used my finger... but the retired Adhesive Remover works a treat too!
12.  Adhere the left over piece of paper to the front of a standard A6 card blank… and decorate as required… 
And here are the 2 cards together... 
And apologies to my American subscribers... I will be back with measurements for an A2 version sometime soon... I had an unexpected but lovely visitor today... so the time just went... 


Saturday, 14 September 2019

Saturday Suite - Let It Snow

Another of my favourite suites... as I love the colour combi and I always love a snowman (or 10!)

So introducing, the Let It Snow suite... a suite for our inner child...

First up ... a display board shot bringing most of the elements together in the one place... click on the picture to see all the elements in the Online Store..
Starting with the lovely Let It Snow speciality papers... and please scroll to the end of the post if you would like to see all the sheets!
And not one - but two product co-ordinating bundles... both with that 10% off...
And the Tiny Keepsakes bundle... so so happy to see this miniature Curvy Keepsakes box die... perfectly sized for our favourite christmas chocolates of Lindor and Ferrero Rocher... just one mind!
And of course you can buy the bundle elements separately if you prefer... click on the pictures below to go straight there...


Then we have the Winter Knit 3D embossing folder...
The Let It Snow Embellishment Kit... look closely... this is better than I first thought! Snowballs... clothing... and of course everything to decorate your snowman's face! See the Tiny Curvy Keepsake projects photo below!! Gutted I didn't order this in my pre-order...!!
The Real Red Glimmer paper... so glad to see this back... as I had just run out of my stash!
And a few projects to share too...

And so finally back to the papers... showing every sheet for your perusal!