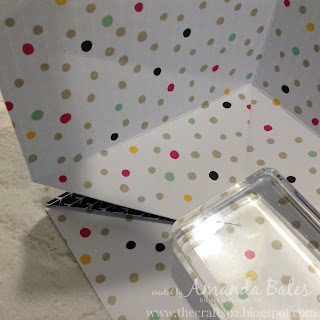
Bear in mind that this explosion box bag can be left plain and used simply as a treat bag as well as adding the stars, mats and photos and making it into a mini book as I have done here... multi talented project or what!
Craft Spa Recipe
Products used
Stamps-
Party Pants (SAB)
Designer
Series Paper (DSP) - It’s My Party
Framelits-
Deco Labels
Framelits
- Stars
Enamel
Dots- It’s My Party
Bow
Paper Clips (x2)
Ribbon
White Cotton x 12”
Card & Papers Recipe
DSP
Melon Mambo Stripe 12x12”
(D)
Card Thick Wh. White 4 1/2” x 4”
(D)
DSP Stars 3 ¾” x 3 ½”
Card
Crushed Curry 3 ¾” Square (x3)
Card
Melon Mambo 3 ¾” Square (x2)
Card
Mint Macaron 3 ¾” Square (x4)
DSP
Stars 3 ½” Square (x5)
(ST)
DSP Stars 3” x 12” L
Card Melon Mambo scraps
where (D) is for die-cutting and (ST) for Stamping
where (D) is for die-cutting and (ST) for Stamping
Instructions
1.
Score 12x12 paper at 4” and 8” (use either your score board or your trimmer!)(Note – this orientation
will be the top and bottom of the bag)
2.
Turn 90 degrees, Score at 4” and 8”(Note – this orientation
will be the left and right hand sides of the bag)
3. Mark top and bottom at 6”
3. Mark top and bottom at 6”
4.
OPTIONAL. Mark 4 corners of inner square (makes it SO much easier to see what you are doing!!!)
5.
Score 4 corners (each outer corner to corresponding marked inner corner) TIP – using the Diagonal Score plate makes this
easy! Score Top left corner and Bottom Right corner, Turn paper 90 degrees.
Then score Top left corner and Bottom Right corner
6. Trim each corner across diagonally (ie cut corner triangle off as per the black line!) & retain
the trimmed off sections TIP – square things off by placing the previously
cut side up against the Top Bar – Top Tip Louise! Thanks!)
6.
Using a ruler, score - and then crease - from 6” marks on sides to corresponding
marked inner corners
7. Valley Bone Fold all straight
score-lines
8. Mountain Bone Fold all Diagonal
Score lines. Note that you will fold your inner section scorelines in the
opposite direction to how you folded them before…
9. Mark 2 x Stars Square panels at
1 ¾”
10. Cut from mark to opposing
corners
11. Mark 2 x Mint Macaron Square
panels at 1 7/8”
12. Cut from mark to opposing
corners
13. Trim 4 paper corners to size
using trimmer (Sorry - photos flipped themselves around! But I am sure you will get the idea!)
14. Die cut Whisper White &
Stars Paper Deco Labels
15. Adhere parts together & score
centre of Deco Label
16. Adhere ribbon to white side of bottom
section of Deco Label (ie the bit that will get
stuck onto the bag so you won’t be able to see it!)
17. Die cut card and paper stars (Note : I used 3 ¾” Square card pieces to cut the card
stars out of as that was easier in a class situation… but you could get away
with a smaller piece if you are doing this for yourself!!)
18. OPTIONAL. Stamp paper stars as required. NOTE – these star sections can be used/ are intended for
photos
15. Adhere all parts


9 comments:
Thanks Amanda k x
Thanks Amanda. Great tutorial and I shall be giving it a go! X
Thanks for sharing!!
My pleasure Karen!
My pleasure Gail....
My pleasure Mary Jo...
My pleasure Anne...look forward to seeing what you create....
WOOT!! So happy to see your tutorial... and sorry if I added to the pressure of doing one up! LOL. I just love your fabby tutorials and I'm excited to get started on this tonight I hope! :) Thanks so much!
Lol... My pleasure! And I hope the creating tonight is a success!
Post a Comment