Showing posts with label Alphabet dies. Show all posts

Wednesday, 19 June 2019

Wednesday Wideo... Praiseworthy & Hand Lettered Prose

Another going to be a huge favourite die set in my opinion!

Click here or on the video icon below to play... and so see so much more!
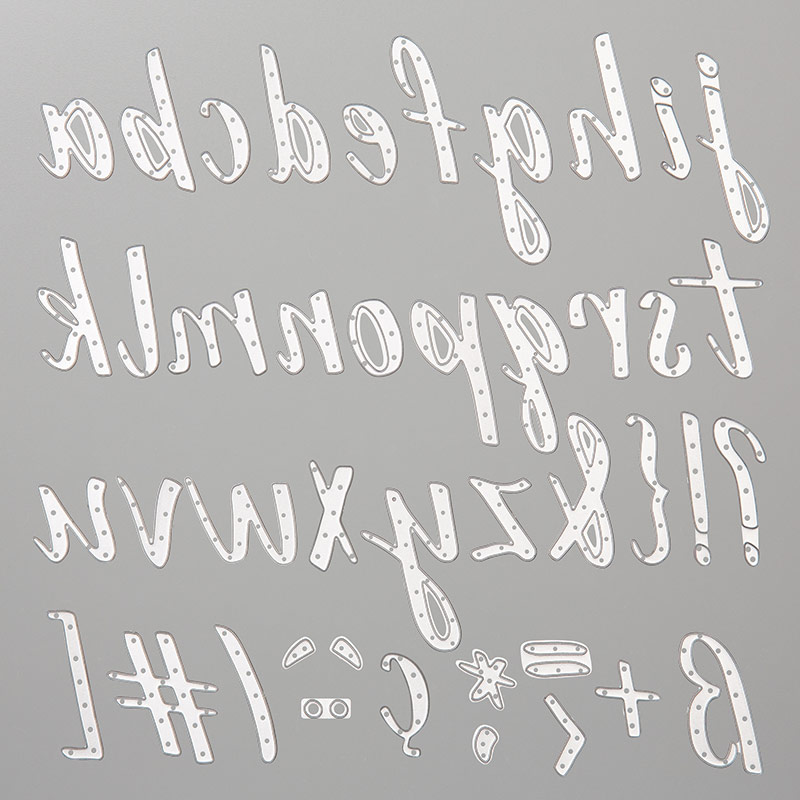
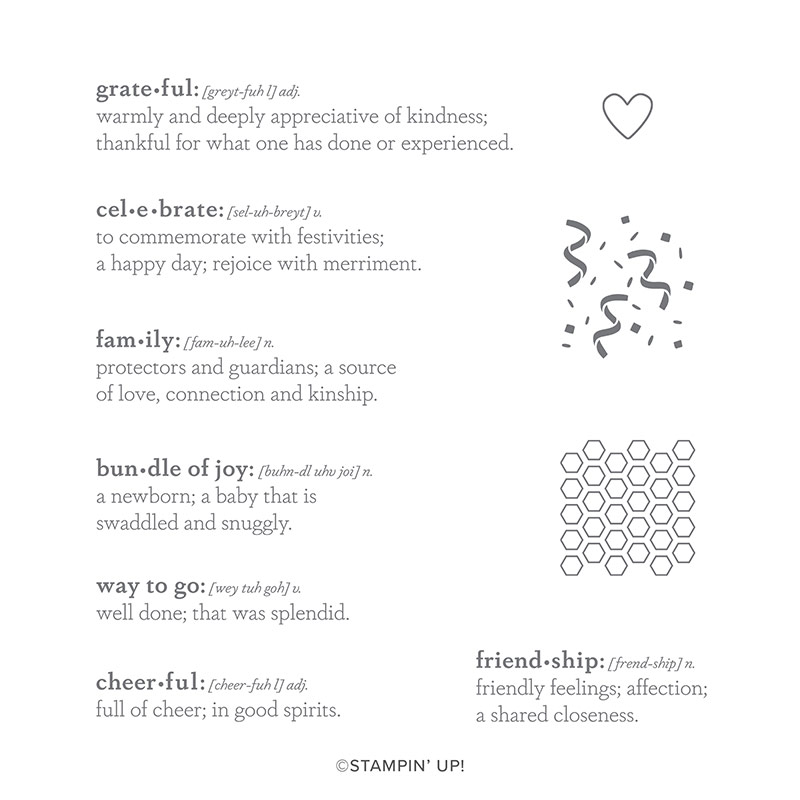
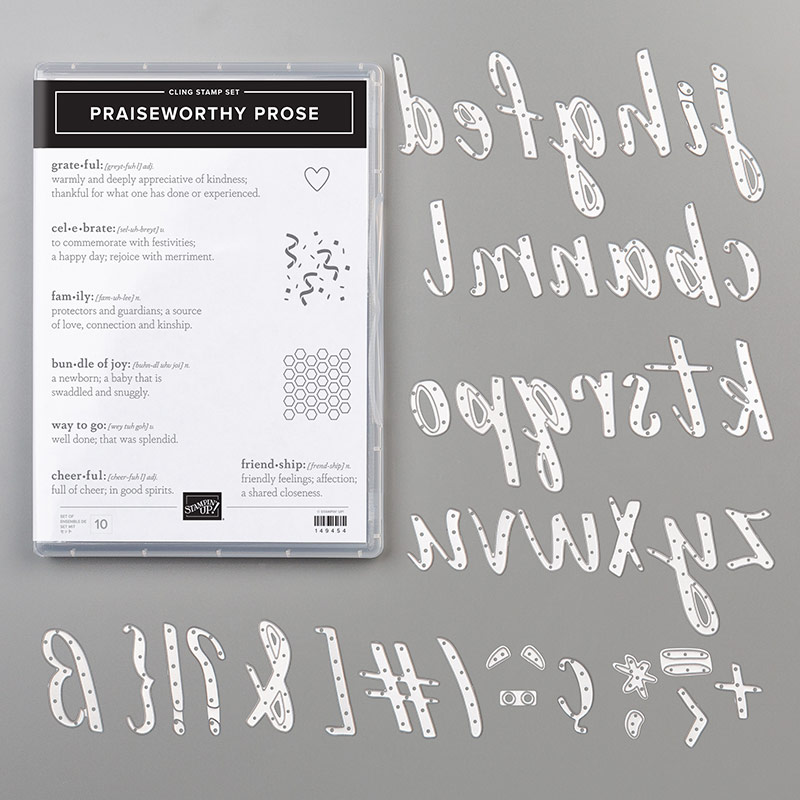
So... introducing Praiseworthy Prose and the co-ordinating Hand Lettered Prose dies

Fabulous Hand Lettered Prose alphabet dies (and a lot more! As there are 43 dies) that I think everyone will LOVE...
Along with the great definition style based  Praiseworthy Prose stamps to co-ordinate... which will probably be a bit "love or hate"... though I will declare I am on the love side with versatility of these!
But there again... when I started my crafting journey... I have to admit that I bought every definition stamp I found going!!

And all packed up into the lovely Praiseworthy Prose bundle with 10% off...
Perfect for the Eclipse Technique that is all the rage... yes still... 
And perfect for layering and producing whatever word you would like to say!!
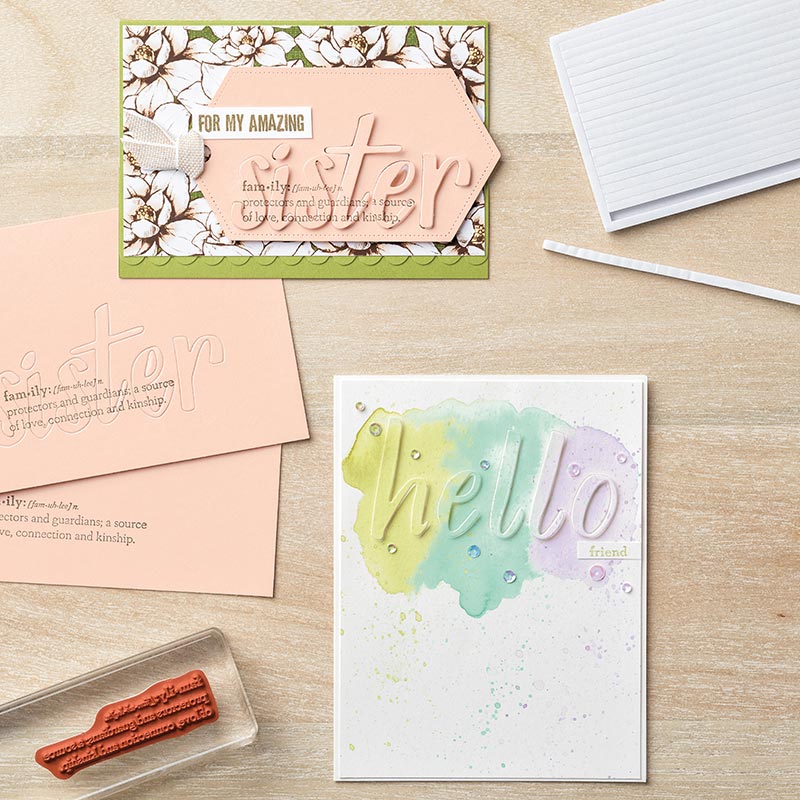
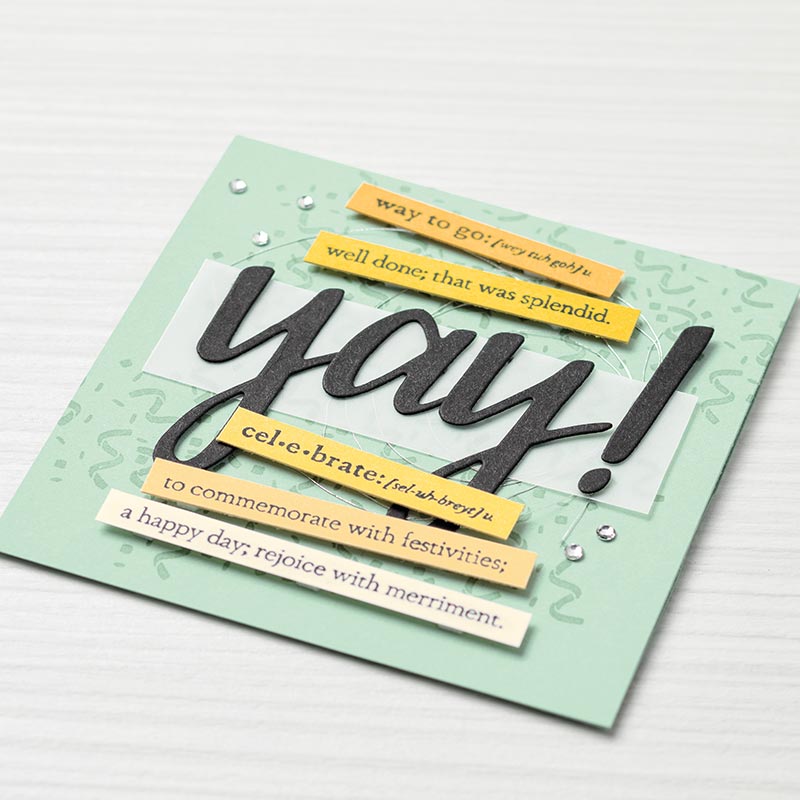
And spot the use of those  Praiseworthy Prose  definitions in the samples above... 

In the first... sister... Check out the definition stamping on the 2 pieces of card... and then the die cutting of one... and yes I think the Stamparatus would make this an easy stamping job! But REALLY hard without...

In the second... yay!... Check out the simple chopping up of each of the lines! 

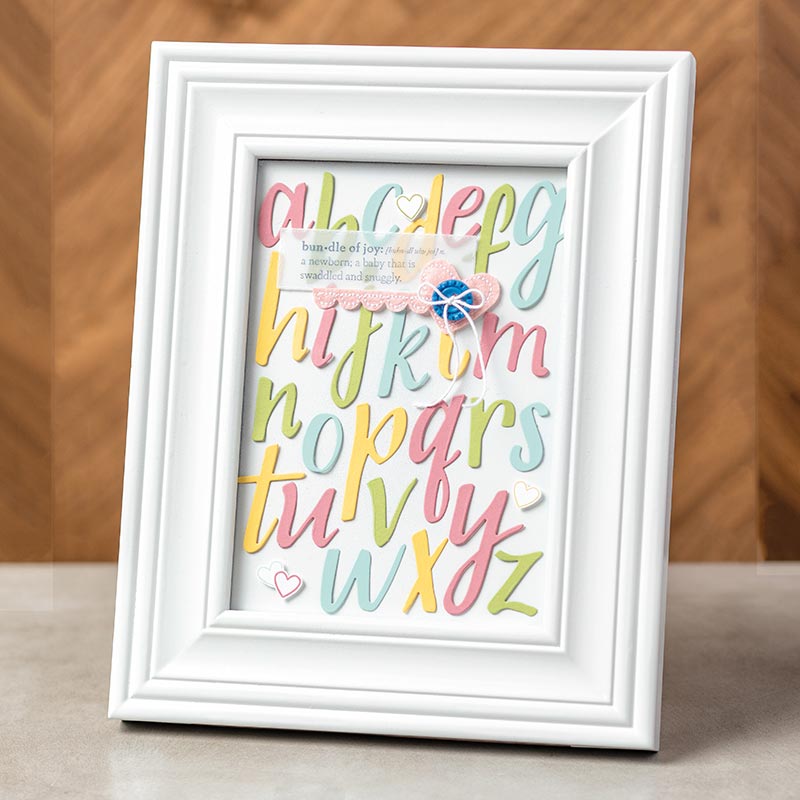
But there's more... use all the letters... in lovely co-ordinating colourways... for a special home decor project (or two!)... Special!
Yup... loving all these... and mine will arrive very soon! Can't wait!

Wednesday, 21 October 2015

Making the large NOEL from your Hearth & Home Window Dies

As requested and promised... a brief series of pictorials for you to show you how I created my large alpha NOEL this year... hope these pictures are worth a 1000 words...

Just one thing to note - I now make bolder letters( see above) and do less cuts than when I first shared my NOEL Double Box Frame Card here.... you could say... practice makes perfect!!

But before I begin - don't forget to check out the new 3 Weekly Deals for this week scrolling off to the right....

Grab your Hearth & Home Framelit dies and some card....
Die cut windows as required - 2 required for N, E and L (with a wreath for the O as above) or 3 required for NOEL...

So to make your N...
 

To make your O...
 
And finally your E and your L
Ignore the fact that I have used Cherry Cobbler and Real Red for my examples here - it just happened that way!!!!

Back to the rest of the alphabet then!!! Really hope these dies carryover as I really love this size of letter for projects!


Friday, 11 September 2015

Double Square Box Frame Card Tutorial for Fancy Fold Friday

So it is Fancy Fold Friday time again... and I have a Double Square Box Frame Card  - with a tutorial - for you...
Showcasing the beginning of my new BIG alphabet - using - the Hearth & Home window die! Told you it wasn't just about windows.... Just a snip here - and a snip there... 
I am so happy to have had this idea - as an alphabet can never be too large.... especially for special projects at this time of year....
My NOEL is dressed care of the Festive Fireplace stamps and Festive Fireside dies... 

Although the wreath on the N is really making me giggle - it just reminds me of those moments when your knicker elastic snaps!!! And if that has never happened to you - you are very lucky!!! Embarrassing but hilarious memories are flooding back over here!
Sorry I digress... back to the card...

I do have a tutorial for you... but I feel like rather a fraud with this one!!

1. Make one of these - metric/centimetres version - or see below for the imperial (inches) version
2. Make another one!
3. Cut a 13 x 2cm (5 1/8" x 3/4") piece of card and score PORTRAIT in half at 1 cm (3/8")
4. Bone Fold this strip
5. Adhere Box Frames to either side of score line (mountain at front/facing you!)

And oops... an apology... I thought I had already re-done this project as an imperial (inches) tutorial as well ...but now I have just realised I hadn't.... so here it is... so sorry for delay.... but hey now... there is a proper tutorial after all!!

Shadow Box Frame Card Tutorial – 5 1/4" Square with 3/8" Box Sides and Top
Start off with a 8 1/4" square of Thick Whisper White cardstock 

Please note that my photos are from the original full A4 sheet tutorial posted here – just imagine all the next photos as squares of cardstock rather than the rectangles shown!!!

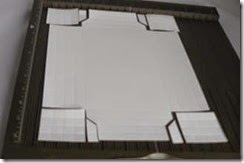
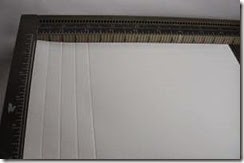
1. Score at 3/8", 3/4", 1 1/8" & 1 1/2" on all 4 sides.clip_image006
clip_image008
2. Make an “extra short score” at 1 7/8" & 6 3/8" from top to 2ndscore-line down. 
clip_image010
3. Turn 180 degrees and repeat (2)
clip_image012
4. Cut up these extra score lines and diagonally across to the 3rd score lineclip_image014
clip_image016
5. Cut out the “16-bit” squares at each cornerclip_image018
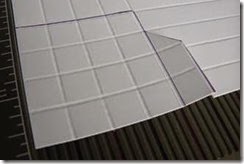
clip_image020

clip_image022
6. Bone fold all score-lines
clip_image024
8. Apply glue to folded side of outer-most sections on all 4 sides ( ** See NOTE below!)
clip_image026
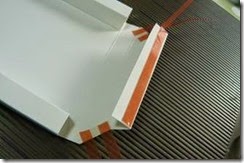
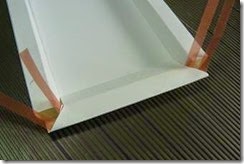
9. Apply Tear & Tape OR Sticky Strip across back of 4 diagonal sections (or add a glue dot)
clip_image028
10. Assemble straight sides first. 
Recommend sticking any paper/photo in first before assembling if you want as an edge to edge back!
Remove part of red protective cover
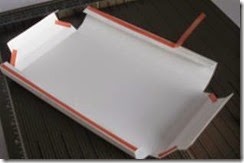
clip_image032
11. Line up outer edge to inner score-line at that end & press down flat to stick. 
clip_image034
12. Line up outer edge to inner score line at other end & pull out rest of red protective cover to stick. Now your box section should pop up … nice and square and straight!!
clip_image036
13. Repeat for other straight edge
clip_image038
14. Now onto the 2 notched ends …. Repeat process for the 2 straight sides BUT…. 
... and this is the MOST important TIP…Remove red protective cover on the 2 small diagonals and cover with some longer lengths of scrap red protective cover
clip_image040
15. Fold the straight edge down as before & glue into place
clip_image042
16. Then push the sides up & over the square/box side sections, get the mitres/diagonals in place & then pull the red protective cover out (concentrating on one side at a time!)
clip_image044
clip_image046
17. Repeat for the other notched side. 

** NOTE - I have to admit that I am still using my Tear & Tape (or Sticky Strip for those of you that have not seen the light…and converted…) on those diagonals  - but I now use my trusty Tombow on the straight sides – applying a bead onto the base of the frame next to the inner scoreline works a treat – no wet glue on my fingers as I roll the section around and over…

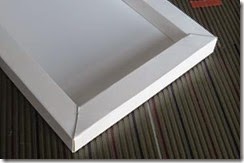
And there you have it…one 3/8" section Shadow Box Frame from an A4 Wide (ie 21cm/8 1/4") Square of card with perfect mitred corners!  Ends up as a 5 1/4" Square Box Frame 

Wednesday, 22 August 2012

Scallop Square #19 Revisited – Name Plate – The How To

2012_07 199_resizeApologies for the delay in posting the details of how to make this name plate that I published earlier - but DH being at home & family holidays scuppered all my blog posting plans!! So now that I have had a well earned rest….. back to it…..


Cut a piece of 12x12 cardstock to 4 3/4” x 12”.

With the panel LANDSCAPE on your Simply Scored board ( ie 12” along the top) – score at 4 1/4” and 7 5/8”.

Fold concertina style.

Line up the folded score lines 1 scallop in from opposite sides of the scallop square die & die cut.

Cut a cardstock mat to 10 3/4” x 4”.

Cut the DSP to 10 1/2” x 3 3/4”.

Decorate as required.

SU! Supplies

  • Dies - Scallop Square; Alphabet Simple Letters
  • Stamps – Just Believe
  • Papers – First Edition Speciality
  • Cardstock – Sahara Sand; Calypso Coral; Basic Black
  • Inks – Basic Black; Sahara Sand
  • Tools – Simply Scored Board

Friday, 3 August 2012

Scallop Square #19 – The Craft Spa Name Plate

2012_07 199_resize Even quicker post to day!!! Just don’t know where today went…..

Here is a very quick name plate project I did. I think I have to redo in my blog colours though so I can put it on as my blog header!!! What do you think?? I am thinking Island Indigo, Pool Party and maybe one other!!

The First Edition papers, the Just Believe stamp set and the Alphabet Simple Letters Bigz dies made this very quick work indeed. Not forgetting my favourite buddy  - the Scallop Square die…. And the best bit of such a quick project…. I absolutely loved it when it was finished….. I can see me making these for lots of people….

I’ll be back to edit this post with the card size, die placement and scoring dimensions tomorrow  – but for now, I really must dash. Supposed to be somewhere else ( so hope they are not checking out my blog at the moment!! If so  - sorry I am on my way – honest!!!)

SU! Supplies

Dies – Scallop Square; Alphabet Simple Letters

Stamps – Just Believe

Card & Paper – First Edition; Sahara Sand; Basic Black; Calypso Coral

Inks – Basic Black