Showing posts with label Banner. Show all posts

Friday, 24 December 2021

Merry Christmas to you all...

It's that time... a few days of well earned time with family and very close friends... as we can this year... though sadly my brother ended up stuck in Boston, USA as he caught Covid at just the wrong time to catch his flight over here... 

I would also like to say rest... but that isn't the case for we "head chefs"... especially when the usual 3 days of Christmas cheer and over-eating turns into 5 (as is the case this year!)

Have a VERY Merry Christmas and I hope you are spending special times with family and friends this season... 

And remember these - these are the Simply Created Banners in a Kit available from Stampin' Up! a few years back... the ones with the alphabet & pattern stencils and the spritzer bottles - though we used sponge brayers and sponges- as the spritzers didn't work for me on this occasion... lots of excess seapage... though I do really rate them generally...

Used along with the Peppermint & Gingerbread papers - simples!

Wednesday, 21 July 2021

What A Year banner...


The Memories & More Card Packs are great for cardmaking and scrapbooking, but there is even more you can do with these double-sided printed cards—like create fabulous home décor! The lovely What A Year Card Pack has been used here to great effect... 

You could even add photos to a banner to display them in a fresh, new way—or as a way to capture memories. One of these would be great for a wedding reception, a baby shower or a special birthday décor?

Tip: If your photo colours clash with the Memories & More colour combo, print them in black and white or sepia and they’ll blend right in!


And... so sorry for the extended radio silence... but WOW... the last 2-3 weeks  - including my first class in 16 months - didn't quite go as planned! 

All is good... but a few things conspired against me at the time... so been busy busy busy as a result... but back now! Just need to catch up with myself properly over the next week... which includes lots of projects to photo!!


Sunday, 21 March 2021

Sunday Suite - Ice Cream Corner

Spring is definitely here in the UK to lighten the mood amongst these lockdown days... so whilst I am thinking ahead... lets go even further... to summer days... and meeting up with friends for... ice cream...

So introducing the brilliant and mouth watering Ice Cream Corner suite... which has a myriad of alternative uses for those of you that like to get creative with your products...

Starting with the whole Ice Cream Corner Suite Collection in just one click...

Comprising the Sweet Ice Cream bundle ( with 10% off the total of the individual items)
Which includes the Sweet Ice Cream stamps...
And the Ice Cream Cone Builder Punch... great for making ice cream embellishments for all your crafty projects... but RU thinking banners, party hats, golf hole flags, hair styles, octopus, teddy bear face, Mickey & Minnie Mouse too like me... as well as "roll up" beads from the triangle for a bit of jewellery making...
Then you have the Ice Cream Corner papers... Click here for the sheet by sheet view...
The Ice Cream Corner Sprinkles...
And last but not least the Blackberry Bliss 3/8" Striped Ribbon...
And a round up of some lovely projects for you...


Bright, cheerful, contemporary and "cool" with something for everyone of all ages...


Monday, 11 February 2019

Apron of Love Banner...


Just realised that I haven't shared this beautiful banner with you.... Fit for many a Stampin Up demonstrators' craft space... 

Created by the lovely Kate in my team... using the Apron of Love stamp set and the Apron Builder dies... as well as the go-to must-have Large Letters dies...

Now whilst I mention the Large Letter dies... just a thought that I have to share!! As now... ie during the Sale A Bration (SAB) promotion... is a really good time to get them!! 
Either for £99 and select another £78 product for free by ordering yourself a SU! demonstrator starter kit (ie £170 product and not a penny more... but no SAB freebies... for £99 including P&P).... click here to order... 

Or order online here for £92... and select 2 free SAB products (or one Level 2 product)... and I will send you a lovely gift and a thank you card too.... But don't forget to enter Stampin Rewards host code TF239XAM .. unless you decide to top up your order to over £150... in which case please claim your own Stampin Rewards instead... I will still send you a gift and a card!

Love the banner Kate... great job... and thanks for letting me share...

Now where is my black SU! apron I ask myself... another job for today!


Amanda's Quick Links
Just click on the relevant pictures below for catalogues and/or more information... 

If you are ordering today... do remember to add the Host Code shown below to earn yourself a gift and help support The Craft Spa at the same time... 

Please note that this host code does expire and change over time... but the current code is always shown at the top right hand side of my blog...

Just click on the relevant pictures below for catalogues and/or more information...


Sunday, 2 April 2017

Basket Bunch Beautiful Banner... Happy Easter ...

LOL... what a tongue twister of a title!!!

I just had to make another banner whilst the Beautiful Banners stamps , Banners Framelits  and Layered Letters - were all still out... Previous banner made with Falling in Love papers shared earlier here...

But then the Basket Bunch stamps and the Basket Builder dies were also still out... 
As were the Cupcakes and Carousels papers... which I then decided are just perfect for the light and bright feel we need for Easter celebrations...

So they all came together like so! 
And a wonderful tip for you... The Gift Bag Punch Board is perfect for punching 2 holes at the same time in the back of your banners to thread the ribbon through... so easy...

This is not my original fantastic idea... but one I saw on our Stampin' Up! Demo Only Facebook Group (yes we have one of those!!! And it is fabulously inspiring... though lethal on the pocket... ) And after much searching... I am delighted to be able to say thank you to the clever and talented Anja Luft who has some piccys on here blog to explain how if you click here... 


Monday, 27 February 2017

Home Sweet Home Beautiful Banner

Here is a Falling in Love  Home Sweet Home banner that has proven to be very popular in my classes this month...

Original idea being a Happy Mother's Day banner ... but quickly becoming one to adorn our own homes!!! LOL...   Followed by craft space decoration... gifts for new baby girls... Congratulations, Happy Birthday and oh... even one for Mother's Day after all!!!!
Want to make your own? I have a Beautiful Banners Kit in the Mail option with full instructions for you... Please contact me here...

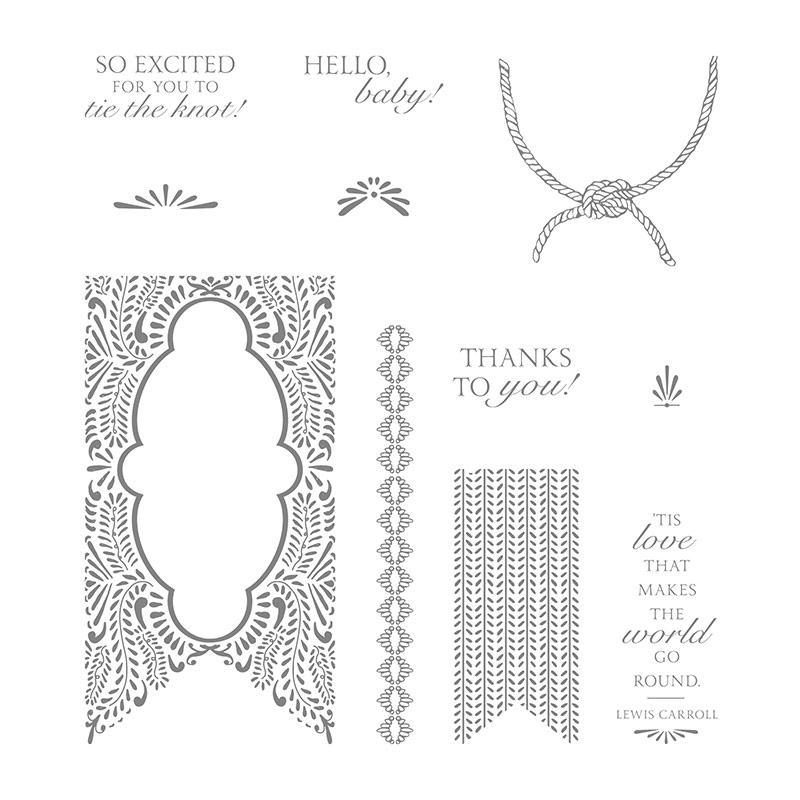
I used the somewhat overlooked gem of a stamp set in the Annual Catalogue...called Beautiful Banners (available in Wood and Clear Mount)
Beautiful Banners Clear-Mount Stamp Set
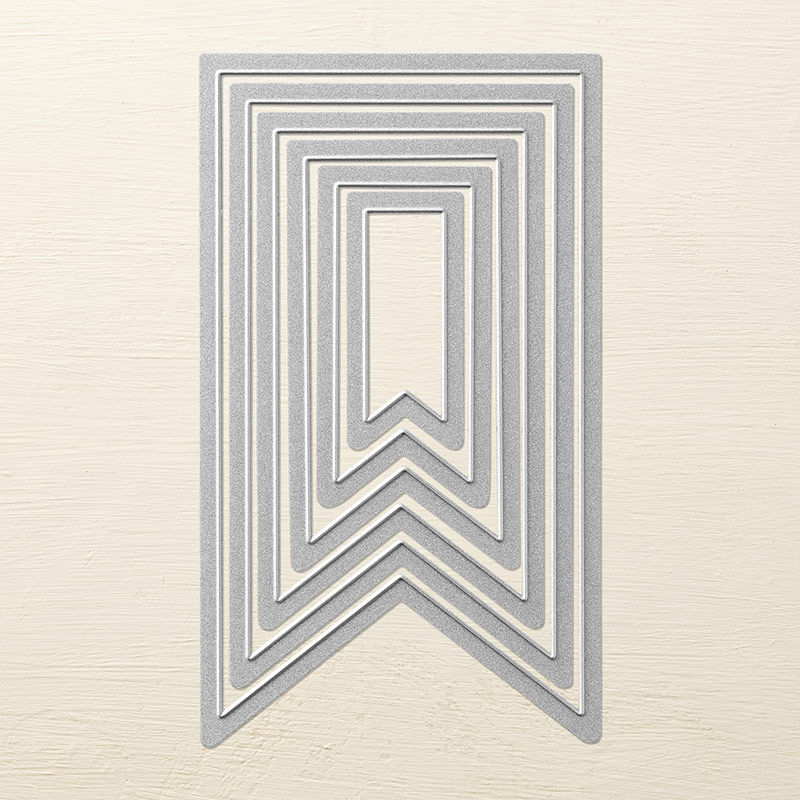
With co-ordinating dies, Banners Framelits...
Banners Framelits Dies
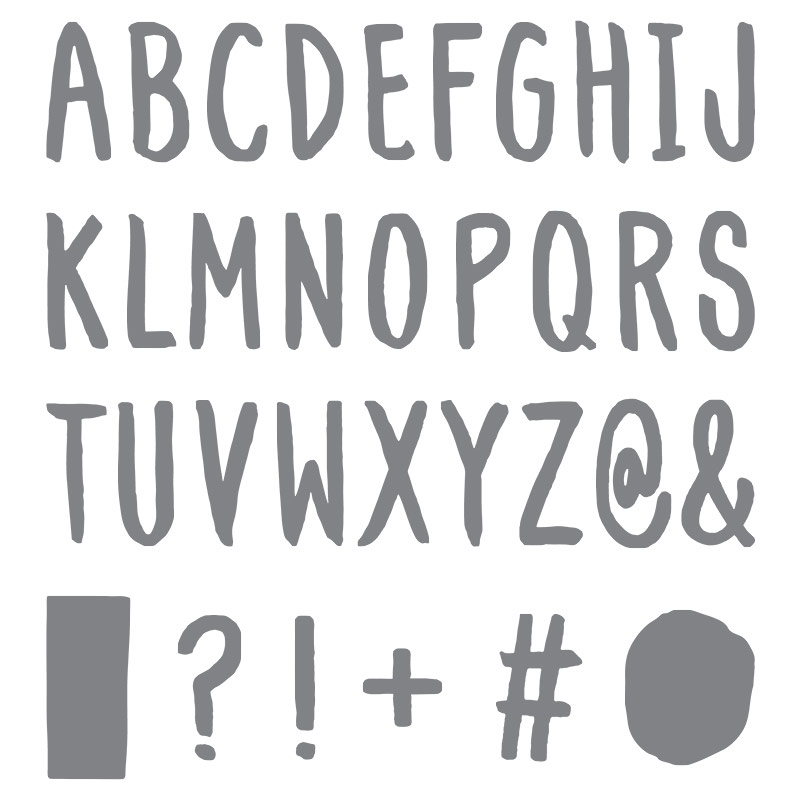
Along with the perfect alphabet to simply make banners for any occasion... Layered Letters
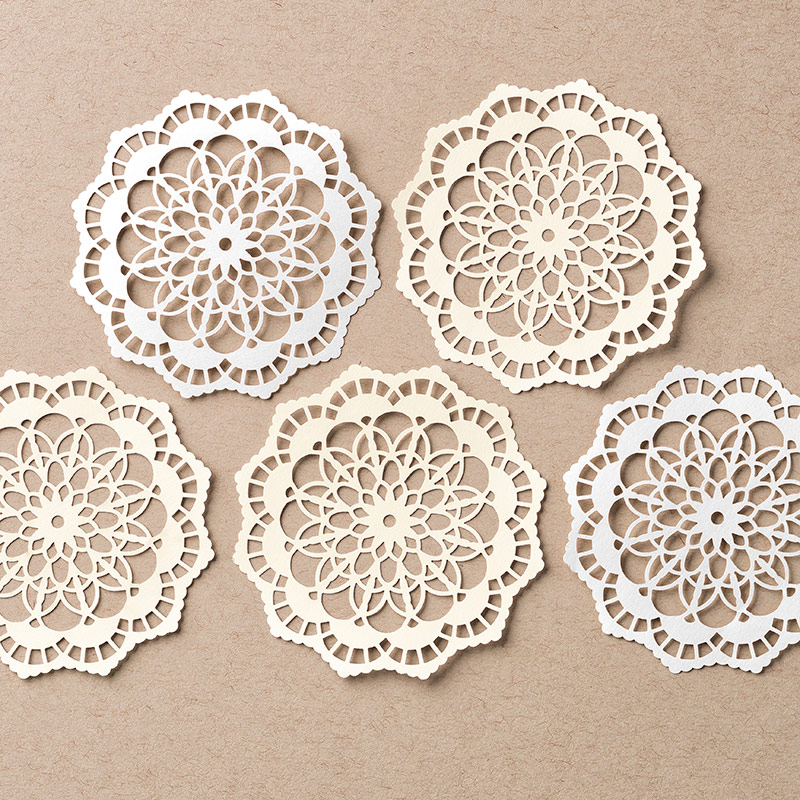
And finished off simply with Lace Doilies, Falling in Love embellishments , 1/4" Very Vanilla Satin Ribbon and a tassle from the Cupcakes & Carousels embellishment pack
 Lace Doilies
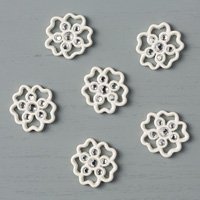
Falling in Love Embellishments
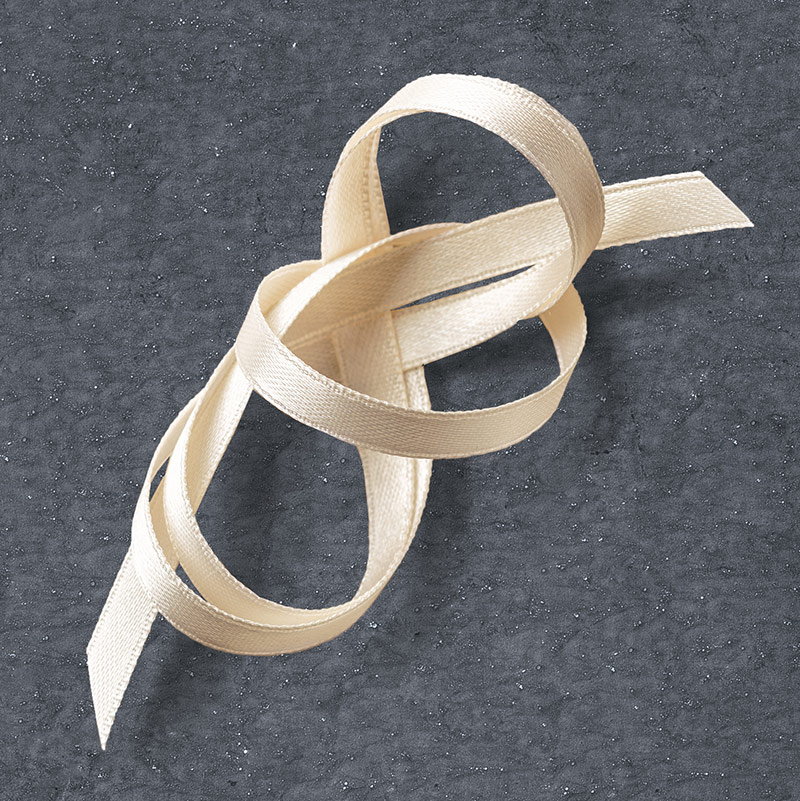
Very Vanilla 1/4" (6.4 mm) Satin Ribbon
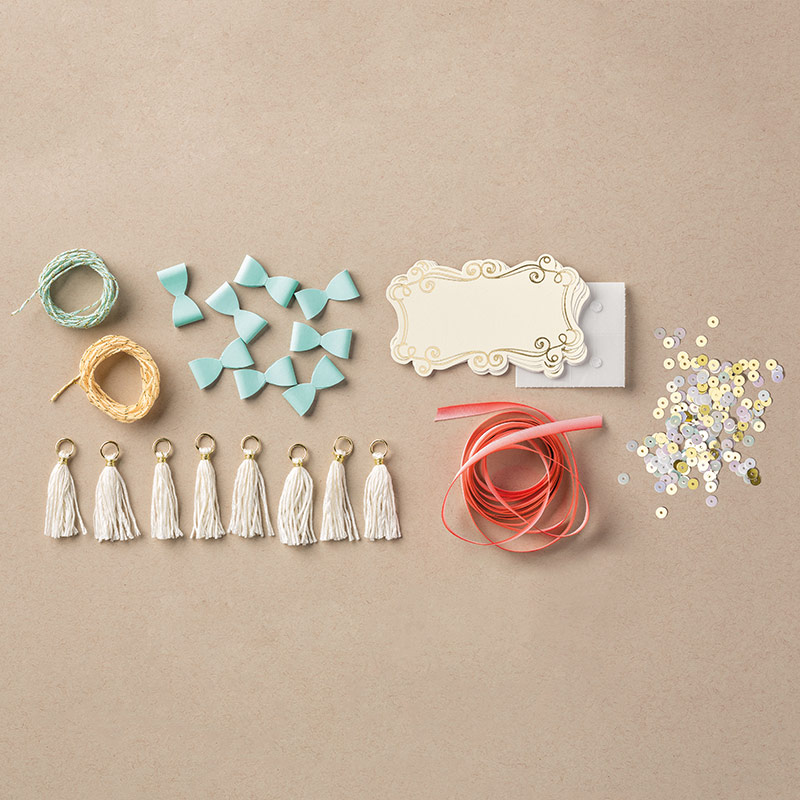
Cupcakes & Carousels Embellishment Kit
Simply sweet! 

Though 2 things I will change when I make another one... and I told everyone to change as they made theirs...
(1) Leave a wider gap between the words when I assemble the banner!
(2) Stamp the letters central in the banner area as intended... I had left room for the half doilies at the top...
PS Yes my supersized clock is over 2 foot in diameter.... so it is a decent sized banner!


Wednesday, 18 January 2017

Any Occasion Stamps for Free Anyone?

Like a banner or two!? 

Then look no further than this very versatile Sale A Bration exclusive photopolymer stamp set... again yours for free with a £45 order... 

Want to see more of this stamp set and how these cute samples were made...  and/or how to "bend" your stamps for even more versatility... 

Then click on the picture below for a video presentation showing its versatility for any occasion...


Tuesday, 22 March 2016

It's My Party Outdoor Bunting

Quick share of another of the All Day Event projects... Some nice subtle Happy Birthday bunting!! Suitable for the men folk as well as the ladies...

Extra special as each pennant is in a sealed/plastic unit - so it can be used outside as well as inside...
Though it hasn't been tested to see how much rain/wind it could actually withstand!!
To make this an outdoor version I used the Polka Dot Cone Cellophane Bags and then one of the It's My Party Washi Tapes (5 options to choose from!) to seal along the top on the front and back...
I made a template for everyone to use to cut the papers as required... you can then get 6 flags per piece of 12 x 12 if you so desire... 

The final decoration was left purposefully simple - alphabet stamping then punching out as 2" circles - and then punching of 2 3/8" scallop circles and stars...
Going to be a lot of these made around here!!! It has proved very popular in the flesh! Though my photos are rubbish... might try moving outside for a test (and re-photo) later on in the week!! And I will be sure to re-position that pesky h flag at the beginning!! It slipped!!

Thursday, 5 March 2015

Painted Blooms Box Frame

Painted Blooms Box Frame Feb 2015 by Amanda Bates at The Craft Spa  (6)

So here is the final project we made last week at my Painted Petals & Blooms class – and this was also a project for my All Day class on Saturday… I was determined to make everyone cut into their gorgeous piece of Painted Blooms papers… you know the one… great to stroke but SO hard to cut!

So I searched various shops and on-line for a nice – but inexpensive - box frame. To no avail…way above my class budget! And then I watched a few moments of crafting TV… saw some envelope boxes…and had a Eureka moment!!

And the Eureka was great for the box section on each side… but the corners left me baffled!! So it was onto the Internet and a bit of research… 2 hours later and I was no better off – there are many box frame tutorials but the corners didn’t do it for me….so it was back to my paper sample… and trial cutting this way, then that, then the other  …. and suddenly it just… worked!!!

So those beautifully mitred corners took me quite a long time to work out …. but this project does not a long time for anyone to make. Once you know the tricks…well the rest is easy! But more on that another day….  I can feel a tutorial coming on if you are interested….

Painted Blooms Box Frame Feb 2015 by Amanda Bates at The Craft Spa  (3)

So back to the project…the box frame is made from one piece of 12x12 paper…the leafy one!

Then the floral picture within is cut from “The Gorgeous Piece” … and I have paper left to make some more great cards…

All finished off with simple Rich Razzleberry stamping of the Feel Goods words to bottom left and Pool Party Perfect Pennants stamping/ Framelit die cutting to the top right. With a sprinkling of Dazzling Diamonds Stampin Glitter glue to finish off. Actually less of a sprinkling… there is loads on there!

And now it is ready to hang on my kitchen or utility room wall… the colours were pre-tested after all!

And how much did I love this Box Frame…. well if I say that I have already made 10 variants… I think you may get the picture!!!

Monday, 10 March 2014

Welcome Mia Ruby – Baby Girl Scallop Tag Topper Concertina Card

Scallop Tag Concertina Card,2014_03_Baby Girl Mia Ruby 017

Here is the Baby Girl card I have been working on over the weekend. Full stretch above…. and closed in a different way as shown below…. (recipe for the box envelope for this version shown at the end of this post)

Tag Concertina Card, Baby, Mia Ruby, Amanda Bates, The Craft Spa , Closed (1)

So two versions for you here… the one that I am sending and one that I had “in the bank”…. My bank card is the BABY GIRL version… but this little one will be a very special one to me and my family …so something more personal was needed…so welcome to the world Mia Ruby….

Tag Topper Concertina Card_Baby Girl_2014_03_09_Amanda Bates_The Craft Spa (4)

And a couple of close up shots….

Scallop Tag Concertina Card,2014_03_Baby Girl Mia Ruby_ MIA (1)Scallop Tag Concertina Card,2014_03_Baby Girl Mia Ruby_ RUBY

Again…thank you to Julie for this gorgeous card format – I guess you can tell it is one of my favourites of all time!!!! So simple to make…yet so effective….

Here is the link to more details and Julie’s video tutorial….

And here are the dimensions  for a box envelope  to put it in……. (made using the Envelope Punch Board)

8 3/4” Square Cardstock.

First score 3 1/4”. Second Score 4 5/8”

SU! Supplies

Stamps – Label Love, Morning Post Alphabet, Cuddles & Kisses, Baby Prints, Banner Blast, Petite Petals

Punches – Scallop Tag Topper , Artisan Label, 1 3/4” Circle, SAB Banner , Petite Petals

Envelope Punch Board

Dies – Circle Framelits

Inks – Crisp Canteloupe, Pistachio Pudding, Sahara Sand, Summer Starfruit, Pool Party

Cardstock – Pistachio Pudding, Whisper White

DSP – SAB Sweet Sorbet

Embellishments -  In Color Stitched Summer Starfruit Ribbon, Pearls