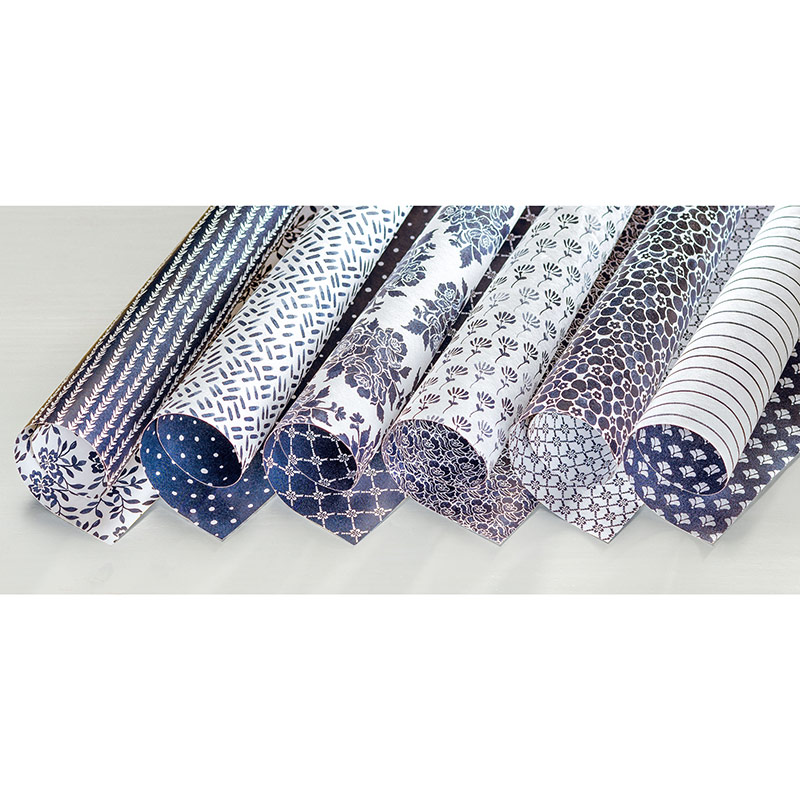
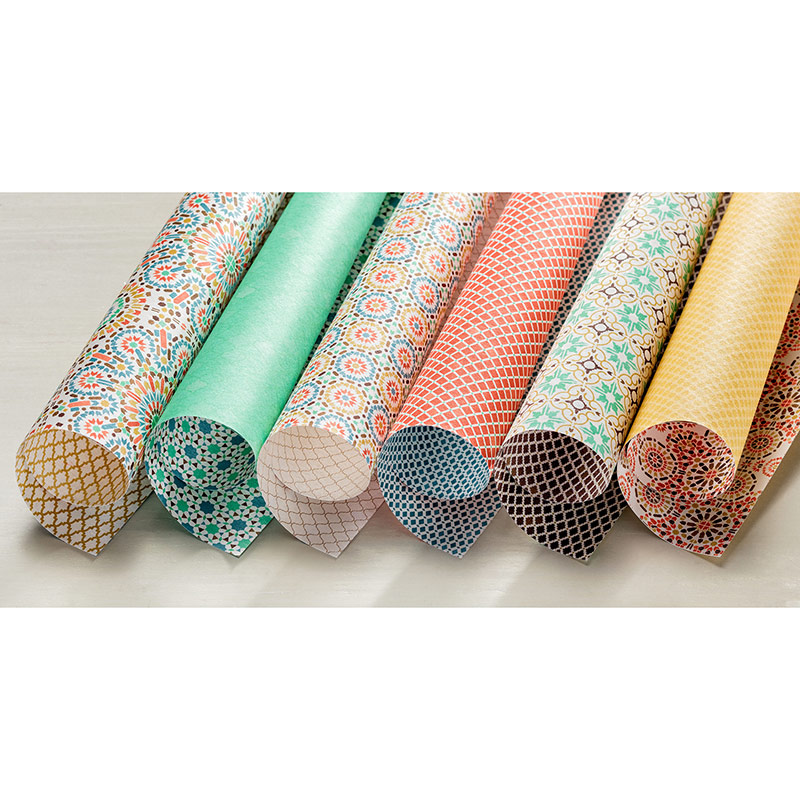
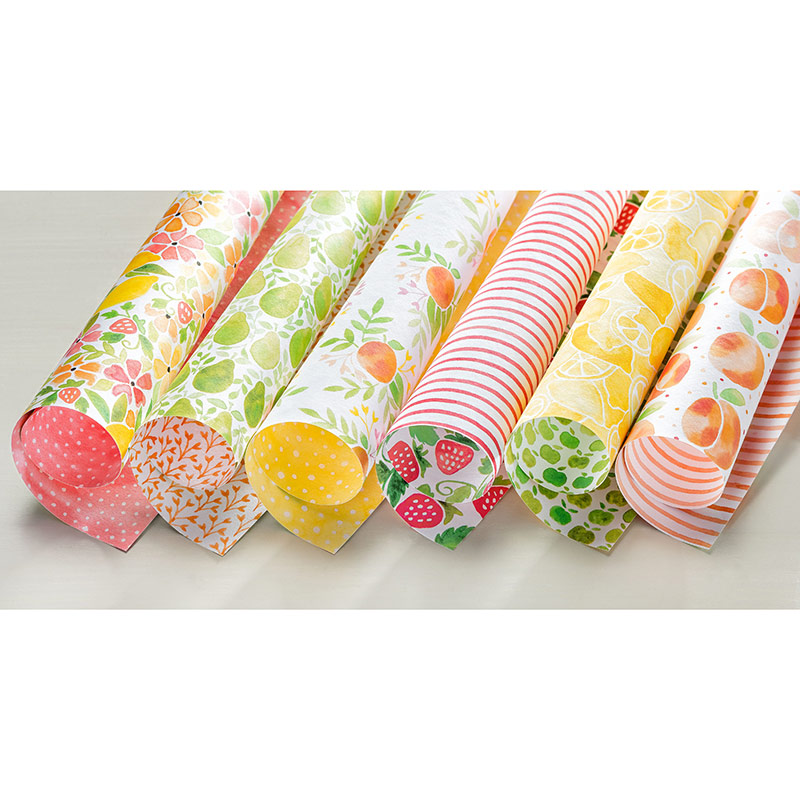
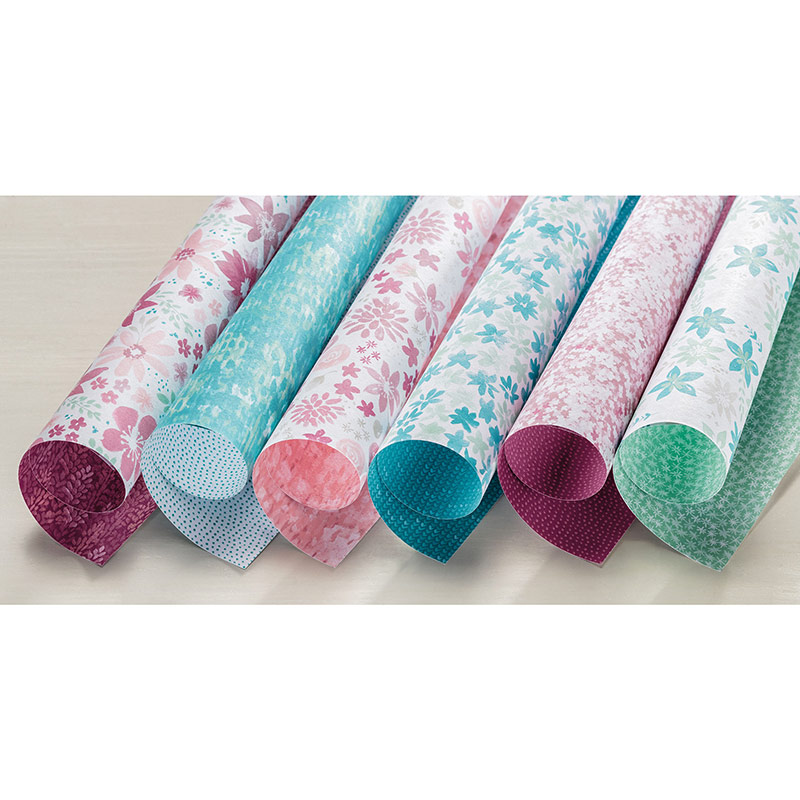
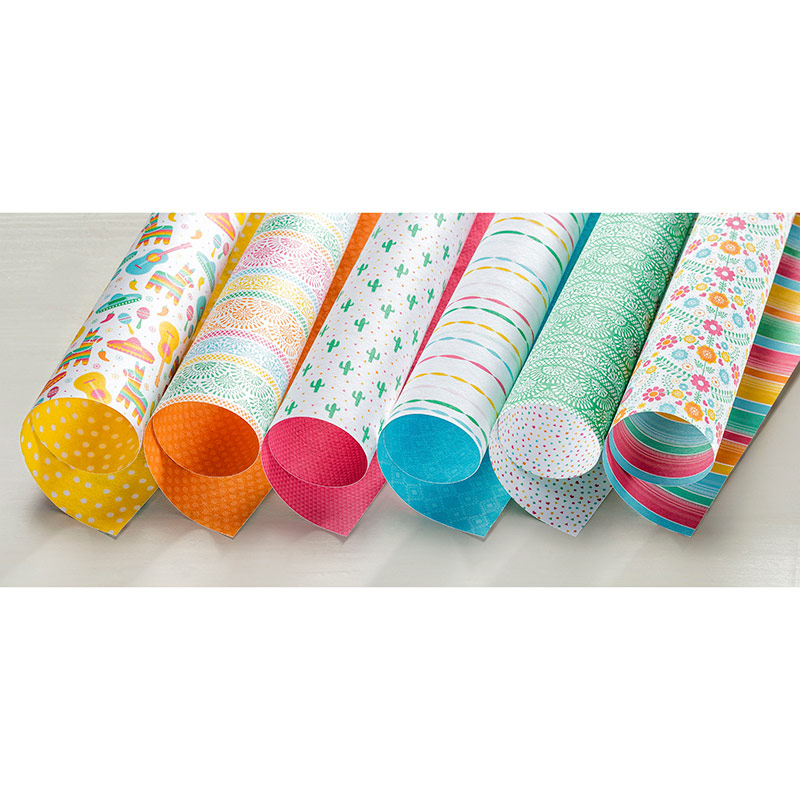
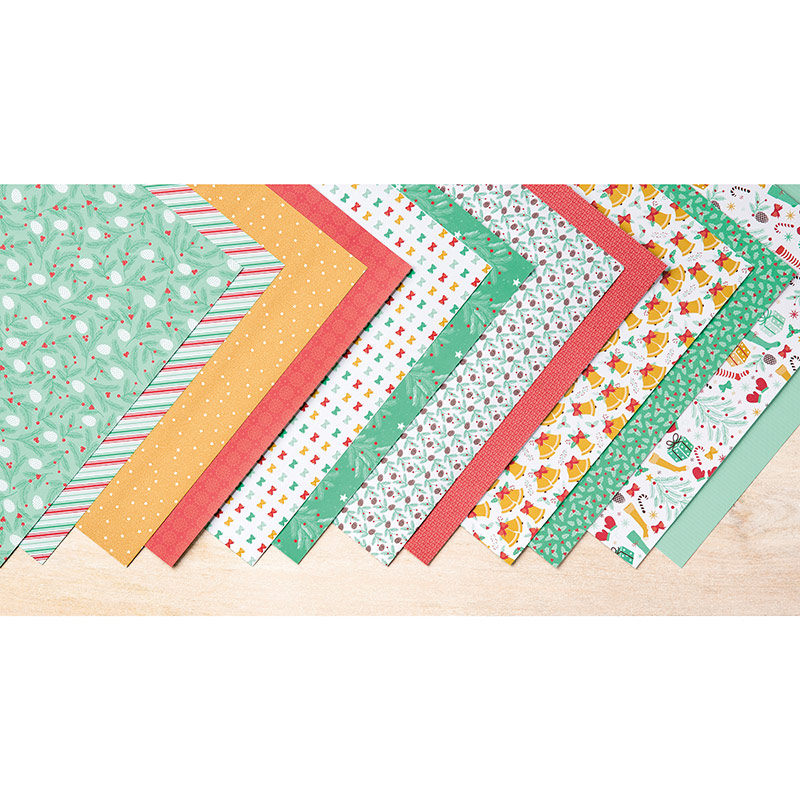
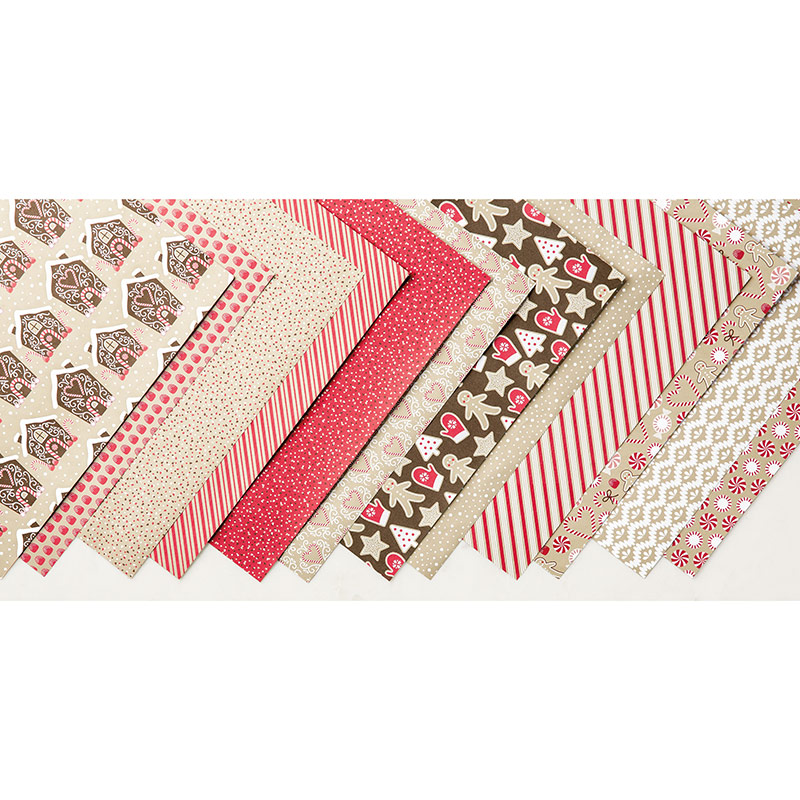
And then for the whole of October... buy 3 of these papers and get a 4th one for FREE...
Our class favourite! Floral Boutique...


Oh wow!! Great deals at 25% off this week… think this is the best overall selection so far!
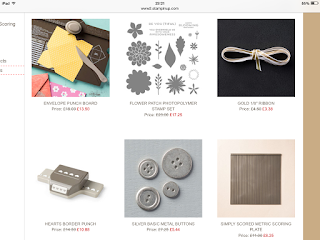
Our favourite tool…. THE ENVELOPE PUNCH BOARD for just £13.46…I know some people that will be SO happy to see that on there…
3 very popular colour A4 cardstock packs (Pistachio Pudding, Crisp Canteloupe and Rich Razzleberry)… 24 pieces of card for just £4.69
The gorgeous Gold soiree papers…that co-ordinate SO well with the Pistachio Pudding & Crisp Canteloupe!! Oh and I have a lovely creative share using these papers…coming soon…
And the Rich Regals Designer Paper Stack and Wisteria Wonder Seam Binding Ribbon
Click on the picture to go straight to the page for full details….
I will next be ordering early Tuesday evening - so these deals will still be live then….
OR for those ordering on-line – remember to quote Hostess Code BHCXUM6C on your order… and a little gift will arrive separately in the post from me for any order over £20 (before P&P)
Here is the Baby Girl card I have been working on over the weekend. Full stretch above…. and closed in a different way as shown below…. (recipe for the box envelope for this version shown at the end of this post)
So two versions for you here… the one that I am sending and one that I had “in the bank”…. My bank card is the BABY GIRL version… but this little one will be a very special one to me and my family …so something more personal was needed…so welcome to the world Mia Ruby….
And a couple of close up shots….
Again…thank you to Julie for this gorgeous card format – I guess you can tell it is one of my favourites of all time!!!! So simple to make…yet so effective….
Here is the link to more details and Julie’s video tutorial….
And here are the dimensions for a box envelope to put it in……. (made using the Envelope Punch Board)
8 3/4” Square Cardstock.
First score 3 1/4”. Second Score 4 5/8”
SU! Supplies
Stamps – Label Love, Morning Post Alphabet, Cuddles & Kisses, Baby Prints, Banner Blast, Petite Petals
Punches – Scallop Tag Topper , Artisan Label, 1 3/4” Circle, SAB Banner , Petite Petals
Envelope Punch Board
Dies – Circle Framelits
Inks – Crisp Canteloupe, Pistachio Pudding, Sahara Sand, Summer Starfruit, Pool Party
Cardstock – Pistachio Pudding, Whisper White
DSP – SAB Sweet Sorbet
Embellishments - In Color Stitched Summer Starfruit Ribbon, Pearls
And these were the last projects we did with our Envelope Punch Board this month – though I took a bit of a risk here….. I had 2 ladies make 16/18 Christmas crackers in our last session before Christmas – so I thought they may not be happy with me at this point!!!! But I left the room unscathed….. it was OK……
I will admit that this was the first project I made with my Board when it arrived – it was noticeable during our demo pre-order month that we all went cracker mad with it – but it is just SO GOOD for making lovely little crackers…… or bon-bons as they are called elsewhere in Europe….
I used this brilliant step by step picture tutorial of Sara Rayners – as you get 4 crackers from a piece of 12x12 paper… which seems to make sense to me!! Thank you Sara…. The only thing I changed was Steps 3-5 as I added a quick short cut!! I lined up & punched each section at the 1 1/2” score –mark…. and then moved the paper across to the left and lined up at 4 1/2” & punched. Then I unfolded and refolded and repeated for the next section…. then I didn ‘t need the separate Step 5…..
The shaped ends were also made using the punch board…it was a bit of a Eureka moment for me at the time…though I am sure that it will have been done before…. I just made up the cracker…. put the ends up into the punch… the 2 paper thicknesses at a time… lined up the section in the centre of the punch and punched… then repeated for the other side… and then the other end. Hope that makes sense!! If not – please feel free to comment below and I will make another, photo those steps – and add to the post another day…..
And a few other views/alternatives….. Again the decoration was kept as simple as simple can be…. all about learning how to use the Punch Board in this class……
SU! Products Used
Envelope Punch Board!
Stamps – Label Love
Punches – SAB Banner Punch; Artisan Label
Thread – SAB Sweet Sorbet Accessories Pack – Pool Party or Crisp Canteloupe
Paper – Sweet Sorbet
So here is a straightforward C6 envelope and a card to go in it!!
One of my ladies bought the Oval Framelits last month so I needed to use them to show her another simple way to use them…. so I wanted to do a simple oval aperture card. So it was time for another CASE of another card of Julie’s that WOWed me when I saw it back in January…. I just changed some of the colours to suit the Sweet Sorbet papers. So simple – but so effective. Add I wish I had taken some photos of the alternatives made this week…. the card looks great on its side too – and the wording from Simply Fabulous and Perfectly Penned looks great on their too…..
And the new Texture Boutique machine was out in force again – the depth really is great with my extra shim….
SU! Products used
Stamps – Petite Petals; Perfect Pennants
Punches & Dies – Petite Petals; Framelits – Ovals
Embossing Folder – Beautifully Baroque
Embellishments – Pool Party Seam Binding; Gems
Cardstock – Naturals White
Inks – Summer Starfruit; Pool Party; Crisp Canteloupe; Pistachio Pudding; Coastal Cabana
Here is another project we did using the Envelope Punch Board… a simple 6” envelope card with a belly band closure. I must thank Nic (aided and abetted by Sharon & Sam…) for their stunning samples at Nic’s Team Training inspiration station which inspired to try one of these cards… and I am so glad I did….
I kept everything really really simple on purpose …just the beautiful Simply Fabulous words and gorgeous punched Flower Shop flowers – including a paper pierced flower to throw in a new technique for most of my ladies! Oh and another Scallop Square – you still can’t keep them out of The Craft Spa!!!!
This class was really about showing everyone what to do with their board step by step – so more projects – less faffing!!!! But everyone still took home 7 finished projects… and their own Punch Board….and everyone loved doing everything with their Punch Board… step-by-step… and all at the same time… though we still can’t work out how that meant we did even more chatting than usual!!! Must be something to do with less memory power being required at the time!!!! And they all got a crib sheet too…..
But I cannot believe I took so long to buy the Simple Fabulous stamp set… as it is really is… Simply Fabulous…& Gorgeous… and i do use the expression A Million and One … a lot…by all accounts!!!!
And a few more photos for you ….
Back tomorrow with more of our Envelope Punch Board projects.
And then I will get to publish the details for the Scalloped Tag Topper Box Card I shared earlier in the week….. I know a lot of you are waiting for that….. I am in awe over the number of messages ands blog hits with that one!! Thank YOU so much. It has already hit my Top 10 blog posts ever…. WOW…. Amaze-Balls!!!
SU! Products Used
Stamps – Simply Fabulous; Flower Shop
Punches & Dies– Pansy & Square Framelits
Papers & Card – SAB Sweet Sorbet; Sahara Sand; Summer Starfruit; Pool Party
Inks - Sahara Sand; Summer Starfruit; Pool Party; Staz On Black
During February – my classes have focused on the Envelope Punch Board tool. Not only is it useful for making envelopes - and box envelopes - as you would expect… but it is incredibly versatile and can also be used for cards, boxes, bows, crackers, bags , mini albums, file folders etc etc etc.
Visit my Pinterest Envelope Punch Board board here to see many ideas and tutorials using this fabulous tool….
It really is an awesome bit of kit for just £17.95…
So my posts for the next few days will feature projects we made to demonstrate the versatility of the tool – whilst ensuring that everyone went home with their Envelope Punch Board and the knowledge on how to use it!
The first project is a simple box envelope for sending a card with dimension… well until I decided to add a bow made using the Envelope Punch Board too!!! So this one will have to be hand delivered after all…
I used this tutorial by Chris Slogar for the box envelope tutorial. Thank you Chris! Now as I know I have a few readers that will find the measurements useful for this particular card…. the dimensions of this card are 3” x 4” x 3/4” deep – so my paper size is 7” Square. The first score is at 2 5/8” and the second is at 3 5/8”.
I used this tutorial by Nadine Hoessrich for the bow. I did add a few shortcuts by leaving the paper pieces folded in half… which just meant that I cut through 2 ends etc at a time….
And the card itself….. this one is thanks to my uber-talented SU! mummy Julie Kettlewell. Think it is one of my favourite team training projects ever Julie!! So - here are more details of the original from Julie - I just added an extra greeting and a few flowers so here are a few more photos of mine….. a truly stunning concertina card using the absolutely wonderful Scallop Tag Topper Punch…. ( my favourite product!!!) and the Banner Punch which is my favourite SAB freebie item….. I have already made a few more of these concertina cards but those will be for another day…..
And here are more details on the Envelope Punch Board from the Stampin’ Up! web site.
133774 Envelope Punch Board £17.95 Check out the video here
It creates totally customisable envelopes in up to 66 different sizes (not to mention a million different colour and pattern options depending on the paper you want to use). Even tried and true envelope sizes will only take you moments to cr
SU! Supplies used
Stamps – Label Love; Petite Petals; Morning Post Alphabet; Yippee Skippee; SAB See Ya Later
Punches – Scallop Tag Topper; SAB Banner; Circle Punch 1 ¾”; Artisan Label; Petite Petals
Dies – Circle Framelits 1 7/8” Circle
Papers- SAB Sweet Sorbet
Cardstock – Pool Party; Crisp Canteloupe
Inks – Crisp Canteloupe; Summer Starfruit; Pool Party; Staz On Black