
Following on from my tutorial for the Small Easter Basket yesterday. Here are the details for the large Basket I first posted here.
 Photo of the previous one!
Some of you asked me for a tutorial so here it is!
But as some of you will notice - I have now made a new & stepped up version. I love it when a basket looks like it has been woven !! And the SU! square lattice embossing folder is just so good to add that texture… So I faux stitched, embossed & stuck a few extra panels on! And now it really does look like a basket! And it is pretty strong too….
Cardstock Sizes
Crumb Cake – Basket 8"x10"; Scallop Flaps 4"x4 1/4"(x2) and Handle 11"x 1".
Plus for this version….some more Crumb Cake panels for embossing with the Square Lattice die to give you the basket weave….Side Weave panels 2” x 3” (x6); 1” x 3” (x8); Base Weave panel 1” x 10 1/4”
So here is how to make the Large Basket….. (note photos of the make-up of the basket are of the small basket as the process is the same!)
1. With large panel PORTRAIT on trimmer... Score at 3" & 5".
2. Bone Fold
3. With panel LANDSCAPE on trimmer... cut the top & bottom sections using the Cut Bar … at 2", 3", 4", 6", 7" & 8" along the Top Ruler Bar
4. Score 2 smaller panels LANDSCAPE at 1 3/4” ( ie with 4 1/4” along the Top Ruler Bar)
5. Scallop Tag Topper “over the top” punch the narrower sections to form the 2 flaps .
6. Corner Round bottom corners of sides.
7. Faux stitch the 2 Scalloped Flaps & 14 Side Weave panels using a white Signo gel pen . Tip – focus on just doing 3 faux stitches at a time – lot neater – and faster too!
 Note - just panels for one side in the photo. You need double!
8. Faux stitch the Base Weave panel and handle too ( oops forgot to put those in my camera shot!!)
9. Emboss the Side & Base Weave panels, the handle & the Scallop flaps with the Square Lattice embossing folder
10. Adhere the Side Weave panels to the basket panels
11. Pull the LH & RH sections upwards & towards each other to form the top of the basket
")
12. Adhere on about 1cm of overlap
13. Pull up next LH & RH sections & line up so that bottom corners meet & adhere
")
14. Pull up next LH & RH sections & line up top corners on top edge of basket & adhere
")
15. Fold up central section & adhere
")
16. Trim off top edge of basket
")
17. Adhere scalloped flaps onto sides
")
18. Adhere the Base Weave panel around the bottom of the basket
19. Adhere handle to inside ( I actually added another piece of Crumb Cake cardstock behind the embossed handle just to make it more robust)

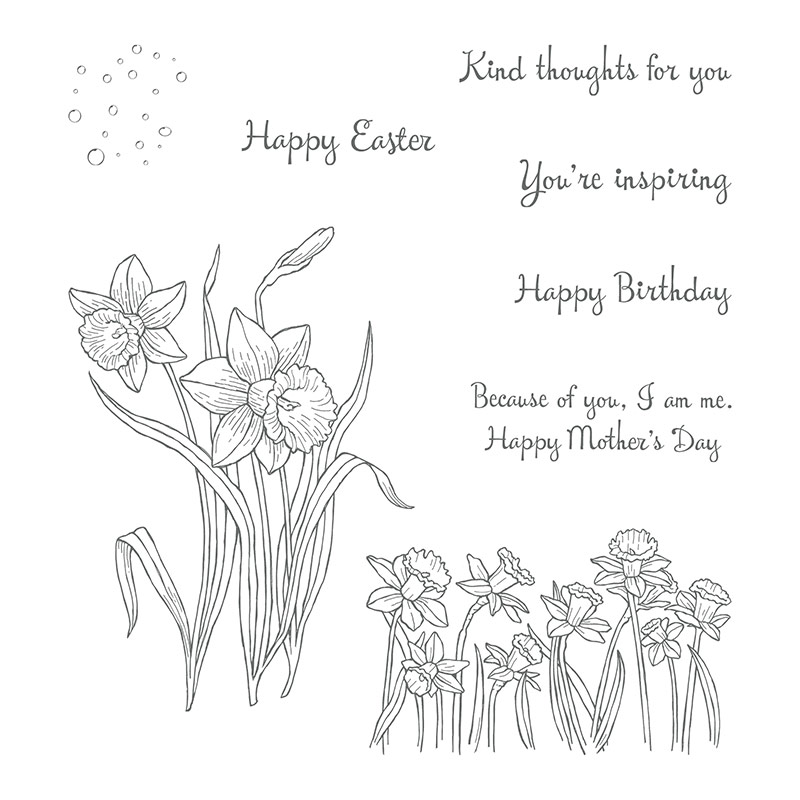
20. Ink up & stamp flowers with black Staz on ink & colour in with marker pens. ( Yes different colour choice for me – but it does match with what I am putting inside!!)
21. Fussy cut flowers.
And no… I am not the neatest fussy cutter in the world… I just cheated a bit…. I added some Crumb Cake ink around the white edges of the flowers & leaves – so you can’t see any white parts!! You may be able to see that in this photo…. does the trick nicely… you don’t need to worry about being quite as precise in your cutting!!! Why have I never thought of doing that before!!

22.Fill your large basket with chocolate and/or stuff!!! It ends up about 5 1/2” wide, 2” deep and 3” high so it does hold a fair amount…
And here is a quick picture of the Small & the Large……

SU! Products Used for Easter Basket
Stamps – So Very Grateful
Punches- Scalloped Tag Topper, Corner Rounder
Embossing Folder – Square Lattice
Cardstock – Crumb Cake
Inks – Staz On Black
Markers – Signo White gel pen, Daffodil Delight, Crisp Canteloupe, Calypso Coral Strawberry Slush, Wild Wasabi, Garden Green
SU! Products Used for Mothers Day Basket
Stamps – Label Love
Punches- Scalloped Tag Topper, Artisan Label, Corner Rounder
Dies – Spiral Flower
Cardstock – Crumb Cake, Pool Party, Pistachio Pudding, Crisp Canteloupe
Inks – Pool Party, Signo White Gel Pen


")
")
")
")
")
")


