Showing posts with label Flourishing Phrases. Show all posts

Saturday, 9 November 2019

A trio of thoughts from friends #1

Sharing some beautiful cards I received earlier in the year... from fellow friends, team members, customers and demonstrators...  In no particular order... and again thank you all for your thoughts at that time....

Uma Kathirgamanathan's gorgeous Pop Up Front Step Panel Card.... featuring Garden Lane papers and Rooted in Nature stamps... Tutorial for this card here...
Sarah Lavelle's beautiful A6 card featuring Pretty Label punched Label Me Pretty & Flourishing Phrases greeting... with Floral Essence flowers...
 And Caroline Merrick's super Botanical Blooms (retired) A6 card...
PS All is perfectly OK post-op... but I have to "take it easy" and not lift, bend or stretch etc "much" for another week or so... so "grabbing" my crafting supplies is a temptation I need to avoid... so I am taking the opportunity to share some lovely creations made by friends... Normal Service will resume soon... 

PPS At Home classes will continue as planned... I was ready for this month's classes pre-op so nothing to stop those... 


Sunday, 4 August 2019

Keeping it Simple for Sunday...

Another one of the simple cards in my Noble Peacock foiled papers series... featuring the new Pretty Peacock colour...

And an admittance... I am absolutely fine... but family life has just got "tough"... so I will be keeping my posts short and sweet for a while... that way I can still keep sharing creatively with you... as I have lots of projects made... so it seems a shame not to share them...
Normal service ... with lots of blurb and numbers.. will return as soon as possible...

Thank you for your patience... and continued support of this little ol bloggio...  I really need it at the moment! As it is kinda my Happy Place!
And here are the 2 super CAS cards together (the other one being shared yesterday!)

Saturday, 3 August 2019

Super Simple Saturday Noble Peacock card....

This one definitely created a few oohs when seen in the flesh... Love it when something this simple does that...

Just a 7.1cm (c.2 3/4") square of the stunning Old Olive Foiled Noble Peacock papers... with a  3" (7.6cm) square of the co-ordinating Old Olive Foil Papers ... and a 3 x 7.6cm Whisper White "banner" (1 1/8" x 3"). Set on a Small Square Thick Whisper White Square Card (ie 10.5cm or US 4 1/4")
Embellished with a couple of fussy cut Butterfly Wishes flowers in Bermuda Bay and Granny Apple Green to make everything pop!
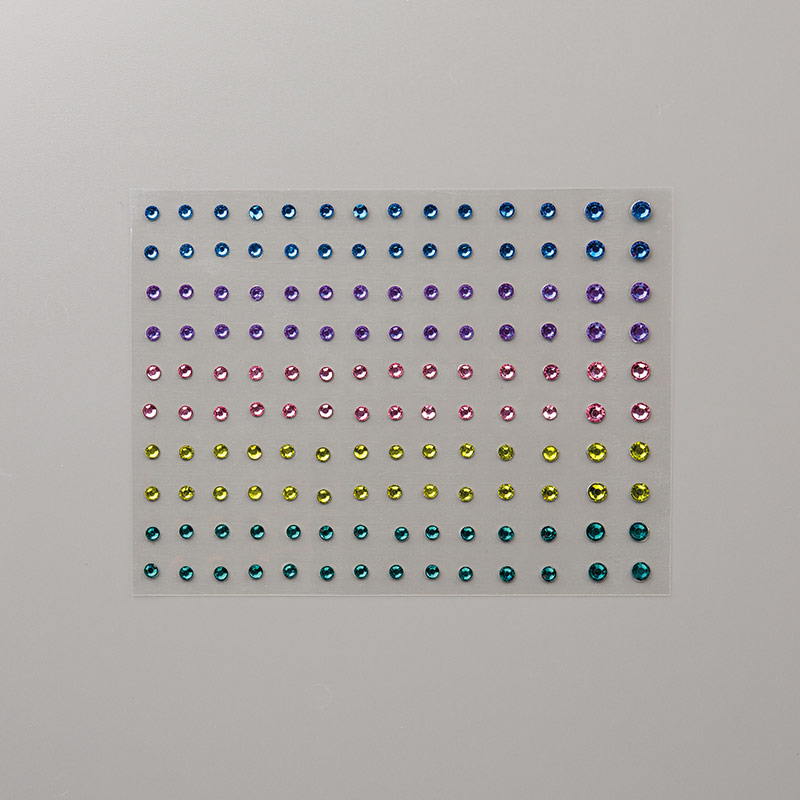
The flowers being finished off with the new Noble Peacock Rhinestones... which are so colourful and pretty!
Suitable for anyone... and for any occasion...

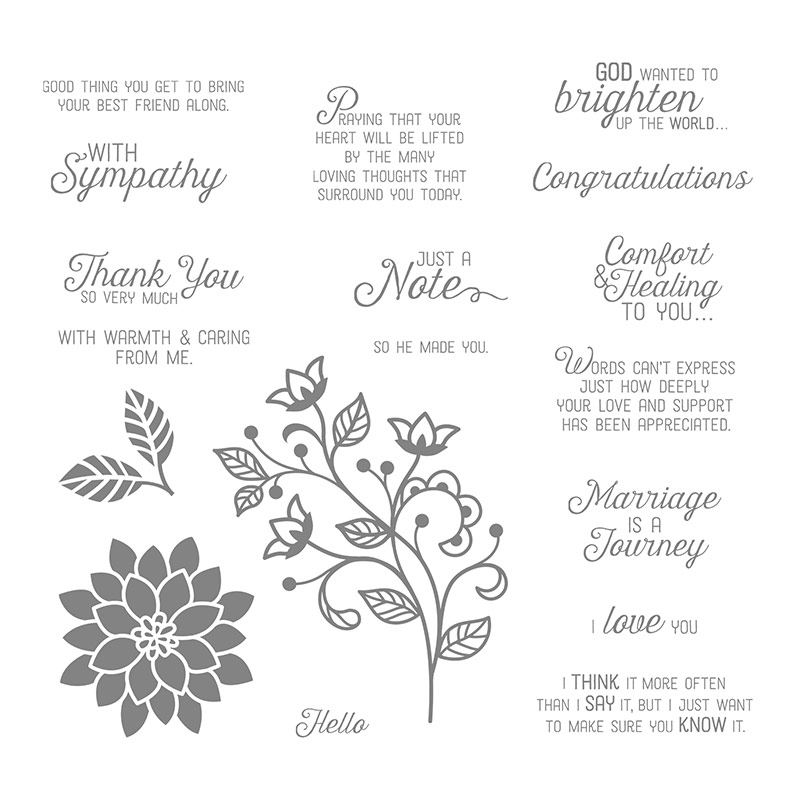
This greeting being from Flourishing Phrases... just for a change!

Monday, 22 July 2019

More on Monday - Rounding up the Daisy Lane series...

Bringing this series to a close... as I have realised that I have a lot more projects to share with you ...  So for today... a couple more clean & simple Daisy Lane makes with some more creative tips for you....

Firstly the only Large Daisy in this series... onto a standard A6 card (US A2)
Stamp a Gray Granite daisy on white and punch out...
Stamp and punch a Daffodil Delight 1/2" Centre (as detailed in this post)
Punch an aperture in the top white panel
Adhere onto Gray Granite mat
Adhere onto A6 (Tent) card blank
3D foam adhere daisy centre
Greeting from Flourishing Phrases in Gray Granite
And secondly... a simple small square (10.5cm or US 4 1/4") card... again with the Medium Daisy size...
Stamp 2 Gray Granite Medium daisies on white and punch out...
Note that I stamped and punched one of my daisies out of the centre of my white panel just to save some card.. though it is not actually necessary to do it this way! I wouldn't set it out this way for a class... or for bulk making... Although it does actually add some extra definition when used to stick my daisy on... so is a good idea if you would like to save some card!

Stamp and punch a Daffodil Delight 3/8" Centre (as detailed in this post)
Adhere daisies onto white panel
Adhere onto Gray Granite mat. Note that the top daisy is 3D foam adhered for extra depth... though flat adhere if cheaper postage is important to you! As it is more important to 3D foam adhere the centre...
3D foam adhere daisy centre
Adhere onto small square card blank

Greeting from Itty Bitty Greetings in Gray Granite...
Note that I only partially inked the "many thanks" greeting as I wanted an even simpler  - and shorter - look! Use a marker pen on the word you do want (or cover the word you don't want with a sticky note, ink up with pad, remove sticky note... and stamp)

And here you have the Group Shot! Scroll back for the last week or so for all the details on each  project separately...


Amanda's Quick Links
Just click on the relevant pictures below for On Line Store, Catalogues and/or more information... 
If you are ordering today... please add the Host Code shown below to earn yourself a gift... For orders over £150 you should claim your own Stampin Host Rewards... you will still get a separate gift from me... 


Current Catalogues & Extra Products


Monday, 15 July 2019

More on Monday - Dandelion Wishes Part 3

Just popping in with another card of my Stitched Nested Label frames options series started last week....

This time I just wanted to have a mat and a frame the same colour as my main image... and I definitely wanted my Dandelion Wishes to be white!
So I started off by white embossing the dandelions onto a Gray Granite card panel... then applying Gray Granite ink to the flower centres using a Sponge Dauber... so as to create a soft "shadow" effect...

And then die-cutting a Stitched Nested Labels aperture/panel ... and then trimming the central panel around the edge as described for the Purple Posy card in this post here...
Outer aperture panel adhered flat to white panel... inner label panel 3D foamed to centre... and white mat stuck to Gray Granite card blank...

Finishing off with a Memento Black stamped Flourishing Phrases greeting... a (now retired) Basic Black Bakers Twine bow... and 3 sizes of Rhinestones...


Amanda's Quick Links
Just click on the relevant pictures below for On Line Store, Catalogues and/or more information... 
If you are ordering today... please add the Host Code shown below to earn yourself a gift... For orders over £150 you should claim your own Stampin Host Rewards... you will still get a separate gift from me... 

Current Catalogues & Extra Products


Monday, 8 April 2019

More on Monday... Bitty Blooms & Flourishing Phrases Thank Yous...

So before I put the Flourishing Phrases away... I made up a few Thank You cards to send out to my lovely customers that ordered in March...
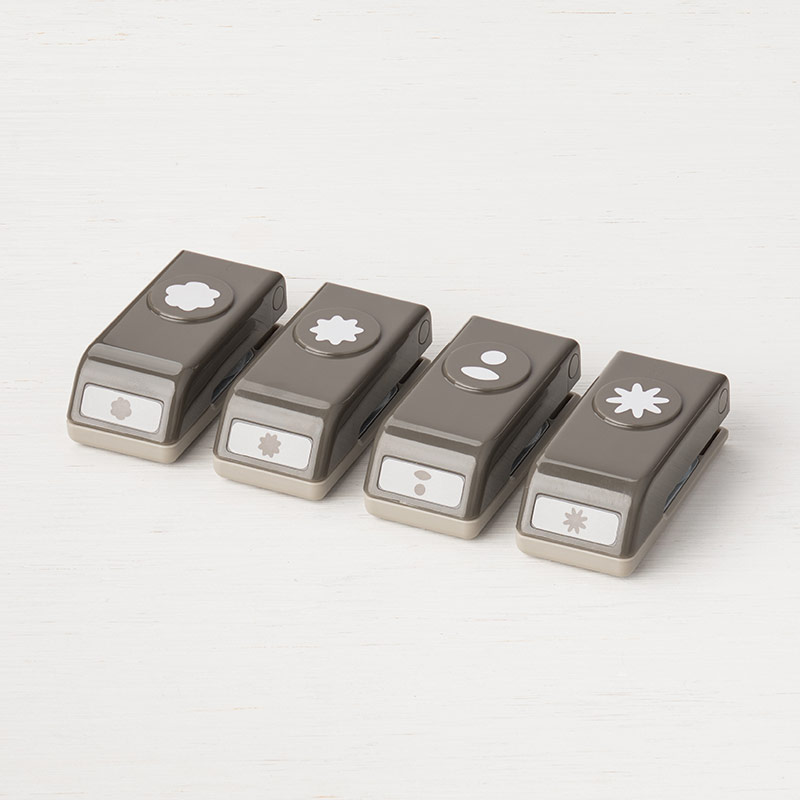
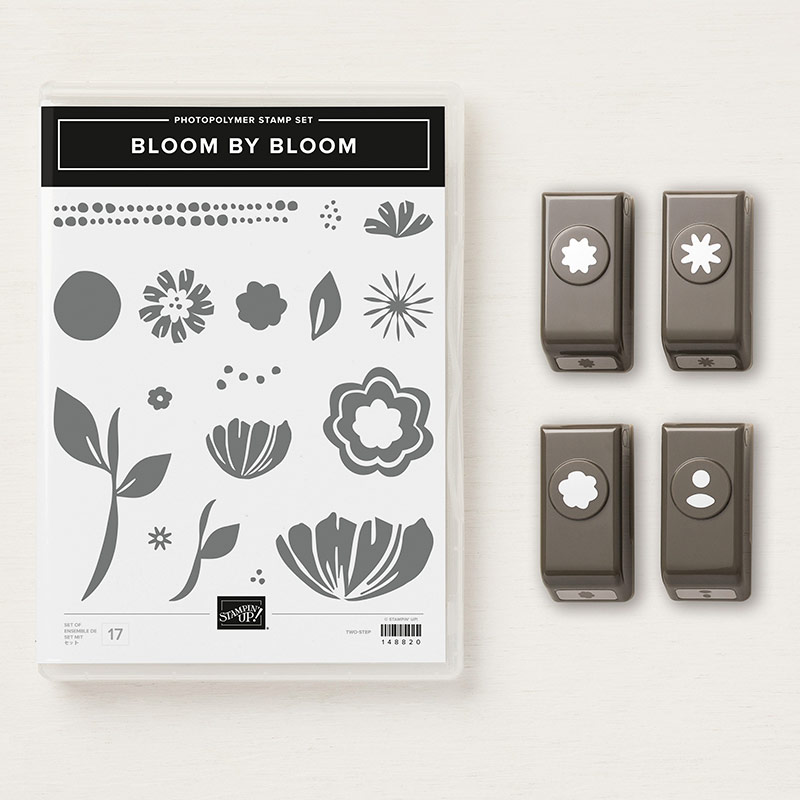
And finally put the finishing touches to my card design... care of the Bitty Blooms Punch Pack punches ... which I am so glad to have in the catalogue as ... for a few years now... I have been really missing some quick little flowers just to finish things off...
Though do remember that the Bitty Blooms Punch Pack comes as a bundle (with 10% off) with co-ordinating Bloom by Bloom stamp set 
And a few shiny embellishments...
I used Rhinestone Basic Jewels  and Gingham Gala Adhesive Backed Sequins ...
And if you look closely I did play around with the placement of those embellishments....
As I always like to take that opportunity when I have a few cards to make...
And I also coloured a Rhinestone with my dark Night of Navy Stampin Blend as
(a) I could...
(b) the pen happened to still be out!
Also note that I have added extras to the flourish image... as I have also stamped the more solid leaf duo to the bottom right and centre left (behind the greeting banner) ... just adds the bit of balance (and extra imagery) required to the overall card design!
More details on the card and sizing information in this post here... along with another couple of versions/colourways ... and more information on the Flourishing Phrases stamps used too...

Amanda's Quick Links
Just click on the relevant pictures below for catalogues and/or more information... 

If you are ordering today... do remember to add the Host Code shown below to earn yourself a gift and help support The Craft Spa at the same time... 
Please note that this host code is relevant to today's blog post date... it does expire and change over the months... but the current code is always shown at the top right hand side of my blog...

Current Catalogues & Products