Showing posts with label Greetings from Santa. Show all posts

Thursday, 3 November 2016

Greetings From Santa - 25% off in The Sale!

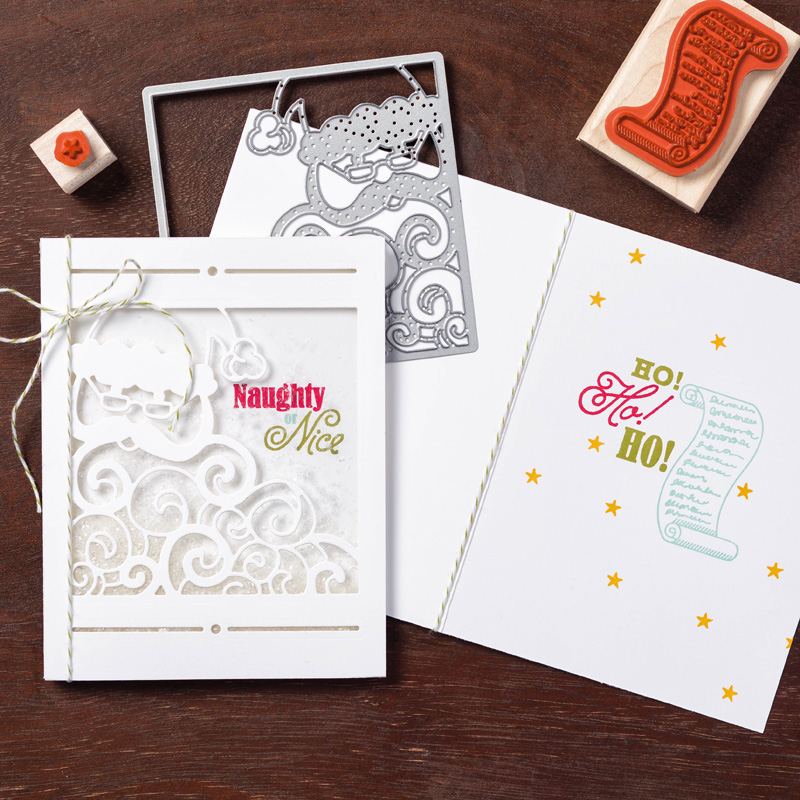
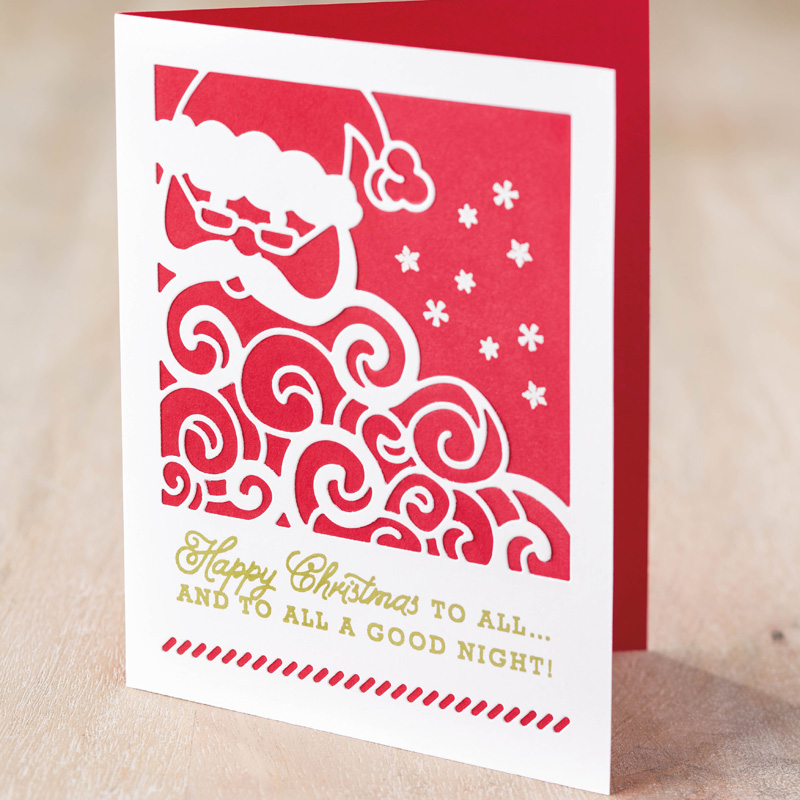
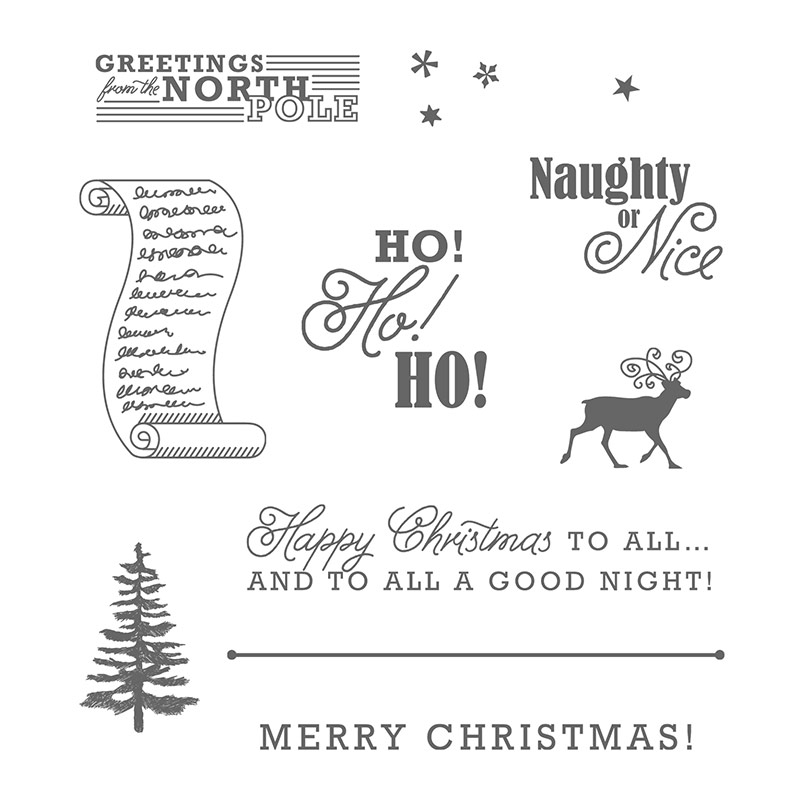
A quick round up post of projects shared so far using the Greetings From Santa stamp set featured in this month's promotion... So with 25% off for November only...
Available in Wood Mount...or Clear Mount... with co-ordinating Detailed Santa Framelits - which are one of my favourites!. And Stop Press... the stamps plus dies are slightly cheaper than the Bundles...for this month only!

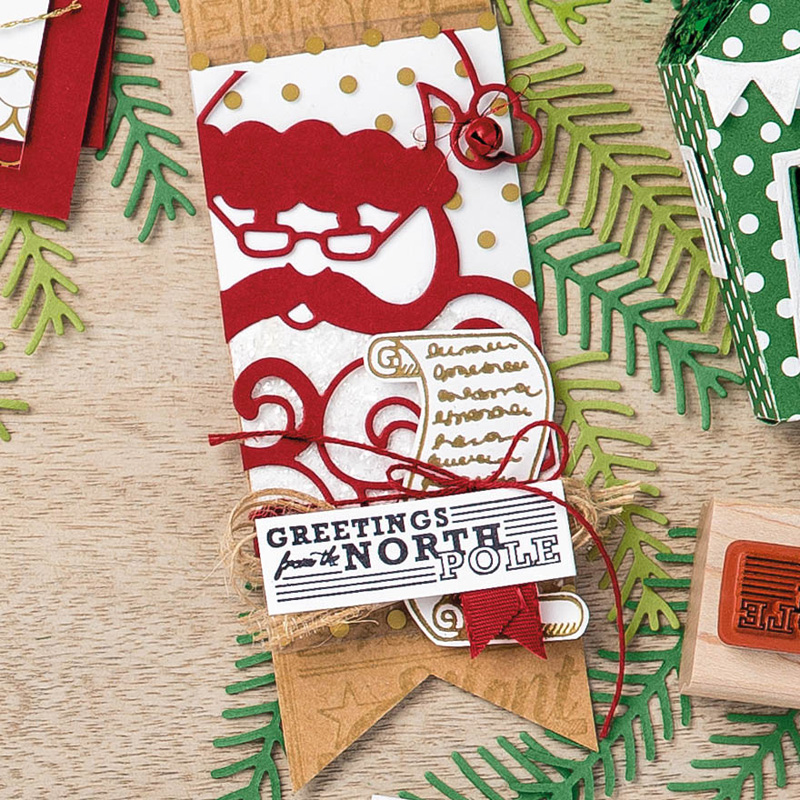
So a few projects for you.... just click on the picture to go to the original blog post for more details...
And here are some lovely projects that Stampin' Up! and their Concept Team made.... 

Monday, 17 October 2016

The Staircase Card Tutorial Part 2 - Decorating Your Stairs & Window...

Back with the sequel... how I decorated the Staircase and Window.... step by step!

But for anyone that has missed it.. click here for Part 1 of the Tutorial... on how to make the Staircase and Card...

First up...  the holly boughs (or swags). I used Holly Berry Happiness
1. Ink up and stamp an Always Artichoke outline image
 
 2. Ink up and stamp a second Always Artichoke image to the right...with the second overlapping the first
3. And finish with a third...
4. Ink up and stamp the filler image in Garden Green ( x3)
5. Ink up and stamp 3 Cherry Cobbler outline bows

6. Overstamp with Cherry Cobbler filler bow

8. Fussy cut the whole holly bough/swags... takes about 10-15 minutes...and yes definitely fussy! As I said to my ladies... you will love me, hate me and then love me again for this card!!!
9. Add small dabs of glue to top of slats (I have added a dot so you can see where I mean!)
10. Position and stick the holly bough
11. Add the 2 outer bows

12. Add a small piece of Tear n Tape (or Sticky Strip or equivalent) to the centre
13. Add a small length of Bakers Twine (I used Cherry Cobbler from the new Trio pack) to your Christmas Trinket Embellishment and attach to the small Tear n Tape piece

14. Cover with the third bow...

Second up... the window....
1. Place a punched 1/2" Circle onto a 6.3 x 8.3cm panel of Whisper White card (US 2 1/2" x 3 1/4") as a mask. Think about where your tree will stamp (see pt.6) 

TIP- I put a bit of temporary glue on the back of mine to avoid movement. Remember that Tombow Multi Purpose is a great temporary glue when dry (if you have the time and patience for it to dry!!)
 2. Place a ripped post it note to cover/mask the bottom third of the panel
 3. Grab a Sponge Brayer and Dapper Denim ink
4. Brayer your ink over...
Start lightly (to avoid hard edges) as you can always build up and go darker... and darker...
 5. Remove the 1/2" circle mask
 6. Ink up and stamp a Garden Green tree from the Christmas Greetings set. Hopefully you can just get it on your masked moon!
 7. And a couple more...slightly more overlap onto the post it note to make them smaller...
 8. Remove your post it note mask...and reveal your snow...
 9. Die cut a Hearth & Home window.
 
10. Stamp a  6.3 x 8.3cm Vellum panel (US 2 1/2" x 3 1/4")  with white Staz On snowflakes  from the Greetings From Santa set. 

11. Add a thin bead of glue round your window frame
12. Adhere your vellum

13. Add another thin bead of glue round your window frame (on top of the vellum)

14. Adhere your stamped panel
 
15. Adhere to your card...
And there you have it... one finished card...

Right I am off to finish a few makes for my next class... and then I hope to make another few staircase cards! My head brimmeth over with other ideas!!



Sunday, 16 October 2016

Staircase Card - The Tutorial - Making the Stairs and Card

Now I  know a lot of you have been patiently waiting for this one. So here it is... along with lots of photos to guide you on your way...

Like what I am providing... then please feel free to make a contribution via this link here . Any currency works... I prefer it this way rather than to have to charge for some of these more time consuming tutorials.... And it all goes towards new stamps etc so I can create and (hopefully) further inspire...

But before I share the steps... this is a slightly modified version of this one shared earlier. This is much more to my taste...

Much more subtle wallpaper this time using the Presents & Pinecones papers! (previous one just being masked and stencilled Cherry Cobbler cardstock) 

And the side/back wall papered too.... 

So here we go...

Metric (centimetres) Recipe from A4 card
Thick Whisper White x A4
Thick Whisper White 16.8 x 12.5cm
Paper Back 14.3cm Square
Paper Front Left 7.1 x 14.3cm (x2)  ( NOTE – this is wider than the 6.9cm wide that I would normally cut for this card type as I didn’t want a border to the RHS for neatness purposes through my staircase!)

US Imperial (inches) Recipe from 8 1/2 x 11" card
Thick Whisper White 8 1/2 x 11"
Thick Whisper White 6 1/2" x 5"
Paper Back 5 5/8" Square
Paper Front Left 2 5/8" x 5 5/8" (x2) ( NOTE – this is wider than the 2 1/2" wide that I would normally cut for this card type as I didn’t want a border to the RHS for neatness purposes through my staircase!)

And this is what you want to do....

1. Grab the piece of A4 card. (US 8 1/2" x 11")

2. LANDSCAPE. Score at 14.8 and 7.4cm. (US Score 5 1/2" and 2 3/4")
3. PORTRAIT. Cut at 14.8cm. (US Cut 5 1/2")


4. Pick up the thin strip.

5. Place PORTRAIT on trimmer with 2 score lines to top.

6. Line up at 2.5cm (US 1") to right hand side.
7. Cut from 14.8cm (US Cut 5 1/2") (ie central/2nd score line) to Top (ie 0). 
8. LANDSCAPE. 2 score lines/cut section to right hand side and thin (2.5cm/US 1") section to bottom

9. Line up at 14.8cm (US 5 1/2") (ie so central/1st score-line is on the groove!)
10. Cut from cut line (about 3.7cm/US about 1 1/2"?) to Top (ie 0)
11. Cut from Top of widest section to centre/top of 2.5cm (US 1") section (either with craft knife and ruler or with your trusty trimmer like I do!) 
Note – I have only drawn a line so you can see it! I wouldn’t actually do this myself…


12. Ink up and stamp greetings as required ( I recommend doing this now as a new section can be quickly re-made if your stamping is not as you want… you don’t want to be doing after you have stuck all you slats on!!!)

13. Grab your rectangular 16.8 x 12.5cm (US 6 1/2" x 5") white panel.
14. Cut diagonally.
Now my ladies have all been surprised at these next steps not being as difficult/time consuming as they first imagined…. Phew!!

15. Cut 12 x ¼” slats/risers (US - only 11 required) starting from the high side (TIP – make sure your orientation is in the same way as the card ie the top LHS will bethe same height as the highest slat on the left)

16. Grab your grid paper (inches) - or a ruler and pencil!

17. Turn wider/sloped section onto its back.
18. Mark every ¼” at top and bottom

19. Apply thin line of glue from top to bottom of highest ¼” section, miss a section, apply glue to next section etc… do as many or as few at a time as you like…
20. Stick longest slat/riser to highest ¼” section (Tip make sure your slope is in same direction as the base of your stairs!)
21. Continue until you have stuck all your 12 (US 11) slat/risers in place…. (TIP there is an an unequal sized gap at the end for the metric version!)

22. Stick papers. ( Tip I have lined up the front left to the centre as I don't want an ugly gap through my stairs!!!)

23. Concertina fold your base card and stairs strip (Note there should be a 2nd narrower piece of paper for that side wall in this photo shot!!!)
24. Adhere right hand side of the strip to the back right hand side

25. Adhere left hand side of the floating strip to the front left of the card (TIP - think about where you do NOT want your glue!!!)

22. Decorate as required.  As this is getting rather long and has so many photos…  I will do another post tomorrow with details on my decoration….