Showing posts with label Itty Bitty Birthdays. Show all posts

Friday, 13 December 2019

A very special 100th Birthday Card

So this is a first! Celebrating 100 years of age...
A card created for a recipient of a "telegram" from the Queen... isn't this so special! Guess not many of us see one of these...
A very special card for DH's Uncle Joe... who has always been a special (and such a character) uncle!!!
But WOW... 100 years of age... Go Joe! A real legend with more than one book's worth of stories about his fascinating long life!
So I had to make the longest card in celebration... just so everyone in the place knew that Joe was 100!
Such an honour to share this very special day with Uncle Joe... and for my card to "sit" next to the Queen!!!
Click here for the Concertina Box Card Tutorial and more details on the card...

Stampin' Up! Products used
Noble Peacock Papers and Foils
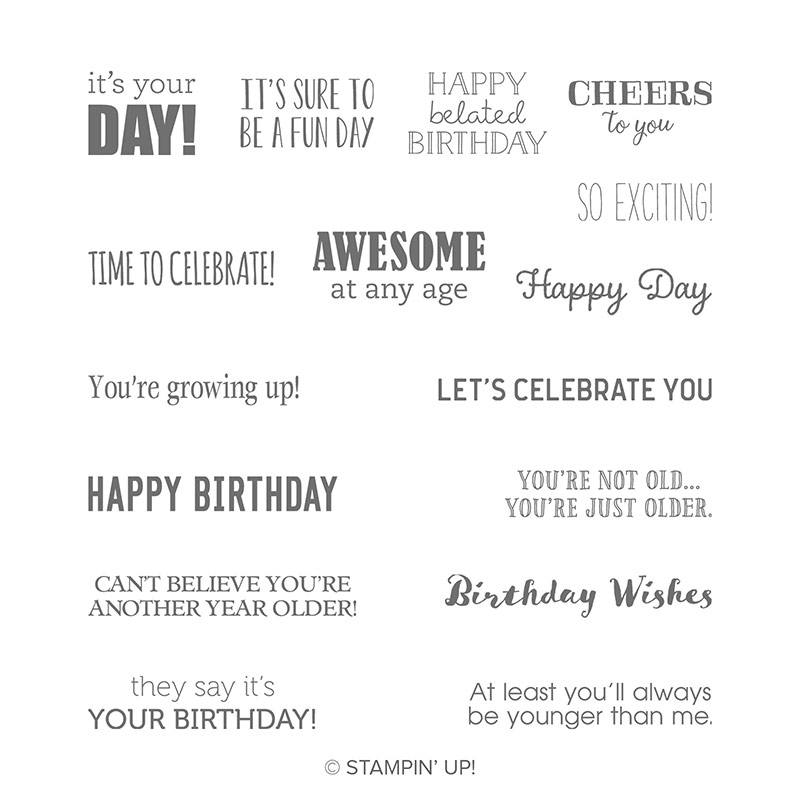
Itty Bitty Birthday stamps
Large Letters dies (retired-sorry!)
Stitched Stars dies


Wednesday, 27 November 2019

Noble Peacock Pop Out Panel Birthday Card

Another of the Pop Out Panel Cards... featuring Noble Peacock 
Wish I had remembered to take a photo of all of them... As we have had options so far ranging from 16 to 80... 
And a 100 may even be on the cards by the end of the week!  Or should I make that a LARGER card!!! As 100 is so special after all...

Saturday, 21 September 2019

Simple Saturday - Feels Like Frost duo for all year round use.....

Loving these Feels Like Frost papers in the purples... hope you do too!

And who said these papers were just for Christmas... I think this one (and others) can even look summer-y...

So an incredibly simple little duo of cards for you... one for christmas ...and one for a birthday (but that could be used for any occasion... And you can get 4 of these from one sheet of the 6x6 paper...
Also featuring the new Ice Stampin Glitter to add the snow like feel to the Christmas version... more realistic as snow! Though less glitter if that is your thing!!
Though please note that this glitter is on back order status at present... so you can order it today and it will follow in due course (but maybe not for much longer as it is close to being unorderable for a little while!)... with supplies expected in w/c 30 September
And the greeting is from Merry Christmas to All.. the perfect size sentiment for that Stitched Rectangles frame...
And Shimmery Crystal Effects to accentuate the seed heads on the birthday card... great small bottle of Crystal Effects... with a lot of gloss and a tiny bit of Shimmer... I also used it on the large snowflake above... so you may able to see the glossy sheen on that close up shot...!
And the greeting is from Itty Bitty Birthdays... a set within which there are lots of perfectly sized sentiments for the Stitched Rectangles frame

And I used the new 1/4" Metallic Seaside Spray Ribbon... which I found much easier to use to tie a bow than normal!

And don't miss the rest of this Suite... snowflakes and leaves simply cut using the Frosted Frames dies...

Though note that the papers were unorderable (as predicted) ... but more came in on Thursday... so hopefully there are still some left for you!! Though I predict these goin unorderable again sometime soon...

Friday, 13 September 2019

Crafters Desk Bench Fold Card for Fancy Fold Friday...

Finally made the Crafters Desk card using the Follow Your Art papers that I have been mentioning for months...
And so here it is... a room I would be happy to live in myself!
Want the know how? 
Click HERE to go and order the tutorial (s)... 
And here is the link to the round up on the Follow Your Art suite
And yes... it is the same as my Student Desk card... a few more of those being made here very soon... 

Thursday, 1 August 2019

Noble Peacock Mini Gift Bag

So I was asked for something small, simple, shiny and perfectly formed for slipping a note (cash!) in... This little bag ends up 1 3/4" wide x 1" high x 1" deep when finished... And as you can get 6 of these from one piece of 12x12 card or paper... they are very cost effective too!

So here you are... with a few crafty tips and the Recipe and a Tutorial along the way for you...
But before I start! A quick round up of news for August...

Get £25 more for free if you sign up with Stampin' Up! now... and an extra £8 to spend in September when you place your order... Click on the picture below to find out more...
But now back to today's creative share...  the Noble Peacock Speciality foiled papers and Foil Sheets are perfect for the job requested... as they are simply decorative with the perfect shine!
And suitable colour-wise & pattern-wise for those "difficult to craft for" men folk and teens in our lives too... which just keeps life simples!

Craft Spa Recipe
Cardor Paper 6"x 4"
Foil - 3.4cm Square
Dies - Stitched Shapes dies - 3cm Square die
Stamps - Itty Bitty Birthdays, Family Party
Ribbon - White Metallic Ribbon (3"), Navy Bakers Twine(7")

Craft Spa Tutorial
1. With panel PORTRAIT. Score at 1" (2.5cm)
2. With panel LANDSCAPE. Score at 1", 2 3/4", 3 3/4" & 5 1/2" (2.5, 7.5, 9.5 & 14cm)
3. With panel LANDSCAPE... with short section/bag base to the bottom... score from top (0) to about 2" (5cm) at 1/2" and 3 1/4".
4. Bone Fold all score lines
5. Cut out small end tab
6. Fold and adhere to close at side (folds flat nicely to do this)
7. Close off top as required (punch a small hole(s) if you want to close off with ribbon)
8. Decorate as required

Note that you definitely need to do those half score lines (pt.3) at the sides of the bags as these Noble Peacock papers are so lovely and thick!! But you can get away without doing these with thinner papers... as the bag will just push in at the sides without the aid of a score line! But I would still recommend these extra scores as then the sides are much neater!

And some extra tips for you...
(1) Clips are the easy way ( and by far the quickest) to close these off...

The new Mini Library Clips being amazingly perfect! But I only had one of these to use (which I yanked off a swap to be able to show you! Thanks Anne...I have put it back now!!!)
So everyone coloured the retired Gold Library Clips instead... and no-one used the ribbon and twine method (as per the SON version!) Far too Fiddly Faddly!

(2) The Stampin Blends are great for coloring your clips or ribbons to close these little bags... I used Dark Old Olive for both the ribbon and clips in these shots... though I highly recommend using the Granny Apple Green for your ribbons instead as they keep things much lighter and brighter! And still co-ordinating...

(3) The Noble Peacock papers are white on one side... and patterned/foiled on the other... so any edges facing you show up! Quickly resolved by a quick swipe of your Stampin Blends along the edge... Yes ... I did that!!! I assembled mine the wrong way round!
So then ... after explaining at length to stick the decoration on the front side - and so not reveal that white edge where the bag is stuck together (so the back side!) - and so this step not being required... in my haste to demo/assemble...  I did it again!!

Luckily no-one else did! But maybe you can tell now!!! How annoyed am I with myself!! Better make another one then...

Friday, 7 June 2019

Birthday Celebrations for Global Stamping Friends Blog Hop

Hello and welcome to the Global Stamping Friends June blog hop from Amanda Bates in the UK... This month we are simply celebrating birthdays.... so please carry on and hop around and be inspired by the makes of my lovely crafty friends around the world...
But before you go... here is my own little creation to share with you... a Birdhouse birthday card made with my mother very much in mind... as she loves birds... and a birdhouse...
And I have to admit that I am really happy how this turned out... and looks like I have a new set of dies to get all creative with!!
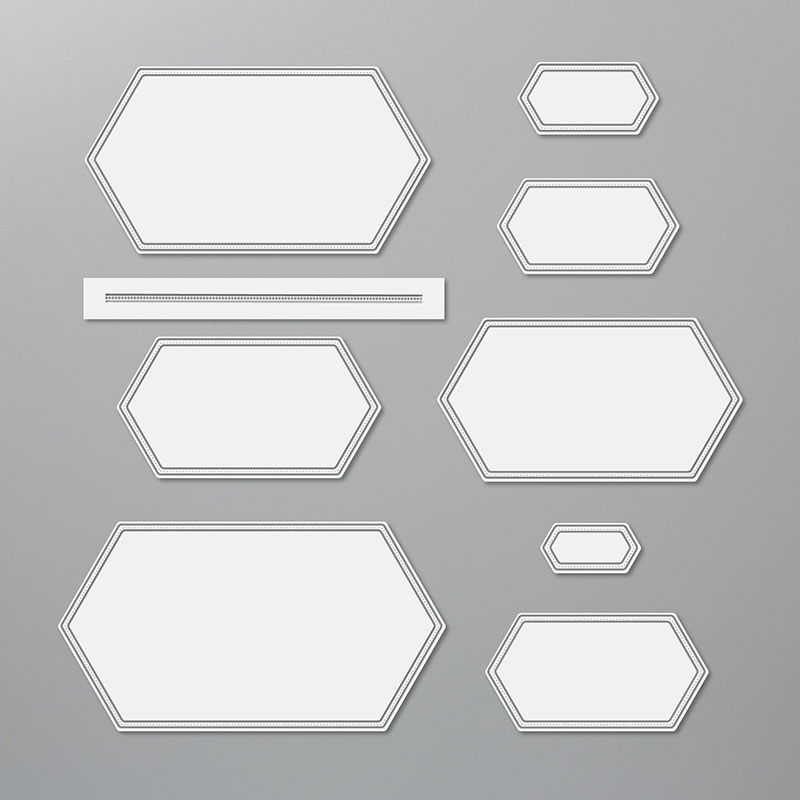
Another version of my (current favourite fun fold) Pop Up Front Step Panel card... adjusted to make a little Stitched Nested Labels birdhouse... using a couple of the nested labels and the little straight liner too! (see die second down on the left! Note that this die does not cut...it just adds a line of the double stitching...wherever you want it! Fab!)
With a little Stitched Be Mine heart doorway...

Perfect design to use with the gorgeous new Bird Ballad papers....
And finishing off with Itty Bitty Birthdays for the greetings...
I will be back with more details on this card another day... as there are already a few versions to share with you!
And now I shall say Goodbye... and pass you onto the lovely Lisa Ann in the USA... who has something bright & beautiful to share with you... Just click on the big arrow!

And in case of any glitches - or for those that prefer to work with a list... here is the Roll Call of all those taking part this month...

Blog Hop Roll Call
10. Amanda Bates (YOU ARE HERE)

Amanda's Quick Links
Just click on the relevant pictures below for On Line Store, Catalogues and/or more information... 


If you are ordering today... please add the Host Code shown below to earn yourself a gift... For orders over £150 you should claim your own Stampin Host Rewards... you will still get a separate gift from me... 
Current Catalogues & Products