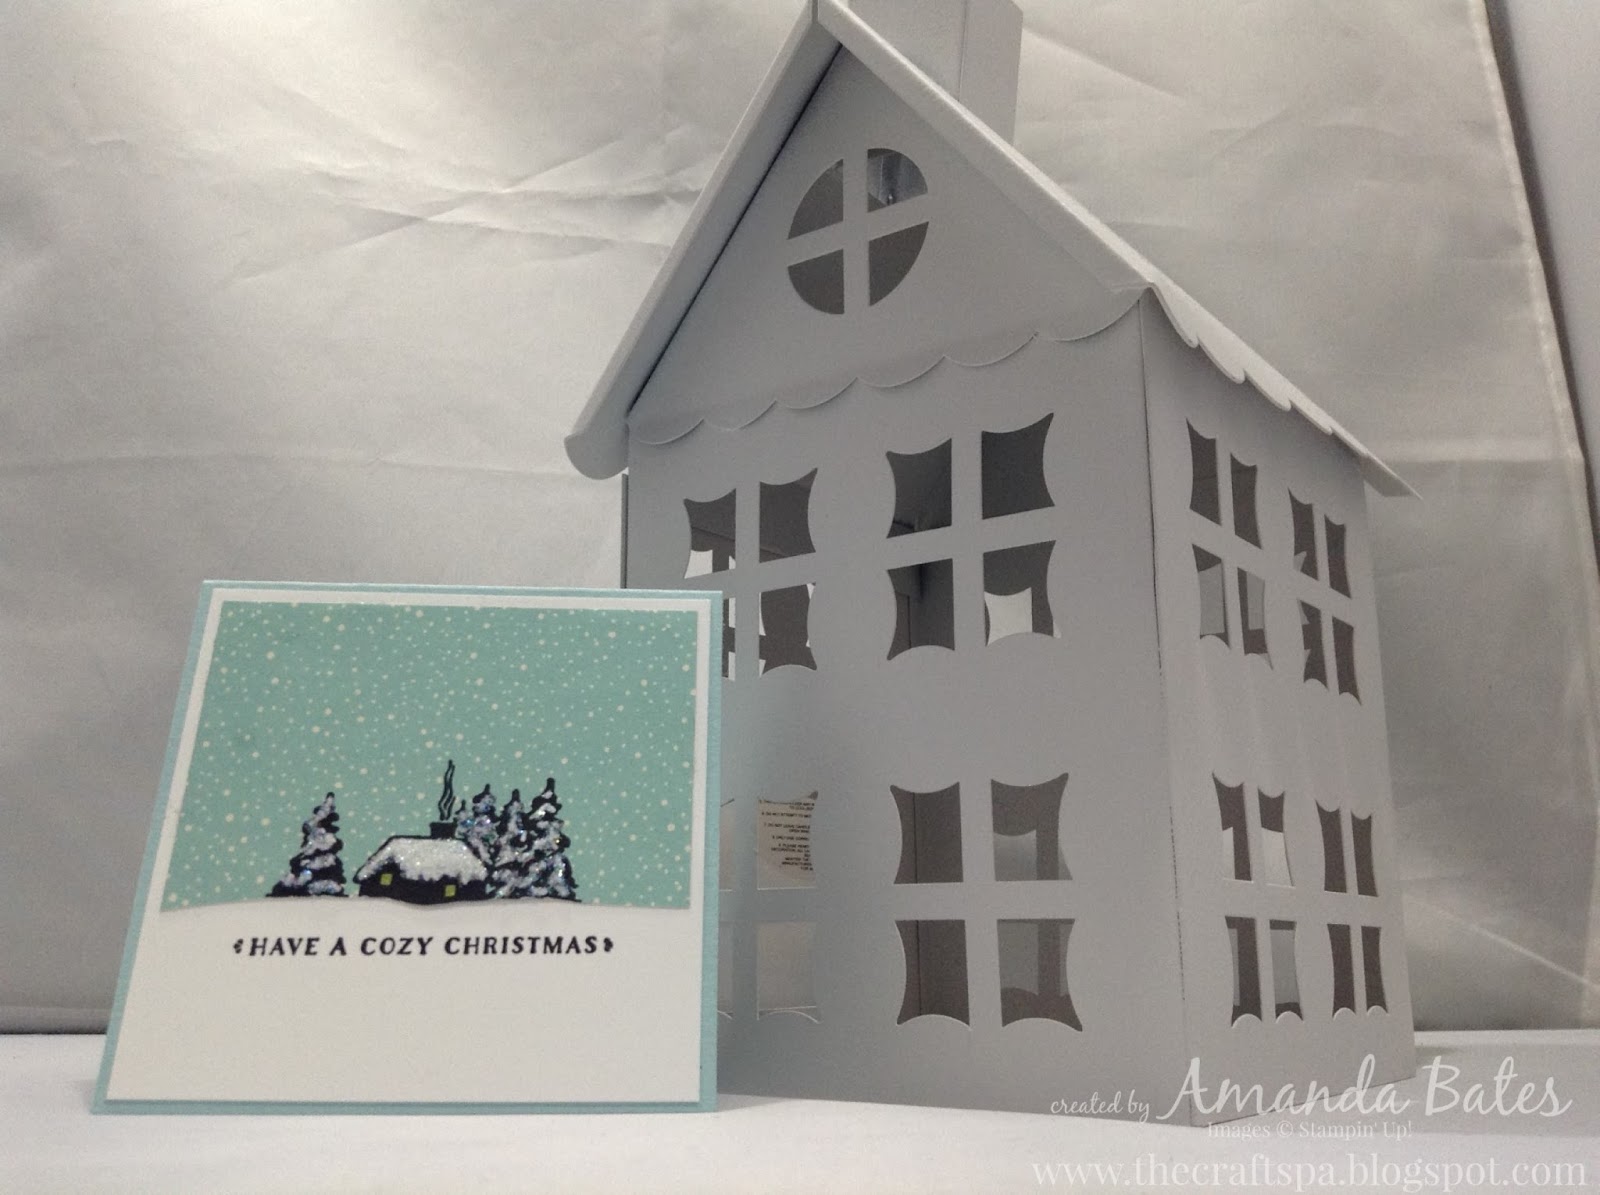
Hello and welcome to the Monthly Jems Blog Hop... with a theme of Christmas Decorations.... well apart from mine maybe... though it is quite decorative - and it sits nicely on the mantelpiece - so please just stretch your imagination with respect of the theme....
But as I am now packing to go off to Telford for the On Stage event this weekend - there isn't a minute left to make something else.... Though as you read this I am actually at On Stage.... and I know I will be having a fabulous and inspiring time with my wonderful Stampin' Up! family & friends!!! Can't wait....
But hold on...that wasn't my original concept! That was just Santa pants with legs as the title says... here you go! It was supposed to have red smarties in the thin cello bags as the legs...but I guess I must have eaten the smarties I had been hoarding! So this was Plan B...
Great quick and simple project... for a gift, or treats, or a gift card - or even as a decoration! Fancy making your own? Well here is what to do...
(1) Take a
White Gift Box, remove the acetate sleeve (I have another plan for that for another day!)
(2) Cover with 3" squares of
Real Red cardstock. (6 squares needed if you cover the bottom too)
(3) Cut 2 pieces of Real Red cardstock 3" x 7/8" from your scraps... score LANDSCAPE at 1" & bone fold
(4) Die cut 2
Basic Black large
Christmas Stockings. ( or 4 if you want to back the finished boots off - which I did for neatness...)
(5) Cut a 3/4" x A4 long Basic Black card strip - and a 3/4" Square too... (legs!)
(6) Cut (or punch) a 1"
Silver Glimmer square
(7) Cut off 2
Pom Pom Trim lengths with 4 bobbles per length
(8) Faux stitch all your black pieces with a white gel pen (optional!)
(9) Assemble all parts... note my legs are stuck to the bottom of the box and then covered with the last 3" Real Red card square
But then I remembered my
Wonderful Wreath Santa.... and I found one of my samples too... So Plan C came into force... and the head was quickly added... and then he just had to have arms and mittens to finish him off!
The Basic Black mittens are just the ends of a large stocking die cut ... and I cut 2 more pieces of Real Red cardstock 3" x 7/8" from the scraps (again scored LANDSCAPE at 1") to pop his arms onto... remember to stick these onto the gift box before you stick the Real Red squares on the sides...!
For those of you without the moustache die that I used back in
2014... and without the poinsettia die used for the
2015 version... I reckon that the
Foxy Builder Punch tail would do a great job for that moustache....
So there you have it... time to pass you onto the lovely
Julie... just click on the
NEXT BLOG icon below...
Or going backwards... click on the
MISSED ONE? icon and go to the lovely
Sarah's blog...