Showing posts with label White Gift Box. Show all posts

Thursday, 2 March 2017

Cupcakes & Carousels White Gift Box Gift Card Holder

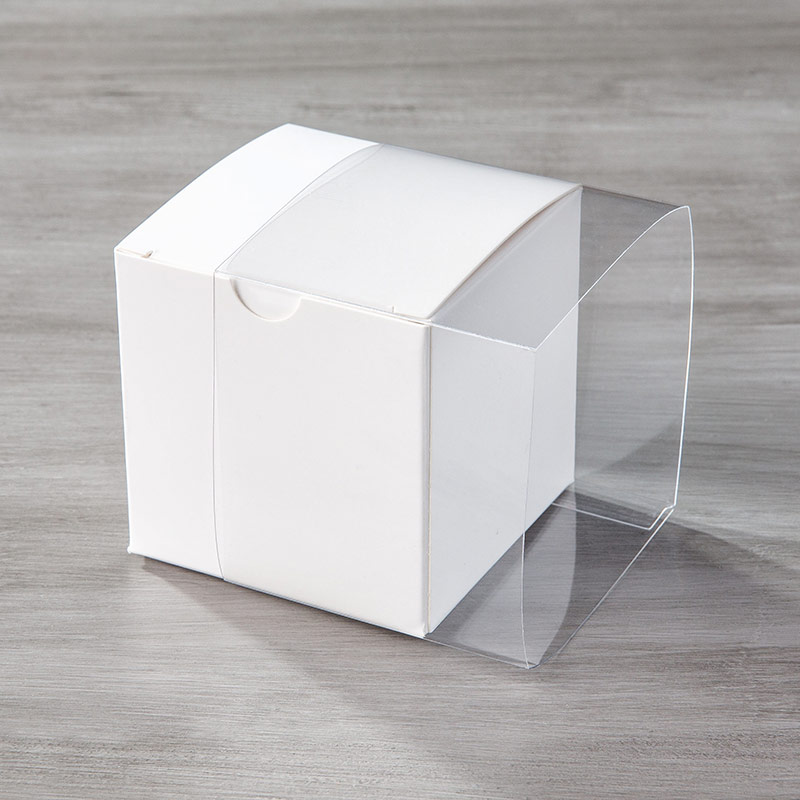
Another quick easy make using the Large White Gift Boxes.... making up the box as described here

But this time I have turned the box into a Gift Card Holder by adding a simple insert... using the method described here (in points 13-20) but with a 10.5 x 6cm (4 1/8" x 2 3/8") piece of card onto a 7.4cm (2 7/8") square base piece

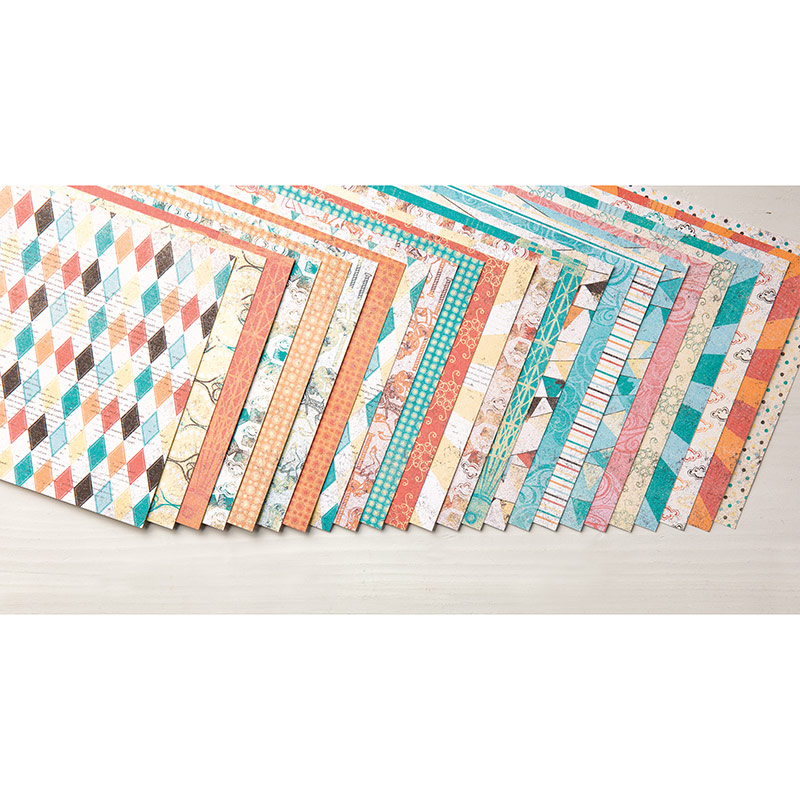
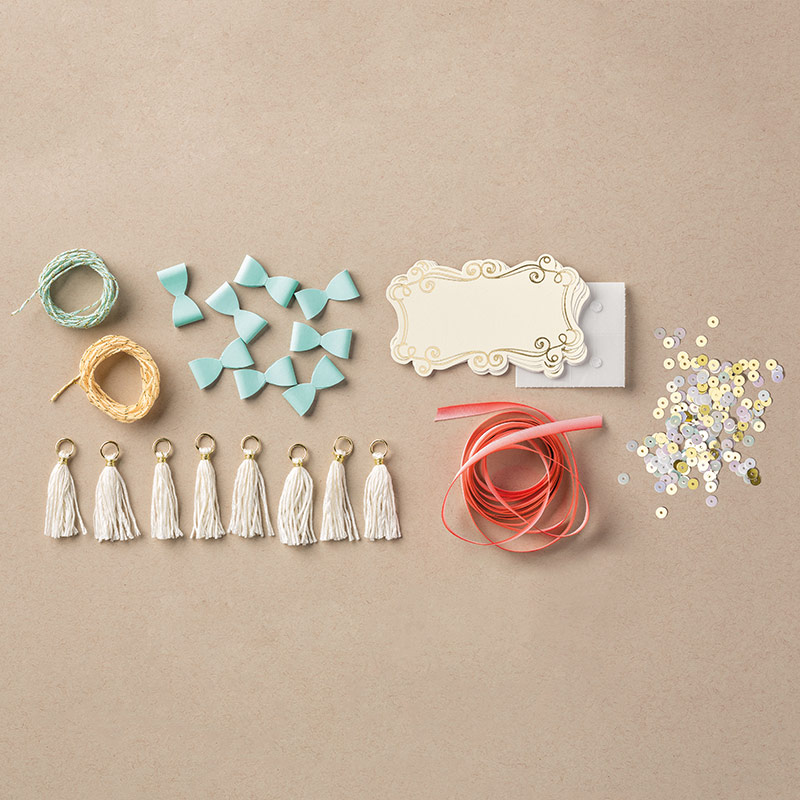
Using the lovely Cupcakes & Carousels 6x6 Paper Stack... and a few bits from the Cupcakes & Carousels embellishment pack. Both of which I highly recommend. This was a paper stack that grew on me very quickly as I used it as the colours are lovely, bright & fresh .... and the embellishments make life (and decoration) easy! In fact I have just bought some more.....
 Cupcakes & Carousels Embellishment Kit
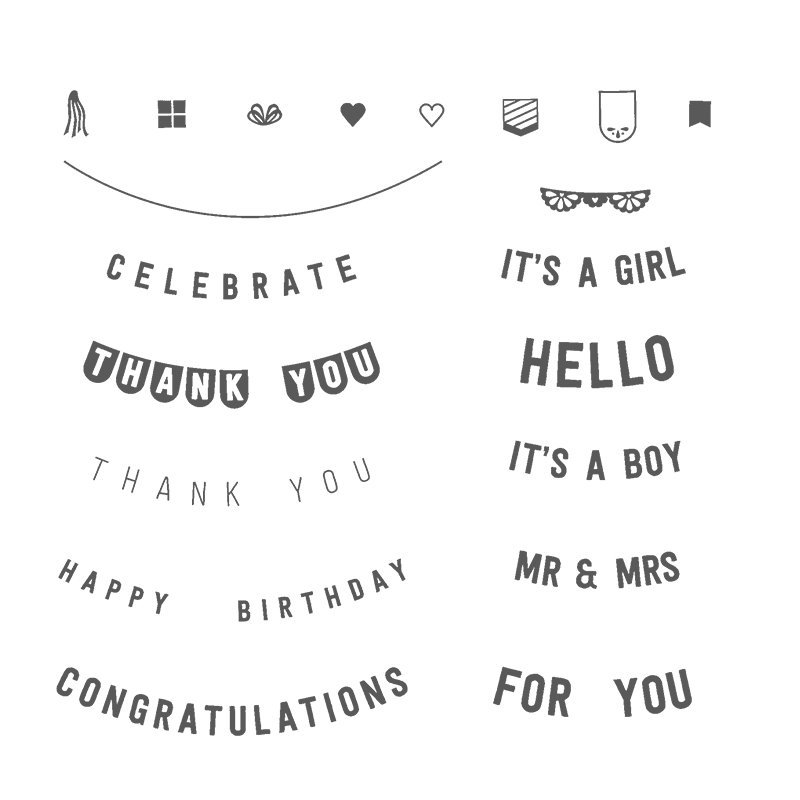
And the Sale A Bration promotional stamps Any Occasion (Yours for free with a £45 order) came in very useful for decorating my banners on the back and insert.... 
Image result for stampin up any occasion image
I just needed to "straighten" my stamps slightly to make them work as I wanted... easiest way to do that being to lay them on the paper as required and then quickly stick the clear block on top
Also used... 
2" Circle Punch


Thursday, 12 January 2017

Sending Ferrero Rocher Sealed with Love...

How about this for a quick & simple Valentine make... full of yummy Ferrero Rochers with a heart!

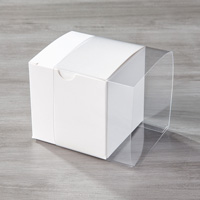
Take a White Gift Box... 
Apply strong Tear & Tape to the 3 top flaps (lid and 2 box sides) and fold down/in (Note I have only used Red Line/Sticky Strip so you can see where I mean to put the glue!)
Decorate front and side faces with four 2 3/4" Squares of Sending Love paper and a Whisper White Sunshine Wishes heart

Die cut 2 each of Whisper White Stitched Shapes circles (coming back in stock very soon btw!!) & Scalloped Layering circles. Stamp with Real Red greeting and Blushing Bride lips from the Sealed With Love stamp set

Punch two Real Red 2" circles. Assemble the 2 discs...
Wrap & adhere Whisper White ribbon round from centre front, round back and to front centre. Add the front disc. Add a bow.
Decorate the back with 2 3/4" x 5 3/4" Real Red mat plus 2 1/2" x 5 1/2" paper. Plus the other disc (this disc adds strength too)
Cut a 2 7/8" Square piece of Thick Whisper White to form an in-box shelf... mine is just stamped simply with a Real Red greeting and Blushing Bride lips...
Ink up and stamp 8 Real Red square frame images plus a greeting for the heart... cut out by hand... adhere to 8 Fererro Rocher using Glue Dots...  

Hard to spot -but note that the heart frames are also over-stamped with Blushing Bride diagonal lines...
Slip the clear sleeve onto the box from the front...great way to seal in those treats!
Thank you ( again) to Ginny Musgrove Smith for sharing this fabulous idea with these boxes. I just had to use the concept straightaway...


Friday, 2 December 2016

Wonderful Wreath Santa now fully Stitched!

Quick share of my update to the Santa with Legs Gift Box project... I had a few ladies wanting a class to make them and as I was prepping... my Stitched Frames dies turned up...so it seemed rude not to use them!

So his face and hat are now stitched dies. And his moustache, nose and boot cuffs are now all faux-stitched too...

Now that's better!
The Stitched Shapes Framelits are unfortunately now out of stock and unorderable...but I hear a rumour that some will be back in next week...

Saturday, 5 November 2016

Jems Monthly Blog Hop - Santa Pants with Legs!

Hello and welcome to the Monthly Jems Blog Hop... with a theme of Christmas Decorations.... well apart from mine maybe... though it is quite decorative  - and it sits nicely on the mantelpiece - so please just stretch your imagination with respect of the theme....
But as I am now packing to go off to Telford for the On Stage event this weekend - there isn't a minute left to make something else.... Though as you read this I am actually at On Stage.... and I know I will be having a fabulous and inspiring time with my wonderful Stampin' Up! family & friends!!! Can't wait....

But hold on...that wasn't my original concept! That was just Santa pants with legs as the title says... here you go! It was supposed to have red smarties in the thin cello bags as the legs...but I guess I must have eaten the smarties I had been hoarding! So this was Plan B...
Great quick and simple project... for a gift, or treats, or a gift card - or even as a decoration! Fancy making your own? Well here is what to do... 

(1) Take a White Gift Box, remove the acetate sleeve (I have another plan for that for another day!)
(2) Cover with 3" squares of Real Red cardstock. (6 squares needed if you cover the bottom too)
(3) Cut 2 pieces of Real Red cardstock 3" x 7/8" from your scraps... score LANDSCAPE at 1" & bone fold
(4) Die cut 2 Basic Black large Christmas Stockings. ( or 4 if you want to back the finished boots off - which I did for neatness...)
(5) Cut a 3/4" x  A4 long Basic Black card strip - and a 3/4" Square too... (legs!)
(6) Cut (or punch) a 1" Silver Glimmer square
(7) Cut off 2 Pom Pom Trim lengths with 4 bobbles per length
(8) Faux stitch all your black pieces with a white gel pen (optional!)
(9) Assemble all parts... note my legs are stuck to the bottom of the box and then covered with the last 3" Real Red card square
But then I remembered my Wonderful Wreath Santa.... and I found one of my samples too... So Plan C came into force... and the head was quickly added... and then he just had to have arms and mittens to finish him off!
The Basic Black mittens are just the ends of a large stocking die cut ... and I cut 2 more pieces of Real Red cardstock 3" x 7/8" from the scraps (again scored LANDSCAPE at 1") to pop his arms onto... remember to stick these onto the gift box before you stick the Real Red squares on the sides...!
For those of you without the moustache die that I used back in 2014... and without the poinsettia die used for the 2015 version... I reckon that the Foxy Builder Punch tail would do a great job for that moustache....

So there you have it... time to pass you onto the lovely Julie... just click on the NEXT BLOG icon below...
Or going backwards... click on the MISSED ONE? icon and go to the lovely Sarah's blog...


Saturday, 24 September 2016

Fancy Frost Gift Boxes

 
I just have to share these beautiful Fancy Frost boxes from the Stampin' Up! Head Office

Want to make some of your own... 2 ways to do so... Come to a Craft Spa class or book a private session in November - or just order the product through me and follow the videos (by clicking on the picture) in the comfort of your own home...

And here is the video for making the tassels from the Bakers Twine Trio pack...
Can't wait to make my own... now which base colour shall I choose... Real Red or Cherry Cobbler/Garden Green...


Friday, 23 September 2016

Candy Cane Lane White Gift Box

Love these white gift boxes... 3" cube box plus a clear sleeve... a small gift will feel (and look) very special in one of these... Note that these are quite a bit larger than the 2" cube Tiny Treat boxes...
Simply dressed with the Candy Cane Lane papers and gorgeous Real Red Stitched Ribbon
Topped off with a frame from the hostess stamp set, Holly Jolly Layers. 

Want a hostess stamp set... but don't want to spend £150 in one go... then my Rewards Club could be the way for you...
Then Have Yourself a Merry Little Christmas now... bet you are singing the song in your head!!!