Showing posts with label diorama. Show all posts

Sunday, 24 October 2021

Scraps on Sunday - Peaceful Place #2


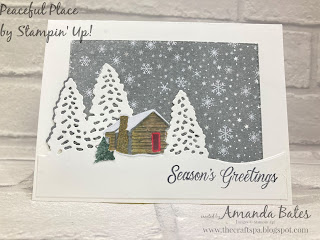
Another card in my Peaceful Place suite class set... Love it when the scraps of one card make a quick base for another...

But before I start... an admin matter... regarding blog post notification emails not arriving... click HERE for details to rectify... or simply to subscribe to blog post notifications by email for the future....
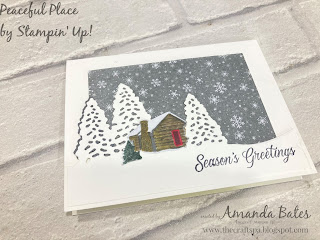
So the die cut Stitched Rectangle aperture from this card creates the background sky...
Just add a die cut panel and a Stampin Blends coloured fussy cut house (from the Peaceful Place papers) to create a perfect little scene... Simples!

Live in the UK? Want the Tutorials for free? Click HERE to purchase your own Peaceful Place suite products... 

Edited to Add -  I have written up up a PDF tutorial bundle for 6 of my Peaceful Place cards... and I offer a Class in the (UK only) post too... See HERE for more details

Click HERE for my earlier share of all of the elements of the Peaceful Place suite - including a video...


Friday, 22 October 2021

Fancy Fold Friday - Peaceful Place #1 - Concertina Diorama Card

Quick share of one of the cards featuring in my Peaceful Place suite class... 

Set on a 5 layer Concertina Diorama card to set the peaceful 3D scene... 

Edited to Add -  I have written up up a PDF tutorial bundle for 6 of my Peaceful Place cards... and I offer a Class in the (UK only) post too... See HERE for more details

Have to admit that I thoroughly enjoyed making this set of cards as not only is this  my favourite suite in the seasonal catalogue (well I have always loved creating a scene... and these papers are just perfect for that) 

But I always love it when a product inspires some new card folds... but more of those on another day... 

Live in the UK? Want the Tutorials for free? Click HERE to purchase your own Peaceful Place suite products... 

Click HERE for my earlier share of all of the elements of the Peaceful Place suite - including a video...

Wednesday, 15 August 2018

Wednesday WOW! Color your Season Diorama Card

Quick share today of a fabulous team training Diorama card created using the lovely Blended Seasons stamp and die set... ONLY available to order during the month of August... so please don't delay... 

Spot that fantastic stitching around the aperture... 
Coloured in using my new Granny Apple Green and Light Bermuda Bay & Dark Pool Party Stampin Blends markers... with a light touch of Daffodil Delight... 

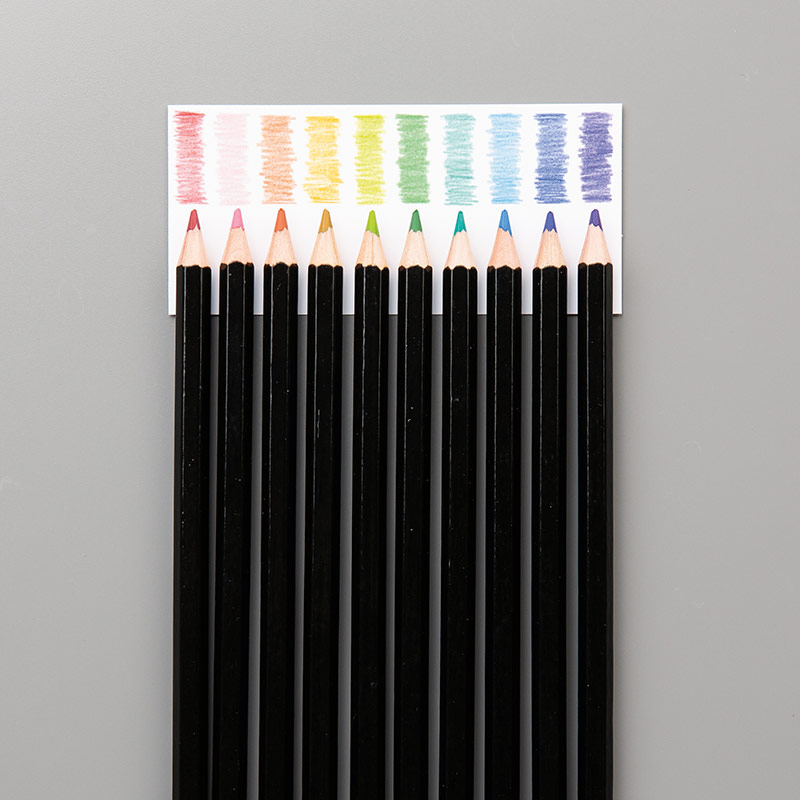
But thought I should also quickly mention the new pack of Watercolor Pencils... again only available to order during August... 

I love all the extra blues and greens you get in this pack...  plus a purple... and the deep Cherry Cobbler red for Christmas too... a real must buy if you like your Watercolor Pencils... and who doesn't when you get so many colours for such a low price!!
And do remember that you also get £4.50 to spend for free in September for every £45 you order this month! See Bonus Days details here

Product details for you here as they are an exclusive special this month... so not in a catalogue... but scroll to the end of the post for more details on the card... and another version!

Watercolor Pencils in 10 new colours!  
Watercolor Pencils Assortment 2
10 pencils in Stampin' Up! colours: Balmy Blue, Cajun Craze, Cherry Cobbler, Coastal Cabana, Crushed Curry, Flirty Flamingo, Garden Green, Gorgeous Grape, Granny Apple Green, Night of Navy

Oh and click here for the original assortment if you want to order or wish to check colours you have etc...


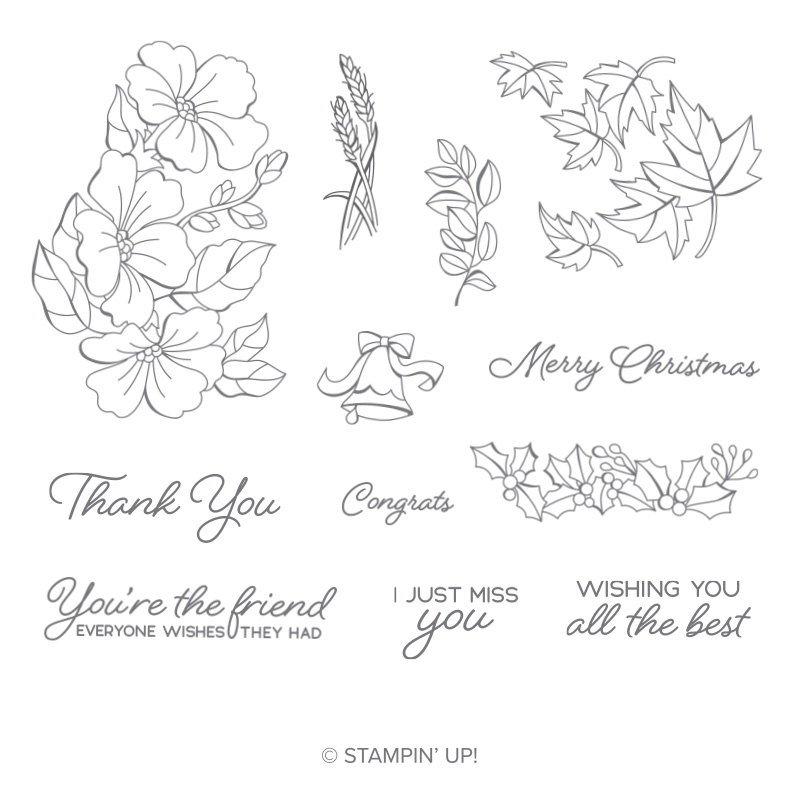
Blended Seasons Stamp Set, an exclusive 10-piece wood- or clear-mount stamp set with images for every season! Available in Wood Mount and Clear Mount...
Blended Seasons Clear-Mount Stamp Set
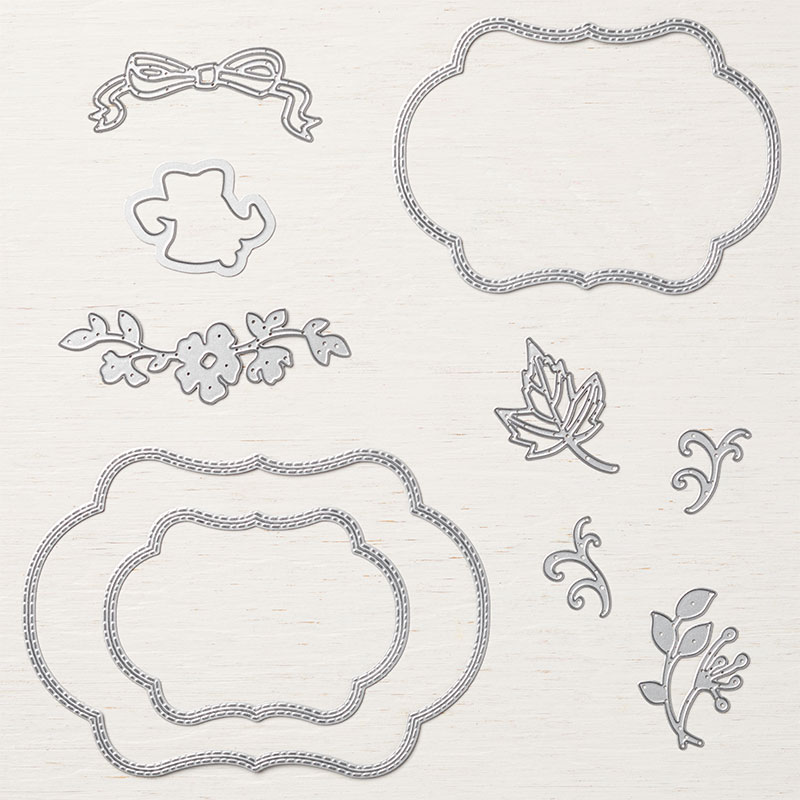
Stitched Season Framelits Dies, a coordinating stitched die that includes stitching on both the positive and negative images!
Stitched Seasons Framelits Dies
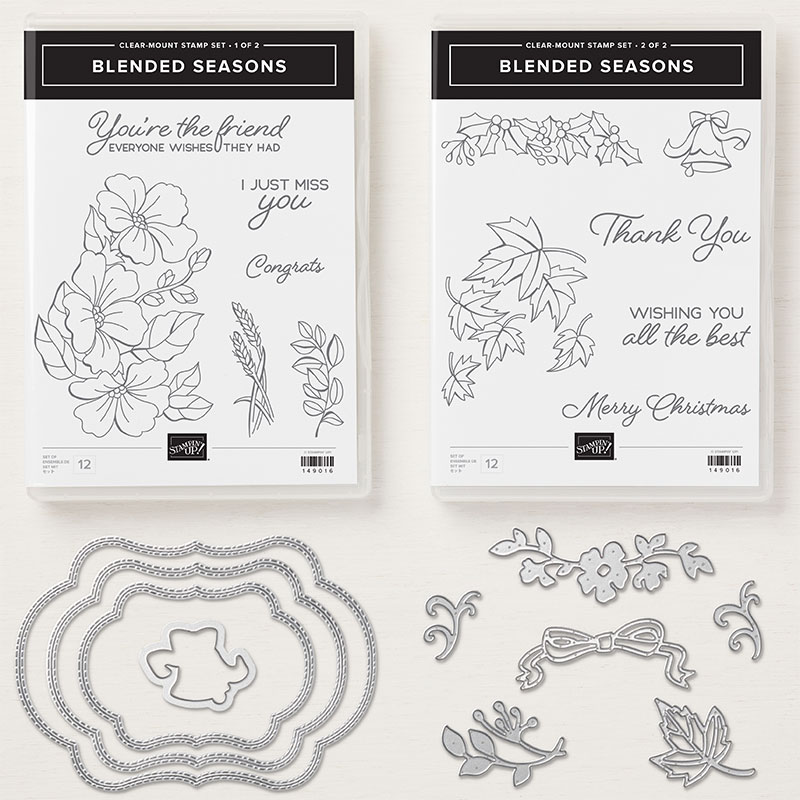
Blended Seasons Bundle – with 10% off…. Available in Wood Mount and Clear Mount
Please note: The bundle includes the stamp set and dies only. It does not include the Watercolor Pencils.
Blended Seasons Clear-Mount Bundle
Click here (or on the pictures below) for the full leaflet... a truly lovely and versatile set...
And so back to the card as promised... 

It does lay flat to go in a large square envelope... 
And here is another version...using Flirty Flamingo... 


Friday, 22 December 2017

Bridge U Fold Lantern Tutorial

So back to this project... using the Hearts come Home & Hometown Greetings products

I thought I had already shared the "little" secret behind its creation... but it appears I hadn't... so here you go...
Make one of these...
Albeit better if you cut the middle panel to 14 x 10.5cm H (5 1/2" x 4 1/8"H) & score LANDSCAPE at 1.5cm (5/8") from each end (as per pt. 6) ... as that will give a better fit around the candle light......
Add glue up the back of the 2 sides... and stick...

Pop a battery operated candle light behind the middle panel...
And there you have it... a card that has now become a lantern... or one that can even be both if you use Tear n Tape add instructions to the recipient to remove the backing layer of Tear n Tape and stick for themselves...


Thursday, 9 November 2017

Stampin Blends are making me happy!

Re-make of this incredibly popular U Bridge Fold card with the Stampin Blends in my hands! Coupled with the colouring concepts used in this card with the Many Marvellous Markers! But the Blends made those roofs so much easier!

Can't tell you how many times I have seen that original card CASED (Copy & Shared)... thank you to all of you that have so honoured me and my creation ... particularly those that  CASE+C (CASE with credit when sharing on-line)... it makes my blogging and sharing so worthwhile... and brings such a creative smile to my face!

Definitely prefer the ease and coverage with the Stampin Blends alcohol based blending markers... lot more subtle which is right up my street!
Live in the UK? Want your own Stampin Blends... then click and go here to see my November offers... just one last space in my first Stampin Blends Club...

Card tutorial here...
And just leaving this here...
 
This made me so so happy right in the middle of running a class!!! But more on that another day...


Friday, 8 September 2017

Hearts Come Home U Bridge Fold Tutorial - Fancy Fold Friday

A Fancy Fold tutorial for you today.... and it had to be for this Bridge U Fold Card as its popularity on Pinterest tells me so! So here you go to save you having to work it all out... as it really is rather simple in principle...

Please note that my card is sized to fit in a standard A6 envelope with the full width of die cut houses showing in the front central area... and that the US/inches measurements are a direct conversion from the centimetres.
Craft Spa Recipe
Night of Navy card 21 x 10.5cm H (8 1/4" x 4 1/8" H)
Thick Whisper White card - Front 16 x 7cm H  (6 1/4"x 2 3/4" H); Middle 13 x 10.5cm H (5 1/8" x 4 1/8" H) ; Back 10.9 x 9.5cm H (4 1/4" x 3 3/4" H)

Directions
1. Night of Navy panel LANDSCAPE (long edge along top). Score at 2.5cm and 5cm (1" & 2")
2. Turn 180 degrees
3. Score at 2.5 & 5cm (1" & 2")

4. Stamp as necessary (using Craft Whisper White Ink)
5. Fold as Mountain, Valley, Valley , Mountain

6. Score LANDSCAPE Middle panel at 1cm from each side
7. Die cut 3 house borders as necessary  (TIP:- note the position of the left hand tree and the church on the Middle section as you position the die... I actually cut the front and middle sections together so I knew the church was where I wanted it in the gap!)

8.Trim Front border to ends by hand
9. Ink up & Stamp greeting on Front border

10. Assemble all parts (Tip: I stuck the back, then the centre, then the left hand side of Front and finishing off with the Front right)

Please see my Full U Fold Card Tutorial here if you need more guidance and visuals as to what goes where for this card fold...
Enjoy!