Showing posts with label Blooms & Wishes. Show all posts

Monday, 30 January 2017

Let's look inside a card!

This is the final version of the Pop Out Z Fold cards I made for classes and my customer order-thank you cards this month - for which the tutorial is here

Have to admit that this is my favourite pinks version - the Sahara Sand card blank calms those pinks down well for me!!!

And thought I would share a little addition/tweak added on the spot! 
One of my class ladies was perturbed with writing her personal greeting on coloured cardstock... so I quickly added a 6.7 x 10cm (2 5/8" x 4" for my US readers) piece of Whisper White card on the back panel to "finish" off the card for her... easy!
Right - Blooms done and dusted!!! And a huge creative week ahead of me (which is code for no classes being run so I can create to my hearts content!! YAY!)

Sunday, 29 January 2017

Stylised Birthday Blooms...

Now you should recognise most of this card from yesterday... but this is a de-wreathed and simpler version for you...

I often end up with packs left over from my classes as my half-dayers don't finish everything or ladies can't make it on the day... this week I had both occurrences... so I gained a couple of cards for the Sell box...
Yesterday's was the result of demoing how to make the wreath in class... and today's was the result of a spare pack, spare flowers I had already cut out and no minutes in the day to stamp another wreath... so Stylised Birthday came to the rescue!

Though I have to admit that I would cut a slightly smaller panel and mat if I was designing this card from fresh.... would make sense to see more of the pretty papers!
Now hopefully my ladies will now let me move on from the Blooms & Wishes stamps and Blooms & Bliss papers!! Can't tell you how popular these have been in my classes over the last month.... 

Though - oh my word - I have just thought of a must make using the papers when my next order arrives!!! My lips are sealed....

And I have to admit that I have thoroughly enjoyed using the combination of these products - even though I did think I had had enough of flowers for a while!!! And most especially in the Island Indigo, Mint Macaron & Sahara Sand colour combination (no surprises there!!!) 

Saturday, 28 January 2017

Where there is a Bloom there is a wreath...

Remember this card... well if you flip the Blooms & Bliss paper panel over... this is what you get... so much softer and prettier...
Only other change is the greeting... and what a beautiful greeting... think this will be my go to large Happy Birthday greeting for a while... from the Birthday Blast stamp set in the new Spring Summer (Occasions) catalogue.
I was lucky enough to win this set from the On Stage Prize Patrol back in November... so nice to start finally using it! And of course the co-ordinating Star Blast dies too...
And here are the 2 versions side by side...

Saturday, 21 January 2017

Blooms & Bliss Small Square Pop Out Z Fold Card Tutorial

Here is the rest of the batch of my January Blooms & Bliss Thank You cards... simple little Small Square Pop Out Z Fold cards which are really simple to make but that have really WOWed those that have seen or made them... 

You may notice that this Island Indigo and Mint Macaron batch is smaller than the pinks batch shared yesterday - no guesses as to which colour range has been favourite around here!! I can confirm that there are none of the Indigo/Mint papers left!

Here is the original format... with the same piece of paper used on the back faces - first shared here...
And so the tutorial for you... 

Edited to Add 30 Jan - see here for a useful addition & look inside the card

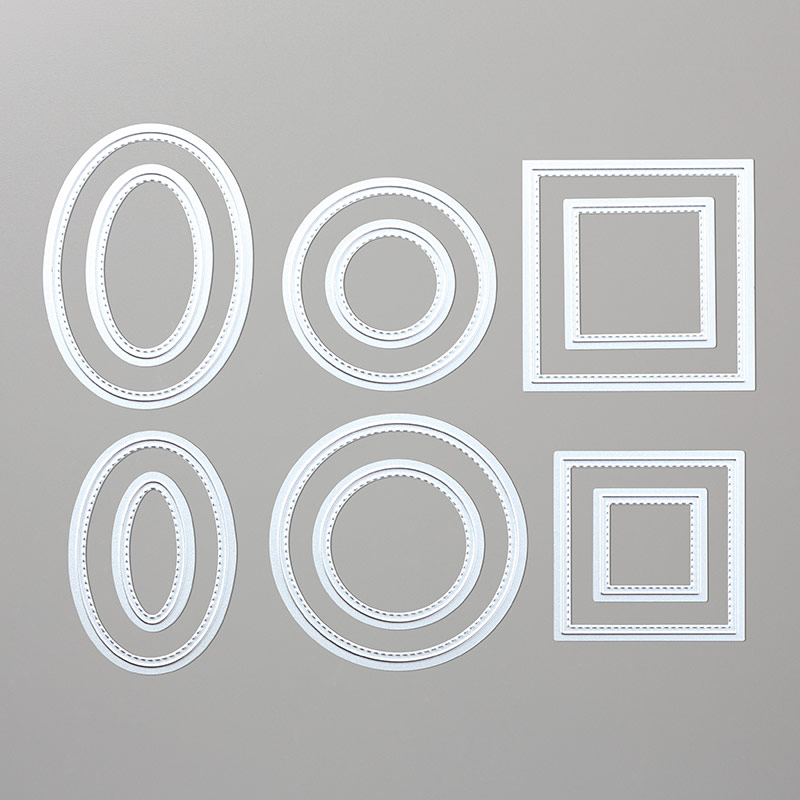
But before that... did I tell you that the Stitched Shape Framelits are now back in stock... I sincerely hope that they do not go out of stock again.... far too good!!
Metric Recipe - Small Square (10.5cm) Pop Out Z Fold Card 
Cardstock 21 x 10.5cm
Paper 10cm Square (or alternatively 6.7x10cm, 3.3x 10cm - and ignore step 4)
Paper 3x10cm 

Instructions
1. Place cardstock LANDSCAPE on trimmer
2. Score at 10.5cm & 3.5cm
3. Bone Fold into a Z Fold Card (Short as Mountain, Long/Centre as Valley)

4. Cut 10cm Square of paper at 6.7cm
5  Adhere 6.7cm (wider) paper to front left of card (TIP- right up to the RH score line) and narrower to inside back of card
6. Adhere 3 x 10cm paper to central section

7. Die cut the 2nd largest scalloped Layering Square
8. Die cut the largest Stitched Shapes square
9. Stamp & decorate as desired


10.Adhere all parts (TIP - think about where you want your glue  - I quickly put a line down centre, then a line either side - see visual!)

And an extra card for you - use the largest Scalloped Layering Square diagonally.... and then you have this version.... as first shared here... Perfect scalloped square size (for the metric version) Stamped Whisper White panel is 7cm (2 3/4")
Recipe (US readers) - Small Square 4 1/4" Pop Out Z Fold Card 
Cardstock 8 1/2 x 4 1/4"
Paper 4" Square (or alternatively 2 5/8" x 4", 1 3/8" x 4"- and ignore step 4)
Paper 1 1/4"x 4" 

US Readers Instructions
1. Place cardstock LANDSCAPE on trimmer
2. Score at 4 1/4" & 2 3/4" 
3. Bone Fold into a Z Fold Card (Short as Mountain, Long/Centre as Valley)

4. Cut 4" Square of paper at 2 5/8"
5  Adhere 2 5/8"(wider) paper to front left of card (TIP- right up to the RH score line) and narrower to inside back of card
6. Adhere 1 1/4"x 4" paper to central section
7-10 See above...

Friday, 20 January 2017

Blooms & Bliss Customer Thank You Cards in the Pinks!

Very quick share today as the photos have not all uploaded... so I need to search!  Luckily one came through so I can show you some of my endeavours today!

These are part of a batch that I have made to send to my customers with their January orders... along with a little something as a gift... I am feeling very organised with these this month!! A first time!!!

These are made in the same way as this one shared earlier... simple little card that has some WOW... Tutorial here...

Monday, 16 January 2017

18th Birthday Pop Up Panel Card for Adam

A very special age card made by Karen for her son Adam... who is 18 today! So first things first from me... Happy 18th Birthday Adam... I really can't believe my son and all his friends are all hitting 18 this year... 

We quickly switched the flowery papers on the original version for something more... masculine! And didn't add the flowery decoration.... But the rest of the card is as per the original Blooms & Bliss Pop Up Twist card....
And the front was quickly de-flowered too... 
And now it is time to grab a new Spring Summer or Sale A Bration stamp set - and set to work!! Well... play!!!

Saturday, 14 January 2017

Blooms & Bliss Pop Up Twist Panel Card alternative

Well my ladies loved the Pop Up Twist Cards... many of them quickly updating their creations with their childrens' names for their birthdays this year...  Here is the first alternative one that Nicky created....
Go here to see the original card with lots more views and the details on how to make one... Note that this original post has now been updated with the paper dimensins etc...


Monday, 26 December 2016

Friday, 23 December 2016

Blooms and Bliss Pop Up Panel Card

The other Pop Up Panel Card- or Pop Up Twist Card - or Twisted Pop Up Card  - as they are also known - in my Blooms & Bliss AND Blooms & Wishes series. First one shared here

I followed this tutorial by Samantha Harrison for the card
But I used a 11" x 5 1/2" piece of Whisper White card scored LANDSCAPE at 5 1/2" to make an outer 5 1/2" square card blank....

Now unfortunately I have filed my card in the "christmas annual clean-up and hide everything session" today - so I will be back to update this post with the paper dimensions when I come across it again!!

Edited to Add - Paper sizes are as follows... 
Front Mat 4 1/8"/10.5cm Square), Paper 3 7/8"/10cm Square
Inside Top & Bottom - 5 1/4"x 3 5/8" (13.3 x 9.2cm)
Inside Panels 2 1/4" x 3 1/4" ( 5.7 x 8.25cm)
And I will be back in the New Year with a completely new version I have planned in my head....


Tuesday, 20 December 2016

Another Blooms & Bliss Pop Out Z Fold Card

Similar to the one shared here... but even simpler!

A "Square On" mat instead of diagonal... and flat stamped flower instead of fussy cut!
Simples!
Card tutorial here...


Monday, 19 December 2016

Sunday, 18 December 2016

Blooms & Wishes Wreath

 
Where there is a leaf spray... there is a wreath! Well there is in my world...

But the Blooms & Wishes set gives you a few more opportunities to subtly add to your wreath...

I went around the circle again with one of the more twiggy sprays inked up in Mint Macaron but with the berries at the end inked up over the top using a Rich Razzleberry marker... hopefully this close up will make that sentence clearer!
Finished off with Sweet Sugarplum glitter ribbon and hand cut flowers... and a few gemstones of course!

Papers from Blooms and Bliss and greeting from Watercolor Words again


Thursday, 15 December 2016

Blooms & Bliss Wishes Square Pop Up Panel Card

I have been seeing a lot of these Pop Up Panel Cards around the Stampin' Up! blog and Pinterest world over the past couple of months... been pinning madly ... and now I have had the chance to have a go...

Though me being me... I had to change the card blank shape of course... and make it a large Square card...
Be back soon with another with directions etc... 


Wednesday, 14 December 2016

Blooms & Bliss Wishes Pop Out Z Fold Card

Quick little share today... featuring the lovely Blooms and Bliss papers and the Blooms & Wishes stamps

Inspired by my talented friend, teamie and fellow demonstrator, Kate Martin and her swap card from the On Stage Telford event in November... thank you again Kate!!
Mine is a slightly different size...but more on that another day... Edited to Add - my tutorial is here...

Great little card format....perfect for all those thank you cards you need to make for all those christmas thank yous!