Showing posts with label Circle Punch. Show all posts

Tuesday, 21 March 2023

Tuesday Tutorial - Extra Small Square Double W Fold Card #4


Carrying on with my Double W Fold Card series... with the fourth size variant so far... standing in at a mini 7.4cm (c3") square when folded... 

This is the easiest version so far... and one that makes best use of a piece of A4 card... giving you two cards from one piece of A4...

Click here for another version/decoration using the Perfectly Pencilled papers shared last week... with  more straightforward punched greeting circles...

Craft Spa Recipe - Extra Small Square Double W Fold Card (actually 7.4cm Square)

Main Card- Night of Navy A4L x 7.4cm (aka 29.8 x 7.4cm)
Inside Base sections - (Dots) paper 14.4 x 2.5cm (x2)
Inside Top- (Floral) paper 14 x 5cm (x2) [or 28 x 5cm if you are using 12" papers!)

Front Balmy Blue mat 5.5cm Square
Front paper panels - Floral 5 x 2cm... Dots 5 x 3.5cm
Ribbon Crinkled White x 9cm

Papers Regency Park (which are gorgeous IMHO!)
Circle Punches -1" (retired) and EK Success 1 1/8" & Dotty 1" 

This fits nicely into a 8.4cm envelope... as these cards are quite bulky when closed into the finished square card ... so need a bit of extra room in an envelope... and a a Large Letter stamp...


Craft Spa Instructions -  - Extra Small Double W Fold Card ( aka 7.4cm Square)
  1. Score LANDSCAPE Night of Navy panel at 7.4, 14.8 and 22.2cm 
  2. Concertina Fold (Valley, Mountain, Valley)

  3. Cut the two Top (Floral) LANDSCAPE paper panels in half to 7cm wide
  4. Adhere to top insides

  5. Fold the Base section (Dots) papers in half as a mountain fold (with dots on the outside)
  6. Fold each side up in half again (to form a valley either side AKA a W shape)

    For the 2 left hand sections of the card...
  7. Hold concertina base sections with 2 open edges and folded centre facing to the right
  8. Apply glue to back/bottom face  
  9. Stick concertina section down onto right of right hand section (lining up with the Top paper panels at the sides and the sme gap along the bottom edge of the card)
  10. With concertina panel still folded up... apply glue to top face
  11. Close left section of card onto the glued face

  12. Repeat with other concertina panel for 2 right sections of card...sticking the concertina base section (with 2 open edges and folded centre facing to the left) to the left side of the 2 left sections this time... and folding the right section of the card onto the top...

  13. Ink up, stamp, cut and punch as necessary
    I used the Alphabest stamps ... along with the 1" (retired SU!) and EK Success 1 1/8" & Dotty 1" Circle Punches to punch the greeting and the Balmy Blue and Night of Navy mats...
    And the BIRTHDAY greeting is from Enjoy The Rhythm

    I would have added some Petal Park flowers... but time was of the essence for my class so I kept things as simple as they can be...

  14. Decorate card
    Again I kept the front as simple as I could for this one


Monday, 6 March 2023

Round Up - Online Exclusives...

I've put together a flyer format to round up the newly released Online Exclusives products for us in the UK... but click here if you prefer the Online Store format...

Just click on the images below to load up the 2 pages of the document...


Wednesday, 1 March 2023

On Line Exclusives...


Lots of new products and some very welcome returners in the brand new Online Exclusives section... You won’t find these products in any catalogue, which means you can see returners and fresh, never-before-seen products to spark your creativity and expand your crafting collection. All from the convenience of the online store (or through my local orders too!) 

This new product release strategy helps Stampin' Up! respond much more quickly to relevant trends and our needs. So make sure you stay up to date with the Online Exclusive product releases throughout the year!

I'll be back with more images and details sometime soon...but in the meantime CLICK HERE to see all the items  - and samples - in the Online Store...

And a few tasters for you!

Starting with something old... with the return of 1 3/4" and 2"circle punches!! I know so so many people that will be happy to see these back!! And funny that I only used them the other week here!!


And something new... with the Rhino Ready bundle... I so love those trees and landscaping die cuts!

Something borrowed... as this Classic Letters Alphabet reminds me of a stunning favourite leafy one I used prior to Stampin Up! all those years ago! Now I have seen this sample this is a must have for me! 

I reckon the lettere are about 3/4" high looking at the sample... but I will have to wait a while before I can order as it is now temporarily out of stock! Delivery TBA...

And last but not least... something blue! She says scrabbling around alooking for product images with some blue!!! 

Oh the gorgeous new Hello Irresistible suite will do it!!  Lots to love...


Oh and you may notice some returning colours.in the Hello, Irresistible Suite Collection .More information coming soon... but for now, I can share the coordinating colours in the Hello, Irresistible Suite Collection... Welcome back my lovely old friends, Lost Lagoon and Pretty Peacock! Funny how these two never left my shelves!!!
  • Hello, Irresistible 6" x 6" (15.2 x 15.2 cm) Designer Series Paper: Daffodil Delight, Flirty Flamingo, Lost Lagoon, Petal Pink, Pretty Peacock, Soft Sea Foam
  • Loose Frosted Dots: Daffodil Delight, Flirty Flamingo, Pretty Peacock

Thursday, 30 August 2018

Spooky Starry Bokeh Dots & Trees

Quick share of a Super CAS card featuring the Bokeh Dots stars in Night of Navy with black Lovely as A Tree trees...

But before I start on more details for this card... Please don't forget to order your Watercolor Pencils Set 2 and the Blended Seasons bundle... now only available for about 36 hours ie until 10.30pm UK time tomorrow, 31 August... and yes you still get your £4.50 free Bonus Days coupon ... for every £45 ordered... to spend in September... Click here for more details... 

Moon added care of a 3/4" circle punched post it note... placed prior to masking the horizon... and then stamping that Bokeh Dots sky... and then all the masks removed...Oh and (coming very soon!) Frost White Shimmer Paint added with a Sponge Dauber to the moon... lovely shiny moon!
Could have added snow to my trees using Shimmery White Embossing Paste... or stamped and embossed white trees on the centre section... but thought it all looked spooky enough to pass as a card for Halloween instead... greeting care of Itty Bitty Greetings

Love this starry sky in Night of Navy... so reckon there will be a christmas version before September is out!

Saturday, 23 December 2017

If you are a last minute tag maker like me!

Just thought I would share a tag (or 8) I quickly made... Call this my 8 tags in about 10 minutes series...

These were the ones that I didn't think I would need... but then I had to use some different wrapping paper as I had just run out mid present wrapping... so first a welcome find from last year of some foiled snowflake paper...

And then a quick 2 1/4" circle punch plus an 1/8" handheld punch-ed hole for the ribbon... Flurry of Wishes greeting silver embossed...then Colorful Seasons snowflakes stamped in Soft Sky and Smoky Slate... finished off with Silver Tinsel trim for a bit of glitz... simples...

And I know you are all in the last throes of organising Christmas and/or starting to party to celebrate Christmas!

But please don't forget to reserve your Stamparatus for April(ish) shipment by visiting here... otherwise you will have to wait until June... No money to pay now... All the details here...

Saturday, 21 October 2017

Year of Cheer & Merry Little Labels Part 2

Well I lied when I said I had made 2 of the brayered Year of Cheer cards on Thursday's post... I actually made a few more!!

This one is on a standard A6 card blank (again with a 10cm piece of paper) ... so US Letter nearest equivalent being A2 sized with 4" paper...
And uses just half a Foil Snowflake... so you can have 2 for your money...

Rest of the details as per Thursday's post... though I punched a Basic Black 2 1/4" circle to frame the Merry Little Labels greeting instead...

Thursday, 19 October 2017

Year of Cheer & Merry Little Labels

With a good dose of Foil Snowflake thrown in for good measure!

Simple but sweet... and fast! So I made two! Which do you prefer? Black or Pool Party card...
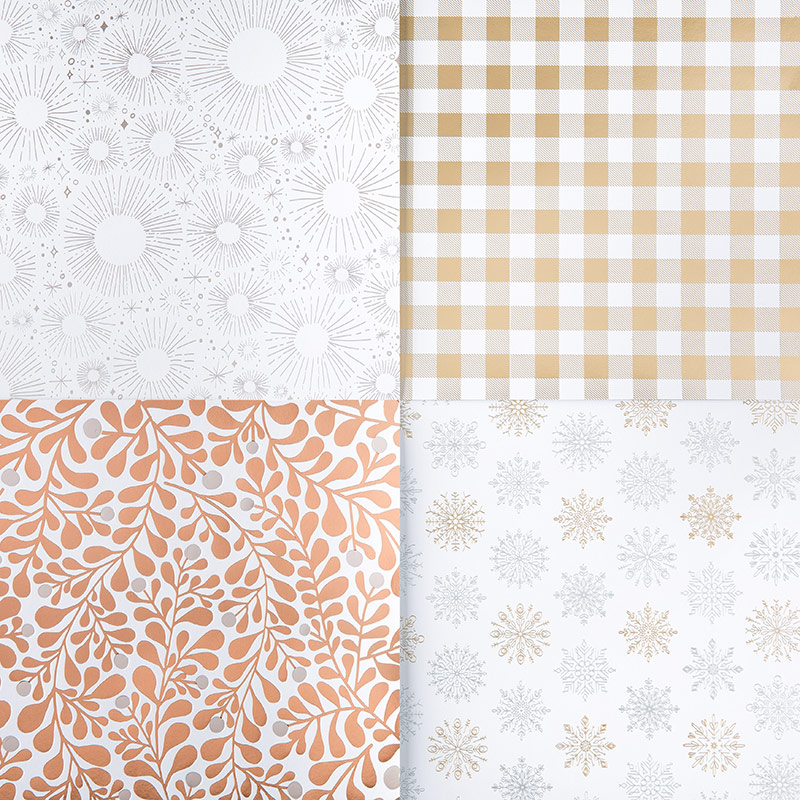
Not recognise the paper? It is the Year of Cheer gold foil & white check piece (top right)... liberally dosed with black ink using a brayer... and then wiped off with a tissue to avoid inky fingers! So shiny still! Such fabulous papers!!
Year of Cheer Specialty Designer Series Paper
10.5cm square card with a 10cm paper panel (or 4 1/4" card with 4" panel if you are using US Letter sized card)
Merry Little Labels greeting gold embossed and punched out with the 2" Circle Punch... Pool Party mat punched out with the 2 1/4"Circle Punch...finished off with a Pool Party 3/8" Shimmer Ribbon bow...

I prefer the Pool Party in the flesh... but looking at just the photos... I prefer the black!

Saturday, 22 July 2017

To My Main Squeeze...

Another simple but effective Foil Frenzy card to brighten your life! (well it does in the flesh... in fact it almost blinds us across the room as the light hits it!)

Simple squares of Foil Frenzy paper to form the grid background...
Finished off with a juicy Lemon Lime slice ... with the "To My Main Squeeze" expression

Perfect for Andrew I think Andrea!!!? Could have been your Anniversary card....
Craft Spa Recipe
A4 Card Lemon Lime Twist 10.5cm (4 1/8") Square Card Blank
A4 Card Pool Party 4" Square
Foil Frenzy 1 1/4" Square (x9)
Ribbon 3/8" Shimmer Pool Party
Lemon Zest stamps
1 3/4" Circle Punch


Thursday, 23 March 2017

Angry Bird....

And from the Easter Chick.... was born the Mini Egg Carton Angry Bird! Nice one Andrea....

Though I think some of you may have guessed at this one from the batch spray job photo I shared yesterday....

But a tip if you want to make one yourself... you need a lot of Real Red refill drops in the Spritzer... think we did about 22 drops before we were happy! It was all a bit pink up till then... 

Wednesday, 22 March 2017

Mini Egg Carton... Easter Pig!

Before I start for today... please don't miss the news about the third release of promotional Sale A Bration items... scroll down or click here....

We had such fun with our Mini Egg Cartons in classes last week...

Take a cow... add a class of ladies in a creative mode... and up pops a cute little pig! Amongst other things!!
I adore the pig that Heidi came up with... though I was particularly happy to have the Sprinkles Punch on hand to create that curly tail.... eureka moment!!!
And you will have to wait to see what else we came up with.... but maybe some clues here.... 


Monday, 20 March 2017

Mini Egg Carton - Moo on Monday!

Following on from the Easter Chick and the Easter Bunny... I then moved onto a cow!

I can hear some of you asking... why a cow!? Probably something to do with the fact that Milka Chocolate is probably my favourite chocolate - especially those very big bars I used to bring back from many a French ski holiday!!

And when you have seen a "purple cow" skiing (and handing out chocolate... to kids!!! Cough!) around the French Alps during the Easter holidays... then it all becomes a logical choice... though I couldn't go the whole way and actually make my cow purple... maybe next year!
Ano hey...guess what! The cow was the most popular make here for Easter!!! But I forgot to take the photo of the herd!!!

SU! Products Used
Stamps - Playful Pals, Perpetual Birthday Calendar (blobs), Basket Bunch (flower)
Dies - Stitched Shapes, Baker's Box (nostrils, mouth), Playful Pyramid
Circle Punches - 1 3/4", 1/2"
Embellishments -  Subtles Enamel Shapes (So Saffron)

Friday, 10 March 2017

Easter Bunny Mini Egg Carton

Another for the Kids and/or Young at Heart out there...

Where there is a Easter Chick... there is usually a Bunny closely following behind... well there is at The Craft Spa!

So here is my Ever-So-Softie Bunny to go with my Angry Chick!
And where there is an Easter Bunny.... mmmm!! Any guesses where I have gone next!!!?

Fancy making your own.... contact me here for a Create at Home Kit or to arrange a class before Easter (offers subject to Mini Egg Carton stocks... which are on limited availability in the world already)

And hopefully...there will also a tailor-made special one for a family member fit in before Easter too... fingers crossed....


Wednesday, 8 March 2017

Mini Egg Carton Easter Chick

Well I had to give one a go... so something very bright and for the "young at heart" for you today...

Take one Stampin' Up! Mini Egg Carton... Spritz with a mixture of 70% Rubbing Alcohol & 15 drops Crushed Curry ink from a refill bottle...
Punch a few circles and flower parts in Daffodil Delight & Tangerine Tango... I used the 1" and 1/2" Circle Punches (eyes), the smallest Stitched Shape Square die (beak) and the Pansy (wings & feet) and Flower Medallion (punch 2 for comb on head) punches

And voila... an Easter Chick for your eggs... any 4 eggs will do... Real eggs? Cadburys Creme Eggs?... Lindt Lindor? Galaxy Caramel? Cadburys Dairy Milk Caramel? Kinder? This list is obviously UK biased... but please feel free to add your mini eggs in the comments below!! As I am sure that there are lots more around the world...
Looking for more Easter Treats inspiration etc... then please feel free to pop across to this round up post I posted previously... many of the projects with tutorials...