Showing posts with label Tip. Show all posts

Tuesday, 18 August 2020

Tuesday Trio of Tips...

Following on from yesterday's post... I have a few more tips for you when using those little houses from the Trimming The Town suite...

Firstly... how to get the most houses out of your papers!
Fussy cut round those at the sides too... they just pop behind the central one... and no-one knows that you didn't use a full one!


Secondly... re-design your houses... and get even more...
Fussy cut round those at the top too...and the roofs at the bottom... and come up with something original! 
Though actually I have just realised that I did this with the larger house... ie on the other sheet of paper...
But the same applies with the smaller houses if you have the patience! 

 So I will live these here...
And thirdly... vary your cards for maximisation...
My little decorative 7.4cm square red panel with 7cm square white panel neatly fits onto a variety of square card blanks... For example...

So as to maximise impact (14cm or 5 1/2" square so one from a sheet of cardstock)


Or maximise cardstock usage (3 x small 9.9cm square cards from one sheet of A4... )


Tuesday, 25 February 2020

Painted Poppies Splatter Notecards Trio Step by Step Pictorial


So I have been asked a few questions on the creation of my Painted Poppy notecards with splatters .... so I thought it easiest to just make another, take some photos and come back to share!

So colourwise... I used Pretty Peacock, Seaside Spray and Granny Apple Green on this and most of my other Painted Poppies samples but Poppy Parade (instead of Pretty Peacock) on the first version shared (as shown below but first shared here with more product details and images...
No masking involved...

And note that ...

I stamped off the Seaside Spray (sky) splatters ie ink up stamp, stamp on scrap paper, then stamp onto card... 

But I didn't stamp off the Granny Apple Green (grass) splatters - I just stamped twice/thrice without re-inking ...

(1) Die cut label ( this label is in the co-ordinating Painted Labels dies)
(2) Stamp single stem poppy in Memento Black
(3) Stamp large Splatters behind poppy (to top) NB stamped off!
(4) Stamp Granny Apple Green splatters to bottom NB stamped twice
(5) Using stamped label for required positioning on card... ink up and stamp Seaside Spray and Granny Apple Green large splatters directly onto notecard to left hand side... you can see better in the 3rd photo below...

(6) Colour in flowers and leaves using Stampin Blends
(7) Adhere stamped label to card using 3D foam Stampin Dimensionals
(8) Finish off with a hand cut Label Me Bold greeting (in Pretty Peacock/Poppy Parade)

And then I used the same technique on this card...
With the extra touch of the Enjoy Life grass image (in Granny Apple Green)... over the "grass splatters"  for extra definition... ie Top Left image below...
And I will be back soon with a tip for the shaped card mat behind that Painted Poppies/ Labels die cut label on this last card!

Saturday, 31 August 2019

Butterfly Wishes - Branch Extension!

The last of my little Butterfly Wishes trio...  And one where I had to be artistic..

So Direct Marker inking again of the lovely blossoms stamp... and stamping... on the central white panel... and then re-inking and stamping down from the right hand side on the card blank front

But obviously there was a gap! As circled... though I wish that I had thought to take a quick photo...
So I grabbed my Early Espresso ink pad and a Blender pen... picked up some Early Espresso ink (either after a squeeze and pick up from the lid.. or naughtily like me (as I was in a rush!)... direct from the ink pad itself!)...

And just drew a line in... which lines up perfectly with my stamped panel... and which just disappears under the panel/mat...
I laid my stamped white panel roughly in position on the card blank to work out how far I needed to extend that line...

Note that I used the Stampin Blend as I didn't want a perfect straight line... which would have resulted if I had used Stampin Markers or Stampin Blends ...and the Stampin Blends would have gone through my one layer card blank in any case

Friday, 30 August 2019

Butterfly Wishes - Faux Embossing or Shadow Stamping...

Loving it in the Crumb Cake...
With the good old Shadow Stampin or Ghost Stamping or Faux Embossing technique...
Although wishing my white shadow was a bit narrower! Didn't need to move my second stamping ( again using the markers as shown yesterday) down quite so much! But now you  know for when you try...

Wednesday, 28 August 2019

Butterfly Wishes - in the Pinks Part 1


One of a few variants... created using the lovely Butterfly Wishes... featuring some key techniques along the way...

But firstly.... please don't forget to order your Stampin Trimmer Blades (item code 126995...max 3... quote Hostess code WJRJY277 online at 6pm SHARP tonight... More details for you here...

First up... the simple use of markers (Many Marvellous Markers!) to ink up your stamps rather than ink pads... whether greetings or images...
Lovely Lipstick and Mossy Meadow being used here...

And a Quick Tip: Keep the markers as horizontal as you can to protect your brush end...

Tuesday, 13 August 2019

Tuesday Tip with Daisy Lane punched daisies

 
Just a quickie for you today... 

Want to make smaller daisies than our 2 punched sizes... so you can layer and layer to your heart's content!

Well just bring out your Daisy Lane bundle and Layering Circles dies... and cut like so...
Then a die size smaller... and so on... starting with both the (Large) Daisy Punch or Medium Daisy Punch daisies...

And if you want to add a bit of shape to those ends... then just combine with this tip here... 

Sorry that I could not produce lots of daisies and produce a finished multi layer daisy for you...but I am sure that you can get the idea from this post... that way you know that it can be done if you need to!

Tuesday, 6 August 2019

Multi Colour Heat Embossed Royal Peacock card

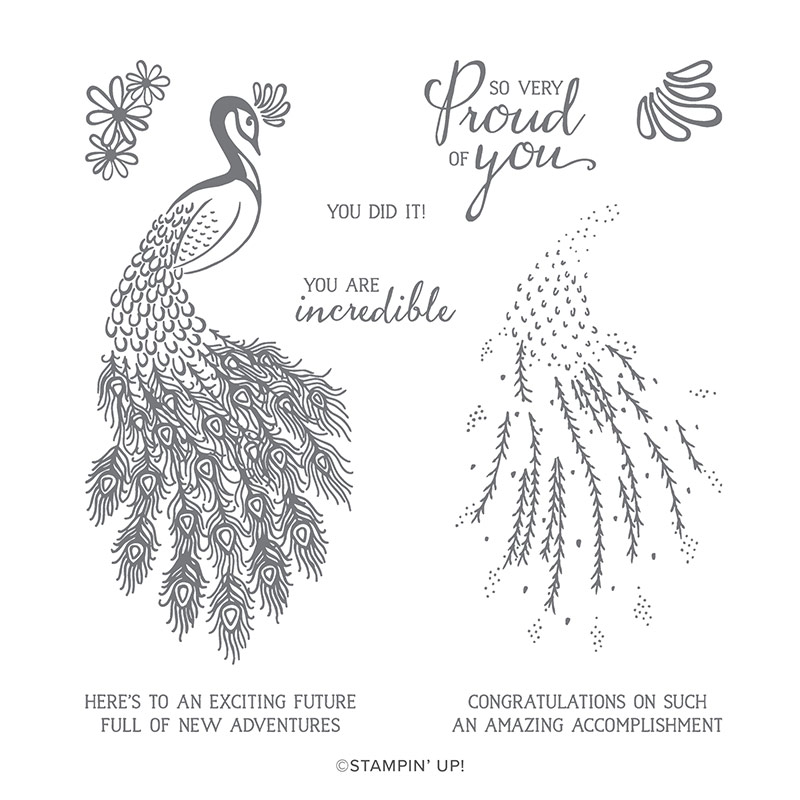
Well there appears to be a mixed reaction to the Royal Peacock stamp set...

Bird (or Peacock) lovers love it... but they only look at the one image!

And then the majority of the rest pass it by...
Until I say... Look at the greetings... aren't they just what you need to say quite a lot (to those of us going through all the exam successes... further education stages... new jobs... etc etc etc of our children...

And then it becomes a have to have... for most...
And if life was normal... I would have a lovely tutorial for this card for you... but it isn't ... so I will just quickly type the key feature of this card... Let's call it the "Multi Colour Heat Embossing" technique... which caused such a stir in classes last week!

Basically ink up your Peacock stamp with Versamark... then over ink with Blueberry Bushel to the top (body & head)... and Pretty Peacock to the bottom (tail feathers)... and then Stamp...

Then add Clear Embossing Powder... you can see it all go "milky" as the powder covers it...

Then heat... and you will see the glorious embossing shine ! And sorry as the photos really just don't do this justice...as it really is very shiny!!

And the rest of the colour was added using Stampin Blends... in Granny Apple Green, Night of Navy and Pretty Peacock...

And yes I "gutted" my foil panel before I assembled this card... so you will see this Nested Label die cut shape another day!

Tuesday, 23 July 2019

Tuesday Tips - more Punched Daisies!

Told you I had gone a bit mad with the wonderful Daisy Lane and Daisy Punches... but thought I should share these punched variants before I more onto other products...

Amazing how you can make so many different flowers from the one punch (or 2 if you count the different sizes!) Just scroll back (a week or two)if you want to check out some more variants...
This time the white flowers are created by punching out a daisy... and then inserting each petal into the tip of the same punch and punching to nip out the tip... And then repeat...lots of times!
Note that it is much easier to do one punched daisy part at a time - and then assemble -  rather than assemble your daisy and then punch!

A Large Daisy... with a 1/2" stamped & punched centre (as described here)
A Medium Daisy... this next shot having the wonderful Perennial Essence Floral Centre to "best" finish off my daisy!
And you may recognise the card format... as this was actually my prototype for my last Stitched Nested Labels cut-out Dandelion Wishes card... more details on that can be found by clicking here...

Gray Granite leaves and Memento Black greeting from the Daisy Lane stamp set...

Black splatter care of the Light Basic Black Stampin Blends marker pen...
Colour combination- Gray Granite, Daffodil Delight, Whisper White and Basic Black...
Amanda's Quick Links
Just click on the relevant pictures below for On Line Store, Catalogues and/or more information... 
If you are ordering today... please add the Host Code shown below to earn yourself a gift... For orders over £150 you should claim your own Stampin Host Rewards... you will still get a separate gift from me... 

Current Catalogues & Extra Products